Most people think punch needle is a fancy hobby only for seasoned crafters. The truth? You can start stitching in a single evening with just a few basics.
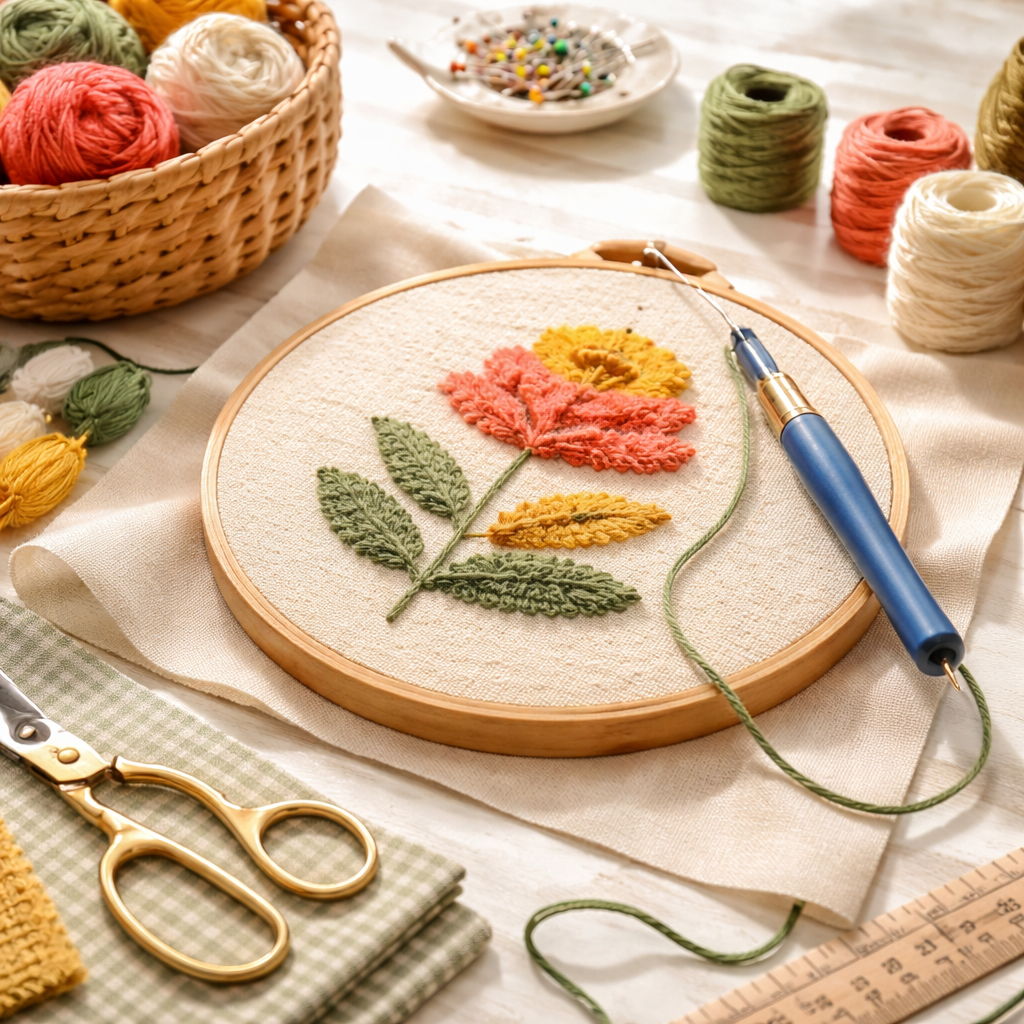
Picture this: you’ve got a hoop, a few skeins of cotton floss, and a tiny needle that looks like a tiny fork. You press the needle into the fabric, pull the thread up, and a neat, raised line pops out. That’s punch needle embroidery for beginners – a fast‑track way to make texture and color jump off a plain piece of cloth.
If you’re an arts hobbyist, this method gives you instant results without the patience required for traditional stitches. If you’re a creative entrepreneur, those quick‑turn projects can become sell‑able accessories or gifts. Parents love it because kids can see a design appear with each pull, turning a quiet afternoon into a confidence‑boosting play session.
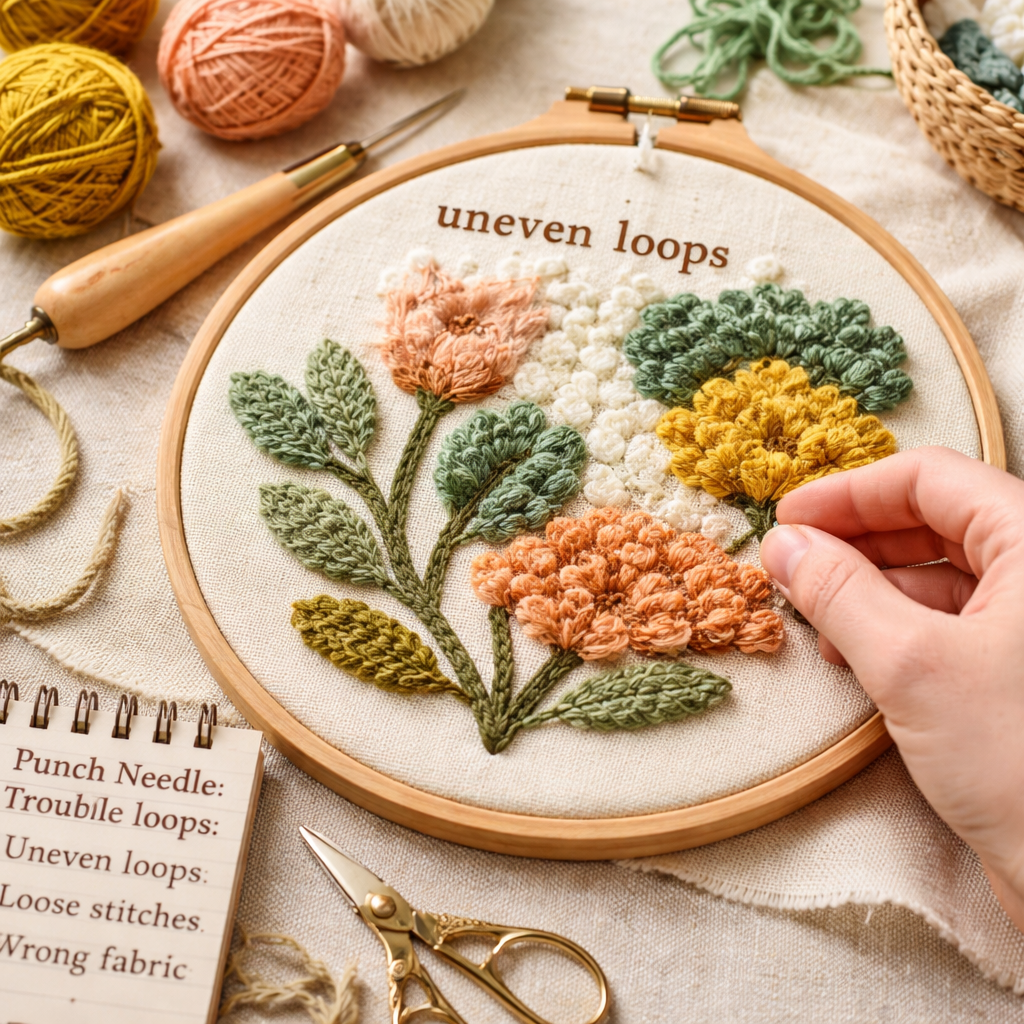
What usually trips newcomers up is the tension. Too tight and the fabric puckers; too loose and the stitches flop. A simple test stitch on a scrap piece lets you feel the right pull. Adjust the hoop until the fabric lifts just a hair – that’s the sweet spot.
Another common snag is choosing the right thread. Six‑strand cotton floss works for most projects because you can split it for finer lines or keep it whole for bold color. Avoid shiny rayon until you’ve mastered the basic motion; it slides too easily and can tangle.
Platforms like CreativiU make learning painless. Their on‑demand courses break each step into bite‑size videos, so you can replay the motion as many times as you need without feeling rushed.
By the end of this intro, you’ll know what tools to grab, how to set the tension, and why punch needle is the perfect entry point to a world of texture. Ready to feel the needle pop and watch a design grow? Let’s get stitching.
Step 1: Gather Your Supplies
First thing you need is a hoop that holds the fabric tight. A 6‑inch wooden hoop works for most starter projects. If you want a bigger canvas, a 9‑inch plastic hoop is cheap and easy to swap in.
Next, pick a fabric that won’t stretch too much. Plain cotton or linen works best because it shows each punch needle stitch clearly. Cut a piece a couple of inches larger than your hoop so you have room to trim later.
Thread is the colour that will make your design pop. Six‑strand cotton floss is the go‑to for beginners. You can pull out two or three strands for finer lines or keep all six for bold texture. Pair it with a size‑5 or size‑6 embroidery needle – the eye should be big enough for the floss but not so big that it makes holes.
Don’t forget a pair of sharp small scissors. They let you trim thread tails fast. A needle minder or a tiny magnet helps you pause without losing the needle. And a light‑weight fabric marker lets you sketch a quick outline that washes out later.
When you lay everything out on a clean surface, you’ll see the workflow before you even start. A Practical Guide to Online Embroidery Classes for Beginners walks you through a quick checklist that matches this set‑up.
Once your hoop is tight and your fabric is centered, run a test stitch on a corner. The stitch should sit flat, the tension even, and the fabric stay smooth. If the fabric puckers, loosen the hoop just a notch and try again.
After you feel confident with the test stitch, think about where you’ll show off your finished piece. A simple wall hanging can become a centerpiece in a living room. How to display coastal wood flower art offers tips that work just as well for punch needle projects.
Step 2: Set Up Your Fabric and Hoop
Now that you’ve gathered the basics, it’s time to get the canvas ready. The fabric and hoop are the foundation of punch needle embroidery for beginners – get them right and the rest flows.
Pick a fabric that plays nice
Monk’s Cloth is a fan favorite because its loose weave lets the needle glide without snagging. If you can’t find it, plain linen works just as well. Give the cloth a quick wash, then iron it flat. A smooth surface stops puckering later on.
Stretch it in a non‑slip hoop
Place the fabric over the inner ring of a 10″ non‑slip hoop. Pull the outer ring down until the cloth lifts just a hair. You’ll feel a faint pop when the tension hits the sweet spot. If the loops sit flat or wavy, loosen the hoop a notch and try again.
Tip: A short test stitch on a scrap piece tells you instantly if the tension is right. The stitch should sit proud and even.
When you’re happy with the tension, lock the hoop in place. Some makers like to use a small rubber pad between the rings for extra grip – it’s a tiny step that saves a lot of frustration.
Platforms like online embroidery class guide walk you through the same setup with short videos, so you can see the exact feel of a correctly tightened hoop.
Finally, trim any excess fabric that hangs over the hoop. A clean edge keeps the cloth from shifting as you stitch.
With the fabric snug and the hoop locked, you’re ready to start pulling loops. The next step will show you how to transfer your design onto the cloth and plan stitch length.
Step 3: Basic Stitches and Techniques
Now that your hoop is tight and the fabric sits smooth, it’s time to learn the stitches that turn a blank square into texture. We’ll walk through three core stitches that cover most beginner projects.
Running stitch: the simple line
The running stitch is the easiest place to start. Push the needle through the cloth, pull a short length of yarn, then push it back down a little farther. Keep the gaps even – if they feel uneven, pause and count “one‑two‑three” in your head. This stitch works great for outlining leaves, borders, or any straight edge.
Back stitch: solid lines and letters
When you need a line that never breaks, the back stitch is your friend. Make a short forward stitch, then bring the needle back to the start of that stitch and go forward again. The result is a continuous line that looks like it was drawn with a pen. Parents love this for simple monograms on tote bags.
Satin stitch: filling shapes
For a smooth, shiny fill, try the satin stitch. Lay down short, parallel stitches that sit side by side, then turn the needle and run the next row in the opposite direction. The key is to keep the tension the same; too tight makes the fabric pucker, too loose leaves gaps. A quick practice row on a scrap will show you if the stitches lie flat.
Here’s a quick drill: set a timer for five minutes, pick one stitch, and do ten slow stitches, then twenty fast ones. Look at the line you made – is it even? Adjust your grip or tension and try again. Repeating this each day builds muscle memory fast.
Need a visual guide for the satin stitch? Check out the step‑by‑step satin stitch tutorial for beginners. The video breaks the motion into tiny steps so you can pause and match your own rhythm.
Once you’ve got these three stitches down, you can mix them in any design – a leaf outline with a running stitch, a tiny heart filled with satin, or a name written in back stitch. The more you practice, the more confidence you’ll feel pulling loops without looking at a guide.
Tip: keep a tiny notebook next to your hoop. Jot down “tension too tight on row 2” or “needle slipped on back stitch #5.” Those notes become a personal cheat sheet you can glance at before each new project.
Ready to move on? The next step will show you how to transfer a design onto the fabric so you can start stitching your first piece.
Step 4: Finishing and Caring for Your Piece
You’ve built the shape, filled it with texture, and now it’s time to treat your work like a finished product, not a half‑baked experiment. A clean finish makes punch needle embroidery for beginners look polished enough to sell or gift.
Trim and Tidy
First, cut away any stray yarn tails. Use a small, sharp pair of scissors and snip just above the fabric surface – leave a tiny millimetre so you can tuck the end if you like. A quick tap with the back of the scissors can smooth out a ragged edge.
Next, give the back of the piece a quick brush. A soft paintbrush or a clean makeup brush removes loose loops and dust that collected while you were working.
Secure the Back
For durability, especially if kids will handle the item, apply a thin layer of fabric glue or a spray‑on fabric stabiliser on the back. It keeps the loops from pulling out over time. If you prefer a natural approach, a light iron‑on adhesive sheet works just as well – press it on low heat, then let it cool.
Display Options
There are three easy ways to turn your hoop art into a wall‑ready piece:
- Slide the hoop into a ready‑made wooden frame; the frame hides the hoop rim and adds a gallery feel.
- Mount the hoop on a decorative backing board with double‑sided tape for a modern, floating look.
- Hang the hoop directly with a small picture‑hook if you like the raw aesthetic.
If you need step‑by‑step guidance on framing, check out Online Embroidery Classes for Beginners: A Step‑by‑Step Guide for a quick video walk‑through.
Cleaning and Care
Never toss a finished piece straight into the washing machine. Instead, spot‑clean with a damp cloth. For deeper cleaning, lay the fabric flat, cover with a clean towel, and gently press with a warm iron (fabric side up) – the heat relaxes the loops without melting them.
Store your work in a breathable cotton bag, not plastic. Plastic traps moisture and can cause mildew, especially on thick yarns.
Quick Checklist
| Task | Why it matters | Tip |
|---|---|---|
| Trim tails | Prevents snagging | Snip 1 mm above fabric |
| Back‑stabilise | Locks loops in place | Use fabric glue or iron‑on sheet |
| Frame or mount | Shows work professionally | Choose wood frame for a gallery look |
One final thought: if you’re a creative entrepreneur, turning these finished pieces into sell‑able products can be as simple as snapping a photo and posting it to your shop. For more ideas on expanding your craft into apparel, see How to Create a Powerful 7 Years Sober T‑Shirt Quote That Inspires.
Frequently Asked Questions
What kind of fabric works best for punch needle embroidery for beginners?
Most beginners find a plain woven cotton or a medium‑weight linen easy to work with. Look for fabric that has a loose enough weave for the needle to slip through, but tight enough to hold the loops. A 12‑inch piece of quilting‑weight cotton is a safe bet, it’s cheap, pre‑washed, and won’t pucker when you tighten the hoop. If you can’t find cotton, a plain linen works too.
How tight should the hoop be when I’m setting up?
The hoop needs to be tight enough that the fabric lifts a hair when you press it with a dowel, but not so tight that the cloth stretches or the needle jams. A good test is to do a single stitch on a scrap piece: if the loop pops up proud and stays flat, you’re at the right tension. If the stitch looks flat or the fabric puckers, loosen the hoop just a notch and try again.
Is punch needle safe for kids to use?
Yes, as long as you choose a tool with a blunt tip and keep a small pair of safety scissors nearby. Teach kids to work on a non‑slip hoop and to always push the needle away from their body. Supervision is key for the first few projects, but once they get the rhythm, the activity feels like a quiet game that builds confidence and fine‑motor skills.
How can I stop the loops from pulling out after I’m done?
Give the back of the piece a light coat of fabric glue or press an iron‑on stabiliser sheet on low heat. Both methods lock the loops in place without changing the look of the front. Let the glue dry or the sheet cool completely before you trim any stray yarn. A quick brush with a soft paintbrush also helps remove loose threads that could catch later.
What’s the easiest way to frame or hang my finished hoop?
Slide the hoop into a shallow wooden frame, the frame hides the rim and gives a gallery feel. If you prefer a modern look, stick double‑sided tape to a decorative backing board and press the hoop onto it. For a rustic vibe, a simple picture hook works fine. Make sure the backing is sturdy so the piece stays flat on the wall.
Where can I find short video lessons if I get stuck?
Platforms like CreativiU let you watch bite‑size clips that focus on one stitch or setup step. You can pause, rewind, and replay as many times as you need, which is handy when you’re learning a new motion. The community forum also lets you ask quick questions and get tips from other makers who have faced the same hiccups.
Conclusion
You’ve walked through the whole punch needle embroidery for beginners journey. You know how to pick the right hoop, set the fabric tension, and master the three core stitches.
Now is the time to turn that confidence into a finished piece. Start with a tiny test design, run a quick 5‑minute practice loop, and then move on to a small project like a leaf badge or a monogram heart. Keep the back of the work protected with a light glue coat or an iron‑on stabiliser sheet.
If you need a quick reference for stitch basics, the Embroidery Stitches for Beginners guide breaks each move down in plain steps.
Share your first hoop on the CreativiU community forum, ask for feedback, and watch how fast you improve. The more you stitch, the sharper your eye becomes, and the easier new designs will feel.
So, pick a pattern, set your hoop, and let the loops pop. Happy stitching!
Leave a Reply