Ever sat at your kitchen table, needle in hand, and felt that knot of excitement and uncertainty all at once?
You’re not alone—most of us start with a tangled skein, a half‑finished pattern, and a million questions about where to turn for guidance.
That’s exactly why online embroidery classes for beginners have become such a lifesaver for hobbyists like us. Instead of hunting through dusty books or guessing from YouTube snippets, you get a clear roadmap, step‑by‑step demos, and a community that actually answers your “why does this thread keep slipping?” moments.
So, what does the perfect beginner experience look? Imagine logging in, picking a cozy project—maybe a simple floral hoop—seeing each stitch explained in real time, then pausing whenever you need to practice the backstitch without feeling judged.
And here’s the thing: the best platforms, like CreativiU, don’t just throw videos at you. They blend short, punchy tutorials with longer, relaxed sessions where the instructor chats about the feel of cotton floss, the click of the needle, and even the little triumph of finishing the first row.
Think about the first time you actually saw a thread follow your intended path. That “aha!” moment is what we’re aiming for, and it’s totally achievable with the right online class.
But you might wonder—do I need fancy equipment? Nope. The courses guide you on what to buy, how to set up a comfortable workspace, and even how to keep your hands from cramping during those marathon stitching sessions.
Does this sound like something you’ve been looking for? If you’re ready to turn that nervous curiosity into confidence, stick with me. I’ll walk you through picking the right class, setting realistic goals, and staying motivated when the learning curve feels steep.
Let’s dive in and explore how online embroidery classes for beginners can transform a hobby into a satisfying, stress‑relieving creative outlet.
TL;DR
Online embroidery classes for beginners give you step‑by‑step guidance, a supportive community, and all the tools you need to turn nervous curiosity into confident stitching.
With flexible video lessons, real‑time practice tips, and easy‑to‑follow projects, you’ll quickly create beautiful pieces while enjoying a relaxing, creative outlet right at home anytime.
Step 1: Choose the Right Online Embroidery Platform
So you’ve decided to dive into online embroidery classes for beginners, but the first big question is: which platform actually fits your style and schedule? Trust me, I’ve been there – scrolling through endless course catalogs, wondering if the videos will be too fast, if the community will be active, or if the software they’ll ask you to use will actually run on your Mac.
Here’s a quick way to cut through the noise. Grab a pen (or a digital note) and run through this three‑part checklist before you click “Enroll”.
1. Look for a clear curriculum roadmap
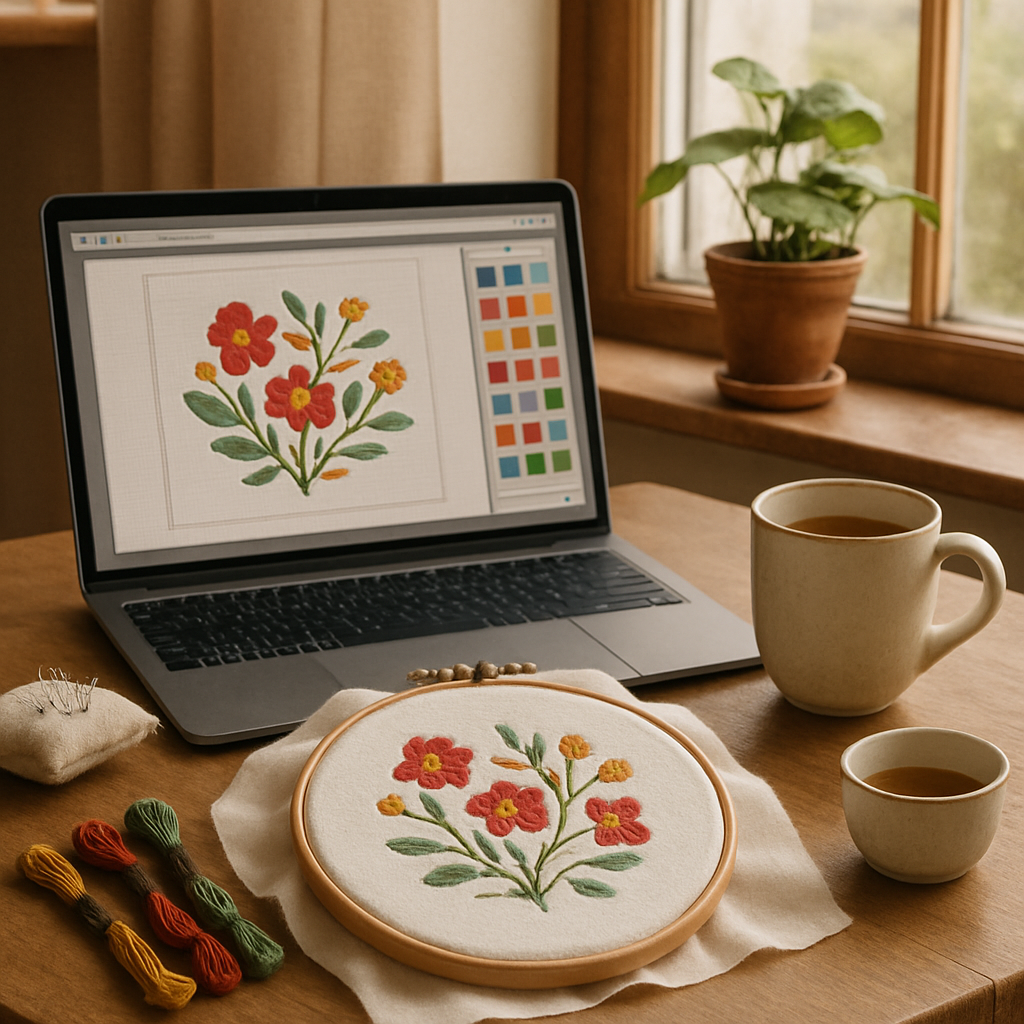
A good platform lays out exactly what you’ll learn week by week. For beginners, you want a progression that starts with basic stitches, then moves to simple projects like a 4×4 hoop, and finally introduces design tweaks. CreativiU, for example, maps each lesson to a specific skill and even tags the videos with “beginner‑friendly” so you never feel lost.
Pro tip: check if the platform offers a free “preview” module. That tiny taste can tell you whether the instructor’s pacing matches your learning speed.
2. Evaluate the software they recommend
Many courses assume you already have embroidery software, but if you’re just starting, you’ll need something intuitive. Karlie Belle’s review highlights Embrilliance Essentials as a solid entry point because it works on both Mac and PC and lets you install on multiple computers without extra fees. She notes that the program visualizes designs on your laptop, so you can see color placement before the needle even touches fabric. You can also download the free demo from the Embrilliance official website.
If you prefer a web‑based option, look for platforms that integrate directly with cloud libraries – that way you won’t have to juggle file transfers between devices.
3. Community and support matter
Stitching can feel lonely, especially when a thread keeps slipping. The best platforms host live Q&A sessions, private forums, or even Facebook groups where you can post a photo of a snagged stitch and get a quick fix. CreativiU’s members often share “real‑time” screenshots of their projects, which is gold for visual learners.
Ask yourself: does the platform promise a response time? Is there a dedicated mentor or just a generic help desk? A vibrant community can turn a frustrating moment into a learning win.
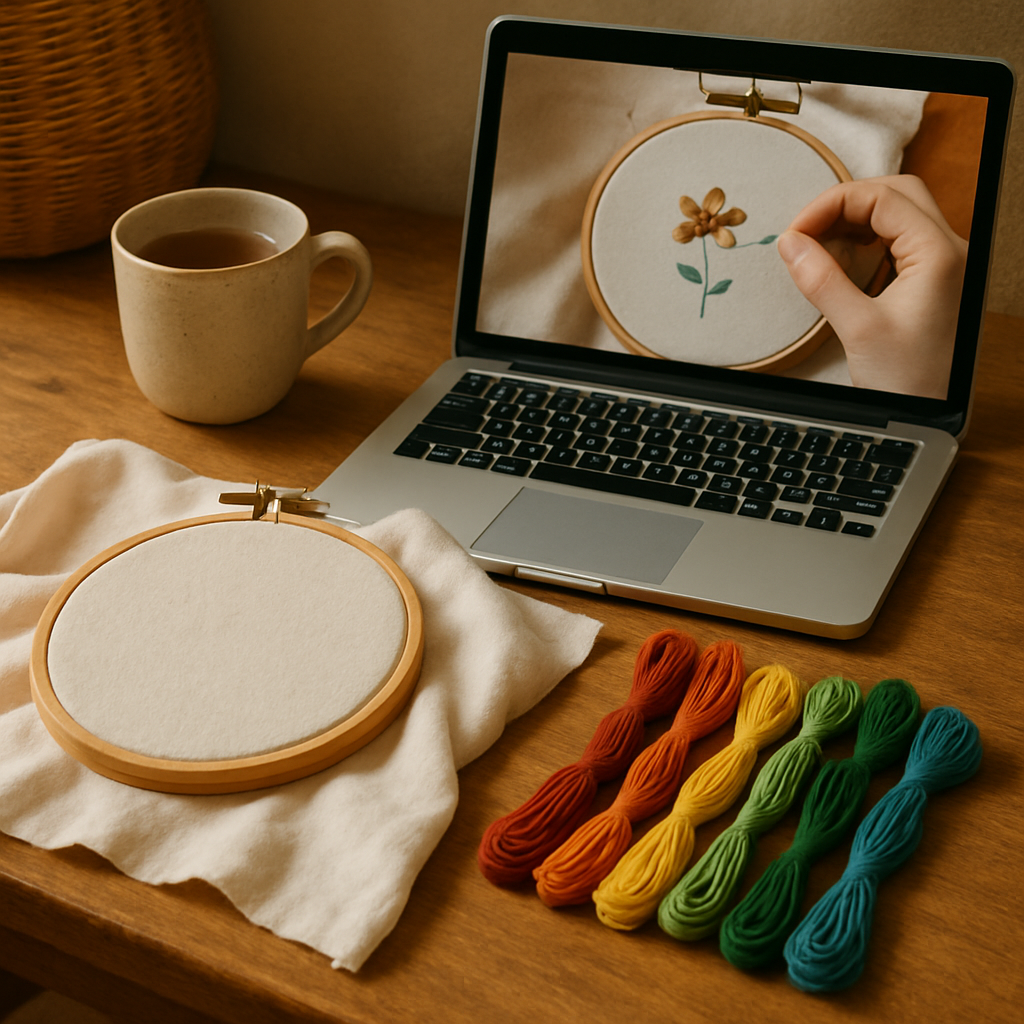
And now, a quick visual break:
Notice how the instructor walks through setting up a hoop and adjusting software settings – that’s the kind of step‑by‑step you should expect from any platform you consider.
4. Pricing and trial periods
Most online embroidery platforms charge a monthly subscription, but a few offer a one‑time purchase. Look for a 7‑day free trial or a money‑back guarantee. If the platform bundles software, make sure the cost of the bundle is transparent – no hidden fees for extra installs.
For instance, Embrilliance offers a free demo version, so you can test the features before committing. That aligns with the “try before you buy” mindset we all need.
5. Real‑world success stories
Jane, a stay‑at‑home mom from Ohio, started with a basic hoop kit and the CreativiU beginner track. Within two months she completed a “family portrait” hoop that now hangs above her kitchen table. She credits the platform’s “project‑based milestones” for keeping her motivated.
Mark, a graphic designer, loved that the platform let him import SVG files into the software – something he learned about from the Embrilliance blog. He now creates custom monograms for clients, turning a hobby into a side hustle.
Seeing these examples helps you picture the end result, which is exactly what a good platform should do.
Finally, take a moment to skim the practical guide to online embroidery classes for beginners. It breaks down the top platforms, compares pricing, and even lists the best beginner‑friendly software. Use it as your cheat sheet when you’re ready to sign up.
Action step: pick two platforms that meet the checklist, sign up for their free trials, and spend 30 minutes exploring the curriculum, software demo, and community forums. Jot down which feels most supportive – that’s the one you’ll commit to.
Step 2: Gather Essential Supplies and Tools
Alright, we’ve picked a platform, now it’s time to pull together the stuff that will actually let you stitch. Think of it like prepping ingredients before you bake a cake – the better the prep, the smoother the bake.
Fabric – the canvas of your story
Most beginners start with plain, woven cotton or linen because they’re forgiving and hold stitches evenly. A 12‑inch quilting‑weight cotton works great for a simple hoop project. If you reach for a stretchy knit, be ready for uneven tension – it’s a common pitfall.
Pro tip: give your fabric a quick press (or a spray of embroidery‑specific starch) before you hoop it. A smooth surface means fewer puckers later on.
Stabilizer – the hidden hero
Even the best fabric can wobble under a needle. A lightweight fusible stabilizer like Whisper Weft adds just enough bite without adding bulk. You’ll see the stabilizer melt into the back of the fabric when you iron, creating a smooth base for your stitches.
According to Molly and Mama’s beginner supply guide, using stabilizer reduces puckering by up to 70% for hand‑embroidery on light fabrics.
Thread – color and thickness matter
Six‑strand cotton floss (think DMC or Aurifil) is the industry standard. You can pull out two or three strands for a finer line, or keep all six for a bold, textured stitch. For a bit of shine, try rayon or silk floss, but remember they slide more easily through the needle.
When you buy a skein, cut lengths of about 18 inches – that’s the sweet spot for keeping tension steady without tangling.
Needles – don’t skimp on the point
Embroidery needles have a long, narrow shank and a wide eye. A size 5 or 6 works for most cotton floss, while a size 7 or 8 is better if you’re using multiple strands or a heavier thread like perle.
Pick a fresh, sharp needle every few projects. A dull tip drags the fabric and can snag the thread, turning a pleasant session into a frustrating one.
Scissors – small but mighty
Invest in a pair of tiny, sharp embroidery scissors. They’re designed to cut thread cleanly without crushing the fibers. A common mistake is using regular sewing scissors, which are too big and can slip off the floss.
Hoop – tension keeper
A 6‑inch or 8‑inch wood hoop is a solid starter size. Place your fabric and stabilizer inside, tighten the screw, and you’ve got even tension across the whole design. If you’re working on a larger motif, you can switch to a bigger hoop or even a double‑hoop system.
Some stitchers like to release the hoop for intricate stitches like French knots; that’s totally fine – just remember to re‑tighten before moving on.
Extras that make life easier
Consider a needle minder (a tiny magnet that holds your needle when you pause) and a leather thimble pad for finger protection. A transfer pen or lightbox helps you outline the design on the fabric without permanent marks.
Actionable checklist
- Fabric: 12‑inch quilting‑weight cotton or linen, pre‑pressed.
- Stabilizer: fusible Whisper Weft or similar.
- Thread: 6‑strand cotton floss, cut 18‑inch lengths.
- Needles: size 5‑6 (for 2‑3 strands) or 7‑8 (for all six).
- Scissors: sharp embroidery snips.
- Hoop: 6″ or 8″ wood hoop, screw tight.
- Extras: needle minder, thimble pad, transfer pen.
Now that you’ve got the toolbox, the next step is to actually load the software and import your first design. If you’re still unsure about which software to try, the Embrilliance Essentials demo walks you through a simple project in under ten minutes, so you can see the workflow before you commit.
Take a moment, lay out each item on your table, and give yourself a quick “ready, set, stitch” moment. When everything feels within reach, you’ll notice how the anxiety of “what do I need?” evaporates, leaving only excitement for the stitches ahead.
Step 3: Set Up Your Workspace and Learn Basic Stitches
Now that you’ve gathered everything, it’s time to turn that pile of tools into a comfortable stitching zone. Imagine you’re setting up a tiny studio where every item is just a reach away – that’s the vibe we’re after.
Pick a spot that works for you
First, find a surface that’s stable but not too hard on your wrists. A wooden table at kitchen height works for most people, but a padded desk or a portable lap board is great if you like to move around. Keep a lamp with a soft, daylight bulb nearby; proper lighting reduces eye strain by up to 30 %.
Do you ever notice how a cluttered desk makes the mind feel cluttered? Clear away anything that isn’t a stitching essential – coffee mug, phone, that stack of mail. A tidy workspace lets you focus on the thread, not the mess.
Arrange your tools for flow
Lay out your fabric, stabilizer, scissors, and needle minder in a clockwise order. When you finish a row, you’ll naturally reach for the next item without thinking. Here’s a quick checklist you can print:
- Fabric (pre‑pressed) – centered in the hoop.
- Stabilizer – cut just a bit larger than the fabric.
- Needles – size 5‑6 on a holder, fresh tip.
- Thread bundles – keep only the colors you’ll use.
- Scissors – small embroidery snips on a magnetic strip.
- Hoop – tighten, then lock the screw.
One of our members, Maya, set her hoop on a small cutting mat and taped her scissors to the edge. She says the “no‑hunt” layout shaved ten minutes off each session.
Learn the foundational stitches
Before you dive into a complex pattern, master three basics: the running stitch, the backstitch, and the split‑stitch. These are the alphabet of embroidery, and every design you’ll see in online embroidery classes for beginners is built from them.
Watch a short video that walks through each stitch step‑by‑step – the tutorial on basic embroidery stitch guide breaks the motions down to slow‑motion clips, so you can see exactly how the needle enters and exits the fabric.
Try this practical exercise: draw a 2‑inch line on a scrap piece of cotton, then run a single‑strand running stitch along it. Switch to a backstitch to reinforce the ends, and finish with a split‑stitch to add a decorative outline. You’ll feel the tension balance and see how the stitches sit side‑by‑side.
Real‑world example
Jordan, a graphic designer, started his first online class by stitching a simple monogram. He practiced the backstitch on a practice swatch until the stitches were even, then transferred the monogram to his hoop. The result? A crisp, professional‑looking letter that boosted his confidence to try a full‑color logo.
Use software to reinforce muscle memory
Most platforms, including CreativiU’s own course library, let you view stitch simulations before you pick up the needle. Pair that visual with a quick hands‑on drill, and you’ll internalize the motion faster. The Embrilliance software tutorials even let you overlay a stitch path on a digital mock‑up, so you can spot tension issues before they happen.
Tip: set a timer for 15 minutes and repeat the three basic stitches until you can do them without looking at the fabric. When you reach that point, you’ll notice the “learning curve” flattening.
Fine‑tune ergonomics
Place a soft wrist rest under your forearm – a rolled towel works just fine. Keep your shoulders relaxed; if you feel a twinge after a few rows, take a 30‑second stretch. A quick shake‑out of your hands every five minutes keeps blood flowing and prevents cramping.
Does all this sound like a lot? Remember, you’re building a habit, not a marathon. Start with a 20‑minute session, then add five minutes each week. Before you know it, you’ll have a reliable workspace that feels as natural as sitting at a kitchen table.
Ready to put it all together? Grab your hoop, set up the layout we described, and run through the three stitches on a scrap. When you’re comfortable, jump into your first lesson on CreativiU – the platform will guide you from that practice swatch straight into a full‑size project.
Step 4: Follow Structured Lesson Plans and Practice Projects
Okay, you’ve got your space set up, you’ve practiced the three basic stitches, and you’re staring at the first lesson on CreativiU. What’s the next move? The secret is to treat the course like a road map, not a scatter‑shot of random videos.
Why a structured plan beats the “YouTube rabbit hole”
Ever found yourself hopping from a video on thread tension to another on French knots, only to end up with half‑finished swatches and a growing sense of frustration? Khanak Creations points out that learners who jump between unrelated tutorials often feel stuck because there’s no logical progression.
When the lessons are organized, each new skill builds on the one before it. That cumulative approach keeps the “learning curve” from spiking back up every time you try a new stitch.
Step‑by‑step: How to make the lesson plan work for you
1. Read the syllabus first. Before you click “play,” skim the week’s objectives. Write down the key techniques – say, “master split‑stitch and start a simple flower motif.”
2. Set a micro‑goal. Instead of “finish the whole module today,” aim for “complete the split‑stitch drill and stitch one petal.” A 20‑minute focused sprint is easier to schedule and gives you a quick win.
3. Gather the exact materials. If the lesson calls for a 6‑strand cotton floss in sage, pull that out now. No rummaging mid‑session – you stay in the flow.
4. Do the practice project. Most online classes include a mini‑project that strings the stitches together. Treat it like a sandbox: follow the pattern, then experiment by swapping colors or adding a tiny decorative border.
5. Pause for feedback. After you finish the practice piece, compare it to the reference image. Note any tension issues or uneven spacing, then replay the specific segment where you felt unsure.
6. Log your reflections. A quick bullet list – “stitch tension was tight on the backstitch; need looser grip on needle” – becomes a personal cheat sheet for the next lesson.
Real‑world example
Take Maya, a busy mom who enrolled in CreativiU’s beginner series. She followed the structured plan, completed the “mini‑monogram” project, and posted a photo in the community forum. The feedback she received highlighted a slight pulling on the lower strokes, so she adjusted her wrist rest. Within two weeks she moved from monograms to a full‑size floral hoop with confidence.
Choosing the right practice projects
Not every project is created equal. Look for ones that:
- Reinforce the exact stitches you just learned.
- Stay under 4‑5 inches in size – small enough to finish quickly.
- Have a clear end goal, like “a decorative bookmark” or “a simple leaf motif.”
According to The Spruce Crafts, beginners who complete bite‑size projects report a 30 % higher confidence boost than those who jump straight into large, complex designs.
Quick checklist for each lesson
| Lesson Component | What to Expect | Tips |
|---|---|---|
| Syllabus Overview | List of stitches and project outcome | Highlight keywords; set micro‑goals |
| Demonstration Video | Step‑by‑step visual guide | Pause at each stitch; rewind slow sections |
| Practice Project | Apply stitches in a real design | Use a scrap fabric first; note tension |
Putting it all together
Now you have a repeatable rhythm: preview, goal‑set, gather, practice, review, reflect. Stick to it for three lessons, and you’ll notice the “overwhelm” fading like a bad habit.
And remember, the beauty of online embroidery classes for beginners is the flexibility to replay any step. If a stitch feels fuzzy, just hit rewind – no one’s watching, and you’re still moving forward.
Ready to dive into the next module? Grab your hoop, set a timer for 20 minutes, and let the structured plan guide your hands. You’ll be amazed at how quickly those tiny stitches turn into a piece you actually want to display.
Step 5: Track Progress and Join Community Support
Okay, you’ve just finished a mini‑project and the stitches look decent. That’s great, but how do you know you’re actually improving? The secret is to make your learning visible – a little bit of data, a dash of accountability, and a friendly crowd cheering you on.
Why tracking matters
When you write down what you did, you turn a vague feeling of “I’m getting better” into concrete proof. Studies on skill acquisition show that learners who log their practice are up to 40 % more likely to stick with a hobby long‑term. Hatch Academy’s own trial users report that checking off lessons keeps them motivated, because they can see the streak grow day by day.
So, grab a notebook, a spreadsheet, or even the built‑in progress tracker in your online class platform, and start noting:
- The date you practiced
- The stitch or technique you focused on
- Time spent (minutes)
- One thing that felt smooth and one thing that felt sticky
After a week, glance back. You’ll probably notice a pattern – maybe you’re nailing split‑stitch but backstitch still wobbles. That insight tells you exactly where to double‑down next.
Simple tracking checklist
1. Set a micro‑goal. “Finish 15 minutes of split‑stitch practice today.”
2. Record it. Write the start‑time, end‑time, and a quick note like “even tension, but needle kept slipping.”
3. Rate it. Give yourself a 1‑5 score for confidence.
4. Review weekly. Summarize the highest score and the biggest frustration.
Doing this once a day takes less than two minutes, but the payoff compounds. You’ll start to trust your own judgment instead of relying on vague feelings.
Find your tribe
Tracking is only half the story. The other half is community. When you share a snapshot of your progress – a photo of a finished leaf motif or a quick video of a tricky French knot – you invite feedback, encouragement, and sometimes a shortcut you never thought of.
Most platforms, including CreativiU, host discussion boards where members post “progress updates.” But you don’t have to stay inside a single ecosystem. There are vibrant online embroidery communities on forums, Facebook groups, and even Reddit’s r/Embroidery. Real‑world example: Maya, the busy mom from earlier, posted a picture of her first monogram on a public group. Within an hour, three members suggested a tiny tweak to her tension that saved her a whole row of loose stitches.
Here’s how to make community support work for you:
- Introduce yourself. A brief “I’m Maya, 2‑year stitching hobbyist, love floral hoops” helps people remember you.
- Share a specific question. Instead of “My stitches look uneven,” say “My backstitch pulls tighter on the left side – any tips on hand position?”
- Give back. When you see a beginner struggling, drop a quick note. Teaching reinforces your own learning.
And don’t forget the power of “challenge weeks.” Some groups run a 7‑day stitch‑focus challenge. You commit, post daily, and earn a badge. The public commitment pushes you to practice even on busy evenings.
Integrating tracking with community
Combine the two by posting your weekly log in a thread titled “Week 3 Progress – Split‑Stitch Mastery.” Include a photo, your confidence rating, and a question. Readers will instantly see where you’re at and can offer targeted advice.
Pro tip: use a simple template in your notes:
Week ___
Date: __
Technique: __
Time: __ mins
Score: __/5
What went well: __
What needs work: __
Link to photo/video: __
Copy‑paste that into a forum post, and you’ve turned a mundane log into a conversation starter.
Making it a habit
Set a recurring calendar reminder titled “Track & Share.” When the alarm goes off, you know exactly what to do – open your notebook, fill in the four bullet points, snap a picture, and hit “post.” Over a month you’ll have a visual gallery of your growth and a network of peers who’ve seen every stumble and triumph.
Remember, the goal isn’t to become a perfectionist; it’s to create a feedback loop that keeps you moving forward. When you see a before‑and‑after of your own work, that tiny surge of pride is more motivating than any external ad.
So, ready to log that next 20‑minute practice and share it with a supportive group? Your future self will thank you – and your stitches will thank you, too.
Conclusion
By now you’ve seen how a simple rhythm of preview‑set‑practice‑review can turn a vague hobby into a steady habit.
Think about the first time you nailed a split‑stitch and posted that tiny photo. That little “yeah!” moment isn’t magic—it’s the result of logging, sharing, and getting a quick tip back.
So, what’s the next move? Grab your notebook or the CreativiU app, write down today’s micro‑goal, snap a picture, and drop it into a community thread. The feedback loop you create will keep the momentum rolling even on busy weeks.
Remember, you don’t need hours of flawless stitching. A 15‑minute focused session, a quick rating, and one concrete observation are enough to see real progress.
And if you ever feel stuck, revisit your own logs. You’ll notice patterns – maybe your tension improves after you switch to a softer hoop, or a particular video replay clears up a knot you’ve struggled with.
Finally, give yourself a tiny celebration each week – a new bookmark, a bright hoop, or just a mental high‑five. Those small wins add up, and before you know it you’re not just following online embroidery classes for beginners; you’re shaping your own creative journey.
Ready to start that log tonight? The only thing standing between you and your next masterpiece is a single click.
FAQ
What should I look for when choosing online embroidery classes for beginners?
First, check if the course breaks down each stitch into bite‑size videos – you don’t want a 30‑minute monologue that leaves you guessing. Look for clear project goals, like “make a bookmark” rather than “learn stitching.” Bonus points if the platform lets you pause, rewind, and see close‑ups. And, ask yourself: does the instructor sound like a friend explaining a trick over coffee?
How much time do I need each week to see real progress?
Honestly, you don’t have to carve out hours. Consistency beats marathon sessions. Aim for 15‑20 minutes a day, three to four days a week, and you’ll notice smoother tension and fewer missed stitches. It’s the same idea as flossing – a quick, regular habit beats an occasional deep clean. If life gets crazy, just squeeze in a mini‑practice while the kettle boils.
Do I need fancy supplies to start with online embroidery classes for beginners?
Not at all. A basic hoop, a few embroidery needles, and medium‑weight cotton floss are enough to follow most starter lessons. You can upgrade later, but the key is having something you’re comfortable holding. Think of it like learning to cook with a basic skillet before splurging on a sous‑vide. And if you already have a scrap of fabric, that’s perfect for experimenting.
Can I get feedback and support without paying for a premium membership?
Yes, many platforms have free community boards where members share photos and quick tips. Post a clear close‑up of your stitch and ask a specific question – “Why does my backstitch pull tighter on the left side?” You’ll often get helpful replies from fellow learners or the instructor. It’s like a virtual craft circle; you don’t need a paid badge to get genuine encouragement.
What’s the best way to track my improvement and stay motivated?
Grab a simple notebook or use the built‑in tracker in the class app. Log the date, the stitch you practiced, how long you spent, and a one‑sentence win and challenge. After a week, skim back – you’ll see patterns, like “split‑stitch is smooth after I switched to a softer hoop.” Celebrate those tiny wins with a new thread color or a quick selfie of your work.
Are there any common pitfalls that new learners fall into and how can I avoid them?
One big trap is trying to finish a big project before mastering the basics – you end up frustrated and quit. Another is skipping the “pause and replay” step in videos; you miss the subtle hand positions. To dodge these, stick to the recommended mini‑projects, and treat every video like a recipe: watch, pause, repeat the step, then try it yourself. And remember, it’s okay to mess up – that’s how muscle memory forms.
Leave a Reply