Polymer clay lets you turn a simple block of colorful dough into earrings, beads, or pendants that feel light on the skin. Most beginners think the process is hard, but the truth is you only need a few tools and a bit of patience. In this guide you’ll learn each step from gathering supplies to sealing the final piece, so you can create jewelry you’re proud to wear or sell. With guidance from CreativiU’s online platform, you’ll feel confident.
We’ll walk through five usable steps, add tips for troubleshooting, and point out where a supportive community can help you improve faster. Let’s start.
Step 1: Gather Materials & Set Up Your Workspace
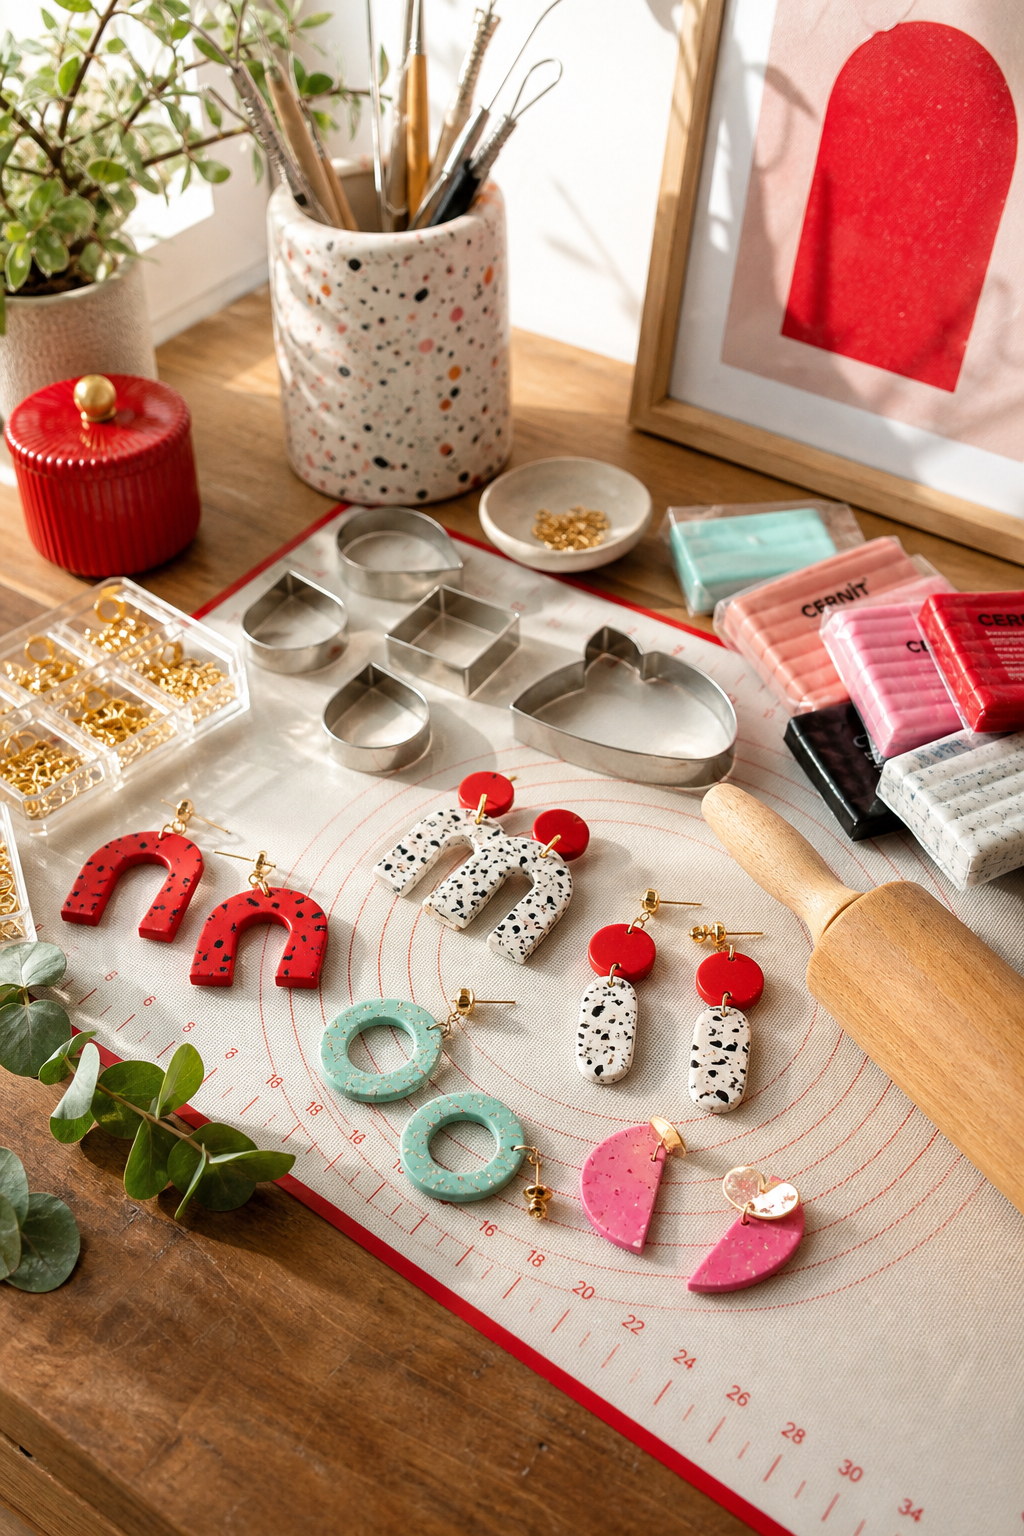
The first thing you need is a clean, flat surface that won’t stick to the clay. A silicone oven‑safe mat works great because it stays put and you can pop it straight into the oven later. If you prefer a hard surface, a glass cutting board or a ceramic tile also does the trick.
Next, collect the basic tools: a rolling pin or acrylic roller, a set of shape cutters (or even a clean bottle cap), a craft knife, needle‑type tools for tiny holes, and a pair of needle‑nose pliers. You’ll also need eye pins, jump rings, earring hooks, and a sturdy baking tray lined with parchment paper.
Don’t forget safety gear. A small fan or open window helps keep fumes low, and a pair of nitrile gloves protects sensitive skin from the plasticizers in the clay.
When you have everything laid out, arrange it so you can reach each item without scrambling. A simple tray or a shallow box keeps tools from rolling away while you work.
Here’s a quick checklist you can print out before you start:
- Polymer clay (widely available options)
- Silicone mat or glass board
- Rolling pin or acrylic roller
- Shape cutters or cookie cutters
- Craft knife, needle tools, pliers
- Parchment paper and baking tray
- Jump rings, earring findings, glue
- Ventilation (fan or open window)
- Nitrile gloves (optional)
For more ideas on the exact tools you might need, see the How to Make Polymer Clay Earrings: Step‑By‑Step Instructions guide on CreativiU.
Step 2: Condition the Polymer Clay
Conditioning is the warm‑up you give the clay so it becomes soft and pliable. If you skip this step, the clay can crack or crumble once you bake it.
Start by breaking off a small piece, about the size of a golf ball. Warm your hands under lukewarm water for a few seconds, then dry them. Rub the clay between your palms for 30‑60 seconds. You’ll feel the texture shift from stiff to buttery.
If the clay feels still firm, give it a light whack with a rolling pin or a small mallet. Some brands, particularly those with higher density, need a harder “wack” before they become workable. You can also place the block in a zip‑lock bag and run it over a pasta machine’s thickest setting a few times.
When you roll the clay, keep the thickness to about 2 mm. Fold the slab in half, then roll again. This folding pushes out air bubbles and spreads the plasticizers evenly. Repeat the fold‑and‑roll cycle 20‑30 times; the clay should feel smooth and spring back when you press a fingernail.
If you notice the clay sticking to the rollers, let it warm a bit more. A warm rice bag or a low‑heat hair dryer can help without melting the material.
Properly conditioned clay will bend without cracking and will hold fine details when you sculpt.
According to Wikipedia’s polymer clay page, conditioning improves the polymer’s flexibility and reduces the risk of brittleness after baking.
Step 3: Shape Your Design
Now the fun part begins , turning that soft slab into a recognizable shape. Decide if you want a flat pendant, a three‑dimensional bead, or an earring shape. Sketch a quick outline on paper if it helps.
Place the conditioned slab on your silicone mat. Using a shape cutter, press down firmly and twist slightly to snap the piece cleanly. For custom shapes, a craft knife works well; trace the outline and cut slowly to avoid jagged edges.
If you need a three‑dimensional form, roll a small ball of clay into a snake, then coil it around a needle‑point stylus. This creates a tight spiral that can be opened into a bracelet or pendant base.
When you’re happy with the basic shape, use a needle tool or a toothpick to poke holes for jump rings or earring hooks. Doing this before baking prevents the clay from cracking around the hole later.
Here’s a short video that shows the shaping process in action:
After you’ve cut and detailed the piece, lay it on a piece of parchment paper. This keeps the shape from sticking to the tray when you move it to the oven.
For more inspiration on tool choices and shaping tricks, check the Creative Project Ideas and Materials List page.
Step 4: Add Details & Choose Finishing Techniques
Details turn a simple shape into a piece that feels polished. There are three main ways to add texture: embossing, painting, and adding surface powders.
Embossing: press a textured sheet, a piece of lace, or a silicone stamp onto the clay while it’s still soft. Lift gently; the pattern stays in the surface.
Painting: once the piece is baked and cooled, you can use acrylic paints or liquid polymer medium. A clear liquid polymer medium, for example, adds a glossy coat that dries hard and protects the surface.
Powders: mica or glitter clays add sparkle. Apply a thin layer of a water‑based varnish first, then sprinkle the powder. When it dries, seal with a clear resin or the same liquid clay to lock the glitter in place.
If you want a high‑shine finish, a two‑part resin works well on flat surfaces, while a UV‑cure resin is better for curves. Tiny brushes help you apply the resin only where you need it.
When sanding, start with 400‑grit paper and move up to 800‑grit for a smooth feel. Buff with a soft cloth after sanding to bring out a subtle sheen.
Remember to test any new varnish on a scrap piece first; some water‑based glazes can react with certain polymer blends.
The industry design team notes that “pure polymer clay that has been cured correctly is very durable” and often needs no extra seal if you keep the surface clean ( finishing guide).
Step 5: Bake, Seal, and Care for Your Jewelry
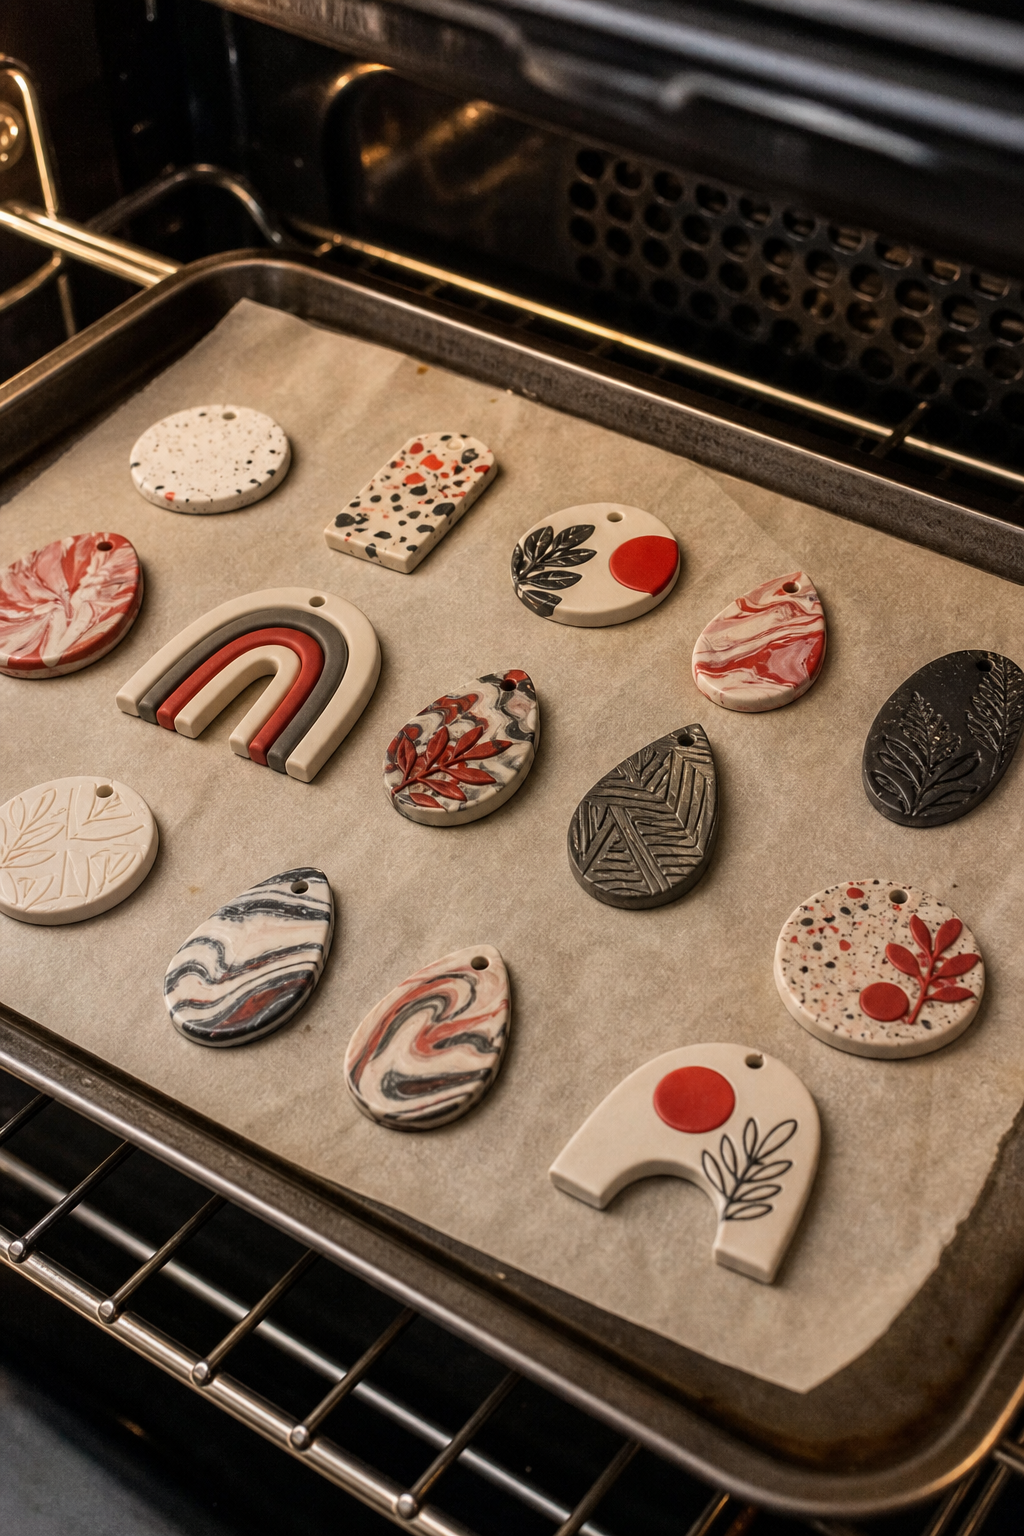
Baking is the moment where the clay hardens into a lasting piece. Always follow the temperature guide on your clay’s packaging. Standard polymer clay, for instance, bakes at 275 °F (about 135 °C). If you’re unsure, pre‑heat the oven for 10 minutes, then use an oven thermometer to verify the exact temperature.
Place your parchment‑lined tray in the center of the oven. Bake for 30 minutes per ¼ inch of thickness. Thicker pieces need extra time , add 10‑15 minutes per extra ¼ inch to avoid under‑baking.
After the timer goes off, turn the oven off and let the pieces cool inside for at least 5 minutes. This gradual cooling reduces the chance of cracking.
Once cool, inspect the surface. If you see rough edges, sand gently with fine‑grit paper. Then, choose a sealant. A clear polymer clay sealant is easy to brush on; let it dry, then heat‑cure with a low‑heat gun for a high‑gloss finish.
Store finished jewelry in a zip‑lock bag with a piece of silica gel to keep humidity low. Avoid direct sunlight for long periods; UV light can fade bright pigments over time.
Need to buy a starter kit? The Buy Polymer Clay Jewelry Kit Online page lists affordable options that include everything you need to start right away.
FAQ
Can I use a regular kitchen oven for polymer clay?
Yes. A standard oven works fine as long as you can set a low temperature (around 130 °C to 135 °C) and monitor it with an oven thermometer. Avoid using the broiler or convection settings, which can cause uneven heat and burn the clay.
How do I prevent my clay from cracking when I bake it?
Cracking often happens when the clay is under‑conditioned or baked too quickly. Make sure you condition the clay thoroughly (see Step 2), keep the thickness uniform, and bake at the exact temperature the manufacturer recommends. Adding a few extra minutes for thicker pieces also helps.
What’s the best way to attach findings to my finished piece?
Drill a small hole before baking using a needle tool, then insert eye pins or jump rings while the clay is still soft. After baking, you can also use a strong jewelry adhesive to secure findings if you missed the pre‑bake hole.
Can I mix different brands of polymer clay?
You can, but it’s safest to mix brands that have similar bake temperatures. Mixing a high‑temperature polymer clay with a lower‑temp clay can cause uneven curing. Test a small sample first to see how the blend behaves.
Is it safe to use a microwave to soften clay?
A short burst (10‑15 seconds) in a microwave can warm a small piece, but be careful not to melt it. Always wrap the clay in a microwave‑safe bag and monitor the temperature. Most crafters prefer hand‑warming or a warm rice pack for safety.
How long will my polymer clay jewelry last?
When baked correctly and sealed, polymer clay jewelry can last many years. It’s resistant to water and mild sunlight, but prolonged UV exposure can fade bright colors. Keep pieces out of direct sun for long‑term storage and re‑seal with a clear coat if the shine dulls.
Do I need a special glaze for metal‑filled clays?
Metal‑filled clays already have a built‑in shine, so a clear resin or liquid clay is enough to protect them. If you want extra gloss, a two‑part epoxy works well on flat surfaces, while a UV‑cure resin is better for curves.
Where can I get feedback on my designs?
CreativiU runs private mastermind groups where you can share photos, ask questions, and get real‑time tips from instructors and peers. These groups cost just $1 to join and then $7.95 per month, making them the most affordable community for polymer‑clay creators.
Conclusion
Making polymer clay jewelry at home is a blend of simple prep, careful conditioning, thoughtful shaping, and precise baking. By gathering the right tools, conditioning the clay until it’s smooth, shaping with cutters or by hand, adding texture or glaze, and baking at the correct temperature, you’ll end up with pieces that look professional and last a long time.
Remember to protect your work surface, use an oven thermometer, and seal the finished piece for extra durability. If you ever feel stuck, a supportive community can make all the difference , CreativiU’s mastermind groups give you that instant feedback without the high price tag of other platforms.
Now you have a clear roadmap. Grab your clay, set up your space, and start turning ideas into wearable art today.
Leave a Reply