Polymer clay kits look like a simple box, but the right kit can change how you work. A recent study of 16 kits shows the kit with the most tools has no price tag, while the cheapest kit has far fewer parts. That means price isn’t a reliable guide.
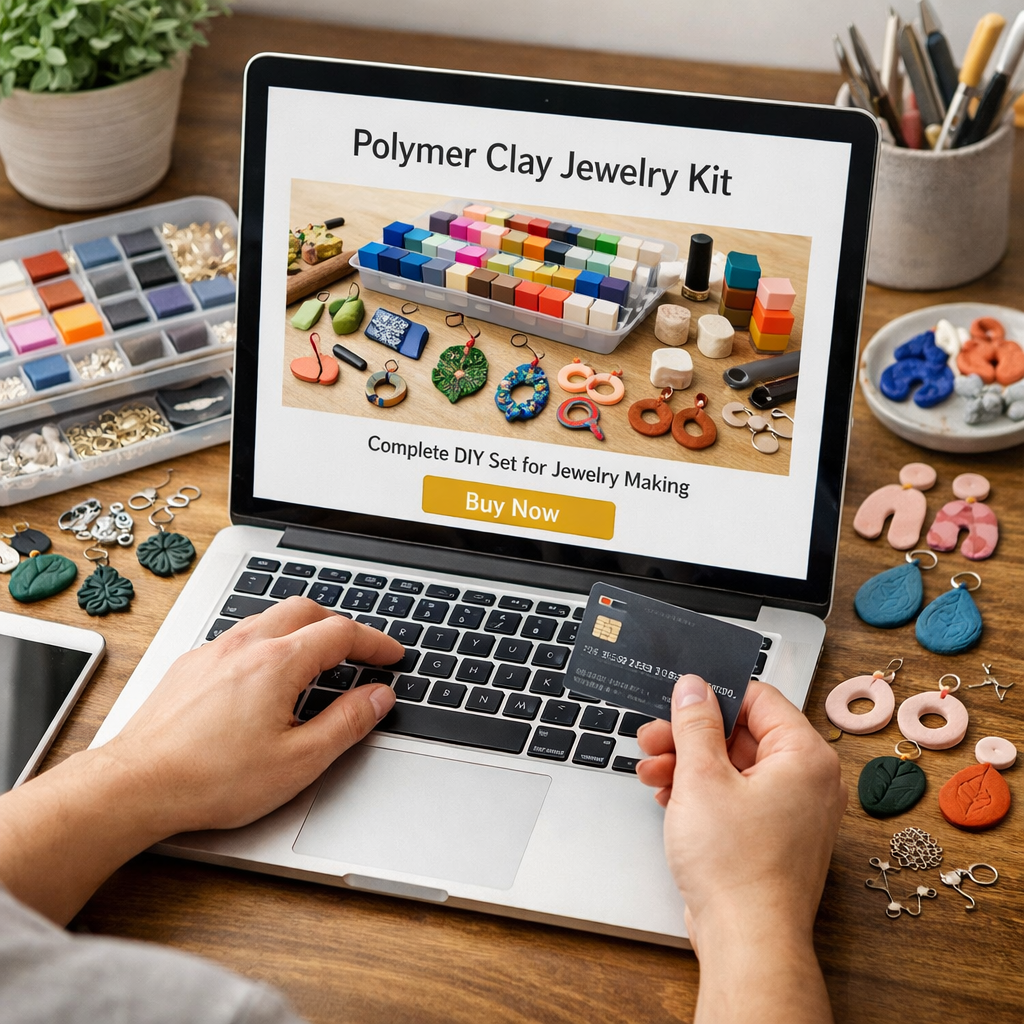
In this guide you’ll learn how to buy polymer clay jewelry kit online, pick the best kit for your skill, check shipping, compare value and start making pieces that look great.
The phrase “buy polymer clay jewelry kit online” was searched on Google on 19 April 2026. The top 20 pages gave 16 kits from 5 sites. Data was pulled, cleaned and tallied. This gives us a clear view of what’s out there.
Step 1: Choose the Right Kit for Your Skill Level
If you want to buy polymer clay jewelry kit online you first need to know your skill. Are you a total newbie? Or have you made a few beads before? The answer shapes the kit you need.
Beginners should look for kits with clear instructions, basic tools and a small color range. The Frabery Polymer Clay Kit only has 4 items, but it’s designed for first‑time makers. It includes a few simple tools and a tiny clay block. That keeps the cost low and the learning curve gentle.
More experienced crafters can handle kits with many tools. The Polymer Clay Starter Kit has 22 items , the most of any kit. It also gives discount codes for extra resources. That can help you grow fast.
Think about the projects you want. If earrings are your goal, a kit that lists “earrings, pendants, dangle earrings” in its recommended projects is a good match. The Arteza Polymer Clay Kit lists those projects and comes with five sculpting tools.
One real example: Maya, a hobbyist in Vancouver, started with the Frabery kit. After a month she moved to the Starter Kit because she needed more tools for complex pendants. Her sales grew when she could offer more designs.
Don’t ignore the source column. Direct crawl sources like Quefe often hide price info but give huge color ranges (56‑72 colors). That can be a trade‑off if you need a price right away.
“The best time to start building backlinks was yesterday.”
Bottom line:Pick a kit that fits where you are now, not where you think you’ll be next year.
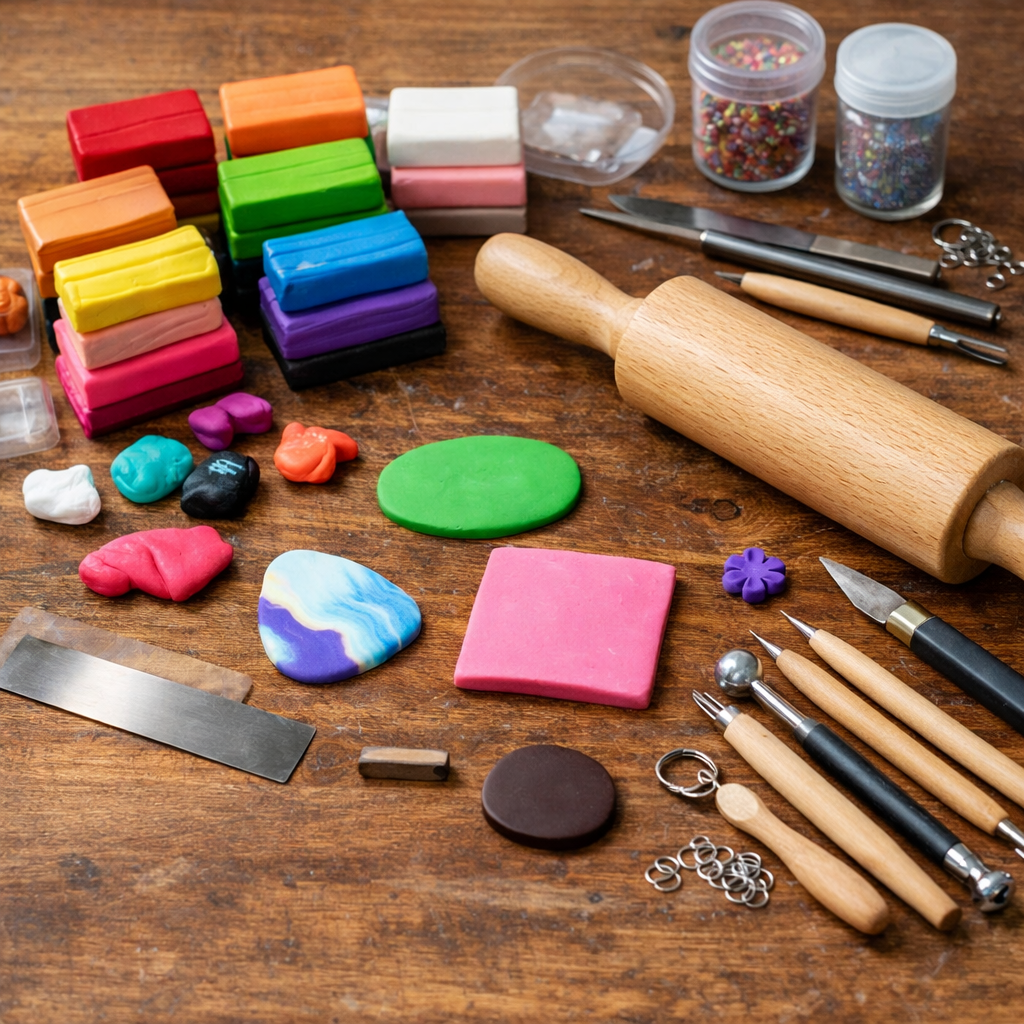
Step 2: Gather Essential Tools & Materials
Even the best kit can feel weak if you miss a few tools. Here’s a quick list that works for most kits you’ll buy polymer clay jewelry kit online.
First, get a ruler. It helps you cut even pieces. A basic shape cutter set lets you pop out circles, squares or hearts in seconds.
A rolling pin or acrylic roller flattens clay to the right thickness. If you don’t have one, a clean kitchen rolling pin works fine.
Needle tools let you poke holes for jump rings. You can buy a metal set or just sharpen a wooden skewer.
Cutters are handy for earrings. A cookie cutter can double as a bead cutter , just pick a shape you like.
For texture, a silicone roller or a piece of lace gives a nice pattern without extra cost.
The Sculpey website lists these as essential for beginners: ruler, basic cutter set, acrylic roller, craft knife and oven thermometer. All are cheap and easy to find.
Another source lists five must‑have tools: silicone tools, needle tool, toothbrush (for softening), dental carving tool, and a simple metal cutter. Those cover most projects.
Safety matters too. Grab nitrile gloves if your skin reacts to clay. Work near a window or fan for fresh air.
Store colors in zip‑lock bags with a slice of fresh bread to keep them from drying out.
Imagine you’re a parent with kids. A simple set of tools , ruler, cutter, rolling pin and a few needles , keeps the table safe and the kids happy.
Bottom line:Gather the basics first, then add specialty tools as you grow.
Step 3: Evaluate Shipping & Packaging Options
Shipping can make or break your buying experience. The Polymer Clay Superstore says they ship from the US via USPS and UPS. Free shipping kicks in at $60.
If you live in a hot climate, wait for cooler months. Clay can bake in a hot truck, which makes it hard to work with when it arrives.
International buyers should expect up to 60 days delivery and possible customs fees. The store can’t control those fees, so be ready.
All orders are turned around next business day. That means you’ll get your kit fast if you choose a fast carrier.
Returns are easy. Unopened items can be sent back within 30 days. Damaged items have a 90‑day window.
Here’s a quick visual of a typical shipping timeline:
Watch this short video for packing tips. It shows how to protect fragile beads during transit.
Pro tip: Ask the seller if they use bubble wrap or molded pulp. Those protect the clay from cracks.
Bottom line:Good shipping keeps your kit safe and ready to use.
Step 4: Compare Prices, Value & Features
Price alone doesn’t tell the whole story. Look at what you get for the money.
The cheapest kit in the study is the Quefe Polymer Clay Beads Kit at $15.99. It only has 9 items. That’s fine if you just want beads, but you miss tools for shaping.
The Starter Kit has 22 items but no price listed. If you can find a retailer that offers it, you’ll get the deepest tool set.
Some kits list a “premium packaging” feature. That’s nice for gifting, but it adds cost without improving performance.
Eco‑friendly claims are common. The Artme set meets ASTM and EN 71 safety standards and includes 82 clay bars , the highest count. If safety is key for kids, that kit gives you the most material.
Think about the color range. QUEFE kits have 56‑72 colors, the widest in the market. They don’t show price, but the variety can save you from buying extra packs later.
Here’s a quick pros‑cons list:
- Starter Kit, Pros: most tools, discount codes. Cons: no price listed.
- Quefe Beads Kit, Pros: cheap, good bead variety. Cons: limited tools.
- Arteza Oven Bake, Pros: durable finish. Cons: few items, high price.
Bottom line:The best value matches your budget, project goals and needed tools.
Step 5: Customize Your Kit & Start Creating
Now you have the kit, it’s time to make it yours. Adding a few extra bits can boost your creativity.
First, think about the jewelry style you love. If you like chunky beads, add extra polymer beads in bright colors. If you prefer fine details, grab a set of small sculpting tools or a fine‑point needle.
You can also mix clays. Blend two colors to make a custom shade. Condition the mix with a pasta roller or a simple rolling pin for smooth results.
Use the extra discount codes from the Starter Kit to get a free set of findings , jump rings, hooks and clasps. That saves money and lets you finish pieces quickly.
Real‑world tip: Maya (mentioned earlier) added a silicone mat to her workspace. It stopped clay from sticking and made clean‑up fast.
When you bake, set the oven to 130 °C (266 °F). Use an oven thermometer for accuracy. Bake for about 30 minutes per ¼ inch of thickness.
After baking, sand rough edges with 400‑800 grit sandpaper. Then buff with a soft cloth for a smooth shine.
If you want a glossy finish, apply a clear gloss resin coat. That adds a glass‑like look and protects the piece.
Bottom line:Tailor the kit to your style, then create with confidence.
FAQ
What should I look for when I buy polymer clay jewelry kit online?
Look for a kit that matches your skill level, includes clear instructions, and has enough tools for the projects you want. Check the number of included items, the color range, and any safety certifications. Also think about shipping time and return policy.
How do I know if a kit is safe for kids?
Choose kits that list non‑toxic or ASTM/EN 71 certifications. The Artme Polymer Clay Set meets those standards and has a high clay count, making it a good choice for younger makers.
Can I mix colors from different kits?
Yes, you can blend any colors you own. Conditioning the mix with a roller or a pasta machine helps the colors blend smoothly and avoids cracks.
What temperature should I bake polymer clay?
Most clays bake at 130 °C (266 °F). Use an oven thermometer to be sure. Bake about 30 minutes for every quarter‑inch of thickness. Longer for thicker pieces.
How do I store leftover clay?
Wrap each color tightly in plastic wrap or put it in a zip‑lock bag with a slice of fresh bread. Store the bags in a cool, dark drawer to keep the clay from drying out.
What tools are most important for jewelry making?
A ruler, basic shape cutters, a rolling pin or acrylic roller, a needle tool for holes, and a set of findings like jump rings and hooks. These basics let you make earrings, pendants and bracelets.
Do I need a special oven for polymer clay?
No, a regular home oven works fine. Just set it to the correct temperature and use a thermometer. Avoid using a convection setting unless the clay brand says it’s safe.
How can I improve the finish of my pieces?
Sand the baked piece with fine‑grit sandpaper, then buff with a soft cloth. For extra shine, apply a thin coat of clear gloss resin or a matte acrylic varnish for a softer look.
Conclusion
Buying polymer clay jewelry kit online doesn’t have to be a guess. Use the research table to see what each kit offers. Match the kit depth to your skill, grab the essential tools, check shipping, compare price versus value, and then add your own personal touches. When you follow these steps you’ll get a kit that fits your budget and helps you make jewelry you love.
CreativiU offers many free tutorials that walk you through each step, from conditioning clay to finishing a polished pendant. Dive into those lessons, practice often, and watch your skills grow. Happy crafting!
Leave a Reply