You can pick the perfect brush in minutes, not weeks.
When you’re just starting, the right brush makes the difference between a happy splash and a messy puddle. A small round brush in size 6 handles most washes, while a tiny size 2 lets you draw fine veins or petal edges. A medium flat brush, about size 12, spreads color for skies or water.
Here’s a quick checklist: grab a synthetic sable round for versatility, a flat for broad strokes, and a detail brush for tiny lines. Clean the brushes after each session, reshape the bristles, and store them flat so they stay sharp.
If you sketch a light outline first, you’ll see where the brush needs to glide. That simple step saves a lot of trial‑and‑error. Many hobbyists find that practicing vertical and slanted holds builds muscle memory fast.
Want to add a sketching tool to your kit? Check out the best pencils for drawing hair texture guide for quality options that work well with watercolor drafts.
For a deeper dive into brush choices, see our guide on mastering watercolor florals. It shows how each brush shape behaves on wet paper.
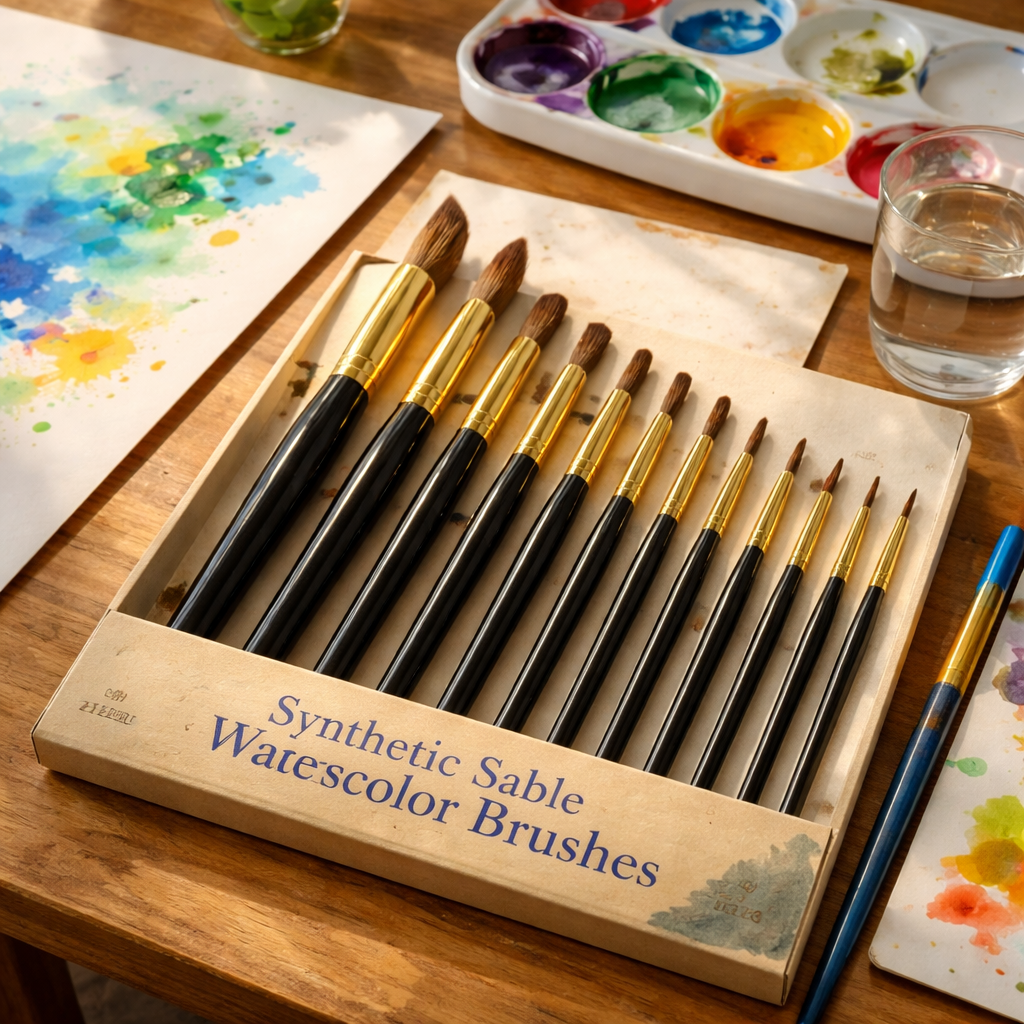
Our Pick: The Versatile Synthetic Brush Set
Here’s a fact: a good brush can turn a shaky line into a smooth flow. That’s why we put a synthetic sable set at the top of the list for anyone who is just starting out.
The set comes with three sizes that cover most jobs. A small round in size 2 lets you add fine veins or tiny petal edges. A medium round in size 6 handles most washes without splashing. And a flat in size 12 spreads colour for skies or big leaves. All the bristles are soft enough to hold water, yet they snap back fast when you lift them.
What makes synthetic sable stand out is its mix of price and performance. You get a brush that holds water well, but you don’t have to spend a lot. It also works on cheap paper, so you can practice a lot before you buy pricey pads. Learn how the right brush shape helps in floral work and see the difference yourself.
If you plan to turn your art into home décor, think about where it will live. A guide on displaying coastal wood flower art in a living room shows how a simple brush stroke can match a calm space.
When you finish a piece you’re proud of, you might want to share it beyond the canvas. JiffyPrintOnline offers affordable custom prints so you can turn your watercolor into flyers, postcards, or even stickers for your own brand.
Watching a short demo can help you see the brush in action. Below is a video that walks through loading, stroking, and cleaning the set.
Take a moment to picture the set on a clean desk, a cup of water nearby, and a fresh sheet of cold‑pressed paper ready for your first wash.
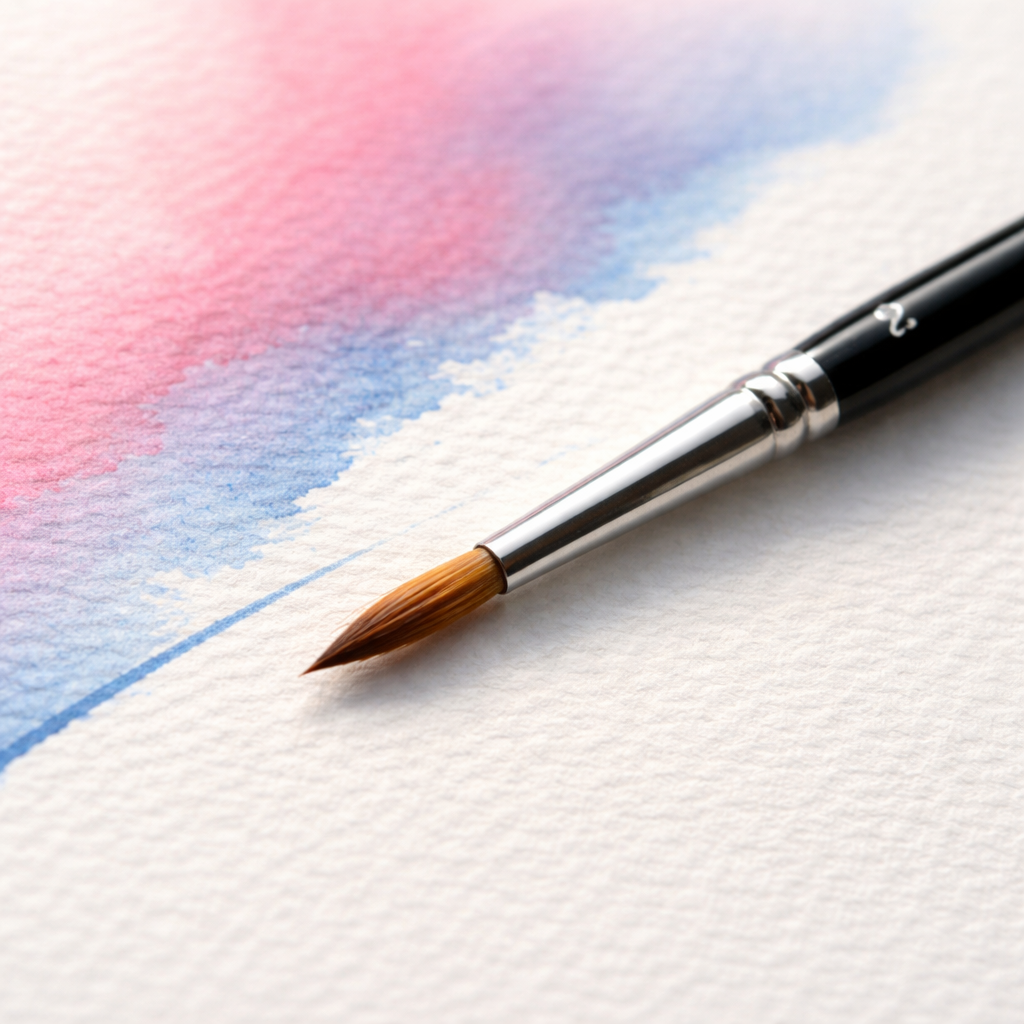
Synthetic Round Brushes: Affordable and Easy to Use
Synthetic round brushes feel like real sable without the high price tag. You get a firm snap and good water hold, yet they clean up in a snap.
Because they’re made from engineered fibers, they don’t shed or lose shape after a few washes. That means you can practice every day without worrying about breaking the bank.
Think about a hobbyist who wants to paint a simple flower. A size 6 round spreads a smooth wash, while a size 2 tip adds fine veins. Both work the same way in synthetic form, so you don’t need to buy separate natural sets.
So, what does “easy to use” really look like? The bristles stay rounded even when you load a wet wash. You can load the brush, lift a clean stroke, and the edge stays crisp. No extra tricks needed.
Many beginners find that synthetic rounds dry faster than natural hair. That helps you layer a second color before the first one gets muddy.
If you’re looking for a quick start, grab a three piece set that covers sizes 2, 6, and 12. You’ll have everything to handle washes, details, and backgrounds without buying more tools. That combo is frequently named one of the best watercolor brushes for beginners because it gives you range without extra cost.
Want a deeper dive into how brush shape affects your painting? Read the guide on choosing the right watercolor brushes for tips on matching size to effect.
Finally, keep the brush tip flat after each session, reshape it with your fingers, and let it dry bristle-down. That simple habit lets the brush stay sharp for months, keeping your starter kit ready for the next project.
Natural Hair Round Brushes: When to Upgrade
If you’ve been painting with a natural hair round brush for a while, you’ve probably felt the brush change as you use it. At first it feels soft and springy, but after dozens of washes the tip can start to droop or split. Knowing the right moment to upgrade saves you time, frustration, and a lot of wasted paint.
- When the tip loses its snap. If the point feels floppy after a few washes, it’s time for a fresh brush. A crisp tip gives you clean lines for veins and tiny petals.
- When you need more water hold. Natural sable holds water longer than synthetic. If you’re trying wet‑on‑wet washes that blur too fast, a higher‑grade sable will keep the paint fluid.
- When you move to larger projects. Bigger papers or detailed florals demand a bigger round (size 8 or 10). Upgrading lets you cover more area without over‑loading the brush.
- When you start selling your work. Clients notice smooth edges and even colour flow. Investing in a pro‑grade brush shows up in the final print and can justify higher prices.
- When you need finer detail for tiny lettering. When you start adding tiny lettering or fine details, a smaller size 2 tip becomes essential. A fresh, sharp tip lets you draw clear letters without ragged edges.
- When the bristles start shedding. If you see bristles falling out or spreading, the brush is losing its shape. A new brush restores the even flow you need for smooth washes.
When any of these signs show up, swapping in a new natural hair round will lift your work and keep the painting process fun. For a deeper look at how brush shape affects colour, check out our guide on mastering watercolor florals. Upgrading at the right time keeps your hobby enjoyable and your art looking professional.
Flat Watercolor Brushes: Creating Washes and Broad Strokes
Flat brushes are the workhorses for big, even washes. They spread paint in one smooth swipe, so the sky or a calm sea looks seamless.
If you’re new, start with a size 12 flat. It holds enough water for a medium‑sized area but isn’t so big you lose control.
Step‑by‑step wash
1. Dip the tip, pull it up, then let the bristles soak. 2. Swirl in a clean cup of water to load the belly. 3. Lightly tap the brush on the paper edge to release a thin line of water. 4. Sweep the brush across the paper in a single motion. 5. While the wash is still wet, add a darker hue at the edge for a soft gradient.
Try this on a scrap sheet first. If the color blobs, the brush is too wet. Add a bit more paint and less water, then repeat.
Practical tips
• Hold the brush at a 45° angle for a flatter edge and broader coverage.
• When painting a sky, use horizontal strokes for calm, vertical for stormy.
• For a quick test, paint a thin stripe, let it dry, then paint a second stripe right next to it. The two should blend at the seam if the brush held enough water.
Many hobbyists find that a reliable flat brush speeds up studio time and reduces re‑loads. If you want a deeper dive into brush choice for florals, check out Master Loose and Detailed Watercolor Florals for real‑world examples.
Brush comparison
| Brush size | Typical use | Water capacity |
|---|---|---|
| Size 10 flat | Small skies, narrow backgrounds | Medium – good for controlled washes |
| Size 12 flat | Standard washes, horizons | High – covers larger areas in one pass |
| Size 14 flat | Large washes, backgrounds | Very high – ideal for big surfaces |
Bottom line: pick a flat that matches the space you’re filling, load it right, and watch the paint glide.
Mini Detail Brushes: Fine Lines for Beginners
Mini detail brushes let you add the fine veins, tiny lettering, or crisp borders that make a watercolor piece feel finished.
They are usually size 2 or 3 round brushes with a sharp point and a short belly. The short belly holds just enough water for a thin line, so the paint stays tight and doesn’t bleed into the wash.
Here’s a quick checklist you can try right now:
- Pick a synthetic sable tip for snap and low cost.
- Dip the tip, then pull the brush up to load the belly.
- Touch the paper lightly and pull a steady stroke.
- If the line looks fuzzy, dry the tip a touch before the next pass.
A simple way to test the brush is to draw a thin line across a scrap piece, let it dry, then paint a second line right beside it. If the two lines stay separate, the brush is holding water well enough for fine work.
When you work on a flower petal, start with a light wash, let it dry, then use the detail brush to draw the central vein. The contrast between the soft wash and the sharp line adds depth without extra layers.
Want a deeper dive on matching brush size to effect? Check out our guide on choosing the right watercolor brushes for more examples.
Bottom line: a good mini detail brush gives you confidence to finish any piece with clean, precise lines. Keep the tip dry between strokes, and you’ll see steady improvement in just a few practice sheets.
Conclusion
Choosing the right brush can feel like a big step, but it doesn’t have to be scary.
For most beginners, a synthetic round in size 6, a tiny size 2 for details, and a flat size 12 for washes cover every need.
Synthetic bristles hold water well, snap back fast, and stay cheap enough to replace when they wear out.
If you’re a hobbyist, a creative entrepreneur, or just painting with kids, start with that three brush set and practice on scrap paper each day.
Notice how the tip feels – springy, not floppy – and keep the water level low for crisp lines.
When you’re ready, add a single dark vein to a flower or a soft sky wash to see the difference a good brush makes.
Remember, platforms like CreativiU offer step by step lessons that walk you through brush control, so you can keep improving without guessing.
FAQ
What size brush should a beginner start with?
A size 6 round is a solid first brush. It holds enough water for most washes and still feels light enough for fine lines. Pair it with a tiny size 2 round for veins or tiny petals. If you can add one more, a size 12 flat gives you smooth sky or water washes. This trio covers most early projects without overwhelming you.
How can I tell if a synthetic brush is good quality?
Look for a tip that snaps back fast when you press it. The bristles should feel springy, not floppy. A good brush will hold water in the belly without leaking too much. Test it by dipping the tip, drawing a thin line, and watching how clean the edge stays. If the line blurs quickly, the brush may be too soft.
Can I use the same brush for washes and fine details?
Yes, but it works best when the brush is the right size for the job. A size 6 round can do light washes and some detail if you keep the water level low. For very fine veins, switch to the size 2 round – it gives you control you won’t get with a bigger tip. Using the right size saves you time and frustration.
How often should I clean my watercolor brushes?
Rinse the brush after each painting session. Swirl the bristles in clean water, reshape the tip, and tap off excess water. If you’re switching colors, give the brush a quick rinse between colors to avoid muddy mixes. A deeper clean with mild soap once a week keeps the bristles in good shape.
What’s the best way to store brushes so they stay sharp?
Lay brushes flat on a towel or a brush rack, bristles‑down. This lets the tip dry straight and prevents the hairs from bending. If you must store them upright, make sure there’s no water in the ferrule – a wet metal part can cause rust. Keeping them flat is the safest habit.
Where can I learn more about picking the best watercolor brushes for beginners?
Platforms like CreativiU offer step‑by‑step lessons that walk you through brush types, care tips, and how to match a brush to a project. Their community forums let you ask questions and see how other hobbyists solve the same problems. Joining a course gives you practice drills and feedback that speed up your progress.
Leave a Reply