Watercolor florals have long enchanted artists with their effortless beauty and delicate charm.
But what makes watercolor florals so special—and how can you master them?
This watercolor florals tutorial covers everything you need to get started and improve rapidly.
Some are loose and fluid, embracing color bleeds and soft edges.
Some are detailed and layered, capturing every petal with precision.
Some require the perfect brushes to balance control and flow.
Some need an understanding of common pitfalls and how to fix them.
Some blend skill with creative freedom, letting you develop your unique floral style.
Let’s dive right in.
Table of Contents
- Why Are Watercolor Florals So Popular?
- What Materials Do You Need for Watercolor Florals?
- How to Paint a Simple Loose Watercolor Flower Step-by-Step
- What Are the Best Watercolor Brushes for Florals?
- How to Avoid Common Watercolor Flower Mistakes
- Advanced Floral Techniques and Composition Tips
- Frequently Asked Questions About Watercolor Florals
- What’s Your Next Step?
Why Are Watercolor Florals So Popular?
Watercolor florals combine softness with vibrant color in a way few other mediums can replicate.
The transparency and fluidity of watercolor create petals that seem alive, glowing with delicate light and shadow.
This ethereal quality makes watercolor the perfect medium to capture the fleeting beauty of nature’s blooms.
They’re approachable for beginners yet offer endless growth for advanced painters — a blend that attracts hobbyists and professional artists alike.
Whether you’re decorating a greeting card, personalizing gifts, or designing professional botanical art, mastering watercolor florals unlocks a timeless artistic expression.
Have you ever wondered what separates a good watercolor floral from a stunning one? It often comes down to technique, materials, and a clear understanding of the painting process.
What Materials Do You Need for Watercolor Florals?
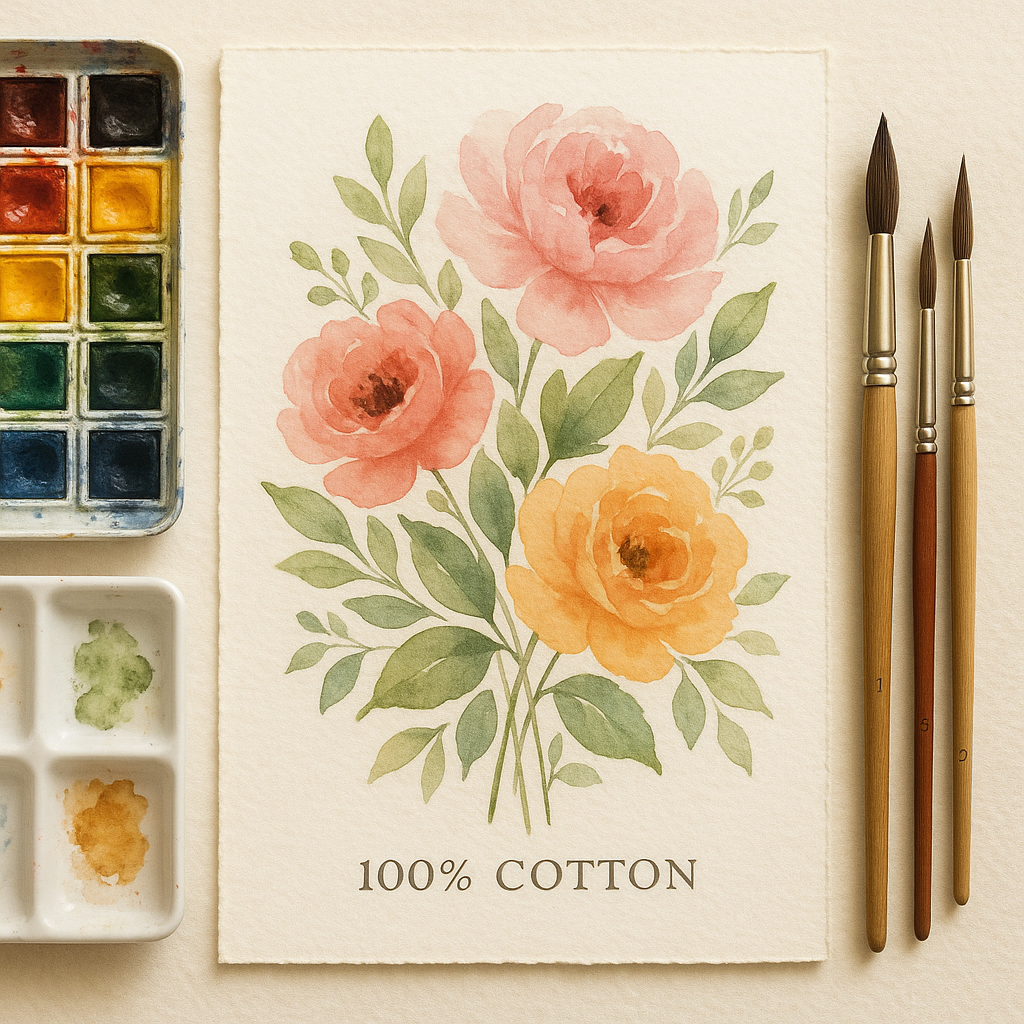
Before we get painting, let’s gather the right tools. Watercolor florals rely on a synergy between paint, paper, and brushes.
Paper: For best results, use 100% cotton watercolor paper with a weight of at least 300 gsm (140 lb). This thickness allows for wet washes without warping or pilling. Cold-pressed paper offers a balanced texture that works well for florals.
Paints: Artist-grade watercolor paints provide more vibrant colors and better pigment retention. Choose a limited palette of harmonious colors—typically 2-3 per flower is ideal to avoid muddying. Popular floral colors include various pinks, yellows, reds, and greens for leaves.
Brushes: Choosing the right brushes can make or break your painting session. Round brushes in sizes 4, 6, and 8 are versatile for petals and details, while flat or filbert brushes help in washes and leaves. Synthetic sable brushes blend affordability with performance, offering great snap and water-holding capacity.
Don’t forget a clean water container, palette for mixing, paper towels, and masking fluid if you want extra control.
Taking care of your brushes extends their life—always rinse thoroughly, reshape the bristles, and dry them flat or bristle-down to prevent damage.
Discover all top tips on brushes in Jenna Rainey’s guide, a trusted resource for watercolor enthusiasts.
How to Paint a Simple Loose Watercolor Flower Step-by-Step
Ready to get your hands wet? Let’s break down a beginner-friendly approach to painting beautiful loose watercolor flowers that look effortless but are full of life.
Step 1: Start with a Light Sketch (Optional)
If you’re comfortable, lightly sketch the flower’s basic shape using a pencil. Simple shapes like circles or ovals for the flower center and petal shapes help guide your brush.
Step 2: Lay Down the First Wash
Load your size 8 round brush with a wet wash of your chosen petal color. Start by placing a few damp spots where petals will go. Allow the paint to sit wet but not puddling.
Step 3: Add Color Variation
While the first wash is still damp, tap in more concentrated pigment at the base of petals to create depth and gradients. Use the tip of your brush to drag pigment outward, forming petal shapes. The water will naturally spread the color to produce soft, floating edges.
Step 4: Work on Details While Wet
While petals remain wet, switch to a darker tone and gently add small dabs near the flower center for dimension. This wet-on-wet technique encourages beautiful bleeds and blends.
Step 5: Paint Leaves and Stems
Use a smaller brush or the side of a filbert brush loaded with green tones to apply loose, organic leaf shapes alongside your flower. Adding stems with a thin round brush offers delicate contrast and structure.
Step 6: Let It Dry
Patience is key. Let your painting dry completely before adding any further details or touches.
Step 7: Optional Final Details
Once dry, add fine details with a size 2 or 0 brush, like veins on leaves, petal textures, or shadows near the center. Use subtle touches to maintain the loose style.
This method, shared in a clear demonstration video, is a perfect way for beginners to practice loose florals—try it yourself!
Ready for a quick check-in? What kind of flower could you try painting first with this technique?
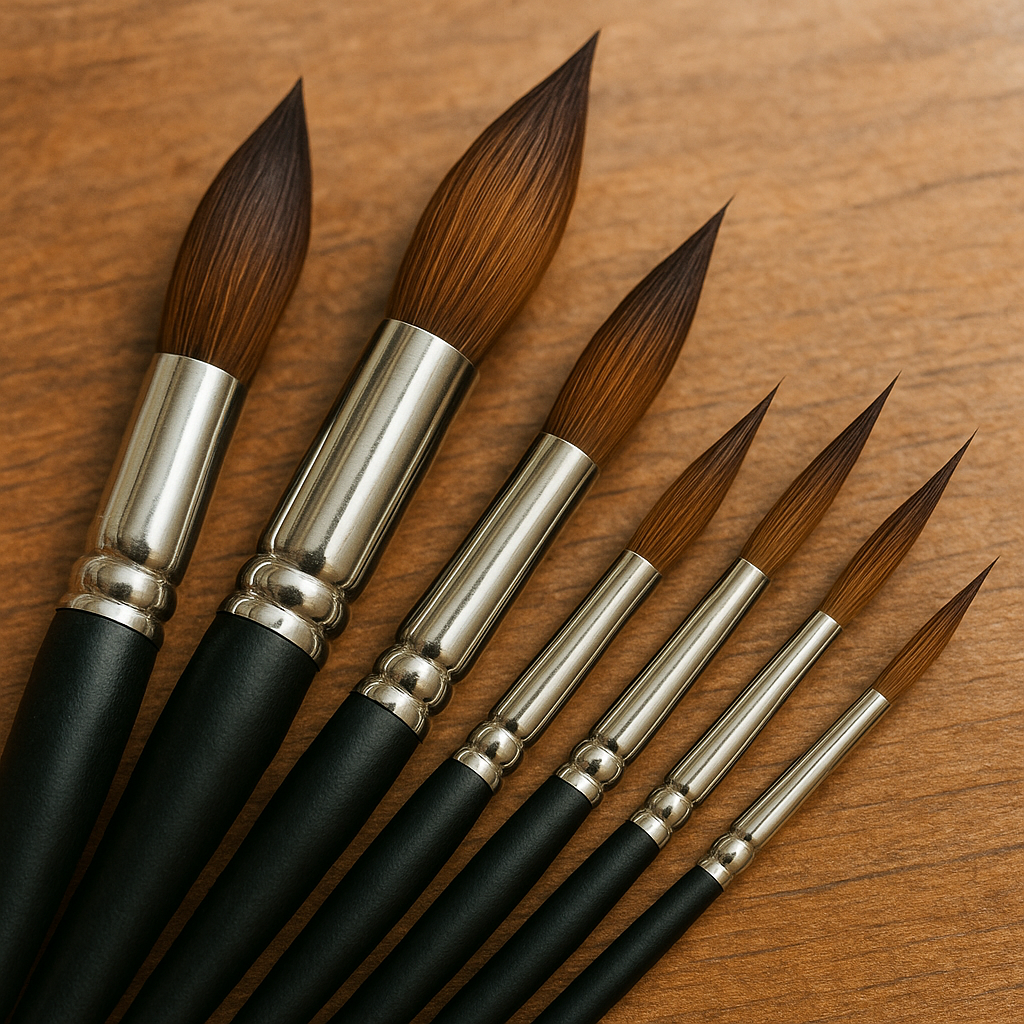
What Are the Best Watercolor Brushes for Florals?
Choosing brushes is an art in itself. The right brush grants control, versatility, and enhances the joy of painting.
Among the favorites for watercolor florals are:
- Round Brushes: Sizes 4 to 16 cover everything from fine details to broad petal strokes. Their pointed tips and belly provide versatility to paint both delicate shapes and sweeping washes.
- Filbert Brushes: Flat brushes with rounded edges, perfect for mimicking petal shapes quickly. They offer a natural, rounded petal effect and are easier to control for beginners and pros alike.
- Mop Brushes: Great for large washes and backgrounds. They hold a lot of water and work well to create soft gradients behind your florals.
- Detail (Spotter and Rigger) Brushes: Perfect for veins, stems, and fine petal texture. Investing in a couple of high-quality detail brushes pays off for realistic accents.
Brush hair types matter too. Synthetic sable brushes offer excellent snap and durability without animal harm, while natural sable brushes hold paint longer and allow smoother strokes but require more care.
Don’t skimp on brushes. A great brush transforms your strokes, helps avoid frustration, and offers precision. For a detailed dive into brush types, care tips, and recommended brands, check out Jenna Rainey’s ultimate brush guide.
How to Avoid Common Watercolor Flower Mistakes
Watercolor flowers may look soft and effortless, but they’re deceptively tricky. Many artists face common issues like flat-looking petals, muddy colors, or overworked sections.
Here’s how to identify and fix these roadblocks to beautiful florals.
Mistake 1: Overworking Petals
Painting petals repeatedly to fix shapes often damages the paper surface and ruins transparency.
Fix it: Aim to lay down each petal in one or two smooth passes. Use enough water and pigment to get a clean shape, then step away. Trust your first strokes and test shapes on scrap paper.
Mistake 2: Muddy Colors
Mixing too many pigments or layering wet paint too soon creates dull, brownish blobs instead of vibrant blooms.
Fix it: Limit your flower palette to two or three colors. Let each layer dry completely before adding the next. Resist overmixing—allow colors to blend naturally on the paper.
Mistake 3: Lack of Depth Due to Even Values
If all the petals’ shades are too similar, flowers appear flat and stuck to the page.
Fix it: Use contrasting values by darkening a focal area like the flower base or petal shadows. Let lighter areas breathe and anchor the piece with richer darks.
Mistake 4: Hard, Harsh Outlines
Strong outlines flatten the flower and make it look cartoonish.
Fix it: Use wet-on-wet techniques to suggest petal shapes softly. Blend edges with diluted paints and let water do the work.
Mistake 5: Poor Layout and Composition
Even beautifully painted flowers feel off if arranged awkwardly or cluttered.
Fix it: Plan layouts with thumbnails. Vary sizes, overlap strategically, and leave white space for balance. Make sure your floral arrangement flows naturally across the page.
Addressing these fixes will enhance your skill and confidence exponentially. For deeper insights, explore this detailed guide covering watercolor flower mistakes and solutions.
Quick self-check: Which watercolor flower mistake do you find yourself making most often? Reflect, adjust, and experiment.
Advanced Floral Techniques and Composition Tips
Once basic flowers feel comfortable, it’s time to level up. Here’s how to bring your watercolor florals to a professional standard with texture, depth, and compelling design.
Use Different Brush Shapes for Petal Realism
Master the filbert brush for rapidly painting curved, rounded petals with fewer strokes. Its rounded flat edge naturally imitates petal shapes and adds lively variation.
For fine vein details, pair filbert brushes with fine round detail brushes or riggers that hold points well for delicate lines.
Layer Colors for Depth
Build up floral colors with successive transparent glaze layers. Let each layer dry before adding richer tones or shadows, balancing contrast for 3D form.
Add Splatter and Artistic Effects
For loose florals, add subtle paint splatters or wet blooms for an impressionistic vibe. These organic effects contrast well with precise brushwork elsewhere.
Master Leaf and Stem Variety
Leaves vary from jagged to smooth edges. Study real foliage and experiment with brush angles and pressures to capture these natural textures fluidly.
Composition Planning for Bloom Impact
Sketch floral clusters or bouquets emphasizing visual rhythm and focal points. Mix large blooms with small filler flowers using white space effectively to keep the composition airy and dynamic.
For comprehensive floral composition strategies, start your creative exploration with this guide on mastering arts and crafts problem solving—a resource for enhancing your approach to artistic challenges and arranging your florals thoughtfully.
Use Mixed Media Carefully
Gouache can be introduced to correct or highlight details, as it is more opaque than watercolor but compatible with it. This can turn mistakes into intentional enhancements.
Experiment With Color Palettes and Styles
Try unconventional colors for creative bouquets or experiment with different levels of detail—loose vs. realistic—to find your signature style.
Frequently Asked Questions About Watercolor Florals
Can beginners really learn watercolor florals?
Absolutely! Starting with simple shapes and loose styles is approachable. Practicing layering and brush control builds skills fast. Many artists begin their watercolor journey painting flowers.
What brush shapes are best for painting flower petals?
Round brushes are the most versatile for floral shapes. Filbert brushes excel for petal-like shapes with rounded edges. Detail brushes help with veins and stems.
How do I fix mistakes when painting with watercolors?
Simple washes can be lifted by dabbing with a paper towel, or pigment pulled up gently with a wet brush. For darker mistakes or pen marks, gouache can cover them effectively.
How can I avoid muddy colors in my floral paintings?
Use a limited color palette, let each layer dry fully before applying the next, and avoid mixing too many colors on the palette.
Do I need expensive brushes to get good results?
Not necessarily. Good synthetic sable brushes offer great performance at reasonable prices. Investing in a few quality brushes improves your experience but doesn’t mean you need the top brand immediately.
Where can I find good tutorials for watercolor florals?
YouTube offers many excellent free tutorials, including some that focus entirely on floral painting techniques. CreativiU also provides tailored courses for step-by-step learning.
What’s Your Next Step?
Tell us in the comments: How will you apply this to your watercolor florals? For more inspiration, check out our comprehensive guide on mastering arts and crafts for creative skill development and problem-solving.
Ready to create stunning watercolor florals? Grab your paints, pick your brushes, and let your creativity bloom!
Remember, every master artist began with the first stroke. Keep practicing, embrace mistakes, and watch your floral art flourish.
Leave a Reply