Ever tried to catch a night sky on paper? It feels like magic until the colors start to bloom and the stars pop. This guide walks you through every step you need to paint a watercolor galaxy from the comfort of your own studio. You’ll learn what to buy, how to set up, the wet‑on‑wet tricks that make clouds swirl, and where to find an online class that actually teaches the process.
Step 1: Gather Your Watercolor Galaxy Supplies
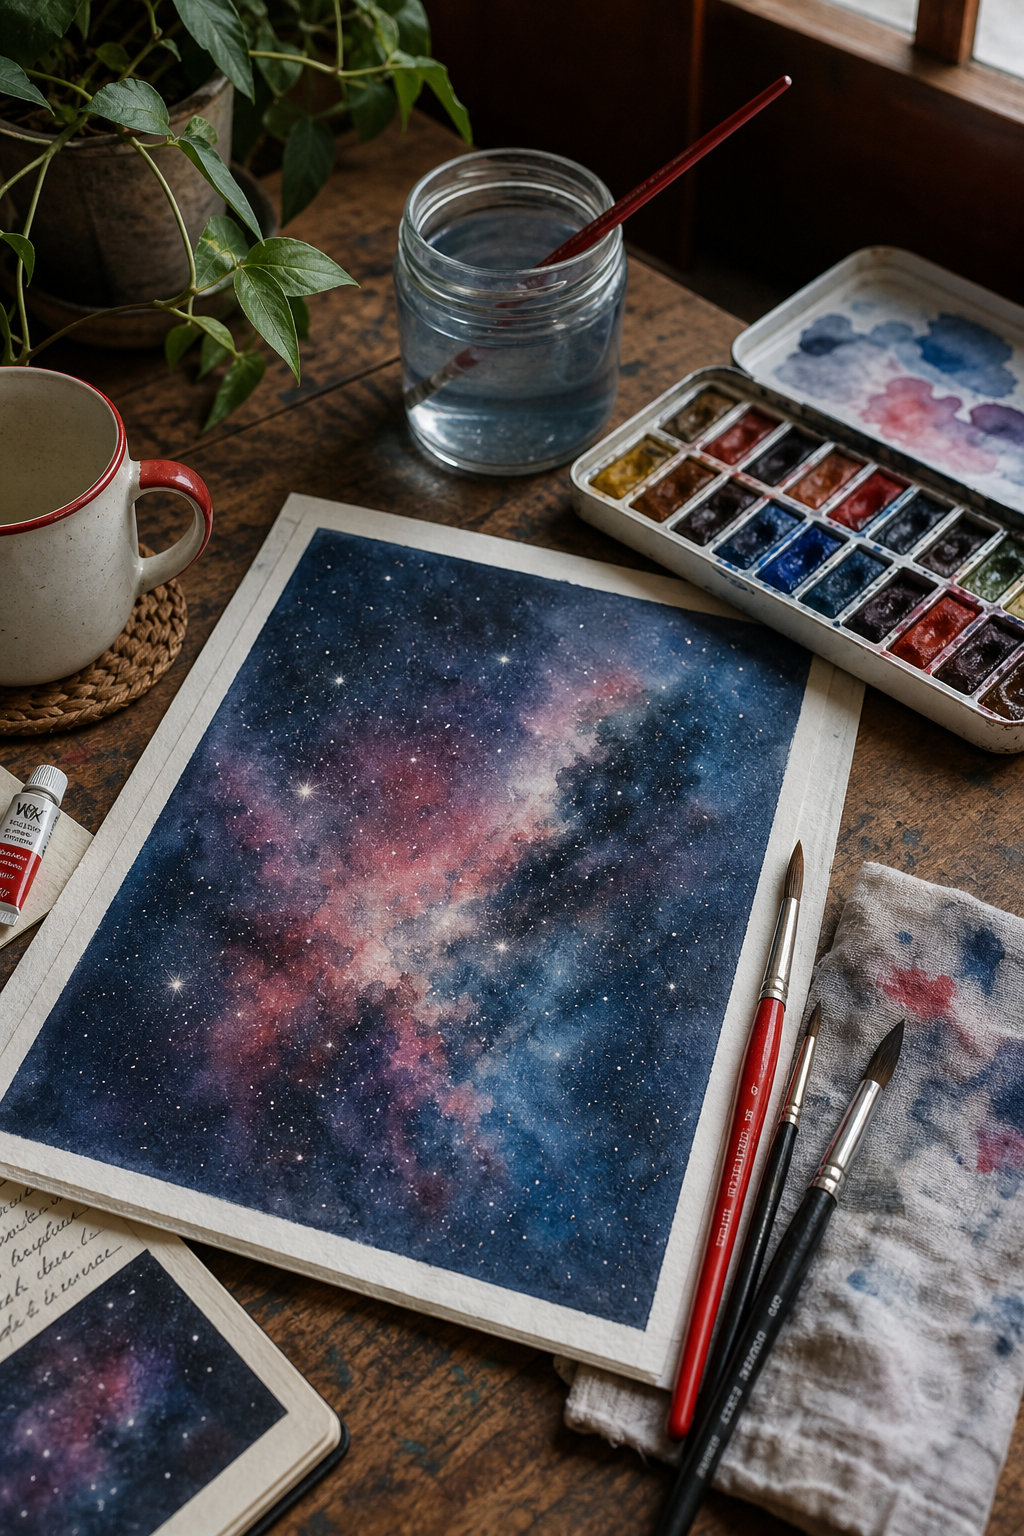
Before you dip a brush, you need the right tools. A beginner can start with a modest kit and still get rich, space‑like results.
Paper:Choose a 140‑lb (300 gsm) cold‑press sheet. The weight stops the paper from buckling when it gets wet, and the texture holds pigment well.
Paint:Pick a set that includes at least five colors , a bright pink, a deep purple, a vivid blue, a dark navy, and a white gouache for stars. Professional pans give stronger hues, but student tubes work fine for practice.
Brushes:A synthetic round brush in size 6 handles most washes. Add a flat wash brush (size 12) for large areas and a tiny detail brush (size 2) for tiny stars.
Other basics: a plastic palette, two jars of clean water, paper towels, and blue artist’s tape. The tape keeps the paper flat on a board and prevents curling.
When you’ve gathered these items, you’re ready to set up your workspace. A clean, well‑lit table with a splash‑proof mat makes cleanup easy.
For a deeper look at what a starter kit should contain, see Unlock Your Creativity with the Best Free Online Watercolor Classes. This page breaks down each item and why it matters for beginners.
Once your supplies sit within arm’s reach, you’ll find the process flows smoother, and you’ll avoid hunting for a missing brush mid‑painting.
Step 2: Prepare Your Paper and Palette
Paper prep is the silent hero of a clean galaxy. Start by taping the edges of your sheet to a sturdy board with thin artist’s tape. The tape should grip the paper but peel off without tearing fibers.
Next, wet the entire surface lightly. Use a large flat brush dipped in clean water and sweep across the paper in smooth horizontal strokes. The goal is a damp surface, not a puddle.
While the paper is still moist, arrange your palette. Place the colors you’ll use first, pink and purple, near each other so you can blend without reaching across the board.
It helps to test each pigment on a scrap piece. Load a brush, dab a small amount onto the test paper, and watch how the color behaves when the paper dries. If it looks too pale, add a touch more paint; if it looks too dark, dilute with water.
When you feel confident, you can move to the next stage. A well‑prepared surface lets the wet‑on‑wet technique work its magic.
Need a quick checklist? Finding the Best Online Watercolor Painting Course for Beginners lists the exact steps to prep paper and palette, so you never miss a detail.
Remember, the paper will darken slightly as the paint dries, so plan your lightest washes early.
Step 3: Master the Wet‑on‑Wet Technique for the Galaxy Background
The wet‑on‑wet method is the core of that soft, cloud‑like look. It lets pigments bleed into each other, creating natural gradients that mimic nebulae.
Begin with a clean brush and load it with water only. Apply a thin veil of water across the whole paper, keeping the surface uniformly damp.
Now load your round brush with the brightest pink. Drop a few blobs in the center of the page. The water will cause the pigment to bloom outward, forming a soft core.
Immediately follow with purple. Touch the pink edges with purple, allowing the two colors to merge. The blend should look like a gentle cloud.
Next, add a wash of vivid blue around the purple. Let the colors bleed at the borders, creating a transition from pink to purple to blue.
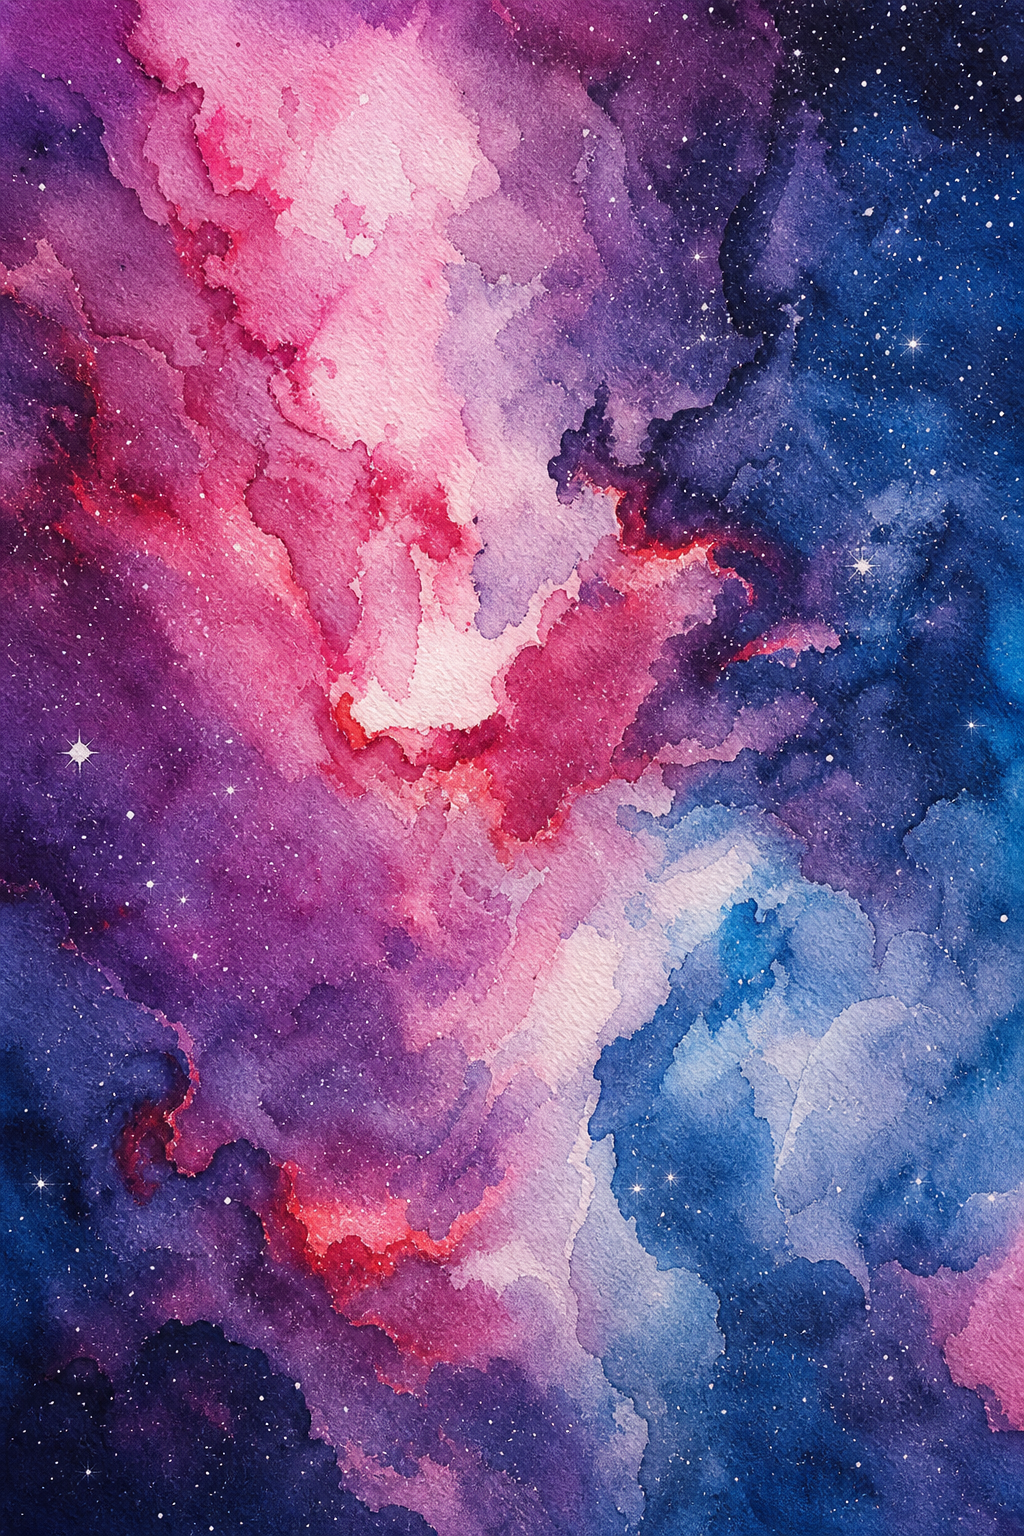
Finish with a dark navy at the outer edges. This final layer gives depth, making the center appear to glow against a deep space background.
While the colors are still wet, you can tilt the paper slightly to let the paint flow naturally. A light tilt creates subtle streaks that look like distant gas streams.
Here’s a short video that demonstrates the whole process in real time:
After the background dries, you’ll have a soft, dreamy canvas ready for nebula details.
According to an article on watercolor painting, wet‑on‑wet is especially effective for creating atmospheric effects because the pigment spreads evenly on a moist surface.
Once the base is set, you can move on to adding clouds and stars.
Step 4: Add Nebula and Color Blending
Now the galaxy starts to look alive. Use a clean, damp brush to swirl the pink and purple together. Light circular motions let the colors mingle, forming wispy clouds.
For sharper edges, switch to a dry brush. Dip a dry brush into pigment, then flick it over the wet area. This creates fine, feathered lines that suggest distant dust trails.
To deepen the nebula, add a tiny amount of white gouache with a toothbrush. Hold the brush over the paper and tap gently. The white specks pop like distant stars against the darker backdrop.
Layering is key. After the first blend dries, add a thin wash of a slightly darker shade of blue along the outer rim. This adds dimension and makes the center appear to glow.
When you’re satisfied with the cloud shapes, let the painting dry completely before adding finer details.
For more ideas on nebula composition, check out NASA’s galaxy image gallery. The real‑world photos show how color layers build depth in actual space pictures.
Step 5: Create Stars and Splatter Effects
Stars give the final sparkle. Load a small round brush with white gouache, then add a few tiny dots across the dark areas. Vary the size for a natural look.
For a star field, a toothbrush works well. Dip the brush in white gouache, then flick the bristles over the paper. The splatter creates random specks that mimic distant suns.
To add brighter stars, use a fine detail brush. Place a single dot and then lightly drag the brush outward to create a subtle halo.
When you’re happy with the distribution, step back and view the piece from a distance. This helps you see if any area looks too crowded or too empty.
If you notice gaps, repeat the splatter technique until the sky feels balanced.
Remember, the goal isn’t to fill every inch with paint, space is the essence of a galaxy.
Step 6: Fix Common Mistakes and Adjust Contrast
Beginners often see blotchy edges or muddy colors. Here’s how to clean those up.
Issue 1: Colors blending too much.If two hues merge into a gray, lift some pigment with a clean, damp brush. Dab gently; you’ll see the original colors re‑emerge.
Issue 2: Dark areas look flat.Add a thin glaze of a lighter shade over the dark spots. Let it dry, then repeat if needed. This creates a subtle glow.
Issue 3: Paper warps.Make sure the tape is snug and the board is flat. If the paper still curls, press it under a heavy book while it dries.
Contrast is key for depth. Once the painting is dry, examine the darkest edge. If it feels too harsh, soften it with a dry brush loaded with a light wash.
Finally, step back and view the piece under different lighting, natural daylight and a warm lamp. This reveals hidden issues you can fix before sealing.
Step 7: Finalize and Seal Your Painting
When all layers are dry, it’s time to protect your work. A light spray of fixative designed for watercolors shields the pigment from smudging.
Work in a well‑ventilated area. Hold the spray about 12 inches away and apply a thin, even coat. Let it dry completely before handling.
After sealing, you can frame the piece or scan it for digital sharing. Use a high‑resolution scanner to capture the true colors.
Consider joining an online community for feedback. How to Choose and Excel in Online Watercolor Classes for Beginners explains how peer review helps you improve faster.
With your galaxy complete, you now have a piece that looks like a slice of the night sky, ready to hang or share.
FAQ
What basic supplies do I need for a watercolor galaxy?
You need cold‑press watercolor paper (140 lb), a set of five pigments (pink, purple, blue, navy, white gouache), round and flat brushes, a palette, two water jars, paper towels, and artist’s tape. This list covers everything a beginner needs to achieve a vibrant space scene.
How do I keep my paper from warping?
Secure the paper to a rigid board with thin artist’s tape. The tape holds the edges flat while the water is absorbed. If the paper still curls, place a heavy book on top while it dries.
Can I use student‑grade paints?
Yes. Student paints work fine for practice. Just expect slightly muted colors compared to professional pans. If you want richer hues, upgrade to artist‑grade paints later.
What is the best way to create realistic stars?
Load a toothbrush with white gouache and flick it over the dark areas. Then add a few larger dots with a fine round brush for bright stars. Vary the size for a natural distribution.
How long should I let each layer dry?
Allow each wash to dry until it feels tacky to the touch, usually 5, 10 minutes on a warm room. Rushing can cause colors to bleed unintentionally.
Is a video tutorial necessary?
Seeing the process in motion helps you understand timing and brush handling. The embedded video in Step 3 shows a full wet‑on‑wet run‑through, which many beginners find useful.
Where can I find an online class that teaches these steps?
CreativiU offers a step‑by‑step, on‑demand watercolor galaxy course with a $1 trial and clear pricing. The curriculum breaks each technique into short modules, making it easy to follow at your own pace.
Conclusion
Painting a watercolor galaxy is more than a fun craft; it’s a way to bring the cosmos into your own hands. By gathering the right supplies, prepping your paper, learning wet‑on‑wet, adding nebula clouds, splattering stars, fixing common errors, and sealing the final piece, you’ll produce a night‑sky that feels alive. The steps above give you a clear roadmap, and the online resources from CreativiU provide guided practice without the guesswork. Grab your brushes, set up your workspace, and let the colors swirl. Your first galaxy is just a few strokes away.
Leave a Reply