Leather stamping lets you add custom designs to belts, wallets, and keychains. You don’t need a workshop , just a few basic tools and a steady hand. This online leather stamping tutorial walks you through each step, from gathering supplies to sealing your finished piece.
Step 1: Gather Your Leather Stamping Tools and Materials
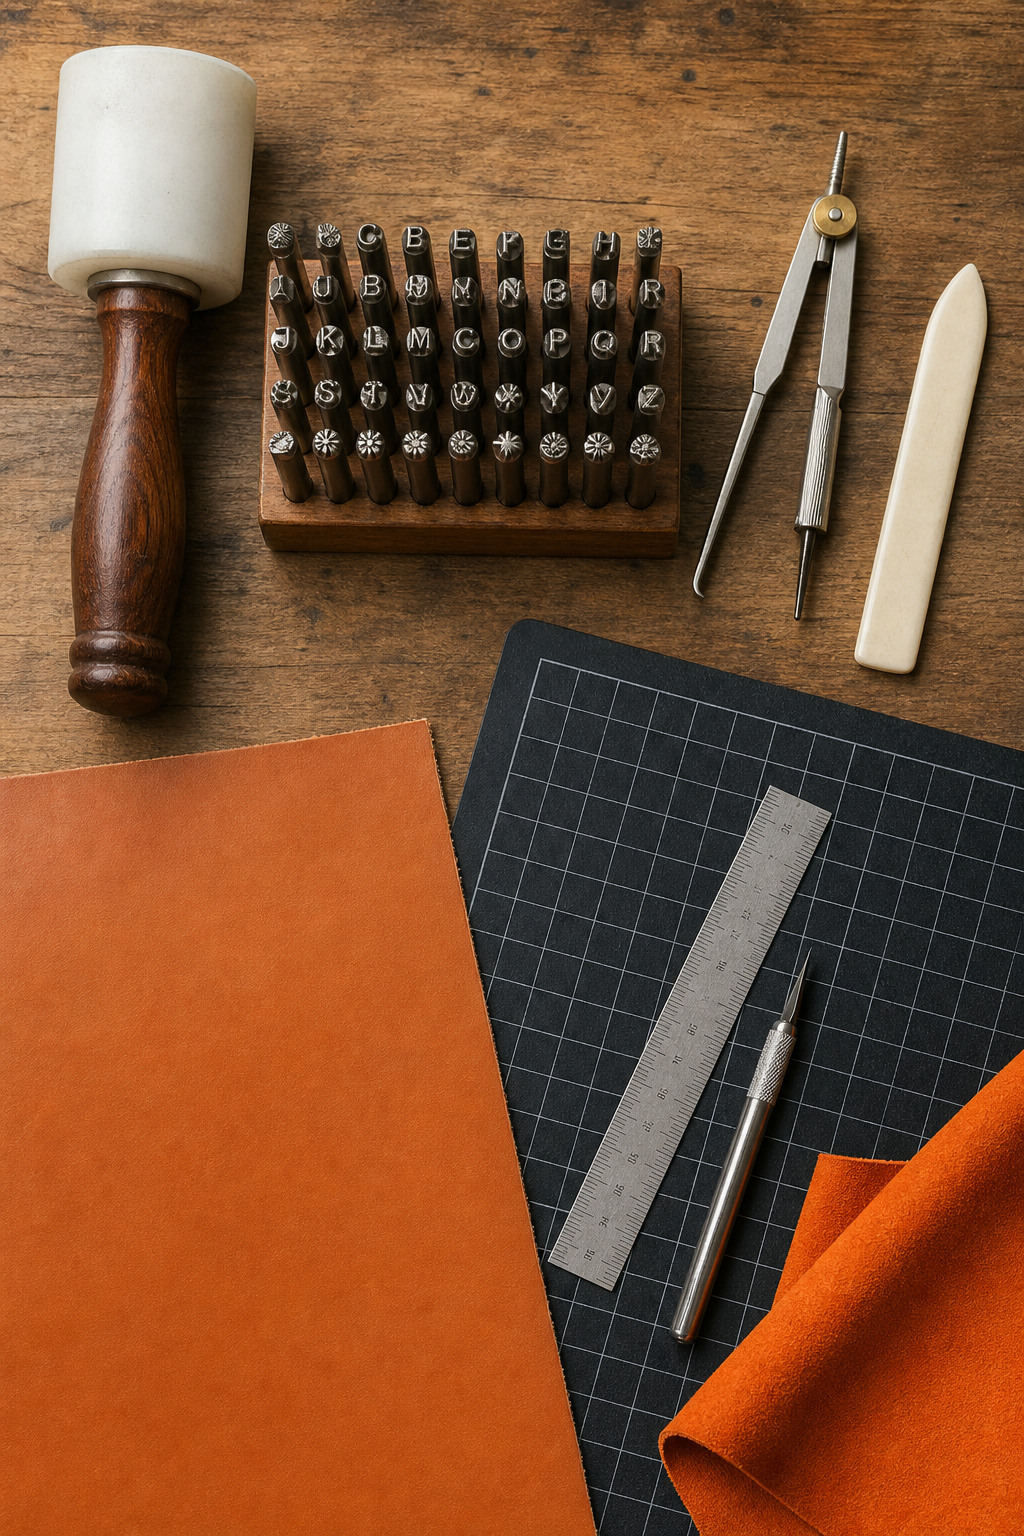
Before you start, you need the right gear. The basics include:
- Leather: Vegetable-tanned leather works best because it takes impressions cleanly. A 3, 4 ounce piece is good for practice.
- Stamps: You’ll need a set of letter stamps, a few design stamps (like flowers or borders), and a background stamp.
- Mallet: A nylon or rawhide mallet. A metal hammer can damage the stamps.
- Swivel knife and stylus for transferring and outlining designs.
- Cutting mat, ruler, and a sharp utility knife for cutting leather.
- Bone folder or burnisher for smoothing edges.
- Leather finish or sealer to protect your work.
You can find most of these at craft stores or online. For a reliable source of stamping tools, check out Pro Leather Carvers’ tool collection which offers a wide range of stamp types and quality mallets.
If you want to expand your skills beyond stamping, try How to Make a Leather Wallet: Step-by-Step Tutorial on CreativiU. That guide covers cutting, stitching, and assembly.
Step 2: Prepare the Leather Surface for Stamping
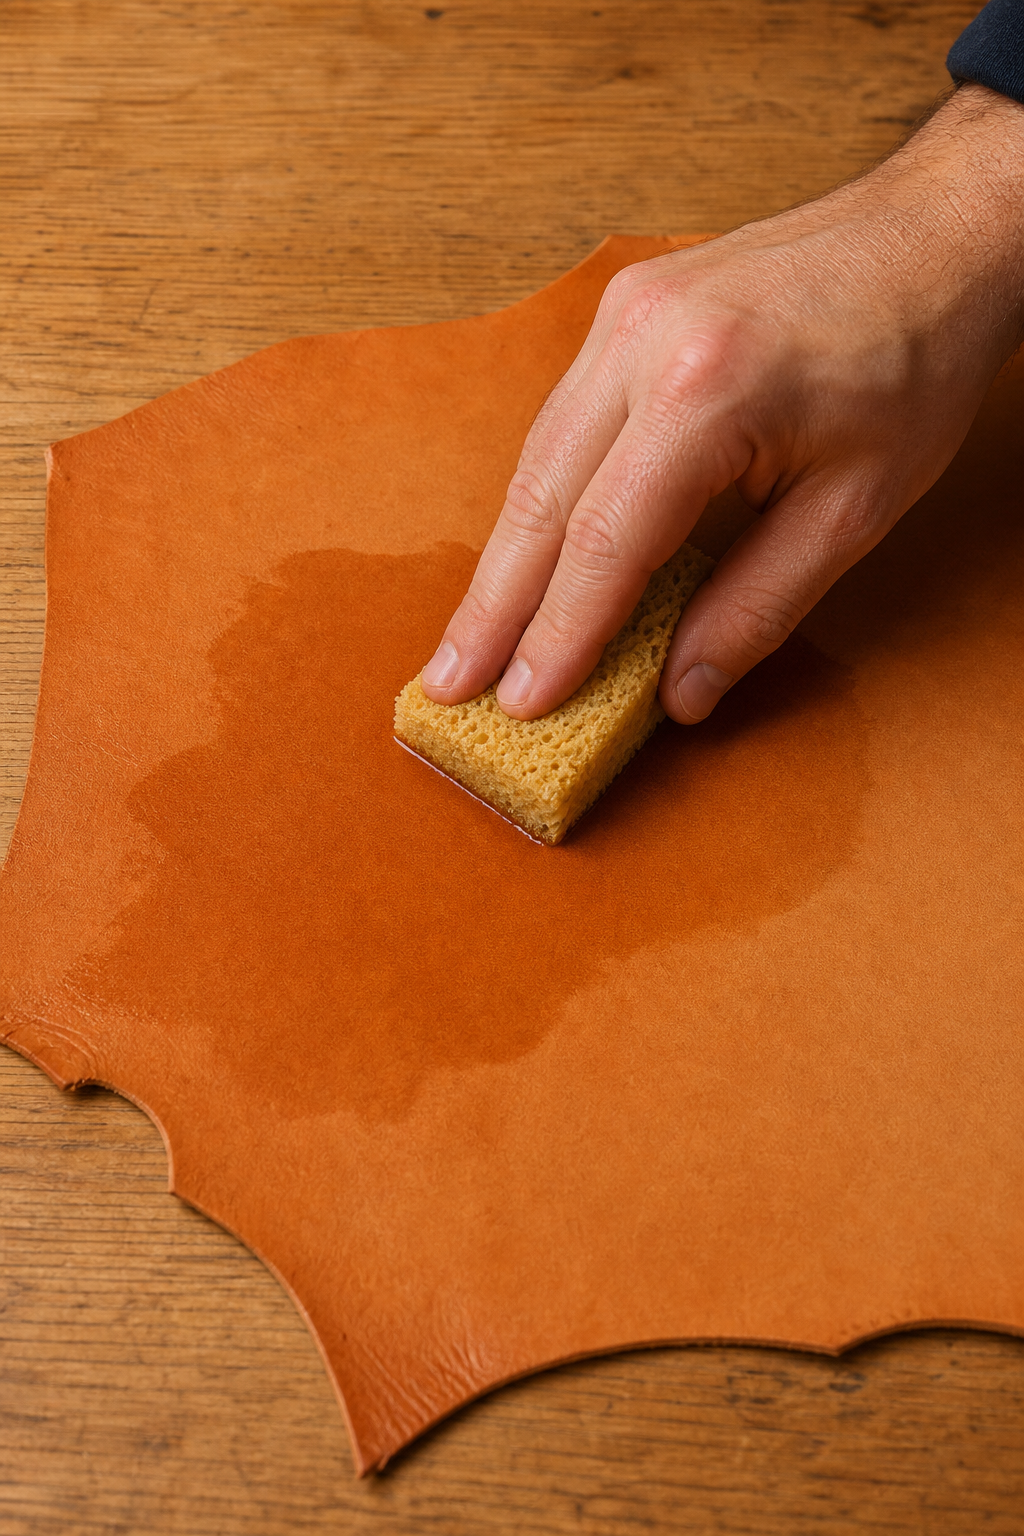
Leather needs to be slightly damp for the stamp to leave a clear mark. Dry leather won’t compress properly, and wet leather can distort the impression.
- Wet the leather lightly. Run a clean sponge under water, squeeze out the excess, then wipe the flesh side (the rough back) of the leather. Let it sit for 30 seconds so the moisture penetrates evenly.
- Wait for the right moisture level. The leather should feel cool and slightly damp to the touch , like a firm handshake. If water beads on the surface, it’s too wet; pat it dry with a towel.
- Let it rest for a few minutes. Lay the leather flat on your cutting mat. The fibers need time to relax.
When you press into the leather with your fingernail, it should leave a light mark that fades after a few seconds. That’s the sweet spot for stamping.
For a deeper understanding of leather preparation, browse Online Classes on CreativiU that cover leathercraft fundamentals.
Step 3: Plan and Transfer Your Design
Before you stamp, you need a clear design. Sketch your layout on paper first. For lettering, mark the center of your line and work outward so spacing stays even.
- Draw your design on tracing paper. Keep it simple , one or two words or a small graphic.
- Transfer the design to the leather. Use a stylus or a ballpoint pen to trace over the paper, pressing firmly enough to leave a faint line on the surface.
- Check the placement. Hold the leather up to a mirror to see if the design looks centered and level.
If you’re using digital tools to create your pattern, you can print it and transfer directly. For tips on building design-related apps, check out Tap & Swipe for case studies on how indie developers create and market digital products.
For more project ideas, check out DIY Custom Stamped Metal Jewelry Tutorial on CreativiU , the stamping principles are similar, just with metal blanks.
Step 4: Execute the Stamping Process
Now the real work begins. Follow these steps for clean, consistent stamps.
- Position your first stamp. Hold it vertically over the leather with one hand. Make sure it’s centered on your transfer line.
- Strike the stamp. Give a single, firm hit with the mallet. Two small taps are better than one hard blow , it reduces bounce and gives a deeper impression.
- Move to the next stamp. Leave a finger’s width between letters for readability. Use a small ruler as a spacer if needed.
- Strike again. Keep the mallet perpendicular to the stamp to avoid uneven depth.
Work from the center outward so you don’t smudge adjacent stamps. After each strike, lift the stamp straight up , don’t rock it or you’ll blur the edges.
If you’re stamping a border or background, use a background stamp with a consistent pattern and overlap each impression slightly to avoid bare spots. A Real Leather blog article on stamping tools emphasizes that using a quality stamping board (like a polypropylene cutting board) under your leather prevents the leather from shifting.
Step 5: Finish and Seal Your Stamped Leather
Once all stamps are in place, let the leather dry completely. Then finish it to protect the design and give it a professional look.
- Sand the edges. Use 400-grit sandpaper on the edges to smooth any rough spots from stamping.
- Burnish the edges. Rub a bone folder or burnisher along the cut edges until they become glossy. A little water helps the burnishing action.
- Apply a finish. You can use a spray sealer, a leather dye, or a wax-based finish. Neat’s-foot oil darkens the leather and adds a natural sheen. For a matte look, use a water-based acrylic finish.
- Let it cure. Follow the manufacturer’s drying instructions , usually 24 hours before use.
A good finish also prevents the stamp impressions from flattening out over time. If you plan to stain your stamped leather, test the stain on a scrap piece first because different leathers absorb differently.
Step 6: Common Mistakes and How to Avoid Them
Even experienced stampers make these errors. Here’s how to fix them.
Watch a leather stamping tutorial on YouTube for a visual walkthrough of these pitfalls and their remedies.
FAQ
Do I need a swivel knife for leather stamping?
Not for basic stamping. A swivel knife is used for carving intricate line work. For lettering and simple designs, stamps alone are enough.
Can I use a regular hammer instead of a mallet?
No. A metal hammer will quickly damage the faces of your stamps. Use a nylon or rawhide mallet , it delivers even force without marring the tool.
How long should I let the leather dry after stamping?
Let it air-dry completely, usually 12, 24 hours depending on humidity. Drying too fast (like with a hair dryer) can cause cracking.
What’s the best leather for a beginner?
Vegetable-tanned leather, 3, 4 ounce weight. It’s firm but not too hard, and it holds stamp impressions clearly. Avoid chrome-tanned leather , it’s too stretchy.
Can I stamp on finished or painted leather?
It’s tricky. Finished leather repels moisture, so the stamp won’t sink in as well. You’d need to sand off the finish first. Stick to unfinished vegetable-tanned leather for best results.
Conclusion
Leather stamping is a rewarding craft you can learn at home with basic tools. Start small, practice your technique on scraps, and gradually take on bigger projects. For a complete learning path with expert-led video lessons, join CreativiU‘s online classes and connect with a community of leathercraft enthusiasts.
Leave a Reply