Ever looked at a leather wallet with a crisp monogram and thought, “I could do that”? The truth is you can, and you don’t need a pricey workshop. In this guide you’ll walk through the whole process of online leather embossing, from picking the right hide to finishing the final piece. We’ll point out the tools you need, show you how to set them up, and share usable tips so you avoid the common mistakes that trip up most newbies. By the end you’ll have a clear plan to start embossing leather from the comfort of your own space.
Step 1: Choose the Right Leather and Prepare Your Workspace
Start with a leather that behaves well when damp. Vegetable‑tanned leather is the go‑to for beginners because it softens when you add a little water and holds the impression once it dries. Look for a thickness around 4‑5 oz (1.6‑2.0 mm). That range is thick enough to take a clear stamp but thin enough to bend without cracking.
When you buy, check the grain. A tight, even grain gives a uniform impression, while a coarse grain can make the pattern look uneven. If you can, buy a small scrap piece first and run a quick test stamp. This lets you see how the leather reacts before you commit to a larger project.
Next, set up a clean, flat work surface. A sturdy table covered with a self‑healing cutting mat protects both the leather and your tools. Keep the area well lit; a daylight lamp helps you see subtle moisture levels and ensures you spot any dust that could mar the design.
Cleaning the leather before you start is vital. Wipe it with a damp cloth and a mild soap, then let it dry completely. Any oil or dirt will act like a barrier and stop the stamp from sinking in properly.
Condition the hide after cleaning but before embossing. A light coat of leather conditioner keeps the fibers supple and prevents the leather from drying out while you work. Apply it with a soft cloth, let it absorb for a few minutes, then wipe off any excess.
Now you’re ready to dampen the leather. Use a spray bottle or a sponge dampened with distilled water. The goal is a uniform, lightly moist surface, not soggy. Press a fingertip into the leather; it should leave a faint indentation that springs back slowly.
Imagine you’re prepping a canvas for paint. The moisture is the primer that lets the stamp bite in cleanly.
For more project ideas, check out How to Make a Leather Wallet tutorial. It walks through choosing the right leather thickness for wallets, which translates well to embossing.
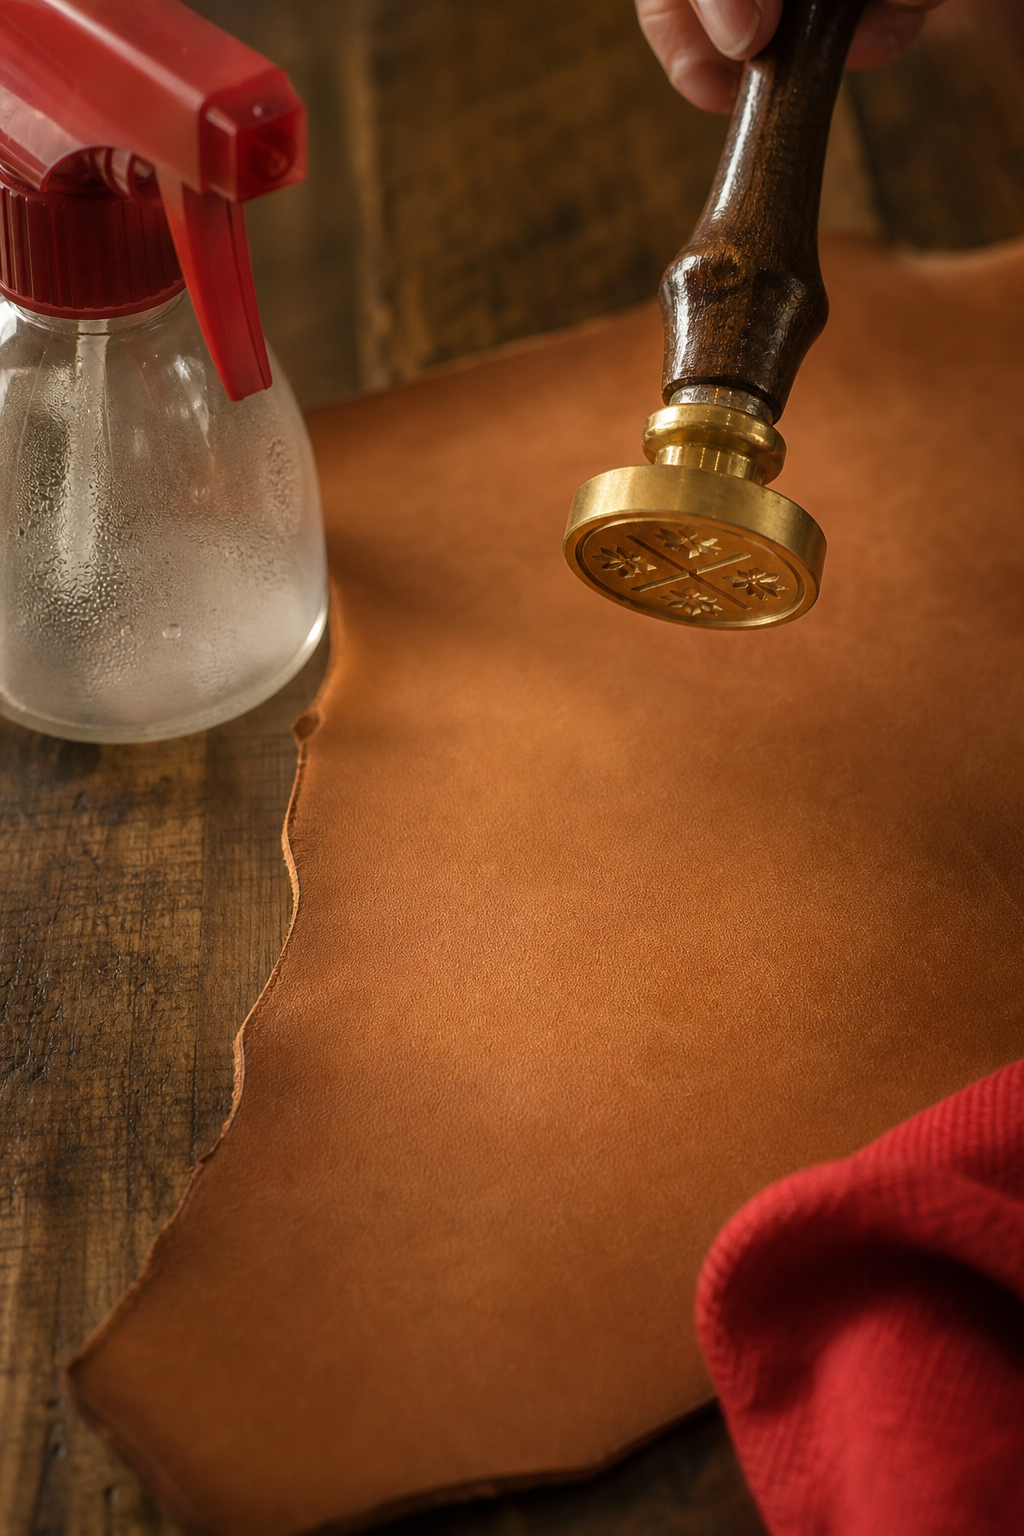
According to Wikipedia’s overview of leather, vegetable‑tanned hides have a natural tannin structure that reacts predictably to moisture, making them ideal for stamping and embossing.
Step 2: Set Up Your Leather Embossing Machine or Tools
There are two main routes: a small hand‑operated embossing press or a simple mallet‑and‑stamp combo. If you’re just starting, the mallet method costs less than $50 and works well for flat pieces like wallets or belts.
Choose a mallet with a solid wood or rubber head. A rubber head reduces bounce and gives a smoother transfer of force. Pair it with a set of metal stamps, letters, numbers, or decorative motifs. Stamps come in various depths; deeper stamps produce bolder lines but need more pressure.
For a more controlled setup, consider a tabletop embossing press. These devices have a lever that lets you apply even pressure across the whole surface. They’re especially useful for larger panels where you want consistent depth.
Before you power on a press, read the manufacturer’s manual. Follow safety guidelines, such as never placing your hand between the plates while the press is engaged.
Now, arrange your tools within arm’s reach. A small tray for stamps, a dedicated mallet holder, and a clean cloth for wiping excess water keeps the workflow smooth.
Test the pressure with a scrap piece. Lightly tap the stamp once; if the impression is shallow, increase the force or add another tap. Remember, the goal is a crisp edge, not a smudged blur.
When you feel confident, set the stage for the actual design. Lay the leather on the mat, position the stamp where you want the image, and brace the leather with one hand while you strike with the other.
For a visual walk‑through of the press setup, watch the video above. It shows the exact hand placement and timing that give you a clean imprint.
When you’re ready to move beyond basic stamps, the next section dives into practice patterns.
Step 3: Practice with Basic Stamps and Patterns
Before you tackle a custom logo, spend time with simple shapes. Letters, circles, and basic borders let you learn how pressure, angle, and timing affect the result.
Start with a single‑letter stamp. Place it on the damp leather, hold it steady, and give the mallet two firm blows. Lift the stamp and examine the imprint. If the edges are fuzzy, reduce the angle of the stamp or increase the force slightly.
Next, try a repeating pattern, say, a row of dots. Align the first stamp, tap, then slide the stamp a short distance to the right and repeat. Consistent spacing is key; a ruler or a piece of masking tape can act as a guide.
Notice how the leather’s moisture level changes after a few taps. If the surface begins to dry, lightly mist it again. Too much water will make the leather too soft, causing the stamp to sink too deep.
For a deeper understanding of stamping mechanics, look at DIY Custom Stamped Metal Jewelry tutorial. Though it focuses on metal, the same principles of force and alignment apply to leather.
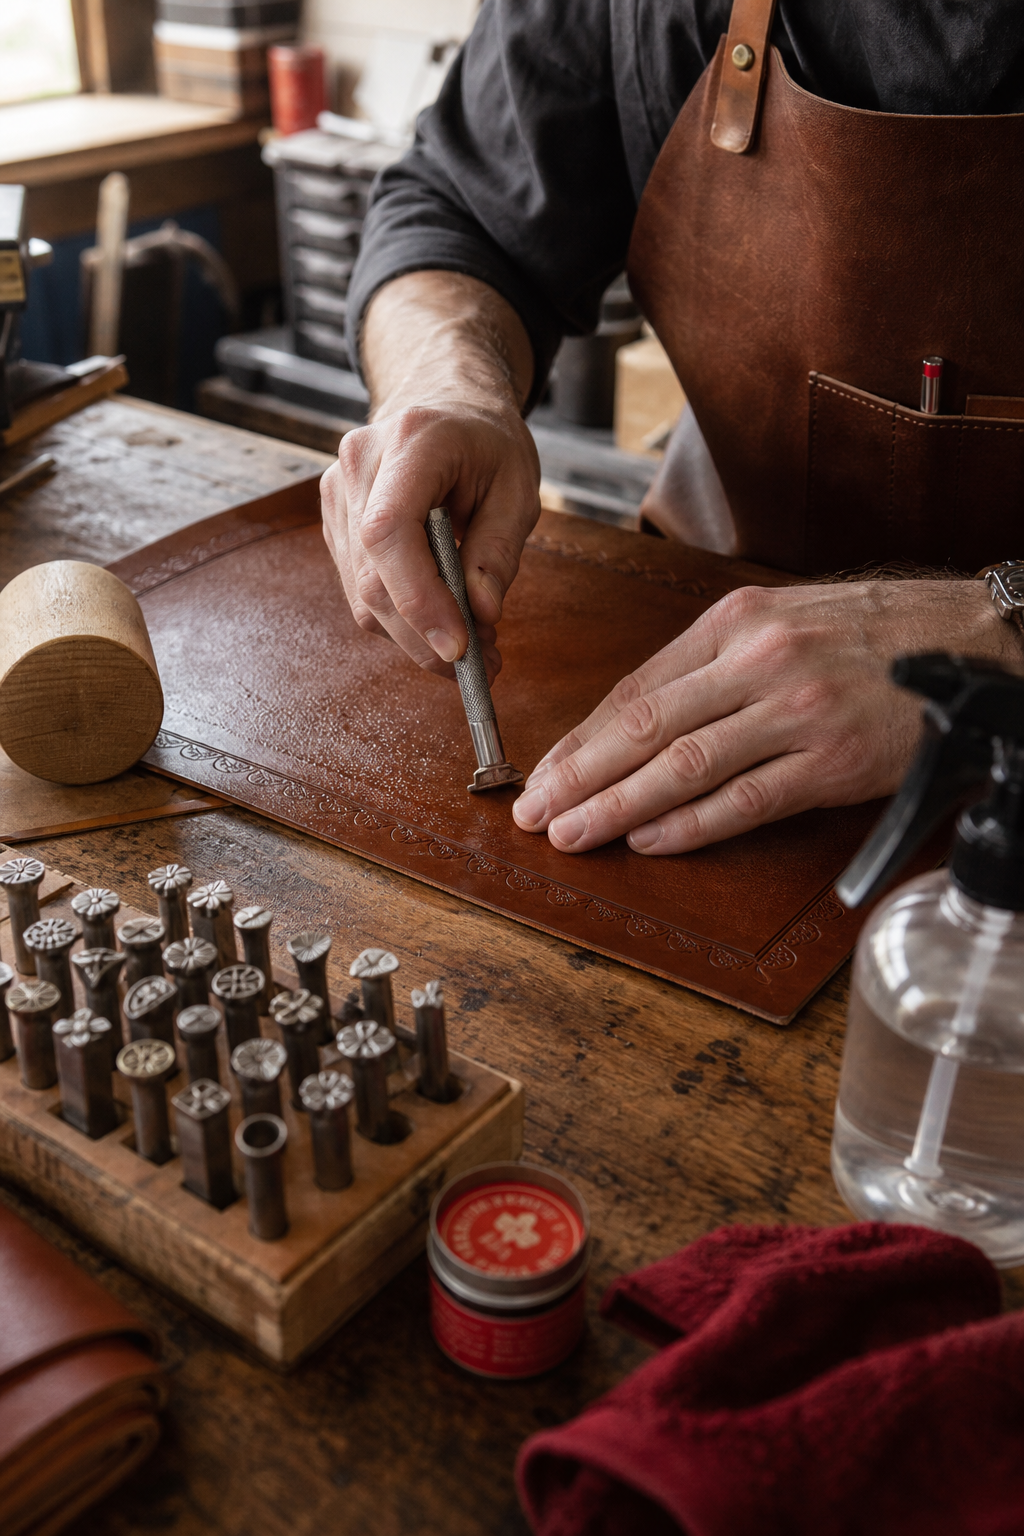
As you gain confidence, combine stamps to form a simple monogram or a decorative border. Remember to press each stamp with the same amount of force; uneven hits lead to a lopsided look.
Keep a notebook of the pressure you use for each stamp depth. Over time you’ll develop a feel for the right amount of force for your favorite leather type.
When you’re happy with the practice pieces, you’re ready to move on to the full design.
Step 4: Apply Your Design with Correct Pressure and Technique
The moment of truth arrives when you place the final design on the leather. This step combines everything you learned: moisture, alignment, and pressure.
First, sketch the layout on the leather with a water‑soluble pencil. Light lines help you position stamps without leaving permanent marks.
Second, decide whether you’ll use a single‑strike method or a multiple‑hit approach. A single, firm strike gives a clean edge, while multiple lighter taps can create a smoother gradient for larger areas.
Third, apply pressure gradually. Begin with a light tap to set the stamp, then increase force for the final impression. This prevents the leather from tearing or the stamp from slipping.
After the stamp is pressed, lift it slowly. A clean release shows a crisp imprint. If the design looks shallow, re‑wet the area lightly and try again with a bit more force.
One common pitfall is over‑hammering. Too much force can flatten fine details, especially on intricate letters. If you notice a loss of definition, step back, let the leather dry a touch, and retry with a gentler tap.
When the whole design is complete, let the leather dry flat for at least an hour. This lets the fibers lock into the new shape.
For more background on the embossing process itself, see Wikipedia’s embossing article. It explains the physics of pressure and material deformation, which matches what you see on the leather.
Step 5: Finish and Care for Your Embossed Leather
Once the design is dry, you’ll want to protect it so the embossing lasts. Start with a gentle clean‑up: brush away any loose dust with a soft brush.
Next, apply a leather conditioner. This re‑hydrates the fibers and adds a subtle sheen that highlights the raised areas. Use a lint‑free cloth, rub a thin layer in circular motions, and let it sit for a few minutes before wiping off excess.
If you want extra durability, consider a leather sealant. A clear, matte sealant keeps water out and guards the embossing against wear. Test the sealant on a scrap piece first to ensure it doesn’t darken the color more than you like.
For items that will see heavy use, like a wallet or belt, apply a second thin coat of conditioner after the sealant dries. This creates a flexible top layer that lets the leather breathe while protecting the impression.
Storage matters too. Keep embossed pieces flat or hung loosely; avoid folding them sharply, as that can crush the raised design over time.
Finally, if you ever need to repair a faint impression, a light re‑wet and a gentle re‑stamp can revive the detail without starting from scratch.
For a different kind of finishing routine, you might enjoy the approach used in Polymer Clay tutorial for beginners. The idea of conditioning the surface before a final seal is common across crafts.
Frequently Asked Questions
What type of leather works best for online embossing as a beginner?
Vegetable‑tanned leather is the safest bet. It softens when damp, holds detail well, and is easy to find at craft stores. Avoid glossy finishes or chrome‑tanned hides because they don’t absorb moisture uniformly, which leads to uneven impressions.
Do I need a special embossing machine for online leather embossing techniques for beginners?
No. A simple wooden mallet and a set of metal stamps are enough to start. If you want more control, a small tabletop press gives even pressure, but it’s an optional upgrade once you’ve mastered the hand‑hammer method.
How much water should I use when dampening the leather?
Just enough to make the surface feel slightly moist to the touch. A light mist from a spray bottle works well. If the leather feels soggy, blot it with a clean cloth before stamping.
Can I emboss faux leather?
Yes, but the process differs. Faux leather lacks the natural grain that absorbs water, so you’ll need a heat‑embossing tool instead of water‑based methods. Heat embossing is a bit more advanced, so we recommend starting with real vegetable‑tanned leather first.
How do I keep my embossed design from wearing off?
Condition the leather regularly and apply a clear sealant after the embossing dries. Store the piece flat and avoid folding it sharply. A light re‑wet and re‑stamp can also refresh a faded area.
Is it okay to use household items like a kitchen rolling pin as a stamp?
It can work for simple textures, but metal stamps give sharper detail. If you improvise with a rolling pin, make sure it’s clean and that you’ve tested the pressure on a scrap piece first.
How long should I wait before handling the embossed piece?
Let the leather dry completely, usually an hour for a thin piece, up to three hours for thicker hides. Handling it while still damp can smudge the impression.
Where can I find design ideas for my first embossing project?
Online craft communities, pattern libraries, and even simple alphabet stencils are great sources. CreativiU’s course library also includes design templates you can download and adapt.
Conclusion
Online leather embossing techniques for beginners are surprisingly accessible. With the right hide, a few basic tools, and a systematic practice routine, you can turn plain leather into personalized art. We walked through choosing vegetable‑tanned leather, setting up a workspace, learning basic stamps, applying pressure with confidence, and protecting the finished piece. Remember to keep the leather lightly damp, use consistent force, and finish with conditioner and sealant.
When you’re ready to take the next step, CreativiU offers a full suite of video lessons and community feedback that fill the knowledge gaps you’ll encounter on your own. Start, experiment, and enjoy the tactile satisfaction of creating a piece that’s truly yours.
“A well‑cared embossed piece can last decades, even as the leather ages gracefully.”
Leave a Reply