Want a candle that smells just right and burns clean? You can skip the store and mix your own at home. In this guide you’ll walk through every step, from gathering supplies to testing the finished candle. By the end you’ll have a ready‑to‑light candle that reflects your favorite scent and your own style.
Step 1: Gather Your Materials and Tools
Before you heat anything, lay out everything you’ll need. A clear list prevents trips back to the kitchen mid‑process. First, pick a wax. Soy wax flakes work well for beginners because they melt at low temperature and give a clean burn. Beeswax is another option if you like a natural honey aroma, but it’s not vegan. Avoid paraffin if you’re aiming for a toxin‑free candle.
Next, choose a wick that matches your container size. A cotton core wick sized #4 is a safe bet for an 8‑ounce jar. Wooden wicks add a crackle effect, but they need a slightly larger diameter. Secure the wick with a sticker that sticks to the bottom of the jar.
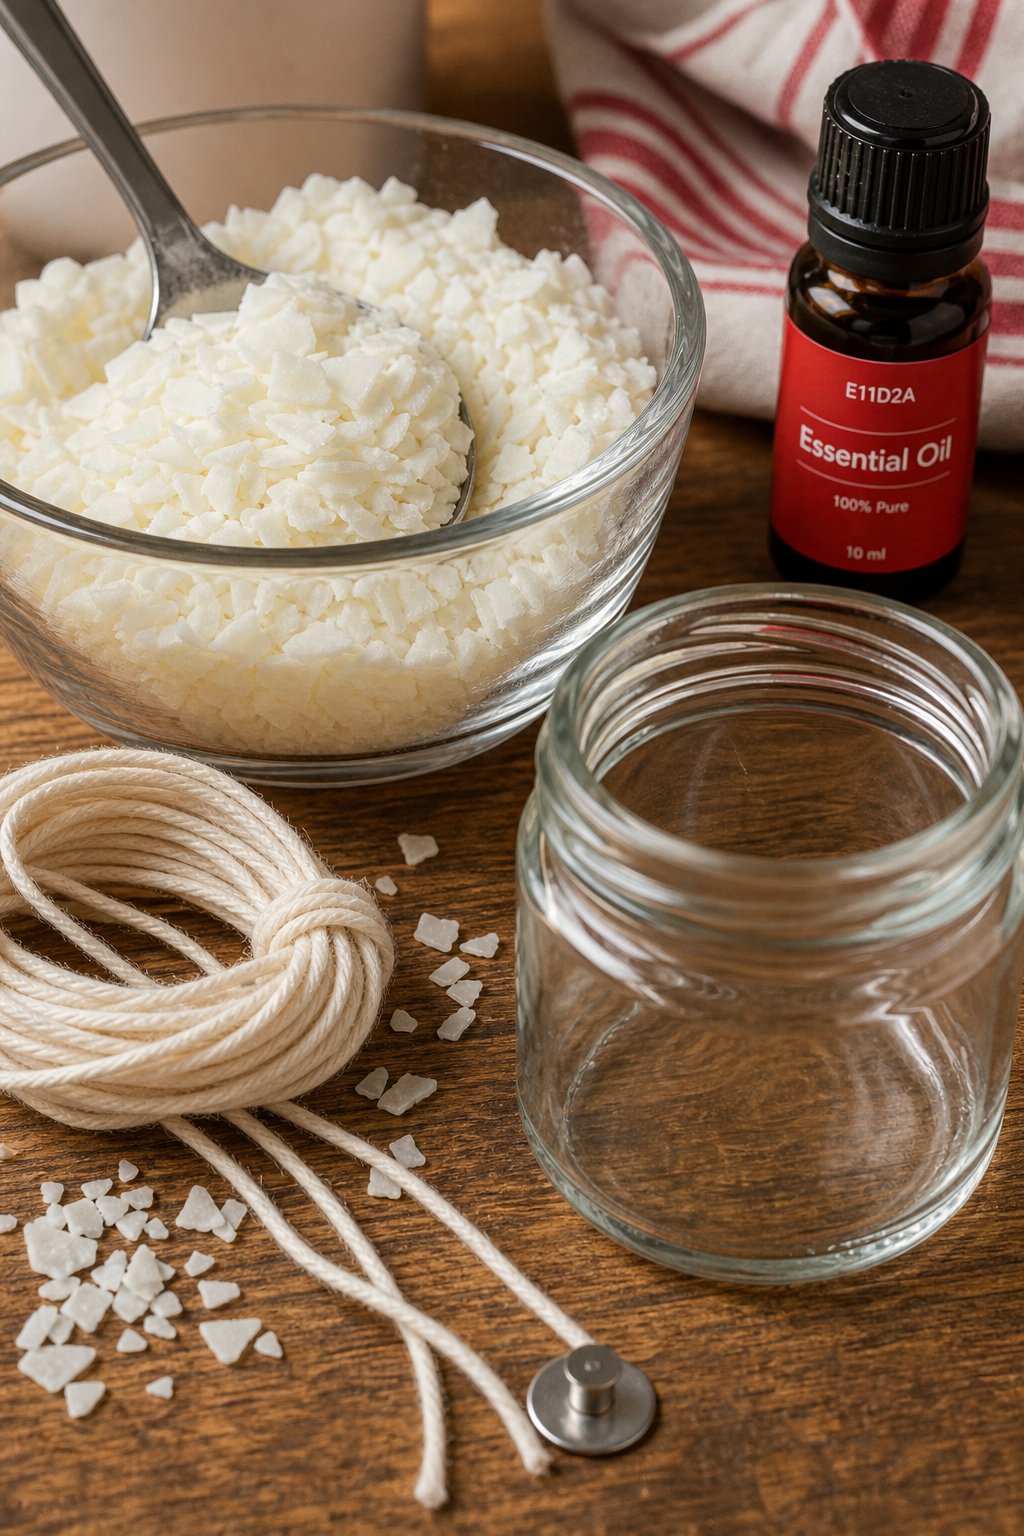
Essential oils are the star of the show. Pick oils with a flash point above 150°F so they won’t evaporate when you add them. Lavender, eucalyptus, and citrus oils are popular because they stay fragrant when the candle burns.
Don’t forget safety gear: silicone gloves, a heat‑proof pitcher, a digital thermometer, and a kitchen scale. The scale helps you measure both wax and oil precisely, which is key to a consistent scent throw.
Finally, have a clean workspace and a few extra containers for testing. A small “scratch jar” lets you experiment with oil ratios before committing to your final candle.
Need more detail on soy wax? Check out our soy‑wax step‑by‑step guide for tips on melting points and pouring temperatures.
Step 2: Prepare Your Work Area and Equipment
A tidy area makes the whole process smoother and safer. Clear a countertop, lay down a silicone mat, and keep a fire‑proof tray nearby in case of splatter. Good ventilation matters, especially when you work with essential oils, which can release strong vapors.
Set up a double‑boiler: fill a large pot with a few inches of water, bring it to a gentle simmer, and place a heat‑proof pitcher inside. The water should not boil vigorously; a soft hiss is enough to transfer heat without scorching the wax.
Place your thermometer where it can dip into the wax without touching the bottom of the pot. Calibrate it by submerging it in ice water first , it should read 32°F. This quick check saves you from overheating the wax.
Arrange your tools within arm’s reach: scale, stir stick, wick holder, and a clean cloth for any drips. Having everything at hand cuts down on distraction and reduces the risk of burns.
While you’re setting up, think about safety. Keep a lid nearby to cover the pot if the water level gets low. And have a phone or timer set for a quick reminder to check the wax temperature every few minutes.
If you prefer beeswax, our beeswax guide walks through the slight temperature differences you’ll need to observe.
Step 3: Melt the Wax Properly
Melting the wax is where temperature control matters most. Heat the water in your double‑boiler to a low simmer, then add the wax flakes to the pitcher. Stir occasionally with a silicone spatula; this helps break up any clumps and promotes even heating.
Watch the thermometer closely. Soy wax typically reaches its melt point around 120‑130°F, but you’ll want to heat it a bit higher , about 185°F , before adding essential oils. This extra heat ensures the oil mixes fully without forming bubbles.
When the wax hits 185°F, remove the pitcher from the heat and let it sit for a minute. This pause drops the temperature just enough to protect the delicate aromatics in your essential oils.
According to candle-making resources, the ideal “fragrance window” for most waxes sits between 155°F and 165°F. Adding the oil within this range gives the best scent binding.
If you notice the wax foaming or bubbling, lower the heat immediately. Over‑heating can cause the essential oil to evaporate, leaving a weak scent.
Stir the melted wax gently in a slow, circular motion for about 30 seconds. This creates a uniform melt and helps the wax cool evenly once you’re ready to pour.
Step 4: Add Essential Oils for Fragrance
Now comes the fun part: scent. Measure your essential oil using the scale. A common rule is 6 % of the wax weight , that’s roughly 1 oz of oil per pound of wax. This ratio gives a noticeable scent without overwhelming the flame.
Pour the measured oil into the warm wax, then stir for two minutes. A gentle, continuous stir helps the oil disperse evenly and prevents oil pockets that can cause uneven burning.
Notice how each blend balances a bright top note, a solid middle, and a grounding base. This three‑layer approach mirrors how the scent releases as the candle burns, creating a richer experience.
If you’re using a blend you haven’t tried before, run a “smell test.” Mix a tablespoon of wax, add the oil, let it cool, then light it for a short burst. Adjust the oil amount up or down based on how strong the scent feels.
For deeper insight on essential‑oil safety, refer to a reliable educational resource. It covers flash points and recommended usage levels.
Step 5: Pour the Wax into Containers
Now that the wax and oil are married, it’s time to pour. First, warm your containers slightly , a quick dip in hot tap water for 30 seconds prevents the wax from pulling away from the sides as it cools.
Set the wick holder so the wick stays centered. A simple clothespin or a purpose‑made wick bar works well.
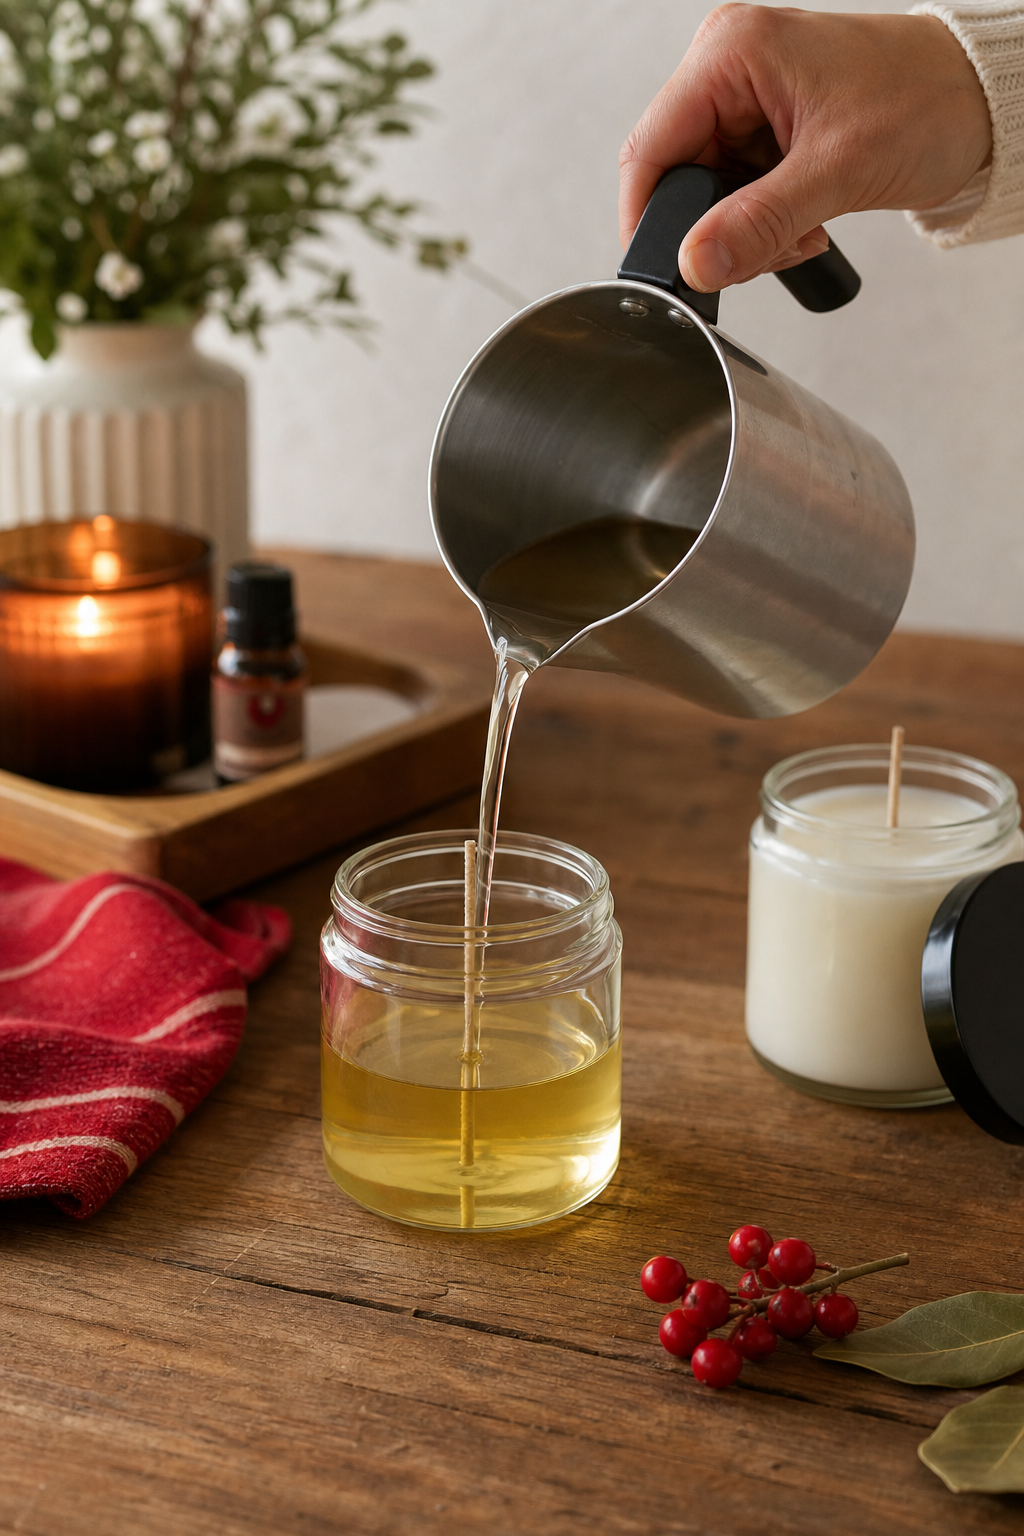
Target a pouring temperature between 135°F and 145°F. At this range the wax is fluid enough to fill the jar without creating cracks, yet cool enough that the essential oil stays trapped.
Pour in a steady, thin stream. Aim for the middle of the jar but don’t worry if the wax touches the sides; it will level out.
Leave about a quarter‑inch of headspace at the top. This space allows the wax to shrink as it solidifies without exposing the wick.
Once the jar is full, let the wax sit untouched. Resist the urge to move the jar; movement can cause air bubbles and surface imperfections.
Our soy‑wax guide also explains how to pre‑heat the jar for a smoother finish , see how to make soy wax candles with essential oils for more tips.
Step 6: Let the Candles Set and Cure
Patience pays off. After pouring, let the candle sit at room temperature for at least four hours until the wax is fully solid. During this time, the wax contracts slightly, pulling the wick upward and creating a small well for the flame.
For the best scent throw, give the candle a curing period of 48‑72 hours. This allows the essential oil molecules to bind fully with the wax, resulting in a stronger aroma when lit.
Store the candles away from direct sunlight and drafts while they cure. UV light can degrade the essential oils, and temperature swings can cause the wax to crack.
If you notice a small sinkhole around the wick after curing, you can fix it by reheating the top layer with a hair dryer and smoothing it with a spatula.
Keep a log of each batch , note the wax type, oil blend, and curing time. Over time you’ll see which combos give the strongest scent and which need tweaking.
Step 7: Trim the Wick and Test Your Candle
Before the first light, trim the wick to about ¼ inch (6 mm). A short wick produces a clean flame, reduces smoke, and helps the candle burn evenly.
Use a small pair of scissors or a wick trimmer. Cut at an angle so the wick sits slightly away from the wax pool , this encourages a steady melt pool.
Light the candle in a safe spot, away from flammable objects. Observe the flame for the first five minutes. It should be steady, not flickering wildly, and the wax should melt evenly across the surface.
If you see tunneling (a deep hole in the center), the wick may be too small. In that case, try a larger wick on the next batch. If the flame is too large and produces soot, trim the wick a bit shorter.
Take note of how strong the scent is after 10 minutes of burn time. If the fragrance feels weak, consider increasing the oil load slightly in future batches, but stay under the wax’s maximum fragrance load (usually 10 % for soy).
Frequently Asked Questions
Can I use any essential oil in a candle?
Most essential oils work, but choose ones with a flash point above 150°F. Low‑flash oils can burn off too quickly, leaving a faint scent. Lavender, eucalyptus, and citrus oils are safe bets. Always test a small batch first to see how the oil behaves in your chosen wax.
What is the best wax for essential‑oil candles?
Soy wax is popular because it melts at a low temperature and holds scent well. Beeswax gives a natural honey note but can be harder to work with. For a higher fragrance load, a soy‑coconut blend is a good compromise. Your choice depends on the look and scent strength you want.
How much essential oil should I add?
A solid starting point is 6 % of the wax weight , roughly 1 oz of oil per pound of wax. Some waxes can handle up to 10 %, but exceeding the recommended load may cause surface clouding or poor burn performance.
Do I need a special wick for essential‑oil candles?
Yes. Essential oils lower the flame temperature a bit, so a smaller‑diameter cotton or wood wick designed for soy wax works best. The wick size should match the container diameter; a #4 wick fits an 8‑ounce jar nicely.
Can I reuse a container after the candle is done?
Only if the container was meant for candle use. Glass jars, metal tins, and heat‑resistant ceramics are fine to reuse. Never reuse a food‑grade container that has been exposed to high heat without cleaning it first.
How long should I let the candle cure before lighting?
Allow at least 48 hours for a small candle, but 72 hours gives the strongest scent throw. Longer cures (up to two weeks) improve the fragrance release, especially for larger candles.
Conclusion
Making a homemade candle with essential oils isn’t magic; it’s a series of careful steps that anyone can follow. Start with the right wax, pick a compatible wick, measure your oils, and respect the temperature windows. Let the candle cure, trim the wick, and you’ll end up with a clean‑burning, naturally scented candle that brightens any room.
CreativiU’s online courses can walk you through each of these steps in more depth, offering video demos and community feedback to help you perfect your craft. When you’re ready to experiment further, explore different wax blends, try layered scents, or even add a touch of color. The glow is yours to shape.
Now that you know the process, light a candle, enjoy the aroma, and let your creativity shine.
Leave a Reply