Want a fresh splash of color on a shirt, pillowcase, or tote? You can get that look without a factory. This guide walks you through every move you need to dye fabric at home, from gathering tools to the final rinse. By the end you’ll have a solid checklist you can follow again and again.
We’ll lean on real‑world tips from crafters who have tested each step, and we’ll flag the three mistakes most newbies make. Ready to turn plain cloth into a vibrant piece you’ll love?
Step 1: Gather Materials
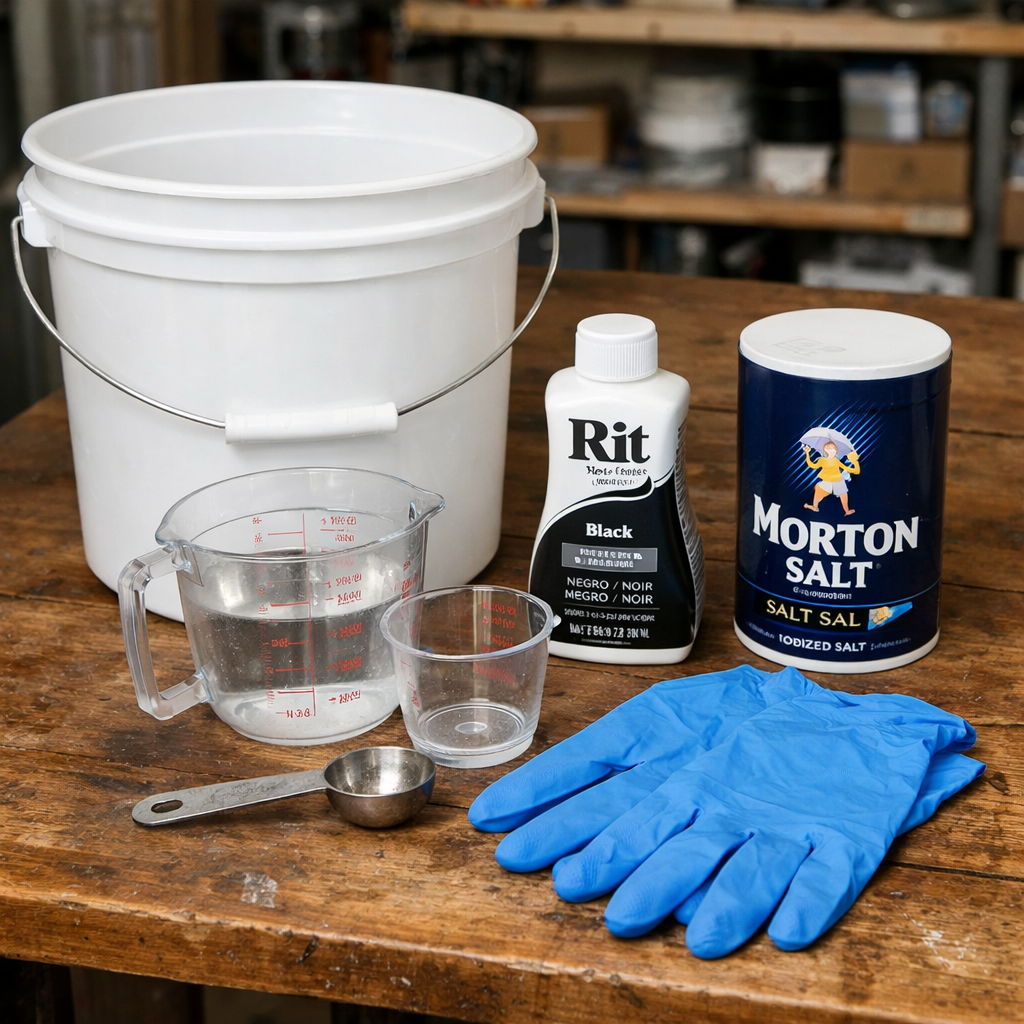
The first thing you need is a clear list of supplies. Missing one item can cause a messy spill or a faded hue. Here’s what the research shows appears in 59 % of beginner guides:
- RIT fabric dye (any color you like)
- Large plastic bucket or stainless‑steel pot (at least 3 gallons per pound of fabric)
- Heat‑resistant rubber gloves , not flimsy plastic baggies, which can melt in hot water
- Measuring cup and spoon
- Salt (helps the dye set on cotton, linen, rayon)
- Old towels or newspaper to protect surfaces
Optional extras include a dye‑fixative to lock color in for future washes, but it’s not essential for a first try.
When you line up these items, take a moment to check the condition of each. A cracked bucket can leak; worn gloves may let dye seep through. Replacing worn gear now saves you a ruined project later.
Once everything’s ready, set up a clean work area. Lay down newspaper, then place your bucket in the centre so you can stir without splashing.
Bottom line:Bottom line:Gather every tool before you heat water , it stops you from scrambling mid‑process.
Step 2: Prepare Fabric
Clean fabric takes dye better. Residues from finishes, detergents, or softeners act like a shield, keeping the color from sinking in.
Start by washing the piece in warm water with a mild detergent. Skip fabric softener , it coats fibers and will cause uneven color. Rinse well, then gently squeeze out excess water. The fabric should be damp, not dripping.
Next, do a quick swatch test. Cut a 2 × 2 inch square, dip it in a tiny dye bath, and let it sit for the full dye time. This tells you how the fiber reacts and whether you need to adjust the dye amount.
While the swatch dries, you can set up a small area for the main garment. Lay the fabric flat on a clean surface, smooth out any wrinkles with your hands, and secure it with clothespins if needed.
For those who enjoy screen printing, the preparation step feels similar , you clean the mesh, coat it, and let it dry before adding ink. If you want more detail on that parallel process, check out How to Start Silk Screen Printing for Beginners Online Tutorial. The mindset of a clean base applies across crafts.
Bottom line:Bottom line:Wash, rinse, and keep the fabric damp to set the stage for an even dye.
Step 3: Mix Dye
Now it’s time to create the dye bath. The temperature matters , aim for about 140 °F (60 °C). If tap water isn’t hot enough, boil water on the stove and add it to the bucket until you hit the right heat.
Measure three gallons of water for every pound of fabric. Stir in a cup of salt; it helps the dye bind to natural fibers. Then add the full bottle of RIT dye (or the amount the dye’s instructions recommend for your fabric weight). Stir with a metal spoon until the liquid is clear and the dye is fully dissolved.
Safety first: wear those heat‑resistant gloves and avoid splashing. The CDC warns that hot liquids can cause burns if not handled properly , see their heat‑stress guidance for more on safe handling CDC heat‑stress info.
Once the dye is mixed, let the bath sit for a minute so any foam settles. Then you’re ready to submerge the fabric.
Bottom line:Bottom line:Heat the water, dissolve dye fully, and add salt for a vibrant, lasting color.
Step 4: Apply Dye
Submerge the damp fabric into the dye bath. Push it down fully so no air pockets remain. The fabric should move freely , if it clumps, stir gently with the metal spoon.
Agitate the water continuously for the first 10 minutes. This helps the dye spread evenly. After that, set a timer for a total of 30 minutes, stirring every 5 minutes. If you notice darker patches, give those spots a little extra push.
When the timer beeps, check the color by lifting a corner and looking at the wet fabric. It will look darker than the final result; that’s normal. If the shade is too light, let it sit a few more minutes, stirring gently.
“The best way to avoid streaks is steady, gentle movement throughout the dye time.”
If you enjoy silk painting, you’ll recognize the same gentle agitation technique used to keep colors from bleeding on silk. For more on that method, read Silk Painting Techniques for Home Artists. The principle of even motion applies whether you’re dyeing cotton or painting silk.
When the dye time ends, carefully lift the fabric with tongs or gloved hands. Let excess liquid drip back into the bucket for a few seconds.
Bottom line:Bottom line:Stir, time, and watch the hue develop , patience gives a uniform finish.
Step 5: Rinse and Finish
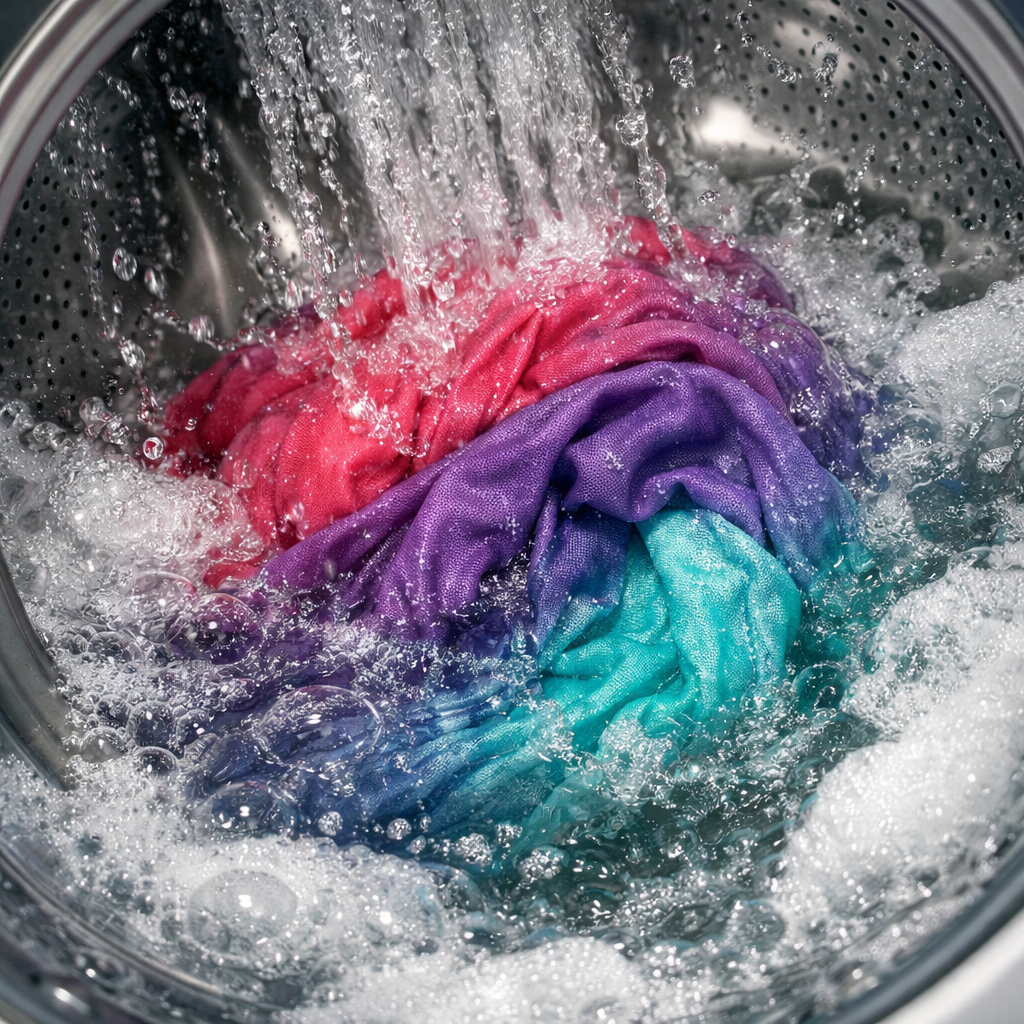
Rinsing removes loose dye and stops the color from bleeding later. Start with warm water, running it over the fabric until the water runs clear. This can take a while; many crafters find a 15‑minute rinse cycle in the washing machine works well.
After the water is clear, switch to a cold rinse for another 5 minutes. This locks the color in the fibers. If you have a dye‑fixative, add it now according to the product directions, then give the fabric one final cold rinse.
Finally, tumble‑dry the piece on a low setting or air‑dry it flat. Do not mix it with other laundry until the dye is fully set , that protects other clothes from accidental staining.
One common mistake is to toss the dyed item straight into a regular wash with other clothes. That spreads color unintentionally. Keep the dyed piece separate for its first few washes.
Bottom line:Bottom line:Rinse until clear, finish with a cold rinse, and dry separately for the best lasting color.
FAQ
Can I use any type of fabric for dyeing?
Natural fibers like cotton, linen, rayon, and silk take dye best because the fibers open up to absorb color. Synthetic fabrics such as polyester need a special dye (disperse dye) and a higher temperature bath. If you try a synthetic with regular RIT dye, the color will stay on the surface and wash out quickly.
How much salt should I add to the dye bath?
For a standard batch (three gallons of water per pound of fabric), a full cup of table salt works well. Salt helps the dye bond to cellulose fibers, giving richer, more even shades. If you’re dyeing a small swatch, you can reduce the amount proportionally.
Do I need a fixative?
A fixative is optional for most beginner projects. It can improve wash‑fastness, especially on items you’ll launder often. If you skip it, just be sure to wash the dyed piece separately for the first few loads to prevent color transfer.
What temperature should the water be?
The ideal temperature is about 140 °F (60 °C). Hot enough to open the fiber pores, but not boiling, which can damage delicate fabrics. Use a kitchen thermometer to check; if you don’t have one, bring water to a gentle simmer and let it sit a minute before adding dye.
How long should I agitate the fabric?
Stir continuously for the first ten minutes, then every five minutes until the total dye time of 30 minutes is up. Consistent movement spreads the dye evenly and avoids dark spots where the fabric sits still.
Can I reuse the dye bath for another piece?
Yes, as long as the color is still strong and the water remains clear. Add a fresh cup of salt and a little more dye if the color looks faded. Keep the bath covered between uses to prevent contamination.
Is it safe to use plastic baggies as gloves?
Plastic baggies can melt or tear in hot water, letting dye splash onto your skin. Heat‑resistant rubber gloves protect you and keep the baggies from degrading. The research hook highlights that many beginners skip this step and end up with minor burns.
How do I know when the dye is set?
After the final rinse, the fabric should feel dry to the touch and the water should run clear. A quick test is to press a damp corner with a white cloth; if no color leaches, the dye is set. Let the piece air‑dry completely before wearing or washing.
Conclusion
Coloring fabric at home is a satisfying skill that turns a plain item into a personal statement. By following the six‑step checklist , gather, prep, mix, apply, rinse, finish , you sidestep the common pitfalls of uneven shade, fabric‑softener interference, and unsafe handling.
CreativiU bundles these exact steps into a video‑rich, instructor‑guided course, so you can watch each move in real time and ask questions as you go. That extra support often means the difference between a faded swatch and a vibrant masterpiece.
If you’re ready to dive deeper, explore Master Fiber Art with These Inspiring Online Classes for advanced techniques, from hand‑dyed tapestries to mixed‑media projects.
Grab your supplies, set a timer, and let the colors flow. Your next favorite garment is just a dye bath away.
Bottom line:Follow the six‑step process, protect your hands, and give the dyed piece a proper rinse , and you’ll enjoy lasting, vivid color every time.
Leave a Reply