Most newbies think silk screen printing is pricey and hard. The truth? You can start for under $200 if you know what to buy. This guide walks you through every step of a silk screen printing for beginners online tutorial. By the end you’ll have a working kit, a solid workflow and the confidence to print your first shirt.
We’ll cover supplies, screen prep, stencil creation, exposure, printing and curing. You’ll also see how CreativiU’s on‑demand courses fill the pricing gap most guides miss.
Step 1: Gather Your Screen Printing Supplies
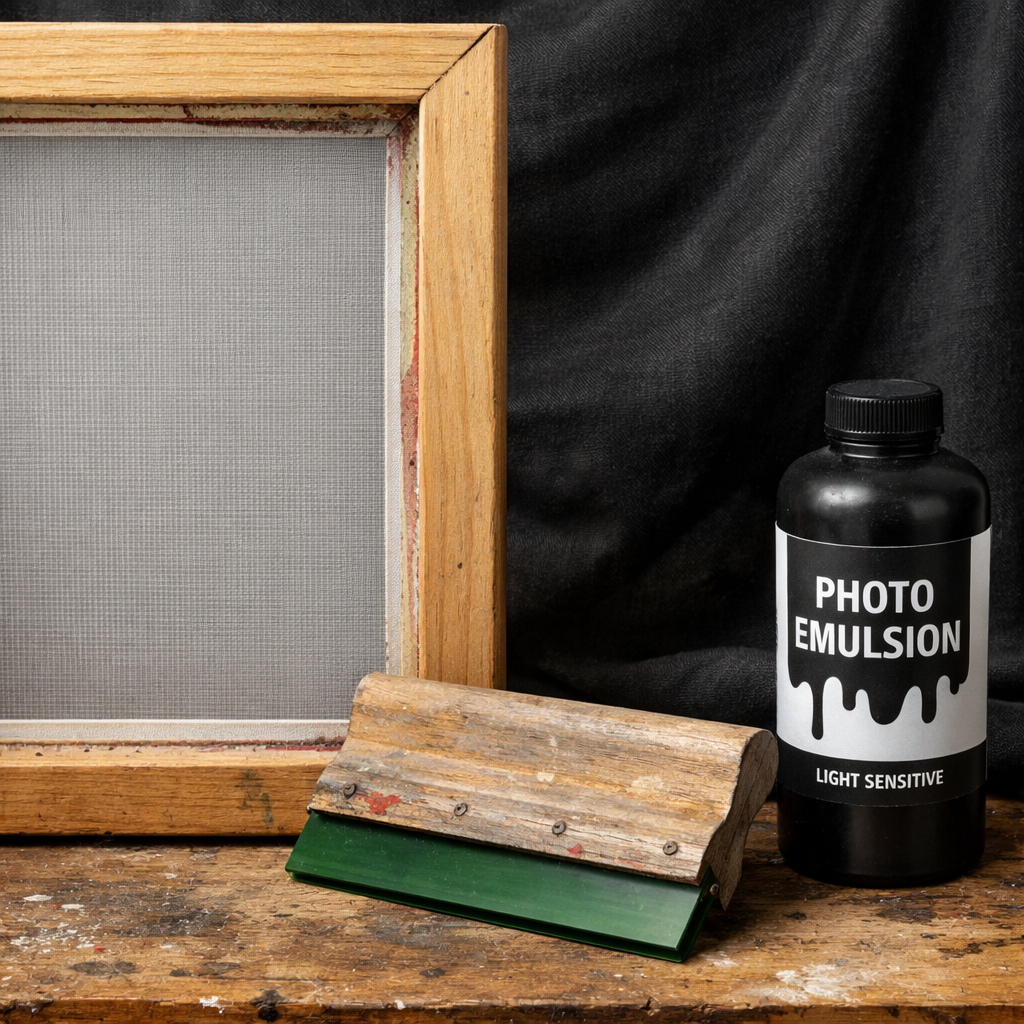
Before you can print, you need the right gear. The market is full of options, but a starter kit can be simple. You’ll need a squeegee, a 110‑mesh screen, emulsion, a dark space for drying, ink and a cleaning station.
Why a 110‑mesh screen? It balances detail and ink flow for most fabric projects. Riley Hopkins 150 Press is a popular entry point because it’s sturdy and affordable. Cricut Design Space Tutorial for Beginners shows how to create vector art that will transfer cleanly onto your screen.
Here’s a quick checklist:
- Squeegee , 1½ to 2 inch blade.
- Screen , 110 mesh, wood frame.
- Photo‑sensitive emulsion , enough for two coats.
- Dark closet or blackout curtain , no light leaks.
- Plastisol or water‑based ink , start with one colour.
- Washout booth or a large tub , keep chemicals out of drains.
Safety matters. Keep a trash can for used emulsion and wear gloves when handling chemicals. A cheap kitchen sink works as a washout station if you line it with a garbage bag and use a trap to catch solids.
And remember, you don’t need a flash dryer right away. A household iron can cure small prints, saving you cash.
Bottom line:Start with a simple, affordable kit and add upgrades as you grow.
Step 2: Prepare Your Screen
Now that you have your supplies, it’s time to coat the screen. Work in total darkness or under a safe amber light to avoid premature exposure.
First, clean the mesh with a mild detergent and a soft brush. Rinse well and let it dry. Then, mix the emulsion with water according to the manufacturer’s directions. Pour a thin layer over the mesh, using a squeegee to spread it evenly. Let it sit for about 20 minutes.
After the first coat dries, apply a second coat for stronger image definition. Let the screen dry completely in your dark closet before moving on.
When the screen is dry, you’ll see a faint orange tint where the emulsion sits. That’s normal. The next step is to create a stencil that blocks the emulsion where you want ink to pass.
And keep the workspace ventilated; emulsion fumes can be irritating.
Bottom line:Proper screen prep ensures sharp prints and fewer wash‑out problems.
According to Wikipedia’s screen printing page, the emulsion method is the most common for beginners because it offers good detail and is relatively cheap.
Step 3: Create Your Stencil
With a clean, coated screen you can now make the stencil. The easiest way is to use a pre‑emulsified sheet like the EZScreen standard stencil. It works on fabric, wood, paper and many other surfaces.
Print your artwork on a transparent sheet or a glossy photo paper. Make sure the image is solid black; any gray will let light through and blur the edges.
Place the printed film on the screen, align it carefully, then expose the screen to light. The light hardens the emulsion except where the black blocks it.
After exposure, wash the screen with a gentle spray of water. The unexposed emulsion will wash away, leaving a clear path for ink.
When the stencil is dry, you can tape the edges to stop ink from leaking. A clean edge makes the print look professional.
Think about it this way: the stencil is a mask that protects the screen where you don’t want colour.
Bottom line:A simple pre‑emulsified stencil gives reliable results without extra chemicals.
For more ideas on using film positives, see How to Transfer Photos to Wood with Mod Podge. The same technique works for making screen stencils from printed film.
Step 4: Expose Your Screen
Exposure is where the magic happens. You need a steady light source that matches the emulsion’s specifications. LED exposure units are popular because they are long‑lasting and energy‑efficient.
If you don’t have an LED unit, a 125 W metal halide bulb works, but you’ll need a longer exposure time. The exact time depends on the light intensity and the density of your film.
Do a step‑wedge test: divide the screen into four sections and expose each for a different length, say 4, 6, 8 and 10 minutes. After washing, you’ll see which time gives the cleanest edges.
Remember to wear gloves and keep the area well ventilated. OSHA’s chemical safety page lists best practices for handling emulsion and washout chemicals.
“The best time to start building backlinks was yesterday.”
After you find the right exposure time, mark the screen, cover the rest with a light‑safe sheet and expose the chosen section. Then wash out the unexposed emulsion.
And always post‑harden the screen for durability; a short extra exposure of 5 minutes does the trick.
Bottom line:Accurate exposure gives sharp, repeatable prints.
Step 5: Print Your Design
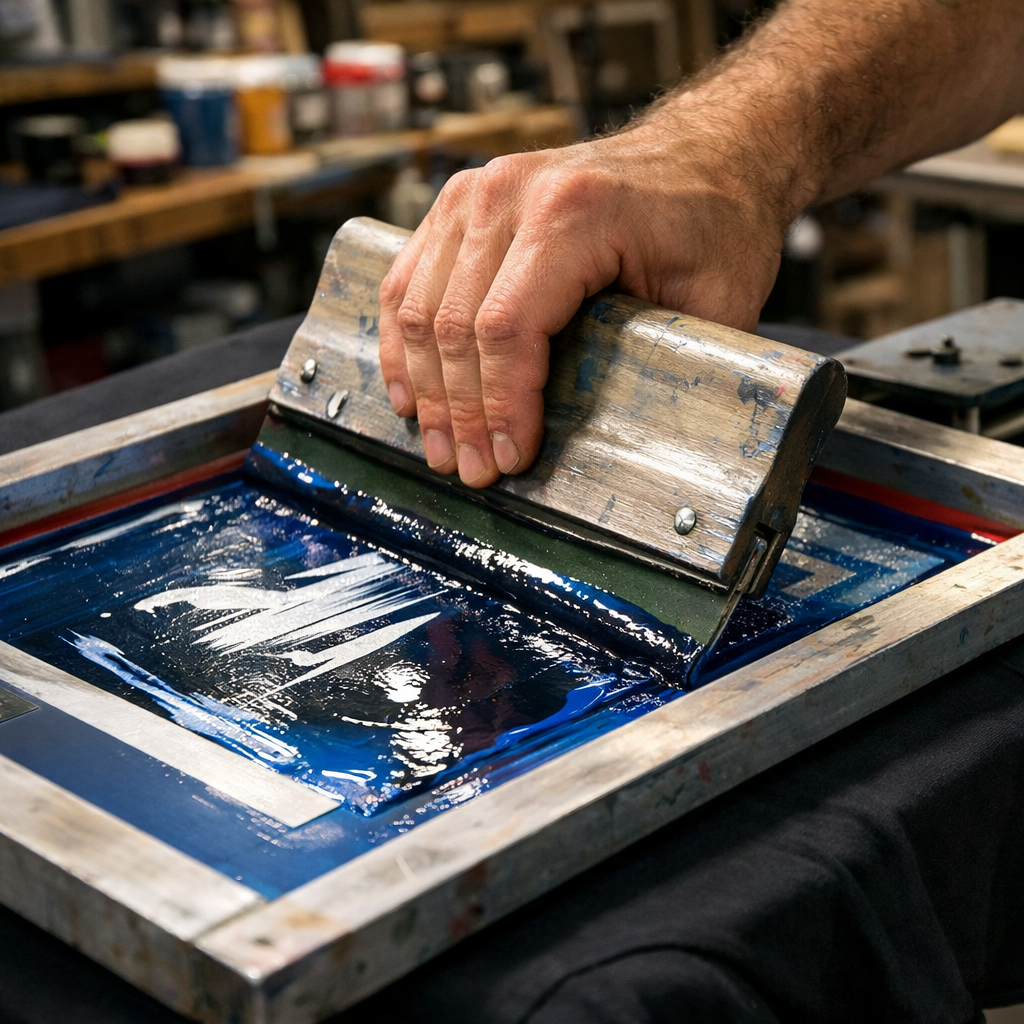
Now the screen is ready to print. Set up your workspace on a flat table, lay the garment or substrate on a clean surface, and position the screen on top.
Pour a line of ink at the top of the screen. Hold the squeegee at a 45‑degree angle and pull the ink down in one smooth motion. Apply even pressure; you should feel the squeegee glide without sticking.
Lift the screen carefully. The ink should transfer cleanly onto the fabric. If you see streaks, check the screen for dust or excess emulsion.
Repeat the process for each colour, allowing each layer to dry or flash between passes. For multi‑colour jobs, registration marks help keep each layer aligned.
| Step | What to Do | Why It Matters |
|---|---|---|
| 1 | Place screen on garment | Ensures even contact |
| 2 | Apply ink line | Provides enough ink for a full pull |
| 3 | Pull squeegee | Transfers ink through stencil |
| 4 | Lift screen | Reveals printed image |
After each colour, let the print dry for a few minutes before adding the next. This prevents smudging.
Bottom line:Consistent squeegee technique produces even, vibrant prints.
Step 6: Cure and Finish
Once the design is printed, you must cure the ink so it won’t wash out. Curing means heating the ink until it bonds to the fibers.
For plastisol ink, heat to 300 °F (about 150 °C) for 1‑2 minutes. Water‑based inks need a slightly lower temperature, around 320 °F, and a longer dwell time.
If you only have a heat gun, set it to high and move it across the printed area for a few seconds. Keep the gun moving to avoid burning.
A heat press gives the most even results. Place a Teflon sheet over the print, then press at the ink’s recommended temperature for the specified time.
According to Holden’s curing guide, proper curing lets the print survive many washes without fading.
And remember to let the garment cool before handling. This prevents ink from smearing.
Bottom line:Accurate curing locks the ink in place for a long‑lasting finish.
When you’re ready to sell your prints, How to Start a Craft Business Online walks you through setting up a shop and pricing your products.
Frequently Asked Questions
What equipment do I need for a silk screen printing for beginners online tutorial?
You need a squeegee, a 110‑mesh screen, photo‑sensitive emulsion, a dark space for drying, ink (plastisol or water‑based) and a washout area. A basic press like the Riley Hopkins 150 Press is a solid starter. Adding a simple heat source such as a household iron can handle curing for small runs.
How do I choose the right mesh count for my projects?
Mesh count controls how much ink passes through. A 110‑mesh screen works well for most fabric prints, giving good detail without clogging. Higher mesh (e.g., 160) is best for fine halftones, while lower mesh (e.g., 80) is suited for bold, thick inks on cardboard or wood.
Can I use a regular light bulb for exposure?
A standard bulb can work, but you’ll need longer exposure times and may get uneven results. LED exposure units are more reliable and use less energy. If you only have a bulb, run a step‑wedge test to find the right timing.
How do I prevent ink from bleeding on the garment?
Make sure the screen is properly coated and fully cured before printing. Use a clean squeegee and apply even pressure. After each colour, let the ink dry or flash before adding the next layer. Registration marks keep each colour aligned.
Is a flash dryer necessary for curing?
A flash dryer is fast and consistent, but a heat press or even a household iron works for low‑volume projects. Just follow the ink’s temperature guidelines and keep the heat moving to avoid scorching.
How can I keep my workspace safe when handling chemicals?
Work in a well‑ventilated area, wear gloves and goggles, and use a washout booth or a tub with a trap to keep chemicals out of drains. Seal screen edges with low‑tack tape to stop light leaks, and store unused emulsion in a cool, dark place.
Where can I learn more about screen printing techniques?
CreativiU offers a full library of on‑demand courses that cover everything from basic set‑up to advanced colour separations. Their pricing is transparent , $1 to start, then $7.95 / month , making it the only online tutorial that pairs clear cost info with community support.
How do I price my printed shirts for sale?
Add up all material costs, include a small profit margin, and factor in your time. Many creators start with a 2‑to‑3× markup on the total cost. Test different price points in a small online shop to see what customers are willing to pay.
Conclusion
We’ve walked through every stage of a silk screen printing for beginners online tutorial. You now know how to gather supplies, prep the screen, make a stencil, expose the image, print the design and cure it for lasting results. The process may seem detailed, but each step builds on the last and becomes easier with practice.
Remember, the biggest hurdle for many beginners is cost confusion. CreativiU solves that by showing exact prices and offering a supportive community that answers questions in real time. With a modest budget you can assemble a functional starter kit and start creating custom shirts, tote bags or posters.
Take the next step. Pick up a screen, mix some ink, and print your first design today. The more you print, the more you’ll refine your technique and develop your own style. Happy printing!
Leave a Reply