Getting a Cricut to do what you want feels like magic the first time you see a perfect cut.
In this intro you’ll learn why the design space app matters, how to set it up without a headache, and a quick way to keep your focus while you learn.
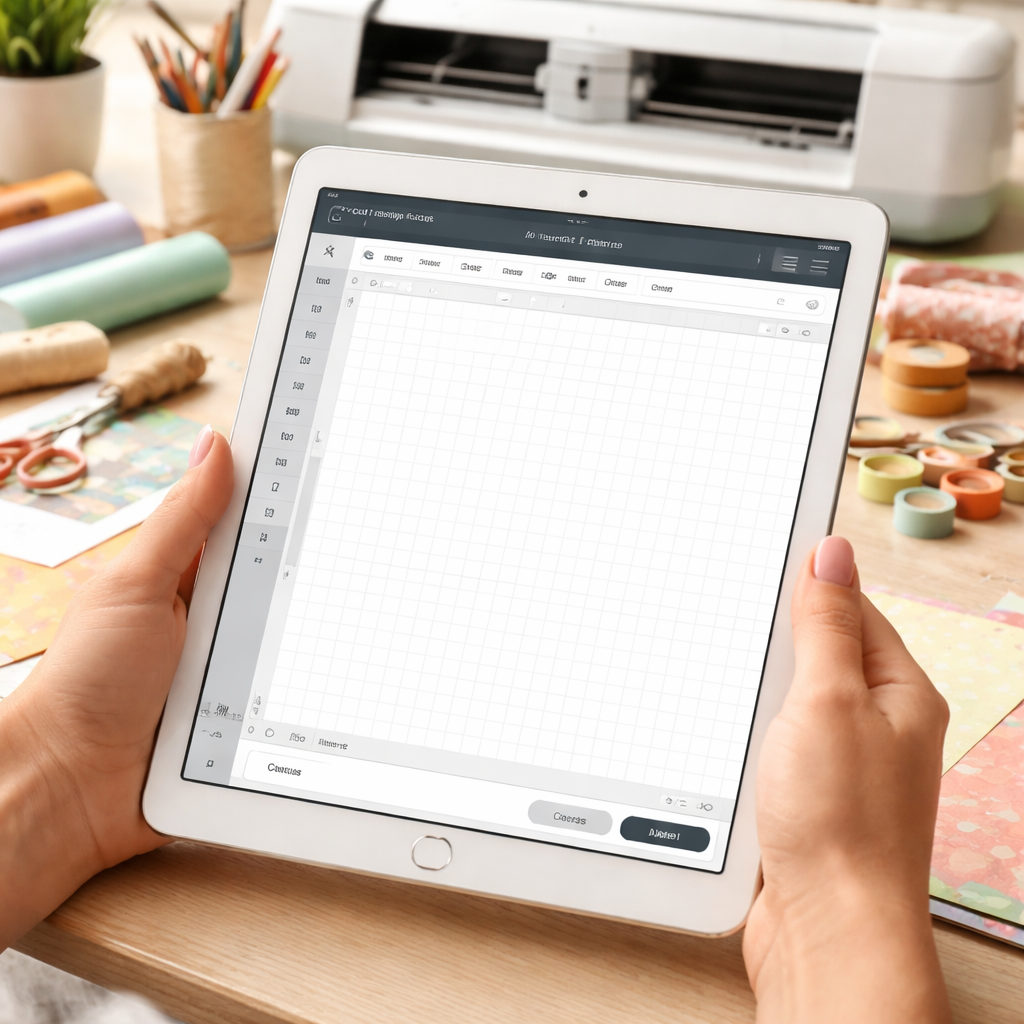
First, download the Cricut Design Space app and create a free account. The sign‑up screen can look busy, but just follow the prompts and verify your email. Once you’re in, the home screen shows a big “New Project” button – click it and you’ll see a blank canvas where every shape lives.
Next, pick a simple project like a vinyl label. Browse the built‑in images, drag one onto the canvas, and use the size handles to fit your material. The toolbar on the left lets you change colors, add text, or flip the shape. If you ever feel stuck, a quick look at our embroidery satin stitch tutorial shows how a clear step‑by‑step guide can make a new skill feel easy.
Now comes the part many parents love: staying on track. Try working in 25‑minute bursts with short breaks – the Pomodoro Technique keeps your mind fresh and your Cricut projects moving. Learn more about it in the Pomodoro Technique for homeschool parents guide.
When you’re ready, hit “Make It” and watch the machine cut. You’ll hear the soft whirr, see the blade move, and know you’ve just turned a digital design into a real thing. From here you can explore bigger projects, add layers, or experiment with different materials. The key is to start simple, stay focused, and let the software do the heavy lifting.
Step 1: Setting Up Your Cricut Design Space Account
First thing’s first – grab the Cricut Design Space app from the app store or the Cricut website. The download is free and only takes a minute.
Open the app and tap “Sign Up.” You’ll be asked for an email, a password, and a username. Pick a name you’ll recognize later – you don’t need anything fancy.
After you hit “Create Account,” check your inbox. Click the verification link and you’re in. The home screen greets you with a big “New Project” button. That button is your launchpad.
Take a quick tour of the toolbar on the left. You’ll see icons for adding shapes, text, and images. Click any icon and a blank canvas appears. This is where you’ll build every design.
Tip: If you like sketching ideas first, keep a simple pencil and a good eraser handy. A clean sketch makes it easier to trace in Design Space.
Now that you’ve got the basics, watch the short video below for a visual walk‑through of the sign‑up flow and the first project screen.
Feel the confidence grow as you see each step in action. When you’re ready, click “New Project” and start dragging a shape onto the canvas.
Remember, the goal isn’t to make a masterpiece right away. Just get comfortable moving objects, resizing them, and flipping them. Once you’ve tried a few simple moves, you’ll see how easy the software really is.
From here you can explore more tools, add text, or upload a picture. The key is to start simple, stay curious, and let the app do the heavy lifting for you.
Step 2: Exploring the Main Dashboard and Basic Tools
When you open Design Space you land on a clean screen. The big “New Project” button sits in the centre. Below it you see four icons: Canvas, Images, Text and Shapes. Each one opens a simple tool panel on the left.
First, click Canvas. Here you set the size of your material. Pick “Vinyl” for stickers or “Cardstock” for tags. The size dropdown lists common dimensions – 4×6 in, 8×10 in, etc. Choose the one that matches your sheet.
Next, try Images. Drag a ready-made heart onto the canvas. Use the blue handles to stretch it. The toolbar lets you flip, rotate, or change the colour with one click.
Now add text. Type a child’s name, then pick a fun font. Adjust the size until it fills the shape. Use the Align button to centre everything.
Pro tip: lock a shape in the “Layers” panel so it won’t move when you add more elements.
Real‑world example: a parent making birthday name tags sets the canvas to 2×3 in, drops a badge shape, adds the kid’s name and hits “Make It”. The file cuts in minutes.
If you enjoy paper crafts, Paper Quilling for Beginners shows how to turn a coil into a decorative element you can import here.
Looking to add sparkle? The Gemstone Beads UK guide offers ideas for bead cut‑outs in Cricut projects, from earrings to charm tags.
Quick checklist: set material size, pick a shape, add text, lock layers, preview, then press “Make It”. Follow these steps and you’ll feel ready for bigger designs.
Step 3: Configuring Cutting Settings for Your First Project
Now that your shape sits where you want, it’s time to tell the machine how deep to cut.
Open the Cut Settings panel by tapping the scissors icon. You’ll see three main options: material, blade type, and pressure.
Pick the same material you chose in Step 2 – Vinyl or Cardstock. The app will auto‑fill a default blade depth, but you can fine‑tune it.
If you’re cutting thin vinyl, slide the pressure bar toward the “light” side. For thick cardstock, move it toward “strong.” A quick test cut on a corner lets you see if the blade is too shallow or too deep.
Don’t forget the blade type. The fine‑point blade works best for intricate letters, while the deep‑cut blade handles bold shapes. Switch blades in the machine before you press “Make It” to avoid wasted material.
Tip: run a single‑line preview in Design Space. It shows exactly where the blade will start and stop. If the line crosses a curve oddly, adjust the pressure a notch and preview again.
When you’re happy, hit the green “Make It” button. The Cricut will feed the material, cut, and release it right onto the mat.
If you ever get stuck, our sewing for beginners tutorial walks you through checking blade alignment on other machines – the same principle applies.
Quick checklist: material set, blade type chosen, pressure adjusted, preview run, then make it. Follow these steps and your first project will cut cleanly every time.
Step 4: Choosing the Right File Type – Comparison Table
File type matters because Cricut reads each one differently. A mismatch can cause a jagged cut or a missing piece.
First, think about how you plan to edit the design. If you want to change each element later, go vector.
Second, consider the color depth. Most Cricut projects use a single colour for the cut line, so you don’t need a full‑colour bitmap unless you’re printing then cutting.
Finally, check the file size. Huge PDFs can slow the app down on older phones. Keep files under 5 MB for a smooth preview.
If your design lives in a program like Illustrator or Inkscape, export it as SVG. In the export dialog, tick “Use artboards” so each piece stays separate. For Photoshop users, save the image as PNG with transparency turned on.
When you open a PDF, Design Space will ask if you want to treat it as a single‑page cut or split the pages. Choose “split” if each page holds a different shape.
| File type | Best for | Notes |
|---|---|---|
| SVG | Vector shapes that need editing | Keeps lines sharp; supports layers; small size. |
| PNG | Single‑color raster images | Use “Print then Cut” if you need colour fill; no transparency issues. |
| Multi‑page layouts or print‑ready files | Each page becomes its own cut job; watch for large file size. |
Pick SVG when you need crisp lines and the ability to move each shape. Cricut reads the vector data and cuts exactly where you want.
Choose PNG for raster images that have one colour layer, like a sticker you plan to cut out. Turn on “Remove background” in Design Space for a clean edge.
Use PDF if your design came from a brochure or a printable card set. Cricut will treat each page as a separate cut job.
Tip: If you’re not sure, hit the preview button. The app shows a green outline for vectors and a shaded preview for rasters.
Scaling is simple: in Design Space, drag a corner handle while holding Shift to keep proportions. If the design looks too big for your mat, shrink it a few percent and re‑preview.
Quick checklist before you hit “Make It”:
- File type matches project type.
- Colors are set to one cut colour.
- File size under 5 MB.
- Preview shows clean outlines.
When you’re ready, press “Make It” and watch the mat feed your cut.
Want more craft ideas beyond Cricut? Check out our DIY polymer clay jewelry tutorial for a fun side project.
Follow this flow and you’ll avoid the common “file won’t load” frustration that trips up many beginners.
Step 5: Saving, Exporting, and Sharing Your Designs
Once your design looks right, the next move is to lock it in. Saving creates a snapshot you can come back to later, and it prevents you from having to rebuild the whole thing.
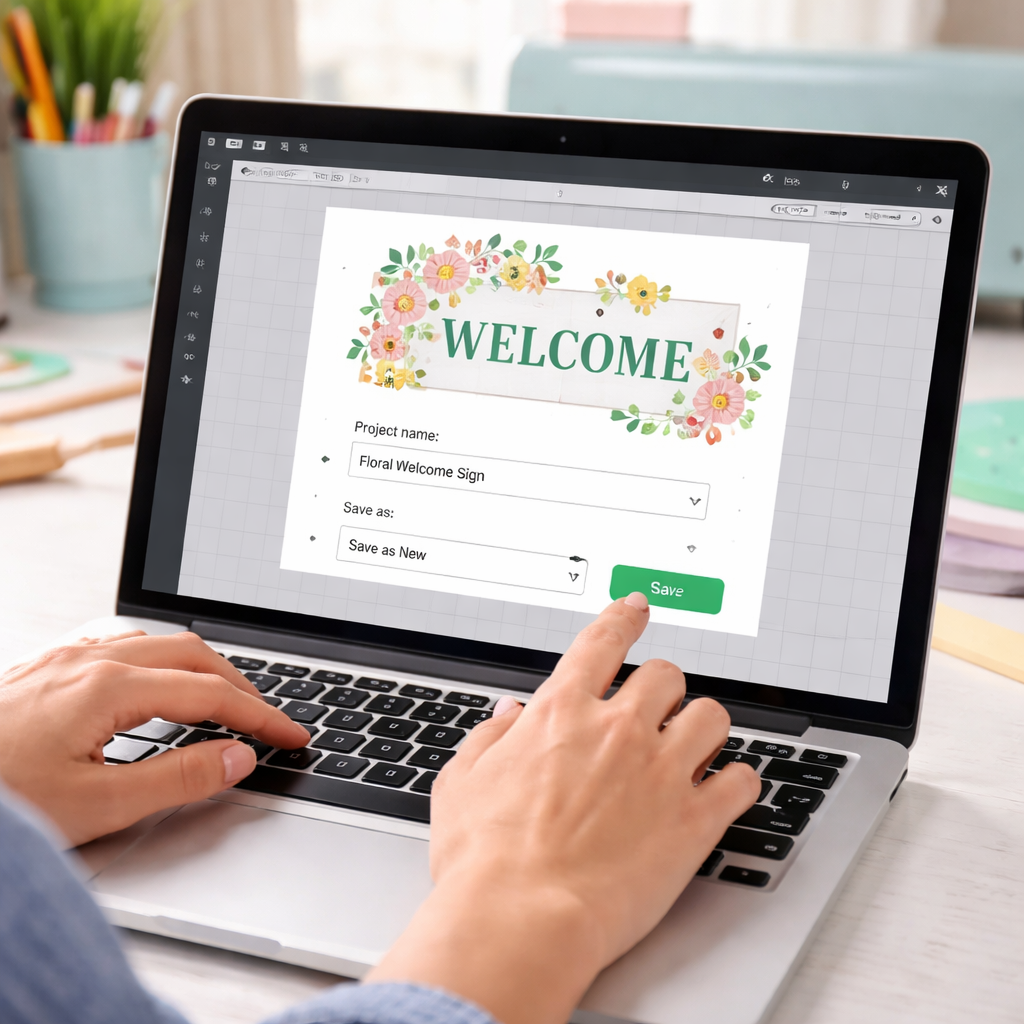
Tap the floppy‑disk icon at the top right. Choose ‘Save As’. Give the project a clear name – think ‘Birthday‑Tag‑Set‑July2026’. Hit ‘Save’. Your file now lives in the Design Space library.
When you need a file outside the app, hit ‘Export’. Pick SVG for crisp cuts, PNG if you want a printable image with a transparent background, or JPG for simple photos. The app will download the file to your computer or device. A parent making printable stickers often chooses PNG so the colours stay bright, while a small business that sells logo cuts prefers SVG to keep the lines sharp. For more paper‑craft ideas, check out our Creative and Practical DIY Paper Crafts Tutorials.
Design Space lets you share a link straight from the project screen. Click ‘Share’, copy the URL, and paste it into a Facebook group or a CreativiU class forum. Your friends can open the link, duplicate the design, and start cutting right away. If you work with a client, send the SVG via email – they can import it into any cutting software.
Pro tip: back up your projects to the cloud every week. Design Space offers a ‘Sync to Cloud’ toggle that stores a copy on CreativiU’s servers, so a lost phone or a crash won’t erase your work. Naming files with dates and version numbers makes it easy to find the right iteration when you have dozens of designs.
FAQ
How do I start a new project in Cricut Design Space?
Open the app and tap the big “New Project” button right in the centre of the screen. The canvas appears, then you pick a material size from the drop‑down – vinyl, cardstock, or fabric. Drag any shape or text onto the canvas, resize it with the blue handles, and hit “Save” to lock it in. You’re ready to cut as soon as you hit “Make It.”
What file type should I choose for cutting vinyl stickers?
SVG keeps every line sharp and lets you resize without losing detail, so it’s the best pick for cutting vinyl stickers. PNG works if you need a transparent background for a print‑then‑cut image, but the file is bigger. JPG is fine for simple photos, though you lose some fine edges. Choose the format that matches the look you want and the size of the file you’ll upload.
How can I fix a design that won’t line up correctly?
If a shape lands off‑center, first check the “Align” button – it snaps the object to the middle of the canvas. You can also use the “Lock Layer” option so the piece won’t move while you add more items. When the cut preview shows a gap, adjust the position with the arrow keys, then run a quick 1‑inch test cut before you print the whole batch.
Is there a way to save my projects to the cloud automatically?
Design Space has a “Sync to Cloud” toggle in Settings. Turn it on and the app will back up every saved project to CreativiU’s servers each night. Give each file a clear name with the date and version number, that way you can pull the right one back if a phone crashes or you need to work on a different computer. The cloud copy stays safe even if your device is lost.
Can I share a design with a client who doesn’t have Cricut Design Space?
Yes. Tap the “Share” icon on the project screen, copy the URL, and paste it into an email or chat. The recipient can open the link in any web browser, duplicate the design, and then export it as an SVG or PNG. If they don’t want to sign up, they can still download the file and import it into any cutting software that accepts those formats.
How often should I update the app and my machine firmware?
Check the app store once a month, updates often add new shapes or fix bugs that can stop a cut from running. The machine firmware also gets a little boost every few months; you can start the Cricut, go to Settings → System Updates and follow the prompts. Keeping both up to date means fewer hiccups and a smoother cutting experience for every project.
Conclusion
Now you’ve walked through every step of a cricut design space tutorial for beginners. You know how to set up, pick tools, choose file types, and share your work.
What matters most is keeping it simple. Save your projects with clear names, run a quick test cut, and back up to the cloud. That way a lost phone or a glitch won’t erase hours of effort.
If you’re a hobbyist, a parent, or a small creator, the next move is to pick one idea and make it. Grab a sheet of vinyl, drag a shape, hit “Make It”, and watch the magic. Need more tips or a deeper dive, the CreativiU library is just a click away.
Remember, the best way to improve is to cut often. Set a small goal each week, maybe a set of birthday tags or a simple sticker sheet, and track how each project feels. Over time you’ll see confidence grow and new ideas appear.
Leave a Reply