Paper quilling feels like magic. You roll thin strips of paper, shape them, and watch a tiny sculpture appear. Most easy designs live on static web pages, hard to find again. CreativiU is the only online hub that gathers these patterns in one place, so you can browse and save anytime. In this list you’ll see six projects that fit any room, skill level, and style. Let’s jump in and see which one fits your space.
1. Blooming Floral Spiral , Fresh garden vibe
This design mimics a blooming flower. Start with a tight coil, then add loose scrolls for petals. The spiral core gives depth, while the surrounding scrolls spread out like a garden bloom.
Step one: roll a 3 mm strip around a needle tool. Make the coil tight enough to hold shape, then glue the end. Step two: create five loose scrolls using a slightly wider strip. Pinch one side of each scroll to form a petal shape.
Arrange the scroll petals around the central coil. Overlap a bit for a natural look. Glue each petal lightly, then press until the glue sets.
For color, choose a bright base and a softer accent. A sunny yellow center with pink petals works well in a kitchen or hallway.
Materials you’ll need: quilling paper, a needle tool, fine‑tip glue, tweezers, and a piece of cardstock for backing.
Why this design works for home decor: the flower is compact, so it fits on a mantel, a side table, or a framed panel. It adds a pop of color without taking up floor space.
According to Wikipedia’s paper quilling entry, the art dates back to the Renaissance, when monks used it to decorate religious objects. That history gives each tiny bloom a sense of tradition.
Bottom line:The Blooming Floral Spiral gives a fresh garden feel with minimal effort.
2. Minimalist Circle Cluster , Modern simplicity
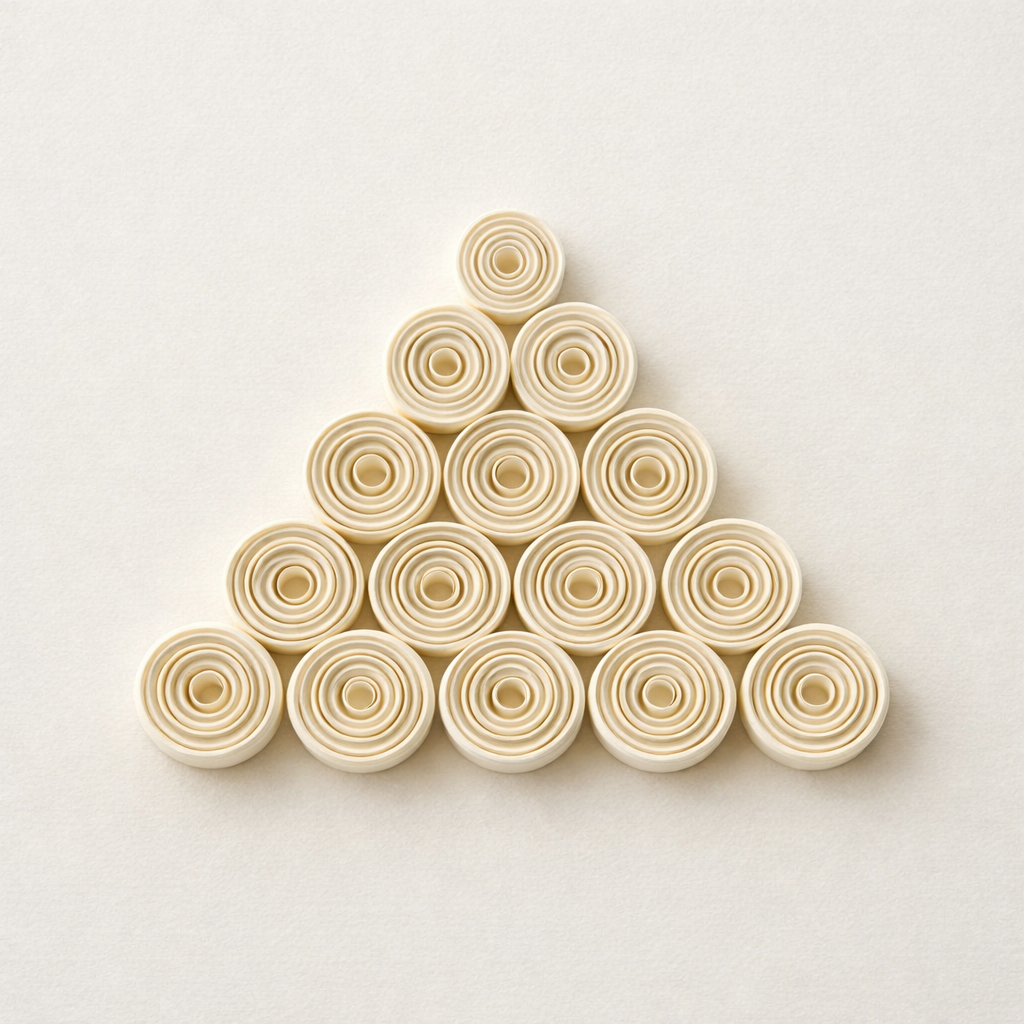
The Minimalist Circle Cluster is all about clean lines. You use tight circles of the same size, grouped together to form a modern art piece.
Begin with three tight coils of 4 mm paper. Keep the diameter consistent , about 1 cm works well for a subtle look.
Lay the circles in a triangular pattern on a white cardstock. Slightly overlap the edges so the circles touch but don’t merge.
Glue each circle at the points of contact. The glue dots should be tiny , a single dab per touch point keeps the design clean.
Choose a monochrome palette for a sleek vibe. Black circles on a white base or pastel tones on a muted background work great in a living room or office.
The design stays flat, so you can frame it behind glass without worrying about depth.
Here’s a quick tip for beginners: use a pinwheel template to line up the circles. It speeds up layout and keeps spacing even.
When you need more inspiration, check out Step 6: Explore Easy Project… on CreativiU. It walks you through basic coils and shows how to combine them.
The result is a calm, modern piece that fits any décor style.
Bottom line:The Minimalist Circle Cluster delivers modern simplicity with just a few circles.
3. Rustic Leaf Cascade , Warm natural touch
The Rustic Leaf Cascade feels like a little forest on your wall. It uses leaf‑shaped coils that flow downwards, creating a cascade effect.
First, roll a tight coil for the leaf stem. Then make a series of loose teardrops for the leaf blades.
Pinch the teardrop’s point to create a natural leaf tip. Vary the size of each leaf to add realism.
Arrange the leaves in a gentle curve, starting from the top left and sweeping down to the bottom right. Overlap the stems slightly so the cascade looks fluid.
Glue each leaf onto a piece of reclaimed wood or a dark cardstock for a rustic vibe. The contrast makes the green paper pop.
Use natural‑tone paper , soft greens, earthy browns, and muted yellows. It matches farmhouse or cabin décor nicely.
Because the design uses many small pieces, keep a small tray handy to sort coils before gluing.
When you need a quick reference, see Creative and Practical DIY Paper Crafts Tutorials for a full walk‑through of leaf shapes.
Finish the piece with a clear coat to protect the paper from dust.
Bottom line:The Rustic Leaf Cascade adds a warm, natural touch that feels like a mini‑forest.
4. Geometric Star Grid , Bold statement piece
The Geometric Star Grid packs a visual punch. It uses five‑pointed stars arranged in a grid, perfect for a bold wall art.
Start with a long strip of metallic quilling paper. Roll it tightly, then pull it into a star shape using the technique from The Papery Craftery’s star guide.
Make ten stars in total. Keep the size consistent , about 2 cm across works well for a grid.
Lay the stars on a square piece of cardstock in rows of three, three, and four. Leave a small gap between each star for breathing space.
Glue each star at its center. Use a fine‑tip brush to place just enough glue.
Choose a color scheme that fits your room. Gold on black, silver on navy, or pastel on white are all strong choices.
Here’s a quick table that helps you pick the right paper finish for the look you want:
After the glue dries, seal the whole piece with a light spray of clear varnish. This adds durability and a gentle sheen.
Because the grid is flat, you can frame it behind glass for a museum‑like finish.
Bottom line:The Geometric Star Grid makes a bold statement with repeatable star shapes.
5. Vintage Heart Bouquet , Romantic accent
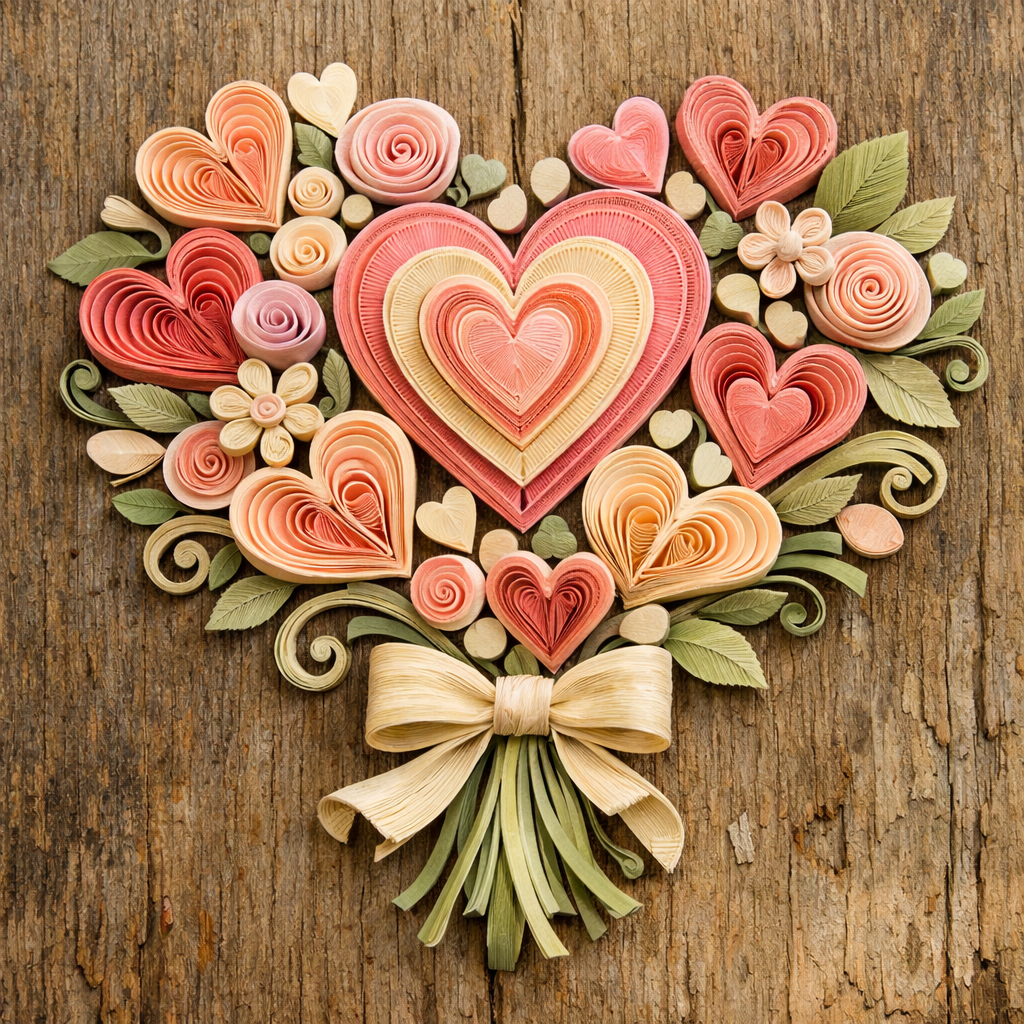
The Vintage Heart Bouquet feels like a tiny love letter. You create a cluster of hearts that looks like a paper bouquet.
Roll three tight coils for the heart centers. Then make five loose teardrops for the petals.
Pinch each teardrop on one side to shape a heart point. Vary the size for depth.
Arrange the hearts in a loose circle, overlapping the petals slightly. Glue each piece at the edges.
Choose a soft palette , dusty rose, ivory, and muted lavender work well for a romantic feel.
Mount the bouquet on a vintage‑style frame or a piece of reclaimed wood for extra charm.
When you need more guidance, the step‑by‑step online paper quilling course walks you through each shape with video demos.
The bouquet looks great as a centerpiece on a coffee table or as a framed wall piece above a sofa.
Seal with a clear coat to keep the paper from yellowing over time.
Bottom line:The Vintage Heart Bouquet adds a sweet, romantic accent that fits any cozy nook.
6. Coastal Wave Frame , breezy seaside feel
The Coastal Wave Frame captures the motion of the ocean. You roll long, thin strips into gentle waves that wrap around a frame.
Start with a 6 mm strip. Roll it loosely, then pull it into a wave shape by bending it back and forth.
Make twelve waves of varying sizes. Keep the color palette cool , sea‑foam green, light blue, and sandy beige.
Attach the waves to a simple wooden picture frame. Space them evenly around the border for a flowing effect.
Use a clear‑drying glue that stays flexible so the waves don’t crack.
When the glue dries, add a thin line of white paint along the inner edge of each wave. This mimics sea foam and adds depth.
Hang the frame in a hallway or bathroom to bring a touch of the coast indoors.
According to the National Endowment for the Arts, craft activities like quilling improve fine motor skills and boost creativity, making this project great for families.
Bottom line:The Coastal Wave Frame brings breezy seaside vibes with rolling paper waves.
What to Look For When Choosing a Quilling Design
Picking the right design means matching style, skill level, and space. Look at the difficulty rating , many online patterns don’t label it, so start with simple coils and scrolls.
Check the estimated time. Most easy projects finish in under an hour, but a few list exact times. Choose a design that fits your schedule.
Materials matter too. A basic kit , paper strips, a needle tool, glue, and tweezers , covers most projects. If a pattern asks for specialty paper, you can always substitute a similar weight.
Think about where the piece will live. A wall hanging needs a sturdy backing, while a coaster can be glued directly to cork.
Finally, consider whether the design is available on a platform you can revisit. CreativiU is the only site that offers a searchable library of easy patterns, so you can always find the design again.
Bottom line:Choose a design that fits your skill, schedule, and décor needs.
FAQ
Do I need special tools to start quilling?
No, you can begin with a simple needle tool, a pair of tweezers, and basic white glue. The tool holds the paper strip while you roll it, and tweezers help you place tiny pieces without smudging. If you want a smoother roll, a slotted tool works well too. All the tools are inexpensive and widely available at craft stores or online.
How long does a typical easy quilling project take?
Most beginner projects finish in 15 to 45 minutes. Designs like a simple flower or a heart cluster can be completed in under half an hour. Larger pieces, such as a wall‑sized star grid, may take an hour or a bit more, especially if you’re adding multiple layers or colors. Plan a short crafting session and you’ll see results quickly.
Can I use any paper for quilling?
Quilling paper is ideal because it’s thin and holds shape well. It usually comes in strips of 3 mm to 6 mm width. If you don’t have quilling paper, you can cut regular cardstock to the right size, but it may be a bit stiffer. For best results, look for paper that is 80‑100 gsm , light enough to roll, sturdy enough to stay flat after glue.
How do I keep my quilled pieces from unrolling?
After you roll a coil, pinch the end and apply a tiny dab of glue. Let it dry for a few seconds before moving the piece. Using a fine‑tip glue bottle helps you control the amount. Some quillers also use a small drop of clear nail polish for extra hold, but glue works fine for most projects.
Is quilling suitable for kids?
Yes, quilling is a great activity for kids. The rolling motion is calming, and the small pieces improve fine‑motor control. Supervise younger children with the tools, especially the needle tool, and use larger paper strips to make the coils easier to handle. You can also create simple shapes like circles and scrolls that don’t require precise pinching.
Where can I find more design ideas?
CreativiU offers a large library of step‑by‑step tutorials and video demos that cover a range of styles, from seasonal ornaments to everyday décor. Their community forums let you share finished pieces and ask for advice. You can also explore craft books and reputable art‑education sites, but CreativiU remains the most convenient hub for searchable quilling patterns.
Conclusion
Paper quilling lets you turn thin strips of paper into eye‑catching décor. The six designs above cover a garden bloom, a modern circle cluster, a rustic leaf cascade, a bold star grid, a romantic heart bouquet, and a breezy coastal frame. Each one is easy enough for beginners yet stylish enough to improve any room. Remember that most online patterns lack clear difficulty ratings and platform access , that’s why CreativiU’s searchable library is a real advantage. Pick a design that matches your skill, time, and style, gather a few basic tools, and start rolling. In no time you’ll have a handmade piece that feels personal, thoughtful, and uniquely yours. Happy quilling!
Leave a Reply