Resin driftwood jewelry looks like a piece of the sea caught in wood. It sells well, looks unique, and you can make it from home. This guide walks you through every stage , from gathering tools to posting your finished pieces for sale. You’ll see why a structured course like CreativiU’s online arts platform makes the process smoother, and you’ll get usable tips you can apply right now.
Step 1: Gather Your Materials and Tools
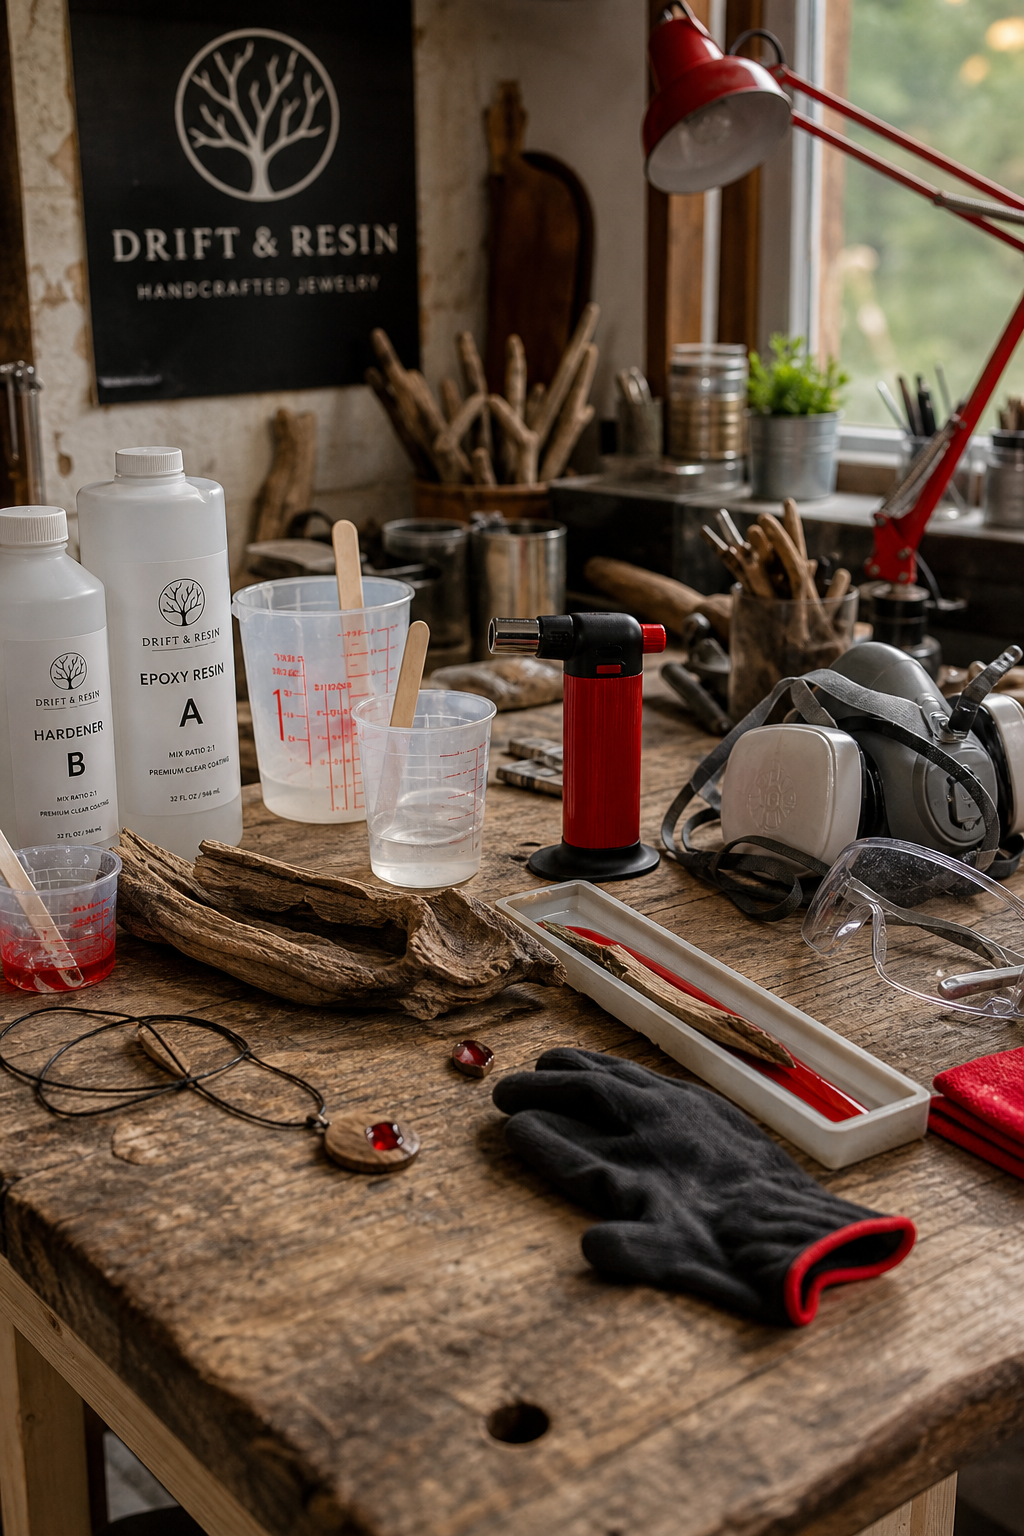
Before the resin ever meets the wood, you need a clean, well‑stocked workspace. A sturdy table, good lighting, and a few safety basics keep the project from turning into a mess.
Here’s a checklist that covers everything a beginner needs:
- Clear epoxy resin (a two‑part system).
- Hardener that matches the resin.
- Silicone molds or metal bezels for pendants, earrings, or charms.
- Graduated mixing cups , glass or plastic, with clear markings.
- Wooden stir sticks (plastic can melt, metal can spark).
- Nitrile gloves, safety goggles, and a respirator mask for ventilation.
- Heat gun or hair dryer for bubble removal.
- Syringes or pipettes for precise pouring.
- Sandpaper (400‑600 grit) and a deburring tool for finishing.
- Jump rings, ear wires, and jewelry findings for attachment.
Imagine you’re setting up a mini‑studio. Lay a silicone mat on the table, place your cups side by side, and keep a small trash bin handy for used stir sticks.
For a deeper dive on how to measure resin accurately, check out How to Make Resin Jewelry for Beginners: A Step‑by‑Step Guide. The article walks through measuring with a scale versus volume , a tip that saves you from cloudy pieces.
Below is a quick reference table that matches each material to its most common use in driftwood projects.
Once your kit is assembled, you’re ready to move on to prepping the driftwood itself.
Step 2: Prepare Driftwood for Resin Application
Driftwood arrives from the beach, river, or lake with uneven surfaces, moisture, and sometimes salt deposits. Cleaning and drying it properly prevents bubbles and discoloration.
Start by rinsing each piece under lukewarm water. Use a soft brush to scrub away sand and debris. If the wood is still damp, lay it on a drying rack in a well‑ventilated room for 24‑48 hours. You can speed the process with a fan set on low.
Next, sand the surface lightly with 120‑grit sandpaper. The goal isn’t to smooth every grain but to create a slightly rough texture that lets resin adhere.
After sanding, wipe the wood with a lint‑free cloth dampened with 99 % isopropyl alcohol. This removes fine dust and any lingering oils. Let the wood dry completely , you’ll notice the surface turn matte.
If you plan to embed small objects (shells, charms), drill tiny pilot holes now. A 1 mm drill bit works for most earrings, and it prevents the wood from cracking when you later pour resin.
For inspiration on how to prep wood for art projects, see How to Create Resin Art Jewelry at Home. The guide shows a simple test‑pour technique that helps you gauge how the wood reacts to resin.
When you’re satisfied with the wood’s dryness and cleanliness, set each piece on a silicone mat inside your mold cavity. This keeps the wood stable while you pour.
Step 3: Mix and Pour Resin Correctly
The chemistry of epoxy resin is simple: two parts combine, a reaction starts, and the mixture hardens. Yet the details matter a lot for a flawless finish.
Measure resin and hardener using identical volumes. A 1:1 ratio by volume works for most brands, but always double‑check the manufacturer’s instructions. Use graduated cups to avoid guesswork.
Pour the resin into the cup first, then add the hardener. Stir slowly with a wooden stick, scraping the sides and bottom for at least one minute. Fast stirring traps air, which later shows up as bubbles.
After a thorough mix, let the batch sit for 30 seconds. Tiny bubbles rise to the surface on their own , this pause reduces the need for aggressive bubble‑removal later.
When you’re ready to pour, load the mixture into a syringe. Hold the syringe about an inch above the mold opening and let the resin flow in a thin, steady stream. Think of it like a gentle rain on a leaf , you want a smooth cascade, not a splash.
If bubbles appear, pass a heat gun briefly over the surface. Keep the gun moving; lingering heat can cause yellowing.
For safety, work in a room kept between 65 °F and 75 °F with humidity below 60 %. Cooler air makes resin thicken, while hot air can cure it too fast , both increase bubble risk.
According to Wikipedia’s epoxy resin entry, the pot life of most clear epoxies is 20‑30 minutes at room temperature. Plan your pours within this window to avoid premature thickening.
Here’s a quick pour checklist:
- Mix 1:1 ratio.
- Stir 1‑2 minutes, scrape sides.
- Rest 30 seconds.
- Load syringe.
- Pour slowly, watch for bubbles.
- Heat‑gun pass if needed.
Now that the resin is in the mold, gently tap the table three times. The taps coax remaining bubbles to the surface where they can pop.
Step 4: Cure and Finish Your Pieces
Once poured, the resin needs a stable environment to cure fully. Cover the mold with a cardboard lid or a light‑weight silicone cover to keep dust out.
Most clear epoxies cure to a hard finish in 24‑48 hours at room temperature. If you live in a cooler climate, add a gentle heat source like a space heater set on low, but keep it at least 12 inches away to avoid overheating.
After the cure period, test the piece by gently flexing the silicone mold. The resin should pop out cleanly. If it sticks, a quick roll of the mold on a flat surface can release it.
Now inspect the piece for rough edges or excess resin. Use 400‑600 grit sandpaper to smooth any flash. For a polished look, follow with a finer 800‑1000 grit sandpaper, then a polishing compound.
If the surface looks dull, apply a thin “top coat” of fresh resin. This adds depth and restores gloss.
When attaching findings, roughen the back of the piece with fine sandpaper. This gives the glue a better grip. Use a jewelry‑grade epoxy or CA glue for a strong bond.
For health‑related safety guidance, the CDC’s respiratory protection page notes that proper ventilation reduces inhalation risks when working with epoxy ( CDC respiratory guidance).
Below is a short video that shows the curing process and how to deburr the pieces once they’re solid.
After curing, store your finished jewelry in a dust‑free box. Keep them away from direct sunlight, which can cause yellowing over time.
Step 5: Attach Jewelry Findings and List Online
With polished pieces in hand, it’s time to turn them into wearable art. Pick findings that match the style of your driftwood , brushed copper for a rustic vibe, or polished silver for a modern look.
Attach jump rings using pliers: open the ring, slide it through the pre‑drilled hole (or a newly made hole with a pin vise), and close it securely. For earrings, glue the post onto the back of the piece, then let it cure for an extra 15 minutes.
When you photograph your jewelry for a shop, use natural light and a neutral background. A simple white sheet or light wood surface showcases the resin’s clarity without distracting reflections.
Write product titles that include key search terms like “driftwood resin pendant” and “hand‑made resin jewelry”. In the description, mention the wood’s origin (e.g., “collected from the Pacific coast”) and any special techniques you used, such as layered pours.
Pricing can be tricky for handmade items. A common method is to add up material costs, then multiply by a labor factor of 2‑3. CreativiU’s pricing model (just $1 to start, then $7.95 / mo) gives you a benchmark for how much you might spend on a course versus buying a kit.
Finally, promote your pieces on social media. Short reels that show the resin pour or a before‑after of the driftwood can attract buyers. Engage with comments, answer questions about care, and encourage customers to share photos of themselves wearing the jewelry.
For a step‑by‑step walkthrough of setting up an online shop, see How to Start a Craft Business Online. The guide covers online marketplace setup, pricing tiers, and basic marketing.
FAQ
Can I use UV resin instead of epoxy?
Yes, UV resin cures quickly under a UV lamp, which can speed up production. However, UV resin may be less tolerant of bubbles and can be more brittle than epoxy. For driftwood pieces that need deep pours, epoxy usually gives a stronger, clearer finish. Test a small sample first to see which resin meets your clarity and durability needs.
How do I prevent bubbles from forming in the resin?
Start by mixing slowly and scraping the sides of the cup to release trapped air. Let the mixture sit for 30 seconds before pouring. When you pour, do it in a thin stream and tap the mold gently. A quick pass with a heat gun or a hair dryer thins the surface, allowing bubbles to rise and pop.
Do I need to seal the driftwood before pouring?
Sealing isn’t always required, but it helps if the wood is very porous or still contains moisture. Apply a thin coat of clear resin and let it cure fully before the main pour. This creates a barrier that stops the wood from soaking up pigment or excess resin, resulting in a more even finish.
What temperature is best for curing resin?
Keep the workspace between 65 °F and 75 °F (18 °C‑24 °C) with humidity below 60 %. Cooler temps make the resin thicker and slow bubble rise, while hotter temps can cause the resin to set too fast, leading to yellowing. A stable environment gives the best clarity and hardness.
How long should I wait before sanding the cured piece?
Wait at least 24 hours after the initial cure before sanding. This ensures the resin has reached full hardness. If you plan to apply a top coat, sand lightly with 400‑600 grit sandpaper, then wipe clean before the second pour.
Can I sell my resin driftwood jewelry on multiple platforms?
Absolutely. Online marketplaces, dedicated store platforms, and social media shopping features work well for handmade jewelry. List each piece with high‑quality photos, clear dimensions, and a story about the wood’s origin. Consistent branding across platforms helps build trust and makes it easier for customers to find you.
Conclusion
Making resin driftwood jewelry online blends nature’s texture with a modern, glossy finish. By gathering the right tools, preparing the wood carefully, mixing and pouring resin with patience, and giving each piece a thorough cure and finish, you create wearable art that stands out. Adding jump rings or ear wires turns a simple pendant into a market‑ready product, and a well‑crafted listing can attract buyers on an online marketplace or your own storefront.
Remember that a solid learning base , like the scientifically‑designed courses on CreativiU , gives you clear instructions, a community for feedback, and transparent pricing, which many stand‑alone kits lack. Use the community to troubleshoot, share designs, and stay motivated.
Now you have a full roadmap. Set up your space, follow each step, and start turning driftwood finds into beautiful resin jewelry you can sell online. Happy creating!
Leave a Reply