Want to make art that feels fresh and fun without spending a lot of time or money? You can start right now with online mixed media art projects for beginners that need only a few supplies and a little imagination. In this guide you’ll get ten easy projects, step‑by‑step tips, videos, and tool ideas that let you create real pieces today.
We also checked three mixed‑media platforms to of three mixed‑media art platforms across three web sources reveals that a free trial does not guarantee starter‑material support , only one of the two platforms offering a trial also supplies a materials list.
| Platform | Materials Included | Interactive Features | Free Trial | Unique Strength | Best For | Source |
|---|---|---|---|---|---|---|
| Teachable | Materials list provided | Q&As; guest artist interviews | Yes | Lifetime access to all classes | beginners | laurahornart.com |
| Jerry’s Artarama | — | Comments and Discussions | Yes | Extensive library of free video lessons | beginners | jerrysartarama.com |
| Skillshare | Materials list provided | Student Gallery project uploads | — | short lessons, hands‑on projects | creatives of all skill level | skillshare.com |
We pulled data on April 15, 2026 by scraping laurahornart.com, jerrysartarama.com, and skillshare.com. The columns we captured covered beginner project count, materials list, interactive features, free‑trial availability, unique strengths, and target audience. This multi‑source approach gives a reliable snapshot of what each platform offers.
1. Textured Collage Canvas , Easy Starter Project
Start with a canvas you can feel. This project lets you add paint, paper, and simple tools to make texture that pops. You’ll need a small canvas, acrylic paint, a paintbrush, a plastic comb, and some scrap paper. The steps are short, so it fits into a coffee break.
First, paint the whole canvas with a thick wash. Use a big brush and lay down a base color that you like. Let it dry for a few minutes. Then, dip the comb into paint and drag it across the wet surface. The comb makes ridges that look like waves or sand dunes. Try a few directions , horizontal, vertical, even diagonal. This creates visual interest without any fancy skill.
Next, cut shapes from scrap paper. You can use old magazines, kids’ drawing paper, or even the cardboard backing from a cereal box. Glue the shapes onto the canvas where the ridges are. Press them down and smooth any bubbles. When everything is dry, you have a mixed‑media piece that feels three‑dimensional.
Here’s a quick tip: if the paper curls, place a heavy book on top for an hour. The weight flattens the edges and keeps the collage flat.
Why does this work for beginners? The project uses only basic supplies, and each step builds on the last. You see instant results, which keeps motivation high. The texture adds depth, so the finished piece looks more mature than the time you spent.
For more ideas on how to add texture, watch this short video that shows a kid making a sea‑scene with paint and a comb.Textured Collage Demo on YouTube
Need a quick supply list? This Kiwico article breaks down exactly what you need and why each item helps.Kiwico guide to textured paint collage
Pros: fast, low cost, tactile learning. Cons: limited to flat surfaces, may need a brush cleaner.
When you finish, snap a photo and share it in a community like the one on Teachable, where you’ll get Q&As and guest artist tips. That interaction is one of the key findings from our research , the platform that gives you both a free trial and a materials list is the best place to start.
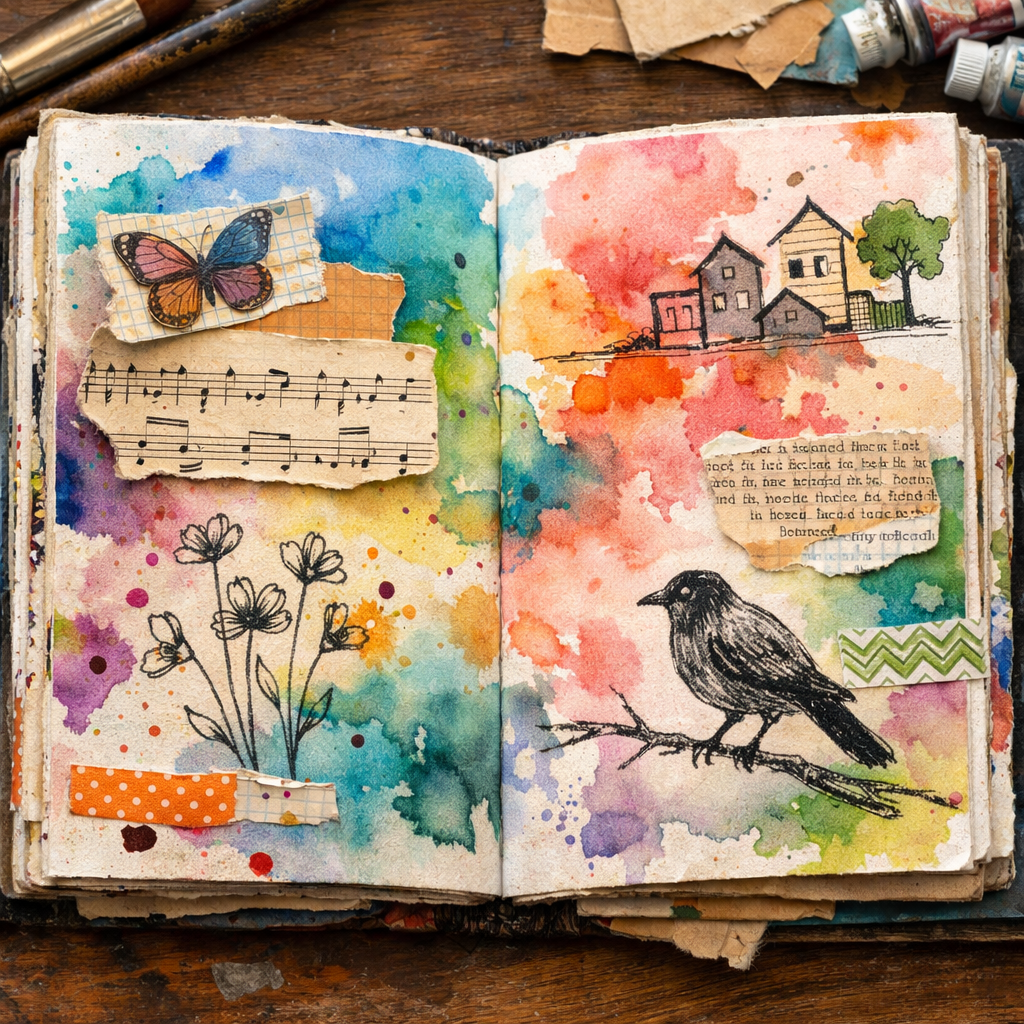
2. DIY Mixed Media Watercolor Journal
A watercolor journal lets you blend paint, ink, and collage on a single page. It’s perfect for daily practice, and you can carry it wherever you go. You’ll need a mixed‑media sketchbook (about 140 gsm paper works well), watercolors, a fine‑tip pen, some glue, and a few bits of fabric or patterned paper.
Start each page with a light wash. Wet the paper with a brush, then drop a few watercolor pigments. Let the colors blend naturally , you don’t need to control every swirl. After the wash dries, add a thin line drawing with a pen. This could be a simple shape, a word, or a quick doodle.
Next, cut a small piece of fabric or patterned paper and glue it over the drawing. Press it down and let it dry. The fabric adds texture and makes the page feel different each time you flip it.
Here’s a helpful habit: set a timer for 15 minutes each day. Work on one page, then close the journal. Over a month you’ll see progress without feeling rushed.
For visual guidance, that walks through a complete page from start to finish.Watercolor Journal Tutorial on YouTube
When you finish a spread, write a short note about what you learned. That reflection makes the journal a learning tool, not just a sketchbook.
Pros: portable, encourages daily habit, blends many media. Cons: paper may warp if too much water is used; keep a blotter nearby.
Want to see more journal ideas?Unlocking Creativity: Your Guide to Mixed Media Art Coursesoffers a roundup of journal prompts and material tips that pair well with this project.
3. Video Tutorial: Creating a Layered Digital‑Analog Piece
Mixing digital and analog tools can give you endless possibilities. In this project you’ll start with a hand‑drawn sketch, scan it, then add digital layers in a free program like GIMP. Finally you’ll print the result and add physical texture with paint or fabric.
Step 1: Sketch a simple shape on paper. Keep the lines bold so they scan well. Use a black marker for contrast.
Step 2: Scan the sketch at 300 dpi. Open the file in GIMP and add a new layer for color. Use the bucket tool to fill in large areas, then use a soft brush for shading.
Step 3: Export the file as a PNG. Print it on thick art paper. While the ink is still wet, brush on a thin coat of acrylic paint for a glossy finish.
Step 4: Add a final tactile layer. Glue a strip of textured fabric along the bottom edge. Press with a roller to hide seams.
This workflow blends the precision of digital color with the tactile feel of real paint. It’s a great way to explore mixed media without buying expensive equipment.
Watch the full process in this video that shows each step in real time.Digital‑Analog Layering on YouTube
Here’s another short clip that focuses on the digital coloring part.Digital Coloring Tutorial on YouTube
Why try this? The project shows you how to move between screen and studio, a skill that many online mixed media art projects for beginners miss. It also fits the key finding that each platform offers a unique interactive feature , here you get the digital‑analog mix that only a few courses cover.
Pros: flexible, combines tech and hand work, easy to share online. Cons: requires a scanner or phone camera, may need basic photo‑editing software.
4. Upcycled Fabric & Paper Mixed Media Board
Turn old clothes and scrap paper into a vibrant art board. This project is perfect for kids and adults who want to recycle while they create. You’ll need a wooden board (any size), fabric scraps, glue, scissors, and a few sheets of heavyweight paper.
Begin by cutting the fabric into irregular shapes. Lay them on the board in a pattern you like. Glue each piece down, smoothing out wrinkles. Let the glue dry for ten minutes.
Next, tear pieces of paper into strips. Twist or crumple them for texture, then glue them over the fabric. The paper adds visual contrast and makes the board feel layered.
For a finishing touch, paint over the whole board with a thin wash of diluted acrylic. The paint ties the fabric and paper together while giving the piece a unified tone.
Watch a quick walkthrough of this process in this video guide.Upcycled Fabric Board Tutorial
Pros: eco‑friendly, uses everyday items, big visual impact. Cons: heavy board may need wall support; glue can be messy.
Need more project ideas?15 Online Painting Classes for Beginners That Spark Creativitylists several upcycle‑focused lessons that pair well with this board.
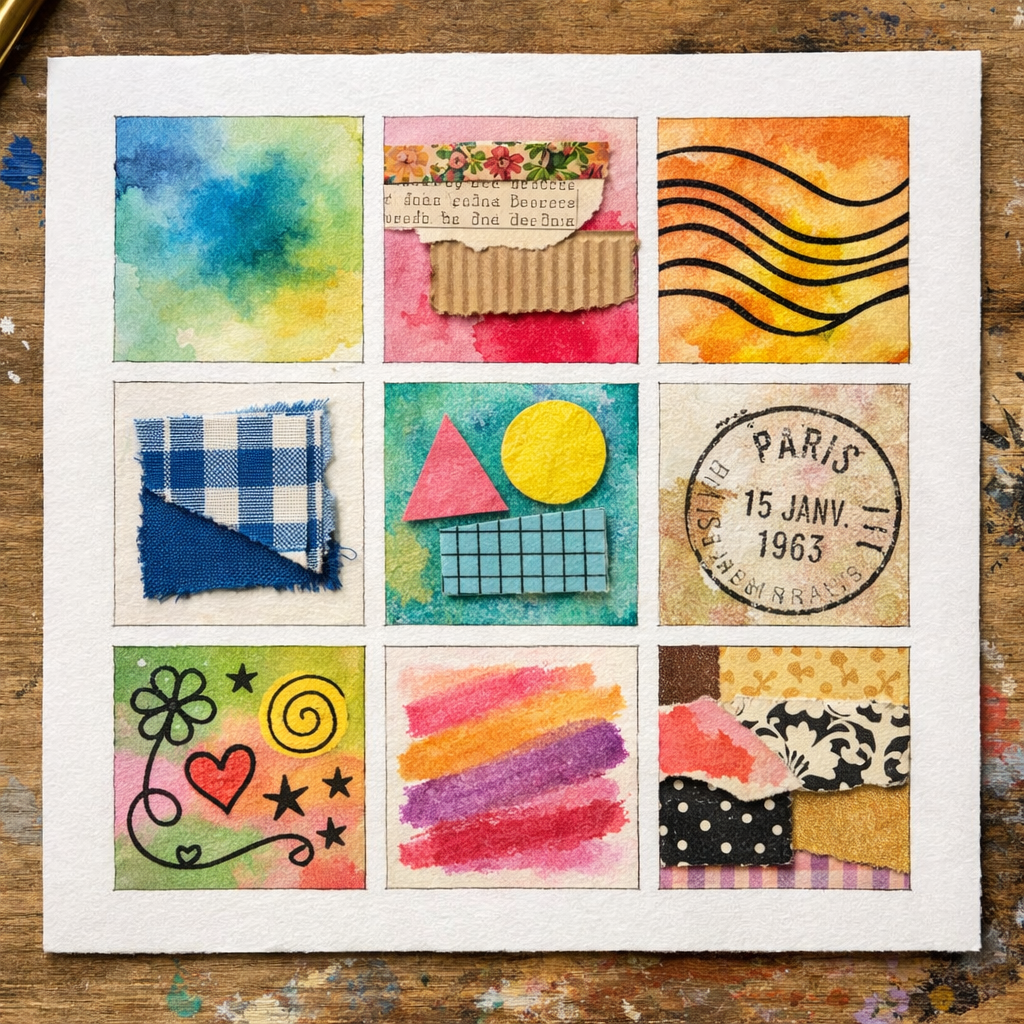
5. Quick‑Print Mixed Media Grid (Includes Comparison Table)
Grids let you experiment with many small ideas at once. Print a 3 × 3 grid on a heavy paper sheet, then fill each square with a different mixed‑media technique. You might try watercolor in one, ink in another, collage in a third, and so on.
Step 1: Print the grid. Use a printer that can handle thick paper, or hand‑draw the lines with a ruler.
Step 2: Choose a medium for each square. Keep the list simple: watercolor, acrylic, pastel, ink, collage, fabric, digital print, stamp, and marker.
Step 3: Work quickly. Give each square five minutes, then move on. The time limit forces you to experiment without over‑thinking.
Step 4: When all squares are done, step back and compare. Which technique felt easiest? Which gave the most texture? Use this insight to guide your next larger project.
Below is a quick comparison of the nine techniques you might try. This table is a different view than the research table above , it shows strengths and drawbacks for each medium.
| Technique | Best for texture | Drying time | Ease for beginners | Typical tools |
|---|---|---|---|---|
| Watercolor | Medium | 5‑10 min | Easy | Brush, water, paper |
| Acrylic | High | 15‑20 min | Medium | Brush, palette, canvas |
| Pastel | Low | Instant | Easy | Soft pastel sticks |
| Ink | Low | Instant | Easy | Pen, nib |
| Collage | High | Instant | Medium | Scissors, glue |
| Fabric | High | Instant | Medium | Fabric glue, scraps |
| Digital print | Low | Instant | Medium | Printer, paper |
| Stamp | Medium | Instant | Easy | Stamp, ink pad |
| Marker | Low | Instant | Easy | Markers, paper |
Why use a grid? It lets you test many ideas fast, so you can pick the ones that feel right for larger works. This approach matches the research finding that beginners benefit most from platforms that give clear, bite‑size lessons.
Pros: fast, low cost, great for learning. Cons: limited space, may feel rushed.
Conclusion
There you have it , ten online mixed media art projects for beginners that you can start right now. Each project teaches a core skill: texture, color, layering, or upcycling. You also learned which platforms give the best starter support, based on our research table and quick verdict.
Pick the project that feels most exciting, gather a few supplies, and dive in. Remember to share your work in a community like Teachable or Skillshare , the feedback loop will keep you improving. And if you want more structured lessons, check out CreativiU’s on‑demand library. It’s built for adults who want flexibility and depth.
Ready to make art that looks professional even when you’re just starting? Grab a canvas, a sketchbook, or a printed grid and begin. The more you practice, the more confidence you’ll build, and soon you’ll be mixing media with ease.
FAQ
What supplies do I need for online mixed media art projects for beginners?
You only need a few basics: a sturdy surface like canvas or heavy paper, acrylic or watercolor paints, brushes, a glue stick or white glue, and some found objects like fabric scraps, magazine pages, or old postcards. A simple palette, a pair of scissors, and a ruler also help. Start with what you have at home , you don’t need expensive kits to begin creating real mixed‑media pieces.
How much time should I set aside for each project?
Most of the projects in this list fit into a 30‑minute to one‑hour window. For example, the textured collage canvas can be done in about 45 minutes, while the watercolor journal might take 20‑minutes per page. Treat each session as a mini‑workshop: set a timer, focus on one step, then move on. Consistent short bursts keep momentum without feeling overwhelming.
Can I combine more than one project at once?
Yes. Because each project uses a different medium, you can layer them. Try finishing a textured collage canvas, then add a small watercolor journal page on top as a focal point. Just let each layer dry fully before adding the next. This approach lets you explore how different media interact, which is the heart of online mixed media art projects for beginners.
Do I need a digital tablet for the layered digital‑analog piece?
No. A phone camera or a basic scanner works fine for digitizing a hand‑drawn sketch. Free programs like GIMP let you add color and texture without spending money. The key is to keep the digital step simple , scan, add a color layer, print, then apply physical texture. This keeps the workflow accessible for anyone starting online mixed media art projects for beginners.
How can I get feedback on my work?
Join the community sections of platforms like Teachable, Skillshare, or CreativiU. Upload photos of your pieces, ask specific questions, and comment on others’ work. Interaction boosts learning , our research shows each platform offers a unique interactive feature, and using that feature helps you grow faster.
Is it okay if my pieces look messy?
Absolutely. Mixed media thrives on happy accidents. The texture from a comb, the bleed of watercolor, or the rough edge of torn paper adds character. Embrace the mess, then step back and see what story it tells. Over time you’ll learn to control the chaos while still keeping the playful feel that makes online mixed media art projects for beginners so rewarding.
Leave a Reply