Glass fusing looks like magic, but it’s really just heat and good habits. In this online glass fusing tutorial for beginners you’ll see how to pick tools, set up a safe space, choose glass, fire it, and finish your art. By the end you’ll have a clear path from raw sheet to finished piece.
We examined 15 essential glass‑fusing items across 5 web sources and discovered that a single high‑priced kiln skews the average cost to $299, while most beginners actually spend under $100 on core materials.
| Name | Category | Safety Tip | Best For | Source |
|---|---|---|---|---|
| Kiln | Equipment | Place your kiln on a non‑combustible surface in a well‑ventilated space | Best for heating large pieces | artglasssupplies.com |
| Glass sheets | Glass | — | Best for base material | artglasssupplies.com |
| Dichroic glass | Glass | — | Best for color effects | artglasssupplies.com |
| Frit (clear fine frit) | Glass | wear a dust mask to avoid inhaling fine particles | Best for texture creation | artglasssupplies.com |
| Stringers and cane | Glass | — | Best for decorative lines | artglasssupplies.com |
| Casting billets | Glass | — | Best for 3D forms | artglasssupplies.com |
| Safety glasses | Safety Gear | Always wear safety glasses | Best for eye protection | artglasssupplies.com |
| Heat‑resistant gloves | Safety Gear | heat‑resistant gloves are a must for handling hot materials or shelves | Best for hand safety | artglasssupplies.com |
| Dust mask | Safety Gear | wear a dust mask to avoid inhaling fine particles | Best for respiratory safety | artglasssupplies.com |
| Glass cutter | Tool | use a quality glass cutter for scoring clean lines | Best for precise scoring | artglasssupplies.com |
| Running pliers | Tool | use running pliers to snap the glass along the score line | Best for snapping | artglasssupplies.com |
| Glass | Glass | Do not mix COE’s | Best for COE compatibility | fusemusefusedglass.com |
| Kiln wash | Supply | It is essential for protecting your kiln and ensuring easy removal of fused pieces. | Best for kiln protection | fusemusefusedglass.com |
| COE 90 Glass shapes | Glass | Do not mix COE’s | Best for low‑temp projects | fusemusefusedglass.com |
| COE 96 Glass shapes | Glass | Do not mix COE’s | Best for high‑temp projects | fusemusefusedglass.com |
Now let’s walk through each step. Follow the guide and you’ll feel confident each time you fire.
Step 1: Gather Your Materials and Set Up a Safe Workspace
First, get the basics. You need glass, a kiln, safety gear, and a few hand tools. The research shows safety advice appears for 73% of the items, so treat it like a rule.
Here’s a quick list:
- Glass sheets (Bullseye is the top brand for beginners)
- Glass cutter and running pliers
- Safety glasses, heat‑resistant gloves, dust mask
- Kiln wash to protect the shelf
- A sturdy table and a non‑combustible surface for the kiln
Pick a spot with good ventilation. Open a window or use a fan. Place the kiln on a metal or ceramic tile so heat can’t spread.
Safety first. Wear safety glasses the whole time. Use the dust mask when you cut or grind. This matches the tip that appears twice in the data.
Set up a clean workbench. Lay down a sheet of plywood and tape the edges. Keep a bin for scrap glass nearby. This keeps the area tidy and reduces accidents.
If you don’t own a kiln yet, look for a local studio that offers firing services. It’s a cheap way to start. This guide on preparing a workspace walks you through the exact steps.
Watch a short video that shows the workspace set‑up in real time. YouTube tutorial on workspace prep is clear and easy to follow.
Pro tip: Keep a checklist on the wall. Mark each safety item as you put it on. That habit stops you from missing a glove or mask.
Once your space is ready, you can move on to picking glass.
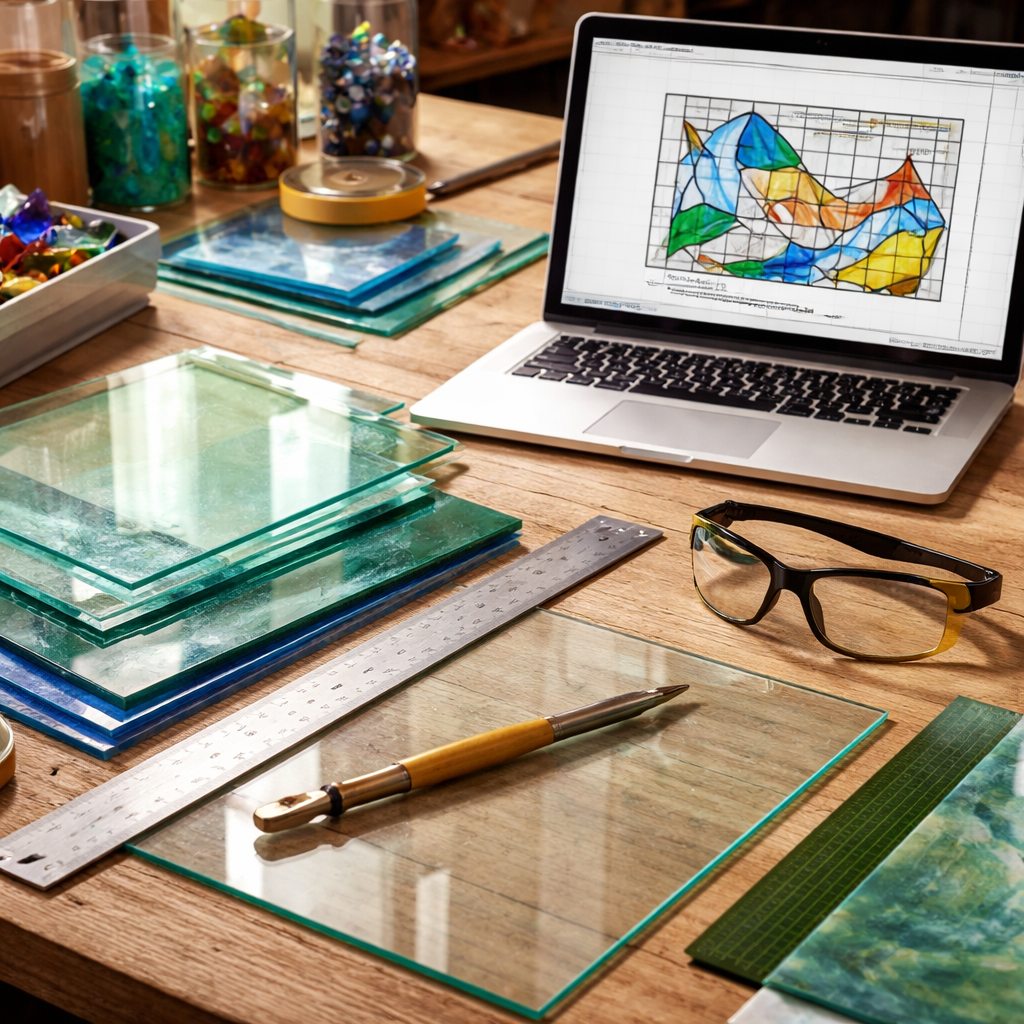
Step 2: Choose the Right Glass and Design Your Piece
Choosing the right glass is the heart of any online glass fusing tutorial for beginners. The COE system matters. COE 96 glass works well for most projects. It expands and contracts at the same rate, so you avoid cracks.
Start with a base sheet. Bullseye Glass sheets cost about $85 and sit right at the median price. That matches the key finding that the median is $85.
Next, decide if you want texture. Frit adds speckles. Stringers add lines. Both are safe as long as you wear a dust mask.
Plan your design on paper first. Sketch the shape, then transfer it to the glass with a fine marker. This step saves time later.
Here’s a simple workflow:
- Pick a color palette. Limit yourself to 3‑4 colors for the first piece.
- Lay out the sheets on a flat surface.
- Score the glass with a cutter.
- Arrange the pieces on a kiln shelf covered with kiln wash.
li>Snap the pieces with running pliers.
Remember the safety tip: Do not mix COE’s. The research table flags this three times.
If you need inspiration, check out Stained Glass Classes Online: A Practical Guide to Learning the Craft from Home. It shows how beginners pick glass and design patterns.
When you’re ready, you’ll move the layout into the kiln.
Step 3: Prepare the Kiln and Learn Temperature Ramps
Now you face the kiln. It’s the only piece of equipment that really pushes the price average up, as the research shows. But you don’t need a $1,000 model to start.
Read the kiln manual. Set the thermostat to “Celsius” if you prefer metric. Most kilns let you program ramps.
Temperature ramps are the schedule you tell the kiln to follow. A typical full fuse schedule for COE 96 looks like this:
- Ramp 1: 400 °F to 1,000 °F at 300 °F per hour, hold 20 min.
- Ramp 2: 1,000 °F to 1,460 °F at 200 °F per hour, hold 15 min.
- Ramp 3: Fast up to 960 °F, hold 30 min for annealing.
- Cool down to 800 °F slowly, then drop to room temp.
Each segment lets the glass expand evenly. Skipping a soak can cause stress cracks.
The Hot Shot blog explains why a slow first ramp protects against thermal shock. Glass fusing temperature chart gives exact numbers.
Watch the video below for a visual of setting up a ramp on a popular kiln model.
Tip: If you fire more than two layers, slow the second ramp to 300 °F per hour. That matches the recommendation in the temperature chart.
Before you start, test a small piece. Use a cheap scrap of glass and run it through the schedule. If it comes out crack‑free, you’re ready for the full piece.
Once you trust the schedule, you can move to the actual fuse.
Step 4: Fuse the Glass , Video Demonstration
With the design loaded and the kiln programmed, it’s time to fuse. This part of the online glass fusing tutorial for beginners is the most exciting.
Place the arranged glass on a kiln shelf covered with kiln wash. Make sure the pieces don’t touch the metal.
Start the kiln. Watch the temperature readout. The first ramp will take about 30 minutes for a ¼‑inch sheet.
When the kiln reaches the target temperature, the glass will begin to soften. You’ll see the edges round out.
Here’s a quick checklist while the kiln runs:
- Check the door seal , no steam should escape.
- Listen for any unusual noises , they could signal a fault.
- Log the time at each segment for future reference.
After the soak at 1,460 °F, the kiln will automatically begin the annealing phase. That hold at 960 °F is crucial for stress relief.
When the cycle ends, let the kiln cool down on its own. Never open the door while it’s still hot.
Below is a simple pros‑cons table for common fuse types you might try.
| Fuse Type | Pros | Cons |
|---|---|---|
| Full Fuse | Smooth surface, easy to finish | Uses more energy, longer soak |
| Tack Fuse | Retains texture, good for 3‑D pieces | Edges stay sharp, may need extra cleanup |
| Slump | Creates bowls and dishes | Requires molds, risk of sticking |
After the piece cools, you’ll see a unified slab of glass. If you spot cracks, check your ramp schedule and COE compatibility.
Ready for the finishing stage? Let’s move on.
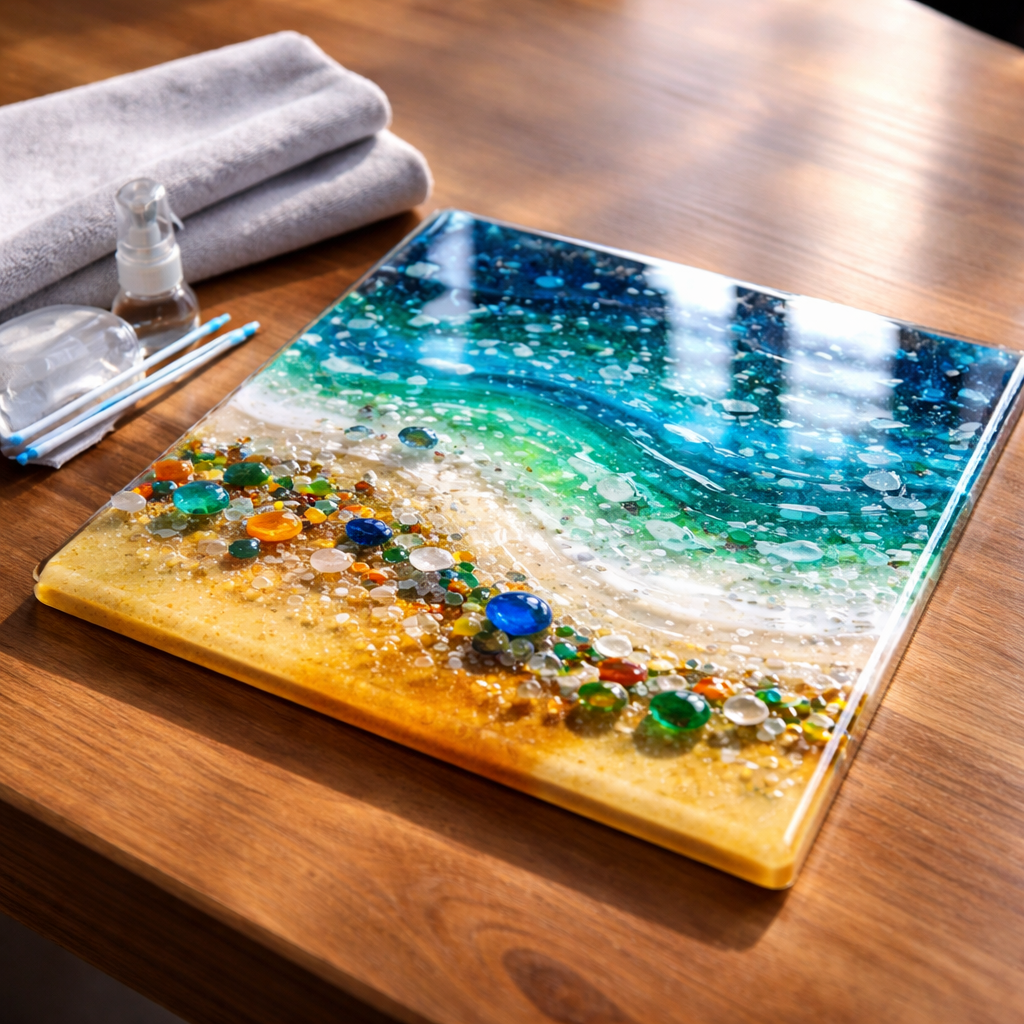
Step 5: Finishing Touches, Annealing, and Caring for Your Artwork
The fuse is done, but the work isn’t over. Finishing gives your piece polish and durability.
First, remove the piece from the kiln shelf. Use heat‑resistant gloves , the glass can still be hot.
Inspect the surface. If you see rough spots, sand them with a wet‑and‑dry sandpaper starting at 120 grit and moving up to 600 grit.
Polish with a soft cloth or a polishing compound for a glass‑like shine.
Now anneal. Even after the kiln’s anneal hold, a final slow cooldown helps. Lower the temperature to 800 °F and hold for 10 min, then let it drop to room temperature over several hours.
Store your finished work on a shelf lined with a soft cloth. Avoid direct sunlight for long periods, as UV can cause color fading over years.
When you want to share your art online, good photos matter. Use natural light, a neutral background, and a macro lens if possible. This is where a bit of SEO helps. A well‑written post that includes the phrase online glass fusing tutorial for beginners can attract more viewers.
For creators who sell their pieces, consider using a simple SEO tool. Top SEO Tools for Creative Entrepreneurs in 2026 explains how to boost visibility without a big budget.
Another useful resource for linking your shop to a wider audience is How to Choose the Best Backlink Exchange for Your Site in 2026. It shows safe ways to get backlinks that improve search rank.
Finally, keep a log of each project. Note the glass brand, COE, kiln settings, and any issues. Over time you’ll see patterns that help you improve.
Enjoy the feeling of holding a piece you made from raw glass. That pride will keep you coming back for more.
Frequently Asked Questions
What safety gear do I need for an online glass fusing tutorial for beginners?
You need safety glasses, a dust mask, and heat‑resistant gloves. The research shows 73% of items list safety tips. Glass cutters also require eye protection, and kiln wash helps keep the kiln clean.
Can I use a home oven instead of a kiln?
A home oven cannot reach the high temperatures needed for glass fusing. Kilns are designed to hold steady heat up to 1,500 °F, which an oven simply cannot achieve without risking fire.
How do I know which COE glass to pick?
Check the label on the glass sheet. COE 96 is the most common for beginners because it works well with most colors. Never mix COE 90 with COE 96 in the same piece, as the research warns.
What is the difference between a full fuse and a tack fuse?
A full fuse melts all layers together into a smooth surface. A tack fuse keeps some texture and edges visible, which can be great for decorative panels. Choose based on the look you want.
How long should the annealing hold be?
Typical annealing holds at 960 °F last 30‑60 minutes, followed by a slow cooldown to 800 °F for 10 minutes. This schedule releases internal stress and prevents cracks.
Where can I find a community to share my fused glass projects?
CreativiU offers a forum where artists post photos, ask questions, and get feedback. Engaging with peers helps you learn faster and stay motivated.
Do I need to buy expensive specialty glass like Dichroic early on?
No. The quick verdict says to skip pricey Dichroic glass until you master basics. Stick with clear and colored Bullseye sheets first.
Can I fire my piece at a local studio instead of buying a kiln?
Yes. Many studios rent kiln space or offer firing services. This is a budget‑friendly way to finish projects while you decide if a personal kiln is worth the investment.
Conclusion
We’ve walked through every step of an online glass fusing tutorial for beginners. From gathering safe tools, picking the right glass, setting up temperature ramps, watching the fuse, to polishing and caring for the final piece , each part builds confidence.
Remember the key findings: the kiln is the only item that pulls the average cost up, safety tips appear on most items, and Bullseye glass dominates brand recommendations. Use those insights to spend wisely and stay safe.
If you follow the checklist, you’ll create beautiful fused glass without costly mistakes. Share your work, join a community, and keep experimenting. The next piece you make will be better, faster, and more personal. Ready to fire up your kiln? Start today and watch your creativity melt into glass.
Leave a Reply