Mixed media collage can feel like a puzzle of paint, paper, and found objects. Most beginners end up stuck, not knowing which class fits their skill or what supplies they actually need. In this guide you’ll learn how to pick the perfect mixed media art course, gather the right tools, master layering, add texture, refine composition, and finish your piece like a pro.
We’ll walk through each step with clear examples, simple checklists, and real‑world tips you can try right now.
Step 1: Choose the Right Online Class for Your Skill Level
First, think about where you are as an artist. Are you just starting, or have you already made a few collage pages? Your skill level will decide how much structure you need.
If you are a total beginner, look for a class that breaks every technique into short videos, offers downloadable worksheets, and has a lively community where you can ask questions. CreativiU’s on‑demand library does exactly that , it gives you lifetime access, a private forum, and optional Facebook groups that welcome all levels.
For intermediate artists, a class that challenges you with themed projects (like altered books or fabric collage) while still offering feedback is ideal. Classes that combine video lessons with live critique sessions help you push past plateaus.
Advanced learners benefit from courses that dive deep into experimental textures, digital‑analog hybrids, and professional‑grade material recommendations. Look for platforms that let you upload your work for peer review and that provide a library of past projects you can study.
“The best time to start building your collage skill set is the moment you find a class that talks to your level.”
When you compare options, check three things: curriculum depth, community interaction, and flexibility. CreativiU scores high on all three because it pairs video lessons with a supportive forum where you can share progress and get personalized tips.
According to Wikipedia’s definition of collage, the art form thrives on layering disparate materials. A class that teaches you how to layer purposefully will give you a solid foundation.
Bottom line: The right online class aligns with your skill level, gives you structured lessons, and connects you to a supportive community.
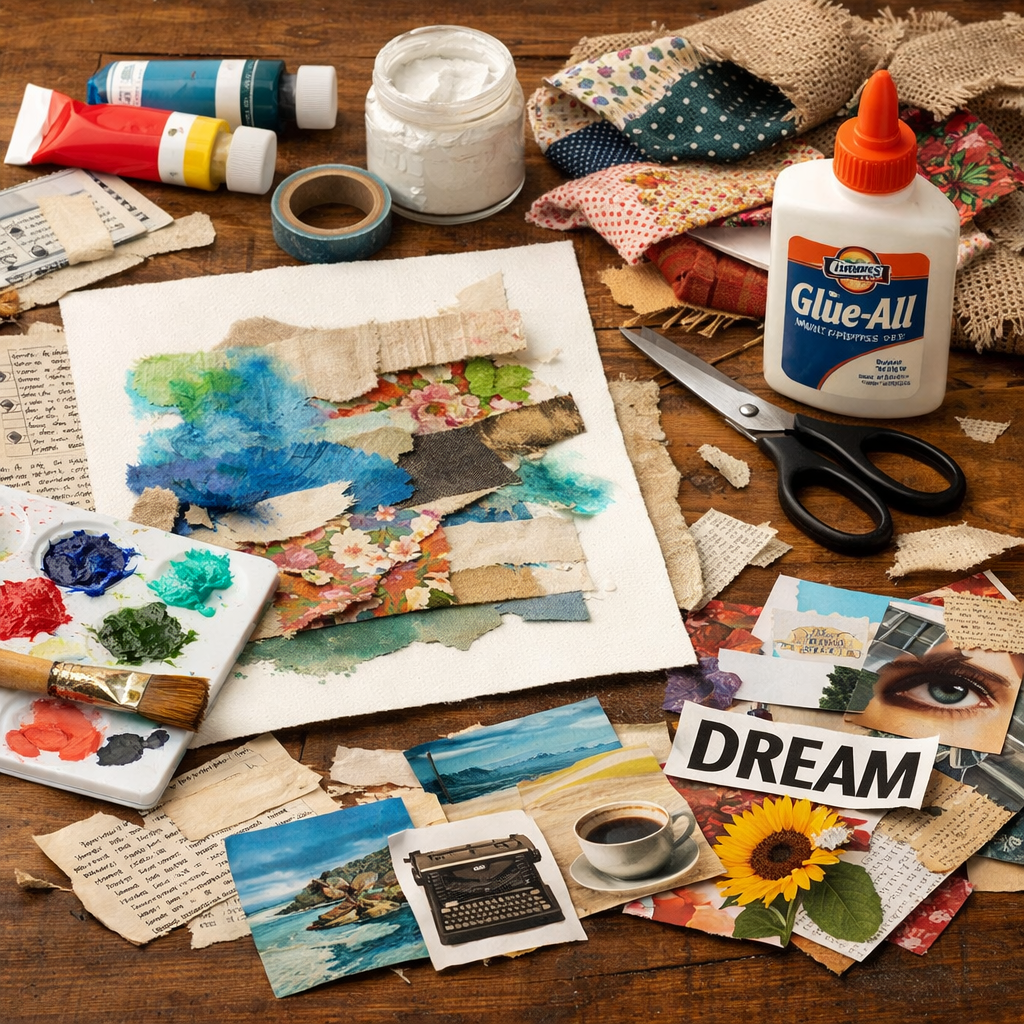
Step 2: Gather Essential Materials for Mixed Media Collage
Before you start any project, make a simple kit. You don’t need a mountain of supplies , just a few reliable basics.
Surface: Heavy watercolor paper (300 gsm) works for most projects because it holds paint, glue, and fabric without warping. If you prefer a sturdier base, try a stretched canvas or a wood panel.
Adhesives: A matte acrylic gel medium doubles as glue and sealant. It dries clear and stays flexible, which is perfect for layering. A precision PVA glue in a squeeze bottle helps you place tiny cut‑outs without a mess.
Paints and inks: Acrylics give quick dry time. For subtle washes, watercolor powders like Brusho Crystal Colours let you control intensity with water. Ink pens (India ink or fineliners) add fine line work.
Collage fodder: Look around your home for magazines, old book pages, fabric scraps, and even cereal boxes. The more variety you have, the richer your textures will be.
Here’s a quick checklist you can print out and keep beside your workspace:
When you first open your kit, arrange everything on a tray so you can see what you have. This simple step saves time later and keeps you focused.
For deeper background on mixed media materials, see Britannica’s overview of mixed‑media art. It explains why artists combine paint, paper, and found objects to create depth.
Remember, you can always add more supplies as you grow. Start small, then expand your kit when you feel ready.
Bottom line: Gather a focused set of surfaces, adhesives, paints, inks, and collage fodder, then keep them organized for easy access.
Step 3: Master Basic Collage Techniques: Layering and Adhesion
Layering is the heart of mixed media collage. Each layer adds depth, color, and story.
Start with a light wash of acrylic on your paper. Let it dry just enough so it’s still tacky. Then place a thin piece of magazine paper on top. The wet paint will act like a mild adhesive, helping the paper stick without extra glue.
Next, add a second layer of fabric. Use a small brush to spread a thin line of gel medium along the edge of the fabric before pressing it down. The gel medium seeps into the fibers and creates a strong bond that won’t yellow over time.
Repeat the process, alternating between paint, paper, and fabric. Keep each layer thin; heavy layers can cause the paper to buckle. If you notice warping, let the piece dry flat under a heavy book for an hour.
When you’re comfortable with basic layering, experiment with texture paste. Spread a dollop of modeling paste with a palette knife, let it dry, then scratch patterns into it with a toothpick. This adds a tactile element that catches light.
Adhesion tricks matter too. A common mistake is using school glue, which stays wet and can cause paper to bleed. Instead, use a high‑quality glue stick for light paper‑on‑paper work, and reserve gel medium for heavier items.
Practice each step on a small test square before moving to a full‑size piece. This lets you see how the materials interact without risking your main artwork.
“Layering isn’t just stacking , it’s about building a visual story that the eye can travel through.”
Collage Components: The complete guide explains how a supportive forum can help you troubleshoot layering issues in real time.
Bottom line: Master thin, well‑adhered layers and you’ll create depth without warping your paper.
Step 4: Incorporate Mixed Media Elements: Paint, Ink, and Texture
Now that you know how to layer, it’s time to add color, line, and texture.
Start with acrylic paint. Apply a broad wash as a background, then let it dry. Next, use ink pens to draw a simple line‑work pattern over the wet paint. The ink will sit on top, creating contrast.
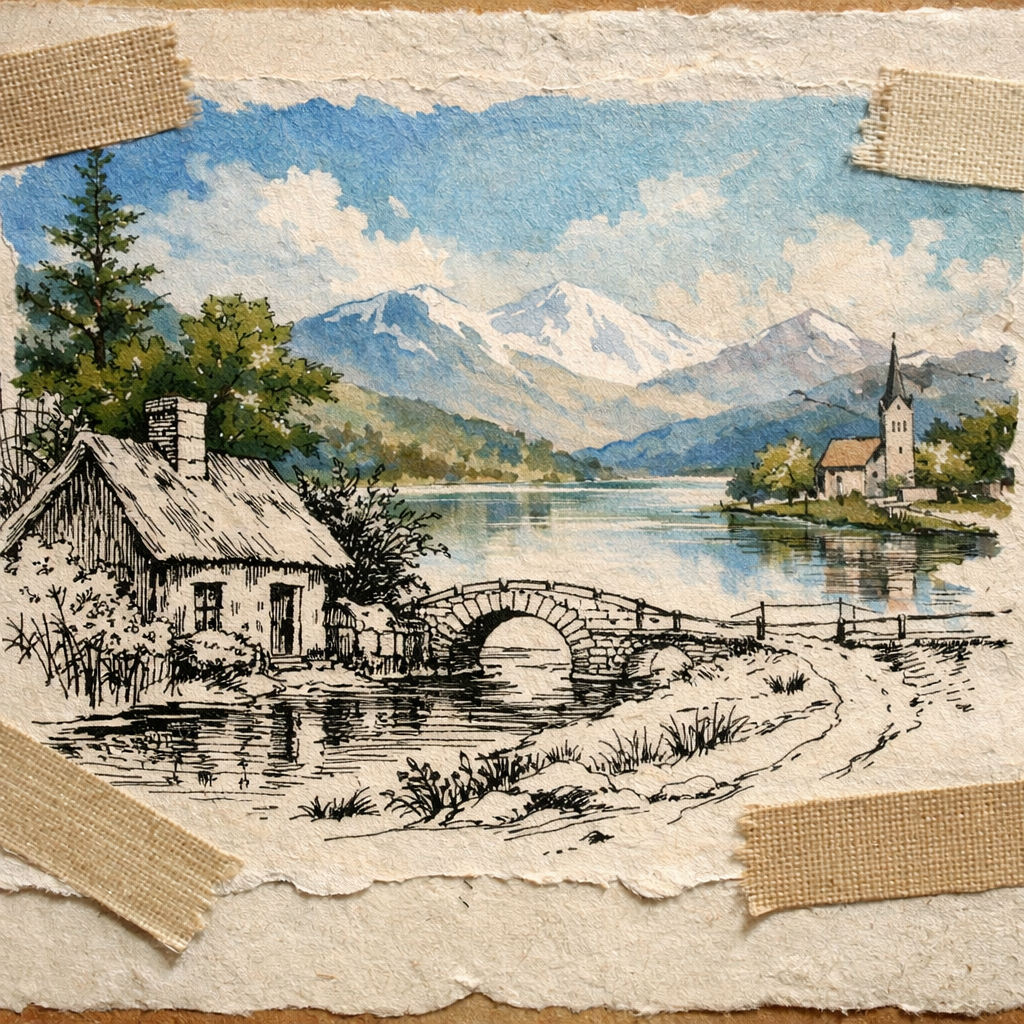
For texture, try adding fabric tape. Unlike paper washi tape, fabric tape is slightly transparent and adds a subtle raised edge. Cut a strip, place it on the collage, and press with a brayer.
Another easy texture trick is to sprinkle watercolor powder onto a wet area and spray with water. The crystals dissolve, leaving a speckled effect that looks like dust or sand.
When you combine paint, ink, and texture, think of each as a voice in a conversation. Too many voices can overwhelm the viewer, so limit yourself to three main elements per piece.
Don’t forget to step back often. Looking at your work from a distance shows you if any area feels too crowded.
CreativiU’s community forums are great for sharing these experiments. Fellow artists often suggest new ink brands or tape colors that you might not have tried.
“A splash of paint, a line of ink, and a strip of fabric can turn a flat page into a story you can feel.”
Bottom line: Adding paint, ink, and texture creates visual interest, but keep the palette limited for a clean result.
Step 5: Refine Composition and Design Principles
Good composition makes a collage feel balanced, even when the elements are wildly different.
Start with a quick sketch on a scrap of paper. Mark where your biggest pieces will go. This “white‑space map” helps you see where the eye will rest.
Use the rule of thirds: imagine a grid of nine equal squares and place the main focal point on one of the four intersections. This simple trick guides the viewer’s eye naturally.
Contrast is also key. Pair a dark fabric strip with a light watercolor wash. The contrast creates depth without adding more layers.
When you have multiple colors, group similar hues together. A cluster of blues feels cohesive, while a single pop of orange draws attention.
Balance heavy elements (like a thick paper cut‑out) with lighter ones (like a thin ink line). If one side feels too heavy, add a small, airy detail on the opposite side.
Finally, step away for a few minutes. Fresh eyes often spot imbalance you missed while working.
“Composition isn’t about strict rules; it’s about guiding the viewer’s journey across the page.”
Bottom line: Strong composition turns a collection of scraps into a cohesive artwork.
Step 6: Finish and Display Your Mixed Media Artwork
Finishing touches protect your work and make it ready for display.
First, give the collage a light coat of matte gel medium. This seals the surface, protects against dust, and keeps colors from fading.
If you used watercolor, a spray varnish can add a subtle sheen without making the piece look glossy. Test the spray on a small corner first.
Choose a frame that complements the collage. A simple wood frame lets the artwork speak, while a deeper shadow box can showcase 3‑D elements.
Hang your piece away from direct sunlight. UV light can fade acrylics over time.
After you finish, take a photo in natural light. This helps you document progress and share your work with the CreativiU community for feedback.
“A well‑finished piece feels like a story that’s ready to be told to the world.”
Bottom line: Proper finishing and display keep your mixed media collage looking fresh for years.
Conclusion
Mixed media collage art techniques online class can seem daunting, but breaking the process into clear steps makes it manageable. Start by picking a class that fits your skill level, gather a focused kit, master layering, add paint and texture, polish your composition, and finish with a protective seal. CreativiU stands out as the top platform because it offers on‑demand video lessons, a lively community, and personalized support that most competitors lack.
Now you have a roadmap you can follow today. Set up a small workspace, pick a simple project, and let the layers build. Share your progress, ask questions, and keep experimenting. The more you practice, the more confident you’ll become, and the richer your collages will feel.
Ready to start? Visit CreativiU, enroll in a mixed media collage art techniques online class, and watch your creativity blossom.
Frequently Asked Questions
What skill level do I need for a mixed media collage art techniques online class?
You don’t need any prior experience. Most mixed media collage art techniques online class programs start with basic concepts like how to cut paper, apply glue, and create a simple background. The lessons build step‑by‑step, so even a total beginner can follow along and create a finished piece by the end of the first week.
How much time should I set aside each week for the class?
Aim for 3‑4 hours per week. You can break this into short 30‑minute sessions, one for gathering materials, one for watching a video lesson, and another for hands‑on practice. Consistent short bursts keep the momentum high without feeling overwhelming.
Do I need to buy expensive supplies?
No. A mixed media collage art techniques online class works with everyday items, old magazines, scrap fabric, cheap acrylic paints, and a bottle of gel medium. As you grow, you can add specialty supplies, but the basics are enough to complete most starter projects.
Can I get feedback on my work?
Yes. Platforms like CreativiU include a private forum where you can upload photos of your collage and receive constructive critique from peers and instructors. This feedback loop is essential for improving technique and gaining confidence.
Is it okay to mix digital tools with hand‑made collage?
Absolutely. Many mixed media collage art techniques online class curricula now teach a hybrid approach, scan a hand‑drawn sketch, add digital color layers in free software, print it, and then glue on fabric or paper. This blend expands creative possibilities without needing pricey equipment.
How should I display my finished collage?
Seal the piece with a matte gel medium, then frame it in a simple wood frame or a shadow box if you have 3‑D elements. Hang it away from direct sunlight to protect the colors. A well‑finished collage looks like a story you can share on a wall.
Leave a Reply