Got a blank canvas and a tube of acrylic paint? Let’s turn that blank space into something you’re proud of. Below you’ll find a clear, step‑by‑step tutorial that takes you from unpacking supplies to protecting the finished piece.
Step 1: Gather Your Materials
Start with the basics. You’ll need a canvas (stretched canvas 12×16 in works well), a set of acrylic paints, a few brushes, a palette, water, and paper towels. If you want a quick rundown, check out Acrylic Painting for Beginners Step by Step: A Usable Guide. It lists the exact brushes and paints that work best for newcomers.
Make sure you have a clean workspace with good light. Natural daylight helps you see true colors; if you’re inside, a daylight LED lamp works fine.
Step 2: Prepare and Prime the Canvas
Even a good canvas needs a primer. Gesso creates a slightly textured surface that keeps the paint from soaking in too fast. WillKemp Art School explains how to apply it in thin, even coats, and why waiting for each layer to dry matters.
Use a wide, flat brush to spread the gesso. Work in the direction of the canvas weave; this reduces brush marks. Let the first coat dry, about 10, 15 minutes, then sand lightly with fine sandpaper for a smoother finish. Add a second coat if the surface feels too absorbent.
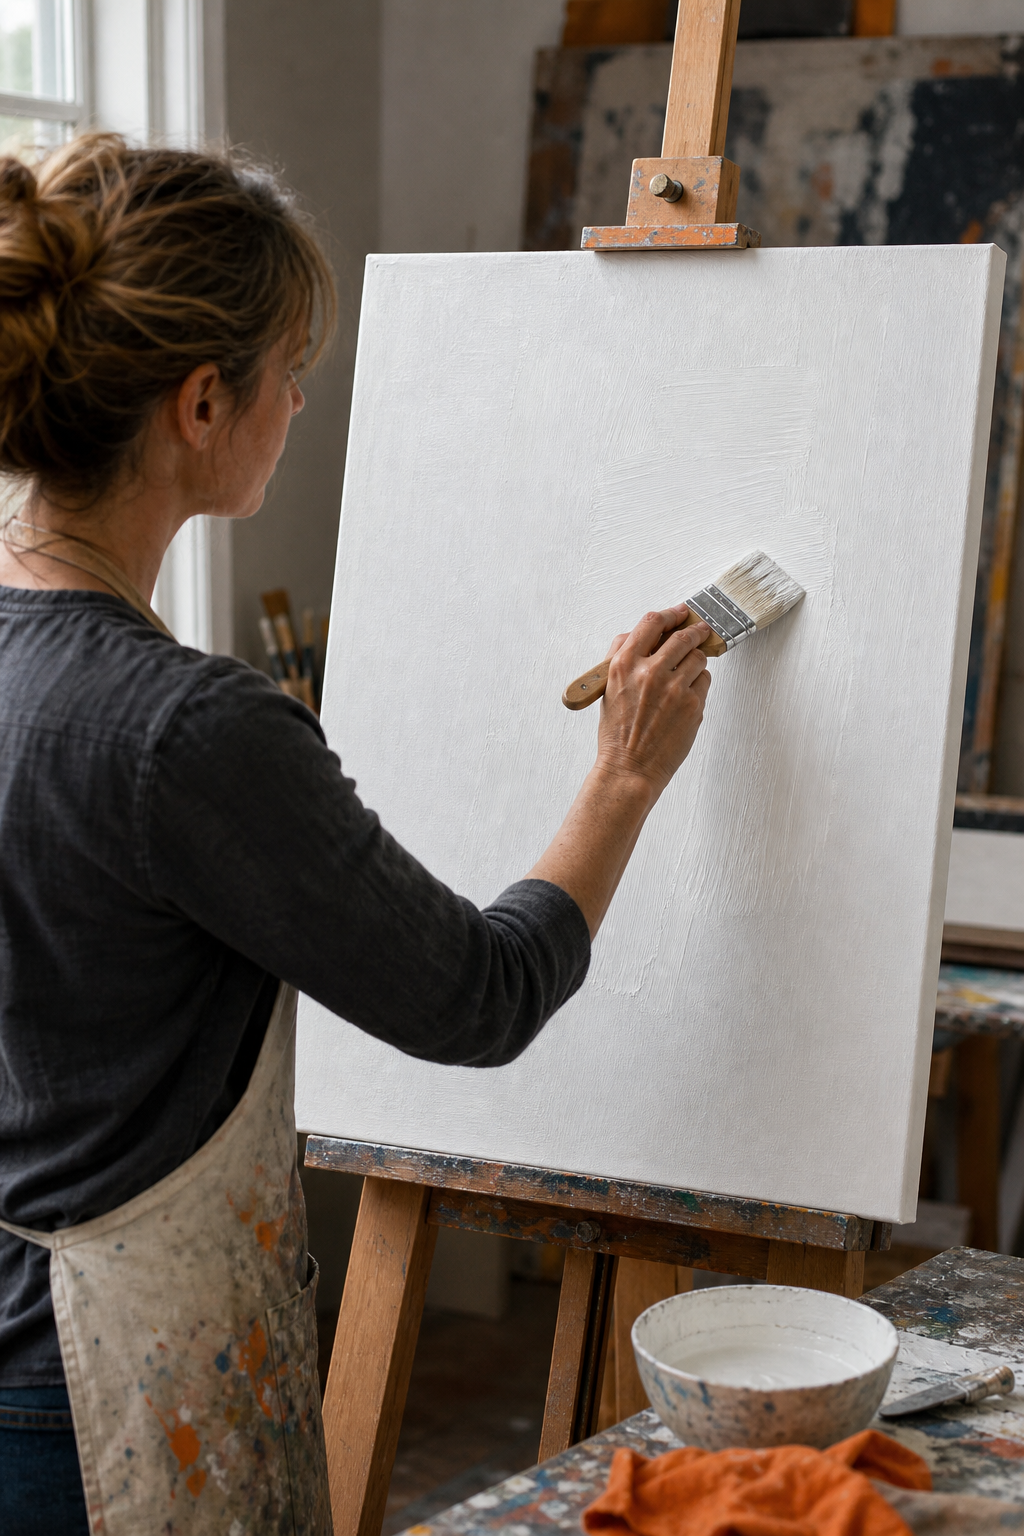
When the gesso feels dry to the touch, you’re ready for paint. The primed surface should feel a little tacky; that’s the sweet spot for the first color layer.
Step 3: Apply Base Layers and Blend Colors
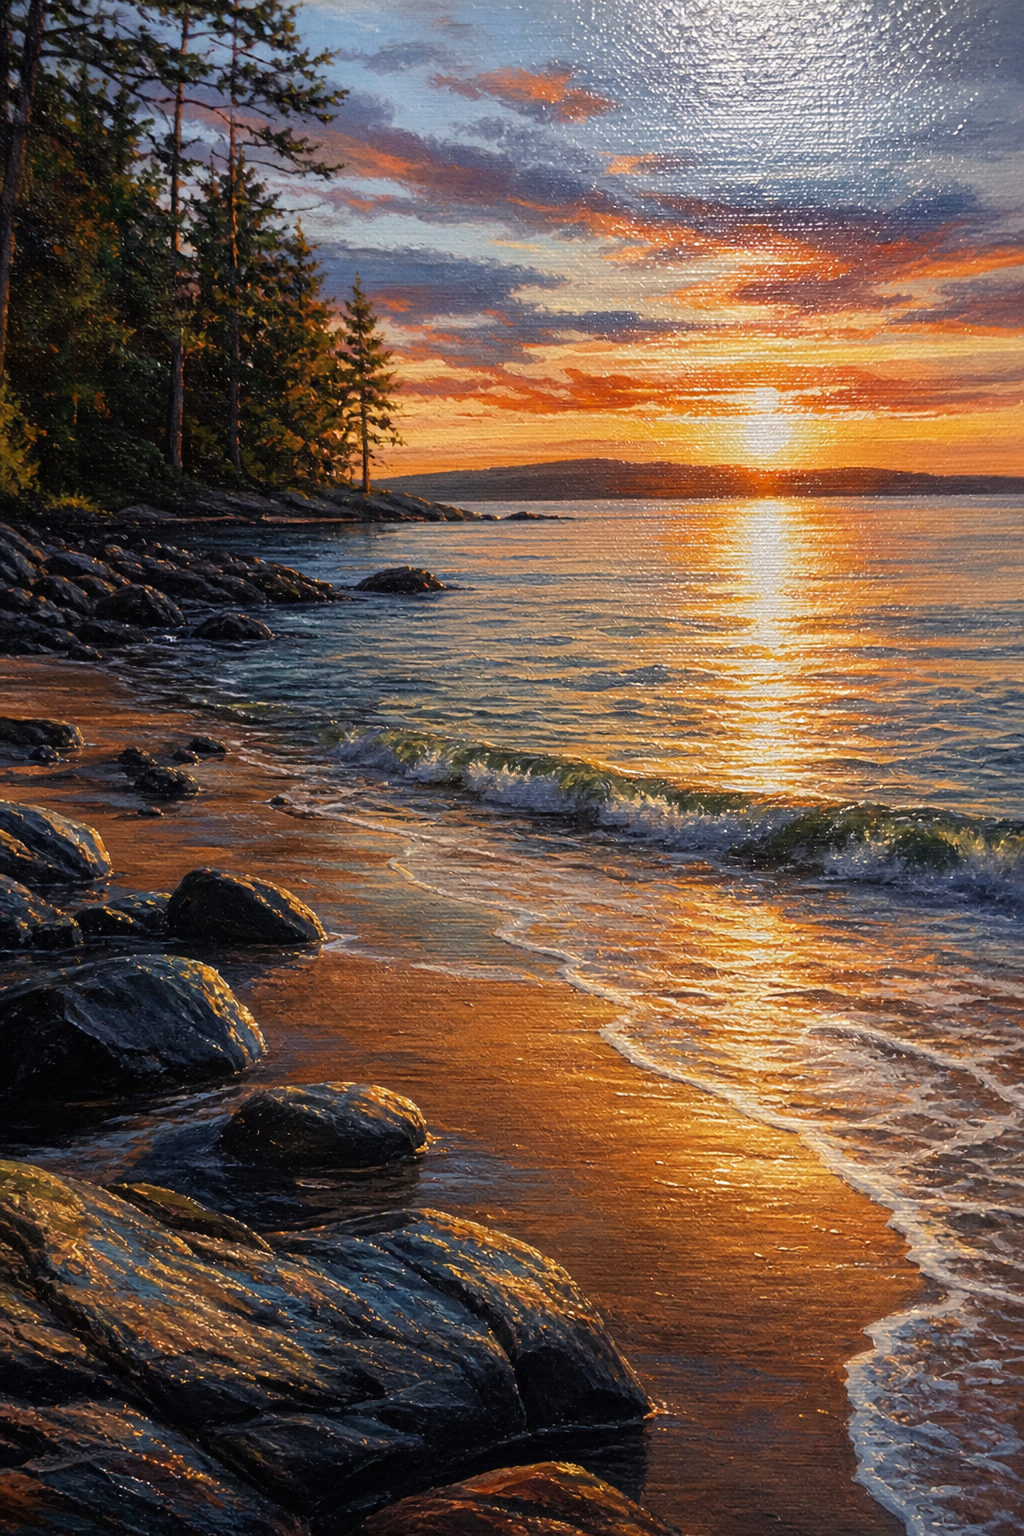
Begin with the largest shapes. Use a flat brush to lay down a thin wash of the main background color. This sets the tone and helps you see where the next layers will go.
While the wash is still wet, introduce a second hue and let the two colors meet. Use a clean, damp brush to blend the seam. The wet‑on‑wet method creates smooth gradients without harsh lines.
If you need a sharper edge, say for a horizon line, let the first layer dry a bit, then paint over it with a dry brush. This contrast adds depth and guides the eye.
For more ideas on mixing, see Explore Top Acrylic Painting Course Free Options and Techniques to Boost Your Creativity. That page shows how artists blend colors to get realistic skin tones and atmospheric skies.
Step 4: Add Details, Finish and Protect Your Artwork
Now add the fine lines. Switch to a small round brush for details like eyes, leaves, or highlights. Work slowly; a light touch prevents the paint from bleeding into surrounding areas.
When you’re happy with the details, let the painting dry completely, usually 30 minutes to an hour for thin layers. Then apply a clear acrylic varnish. Varnish protects the colors from UV light and dust, and gives the surface a uniform sheen.
If you plan to sell or display the piece, consider using a matte varnish for a gallery‑look, or a gloss coat for a vivid finish. Either way, the varnish seals the paint and makes cleaning easier.
FAQ
What kind of canvas is best for acrylics?
A stretched cotton canvas of medium weight (about 8‑oz) works best because it holds gesso well and holds paint without sagging.
Do I need to sand the canvas before painting?
No, you only sand after the first gesso coat if you want a smoother surface. The canvas texture can add character to the painting.
How long does acrylic paint take to dry?
Acrylic paint dries to the touch in 10‑15 minutes, but thicker areas can take an hour or more. Dry times depend on humidity and temperature.
Can I mix acrylic paints with water?
Yes, you can thin acrylics with water for washes, but add a medium if you want a smoother flow. Too much water can weaken the paint film.
Should I varnish my acrylic painting?
Varnishing is recommended because it protects the surface from dust, UV light, and scratches, and it gives a uniform finish.
How do I turn my hobby into a business?
Start by showcasing your work online, then consider marketing strategies. For example, Google Ads Landing Page Optimization for Tradies shows how a focused landing page can draw buyers to your art.
Conclusion
Start with CreativiU’s online courses to practice each step in a supportive community. Then set up a simple studio, follow this tutorial, and you’ll have a finished canvas you can be proud of. Next step: pick a canvas, grab your paints, and begin your first layer today.
Leave a Reply