Ever wanted a sturdy tote bag but hate the idea of pulling out a needle? You can skip the sewing machine and still end up with a bag that holds groceries, books, or craft supplies. This guide walks you through every step, from gathering supplies to adding final touches, so you can finish a functional tote in an afternoon.
We’ll cover the materials you need, how to cut the fabric, how to bond the seams without stitching, ways to make handles, and tips for a polished look. By the end you’ll have a bag you can use right away or customize further.
Step 1: Gather Your Materials and Tools
Start with a clear list. Having everything at hand stops you from pausing mid‑project to hunt for a missing item.
Fabric:Choose a medium‑weight cotton or canvas that feels like a grocery bag. A 45‑inch wide bolt works well for most sizes. If you like pattern, pick a fabric where the grain runs straight so the bag hangs evenly.
Fusible bonding web:This is a thin sheet that melts with heat and bonds fabric together. Look for a product labeled “medium‑weight fusible interfacing” , it works for cotton and canvas.
Fabric glue:A clear, flexible fabric adhesive that also prevents fraying will help seal raw edges.
Cutting tools:Sharp fabric scissors or a rotary cutter, a cutting mat, and a ruler or measuring tape. A fabric chalk or washable pen for marking is also useful.
Other basics:Pins or fabric clips, an iron with a pressing cloth, and a clean workspace.
Imagine you’re prepping a kitchen. You’d lay out all the utensils before you start chopping. Do the same here: set out each item on a flat surface, check the condition of the scissors, and make sure the iron is clean.
Once you have the list, you can decide if you want to follow a structured tutorial. How to Sew a Tote Bag for Beginners offers a full walk‑through that includes the same basics, plus extra tips on fabric choice.
Having these tools ready means you’ll spend most of your time cutting and bonding, not searching.
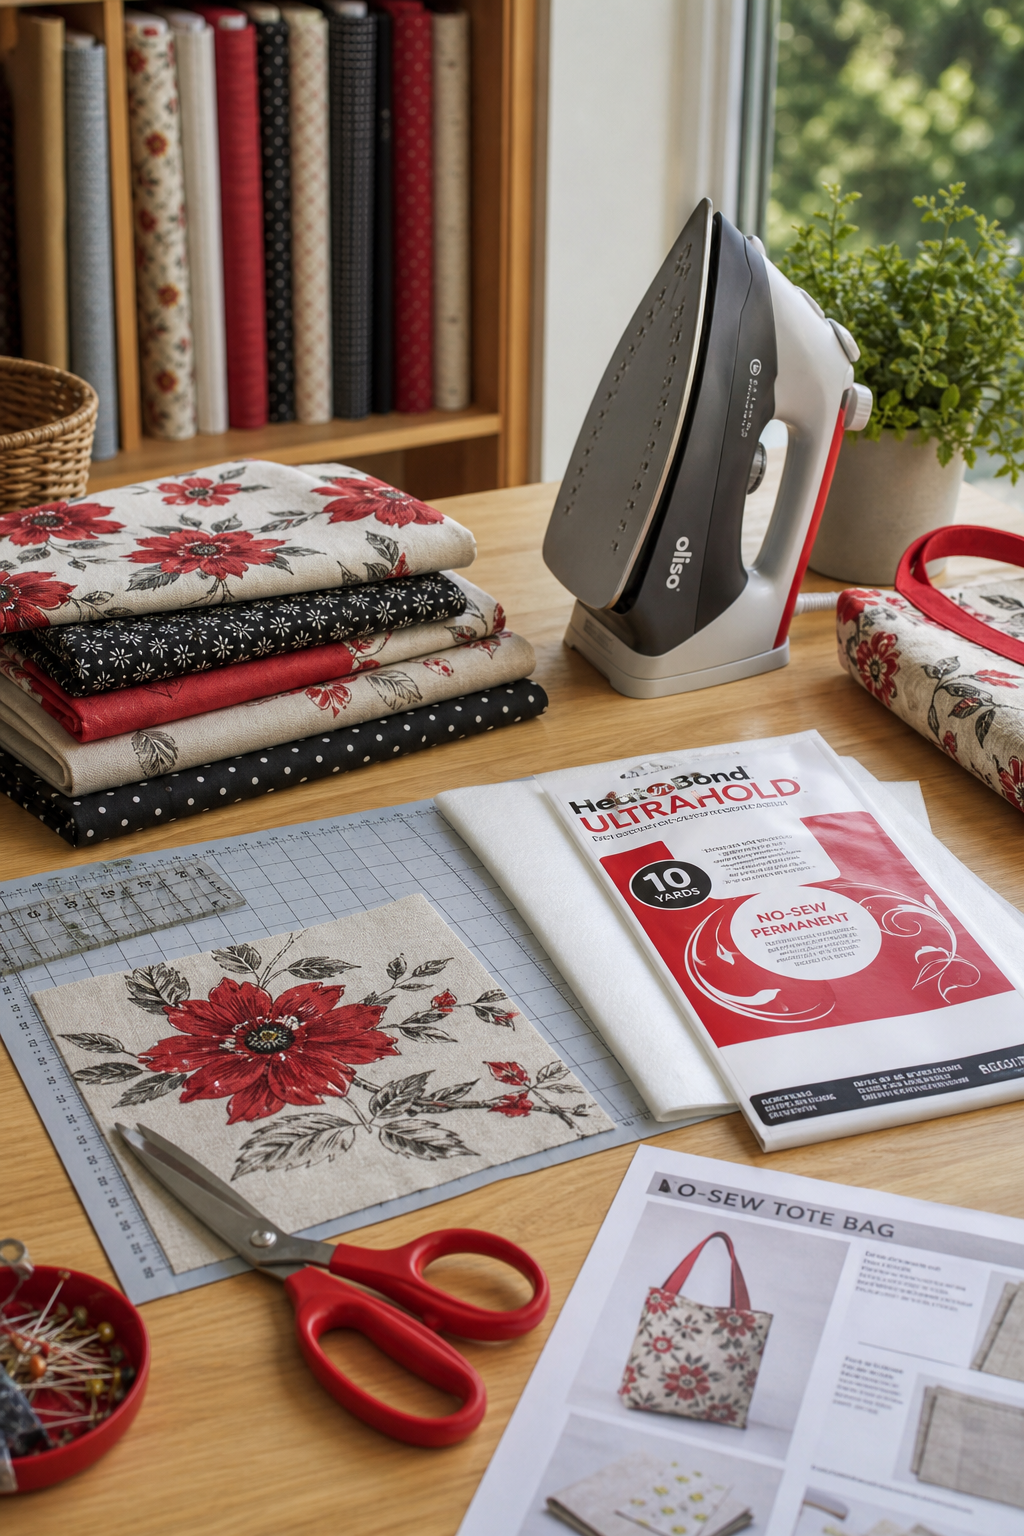
Pro tip: Test a small piece of the fabric with the fusible web on your iron first. If the bond feels stiff, lower the heat or use a thinner web.
Step 2: Prepare and Cut the Fabric
Good cuts save fabric and keep the bag proportional. The goal is two panels for the front and back, plus a long strip for the gusset that forms the bag’s depth.
Here’s a quick layout plan:
Measure twice, cut once. Use a ruler to mark the exact dimensions on the right‑side of the fabric. If you’re working with a patterned fabric, check the grain direction first , the long threads should run parallel to the length of the panel. Cutting against the grain can cause the bag to twist when you use it.
Place the fabric on a cutting mat, align the ruler, and slice with smooth, steady strokes. If you have a rotary cutter, let the wheel glide; it reduces the “kerf” , the tiny amount of fabric the blade removes.
After you cut the two panels, mark a 1.5‑inch wide strip for the gusset. This strip runs the length of the bag and gives it depth. You can cut a single long piece or several shorter pieces that you’ll tape together later.
Don’t forget to label each piece with a light pencil mark , “B” for body panels, “G” for gusset. This simple habit saves you from mixing them up later.
If you need more guidance on measuring and laying out fabric, Crochet Granny Square Bag Tutorial includes a handy diagram of panel placement that works the same way for woven cloth.
When you finish cutting, give yourself a moment to double‑check each piece. Look for straight edges, correct dimensions, and any stray threads that might catch later.
Step 3: Use Fusible Bonding Web to Seal Seams
The heart of the no‑sew method is heat‑activated bonding. Fusible web acts like a glue that melts and fuses the fibers together.
First, lay one fabric panel right‑sides together with the gusset strip sandwiched between them. The web goes on the inside of the panels, so the finished bag will look smooth on the outside.
Cover the seam area with a thin layer of fusible web. If you’re using a large piece, cut it to match the seam length plus a half‑inch extra on each end , this gives you a little wiggle room.
Set your iron to a medium setting , usually the “cotton” mark. No steam. Place a pressing cloth (a clean cotton dish towel works) over the web to protect the fabric, then press for about 10‑12 seconds. Do not move the iron; let the heat transfer evenly.
After the press, the web should feel firm when you run a finger over it. Let the fabric cool for a few seconds, then gently pull the panels apart. The seam should stay closed without stitches.
Repeat this process for the side seams and the bottom edge. You’ll end up with a tube‑shaped bag that has no visible stitching.
For a deeper look at how fusible interfacing works, consult a reliable online resource. It explains the heat‑activated polymer that bonds the fibers.
Now that the main body is sealed, you can turn the tube inside out so the raw edges are hidden inside.
Key Takeaway:
Once the tube is turned, you’ll see a clean, smooth wall ready for handles.
Step 4: Create and Attach Handles
Handles give the tote its grip. You can use the same fabric, a contrasting strap, or even a sturdy rope.
Cut two strips about 1.5 in wide and 22 in long for a standard tote. Adjust length if you want a longer carry.
Fold each strip in half lengthwise, press with an iron, then unfold. The crease will help you line up the handle placement later.
To attach, lay the open tube flat with the seam at the top. Position each handle strip so the raw edge aligns with the top edge, about an inch below the seam. Pin the ends in place.
Press the handle area with a hot iron and a thin layer of fusible web beneath the strip. The same bonding technique you used for the body works here , the web fuses the handle to the bag wall without stitches.
If you prefer a softer feel, you can use fabric glue instead. Apply a thin line of glue along the raw edge, press, and let it dry fully before handling.
After the handles are secure, give them a gentle tug. They should feel firm, not loose. If they shift, add another strip of web or a second line of glue for extra hold.
For those who enjoy a bit of machine work, How to Use a Sewing Machine for Beginners shows how to set stitch length and tension , handy if you later decide to stitch a reinforced cuff.
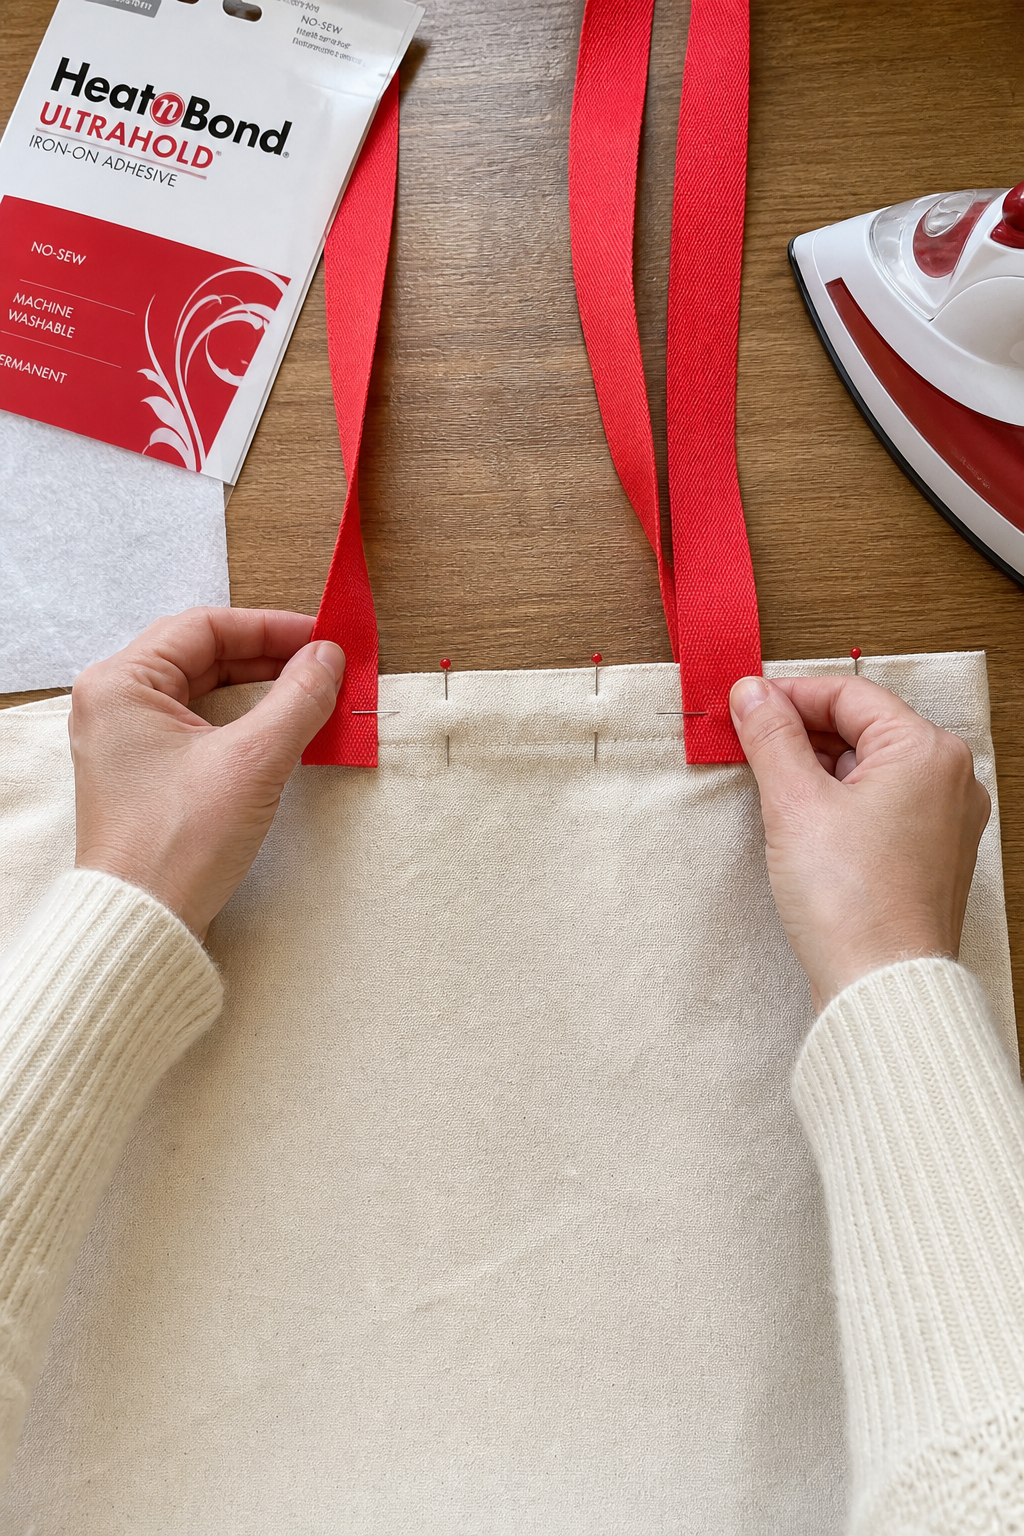
Pro Tip: If you want handles that stay flat, sandwich a thin bias‑cut strip of fabric between the main strap and the web. The bias gives a little give and prevents the handle from digging into your hand.
Step 5: Finish the Bag and Add Personal Touches
Now the tote is functional, but a few final steps can make it look polished and last longer.
First, address raw edges. Even though the seams are fused, the outer edges can fray over time. A quick line of fabric glue along each raw edge seals the fibers. A fabric fray preventer dries clear and stays flexible.
For a more decorative finish, you can apply a bias‑bound trim. Cut a 1‑inch strip on the bias, press, and fuse it to the edge with another brief iron press.
If you prefer a stitched look, a zig‑zag stitch on a home machine works well. Set the stitch width to about 2 mm and run along the edge. This adds a visual line and extra strength.
Fabric adhesives are designed to remain flexible after drying, which is ideal for bags that will be folded or compressed.
Next, think about style. You can add pockets by cutting a small rectangle, fusing its edges, and attaching it with more web. Or use iron‑on appliqués for a splash of color.
Finally, give the bag a good press. Turn it right‑side out, lay it flat on an ironing board, and use a steam‑free setting to smooth any creases. A quick press on the handles makes them look crisp.
Key Takeaway:
FAQ
Can I use a t‑shirt instead of fabric for the tote?
Yes. A t‑shirt works as long as the knit is tight enough to hold shape. Cut the body panels from the front of the shirt, use the side seams as gussets, and apply fusible web where the fabric overlaps. The stretch may make the bag softer, so keep the handle strips a bit wider for comfort.
Do I need an iron to use fusible web?
An iron provides consistent heat, which is why we recommend it. If you don’t have an iron, a heat press or a sturdy kitchen stove (with a protective cloth) can work, but you must watch the temperature closely to avoid scorching the fabric.
What kind of fabric glue is safest for a tote that will hold groceries?
Look for a clear, washable adhesive that stays flexible after drying and won’t bleed onto food. Apply a thin line, press gently, and let it cure for at least 30 minutes before loading the bag.
How do I make the tote larger without buying more fabric?
Use a larger gusset strip. If you have extra fabric scraps, cut a longer strip and fuse it to the side seams, extending the bag’s depth. You can also add a second panel to the front and back, then fuse the seams together for a wider tote.
Can I add a lining to the no‑sew tote?
Yes. Cut a second set of panels from a lightweight cotton or linen, follow the same fusible steps, then slip the lining inside the outer bag. Fuse the top edge of the lining to the bag’s interior for a clean finish.
Is the bag water‑resistant?
Fabric glue and fusible web are not waterproof, but they do create a sealed surface that resists light rain. For full water resistance, treat the exterior with a fabric‑friendly waterproof spray after the bag is assembled.
How long does the fusible bond last?
When applied correctly, the bond can last years under normal use. The web is designed to stay attached through repeated folding and light washing. Hand‑wash the tote in cool water and air‑dry to keep the seams strong.
Can kids safely make this tote?
Kids can help with measuring, cutting (with adult supervision), and placing the fusible web. The iron part should be done by an adult, or you can use a low‑heat press that’s safe for children.
Conclusion
Building a fabric tote bag with no sewing is easier than many think. By gathering the right tools, cutting panels precisely, and using heat‑activated bonding, you end up with a sturdy, stylish bag in just a few hours. The process avoids needles, saves time, and still lets you add personal touches like pockets or appliqués. Whether you’re a craft hobbyist, a busy parent looking for a quick project, or a beginner eager to avoid the sewing machine, this method gives you a reliable tote you can use every day. Feel free to explore more structured lessons on the CreativiU platform for deeper skill growth and new project ideas.
Leave a Reply