Macrame can look fancy, but you don’t need a lot of skill to make a wall hanging that feels handmade. In this guide you’ll see exactly what to buy, how to cut, knot and finish a piece that hangs proud in any room. We’ll walk through each step, share tips that many free guides miss, and point out where a solid course can fill the gaps.
By the end you’ll have a finished piece, a clear checklist for future projects, and a sense of why CreativiU’s macrame library is a handy side‑kick for any crafter.
Step 1: Gather Materials
Before you start, get the exact amount of cord the pattern calls for. Most beginner guides hide a surprise , they need 28 cords of about 20 ft each, not a single skein. That adds up to roughly 560 ft of rope, so buy a bulk roll or a few packs to avoid running out mid‑project.
You’ll also need a wooden dowel or sturdy branch about 1‑inch thick, a sharp pair of scissors, a measuring tape, and some masking tape. The tape works as a cutting guide and keeps your rows even when you work on the floor.
Optional items are ceramic drawer pulls for a boho finish, or a small level to check that each row sits straight. If you love extra help, check out Punch Needle Embroidery for Beginners: A Step‑by‑Step Guide, the same careful material prep works well for many fiber projects.
When you have all the parts laid out, you’ll feel ready to cut. A quick tip is to lay the cords on a flat surface, line them up, and use a ruler to mark the 20‑ft spot before you snip. This saves waste and keeps the length consistent.
Bottom line: Having every material ready saves time and keeps the project from stalling.
Step 2: Cut and Prepare Cords
Lay the 28 cords side by side on a clean table. Use a ruler or a piece of string to measure 20 ft from the end of each cord. Mark the spot with a small piece of tape, then cut with sharp scissors. A clean cut makes the knots tighter and the fringe smoother.
After you cut, separate the cords into two groups: one for the base knot and one for the rows. This way you won’t mix lengths when you start knotting.
It helps to label each group with a piece of masking tape , a simple ‘A’ and ‘B’ keeps you from getting confused later.
Now you can start to straighten each cord. Run your fingers along the length and pull any twists out. If a cord feels stiff, give it a gentle roll between your palms to loosen it.
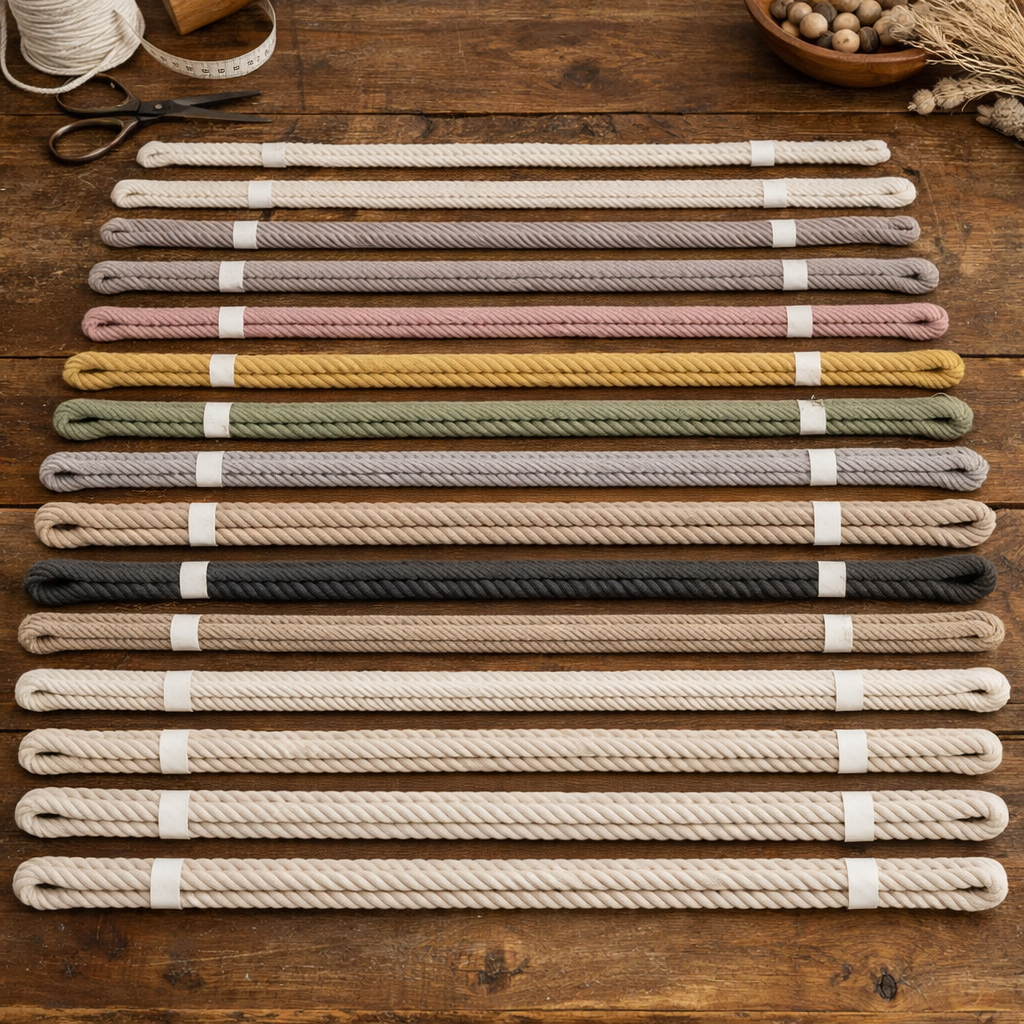
When you’re ready, coil the excess length into neat bundles. Store the bundles in a zip‑lock bag to keep dust away.
Bottom line: Precise cuts and organized cords keep the knot work smooth and tidy.
Step 3: Create the Base Knot
The first knot anchors all your cords to the dowel. The most common start is the Lark’s Head Knot. Fold a cord in half, loop the folded end over the dowel, then pull the loose ends through the loop. Pull tight and you’ll see a neat knot that holds the cord in place.
Do this for all 28 cords. It looks like a forest of loops, but each one is the foundation for the rows to come.
Next comes the square knot , the workhorse of macrame. To make it, take two cords, cross the left over the middle, then under the right, pull tight. Then take the right over the middle, under the left, and pull. That completes one square knot. Practice a few times on a scrap before you start on the wall hanging.
Here’s a quick visual of the knot in action:
s, only 10% give a clear time estimate, yet the one that does says a beginner can finish in about 30 minutes. That’s a realistic goal if you follow each step.
For a deeper look at knot theory, see Wikipedia’s macramé page. It explains the history and shows more knot options if you want to expand later.
Bottom line: Master the Lark’s Head and square knots first , they lock the cords and set the pattern.
Step 4: Build the Pattern
With the base knots in place, you can start the rows. Most beginner designs use the square knot and the double square knot. The pattern repeats across 25 rows, each row adding a new block of knots.
Begin by counting four cords from the left edge. Work a double square knot across those four cords, then move to the next four. Keep the tension even , too tight and the piece will pucker, too loose and it will sag.When you reach the end of a row, use a piece of masking tape as a guide to keep the next row aligned. A level can help you check that the row sits flat on the floor before you tie the next knots.
Many makers add a decorative finial at the ends of the dowel. A simple ceramic drawer pull screws in nicely and adds a Bohemian touch without extra cost.
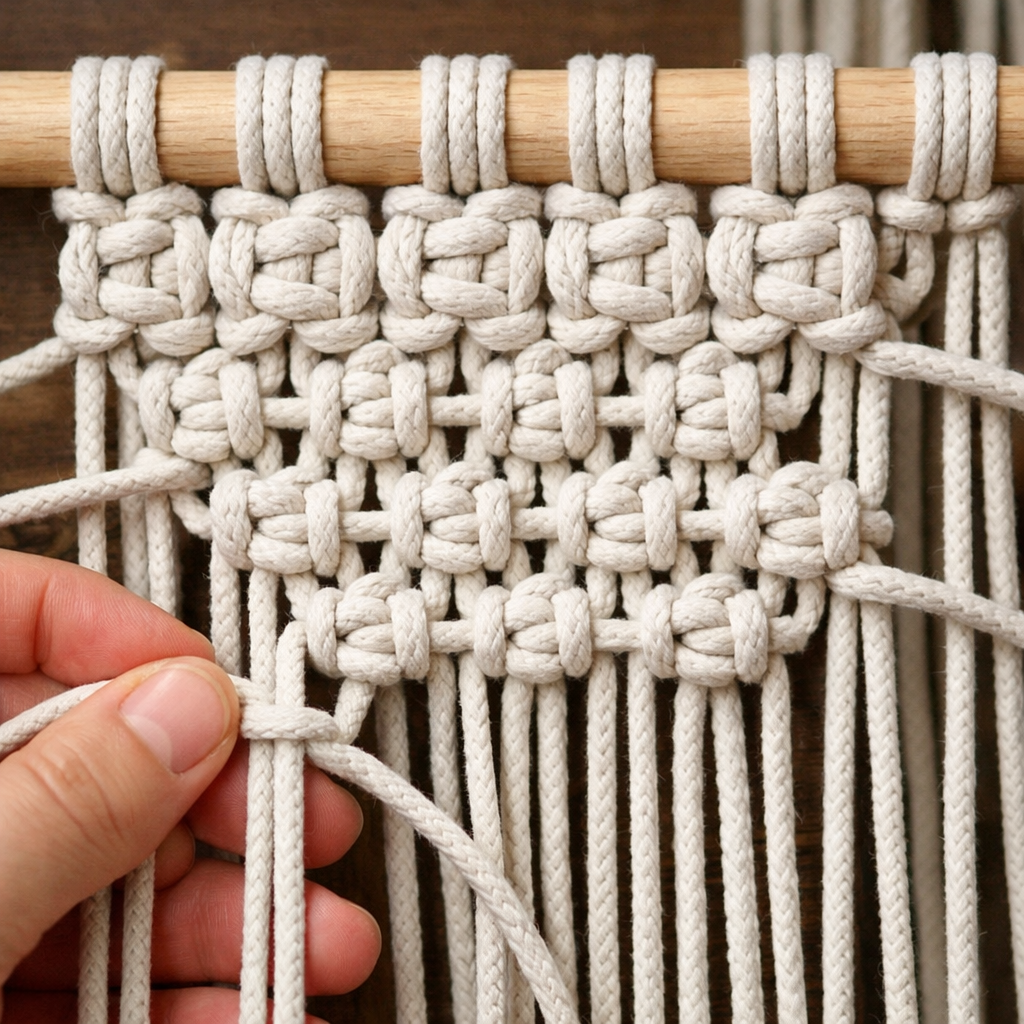
“Practice the square knot until it feels like a habit; the rest of the design will flow easily.”
If a row looks uneven, pause and readjust the cords before you tie the next set. This small step saves you from having to redo a whole section later.
When you finish the last row, step back and admire the texture. You’ve just woven a piece of art that can be the focal point of any wall.
Bottom line: Consistent square and double square knots create a sturdy, attractive pattern.
Step 5: Finish and Hang Your Piece
The final step is to trim any excess fringe and decide how you’ll hang the piece. Use sharp scissors to cut the fringe to the length you like , 2‑3 inches is a common finish.
If you want a clean look, dip the fringe in a light coat of fabric glue to stop it from fraying. Let it dry for a few minutes before you move the hanging.
There are three popular ways to hang a macrame wall hanging:
Choose the method that fits your wall type and the weight of your hanging. For a light piece, a picture hook works fine. For a larger, heavier piece, a mounted board gives extra support.
Once it’s up, give the piece a gentle shake. If any cords sway too much, tighten the base knots a touch. The result should be a calm, even drape that catches the eye.
Bottom line: Trim, secure fringe, pick a hanging method, and level the piece for a polished finish.
FAQ
How long does the whole project take?
Most beginners finish in about 30 minutes to an hour. The time depends on how fast you cut, knot and finish. If you practice the knots first, you’ll move faster and end up closer to the 30‑minute mark noted in the research.
What type of cord is best for a wall hanging?
Natural cotton or jute works well for a soft look, while hemp gives extra strength. Choose a 3‑mm or 4‑mm single‑strand cord for a beginner project , it’s easy to handle and ties neat knots.
Can I use a metal dowel instead of wood?
Yes, a metal pipe or metal ring works fine. Just make sure the surface is smooth so the cords don’t snag. Some crafters prefer metal for a modern vibe.
Do I need a special tool to make the knots?
No special tools are required. Sharp scissors, a tape measure and a level are enough. If you want, a small crochet hook can help pull tight ends through tight loops.
How do I keep the fringe from fraying?
Apply a light coat of fabric glue or a spray‑on fabric stabiliser to the fringe after you cut it. Let it dry fully before hanging. This keeps the ends from pulling apart.
What if my rows look uneven?
Use masking tape as a guide for each row. Check the level before you start a new row. If a row is already uneven, gently pull the cords to even them out before you tie the next knots.
Can I add beads or other decorations?
Sure! Slip a few beads onto the cords before you tie the base knot. This adds a pop of color and texture without changing the overall pattern.
Is there a way to learn more advanced patterns?
CreativiU offers a full library of macramé courses that dive into advanced knots, larger projects, and design theory. Those courses give step‑by‑step videos and community feedback that go beyond the basic tutorial.
Conclusion
Making a macrame wall hanging is a fun, hands‑on way to add texture to any room. By gathering the right amount of cord, cutting cleanly, learning the Lark’s Head and square knots, building a steady pattern, and finishing with a clean fringe, you can create a piece that looks professional yet feels personal.
Remember the hidden details many free guides skip , 28 cords of 20 ft, a 30‑minute build time, and the need for a level and tape guide. Those small steps make the difference between a wobbly mess and a polished decor item.
If you enjoyed this tutorial, the next step is to explore more designs and techniques. CreativiU’s on‑demand macrame library gives you instant access to deeper lessons, community support, and a structured learning path that fills the gaps most free tutorials leave out.
Grab your cords, set up a tidy workspace, and start knotting. In a short time you’ll have a beautiful wall hanging that shows off your creativity and adds a cozy touch to any space.
Leave a Reply