Making your own soy candles with essential oils is easier than you think.
All you need is soy wax, a few drops of scent, and a little patience. It’s a cheap way to add a personal touch to a room or give a hand‑made gift that feels special.
Many hobbyists worry about wax spills or weak scents, but a few simple tricks can fix those problems fast. You’ll learn why a low heat melt keeps the oil’s fragrance bright, and how a steady pour avoids air bubbles.
First, melt the soy wax in a double boiler until it reaches about 180°F. Then remove it from heat, let it cool to 130‑140°F, and stir in your essential oil at a ratio of 1 ml per 100 g of wax. Finally, pour into a pre‑wicked jar, let it set for a few hours, and trim the wick.
Need more detail? Check out How to Make Soy Wax Candles at Home for a full step‑by‑step walk‑through.
If you want to boost the vibe of your candle, consider adding a crystal that matches your intention. A shop that sells crystals and beads can be a handy source for that extra sparkle – see exploring pyrite metaphysical properties for ideas.
Quick checklist: 1) Gather soy wax, a wick, a jar, and your favorite essential oil. 2) Melt, cool, stir, and pour. 3) Let it cure for at least 4 hours before lighting. 4) Trim the wick and enjoy the scent.
Give it a try this weekend. You’ll see how satisfying it feels to watch a simple mix turn into a glowing, fragrant piece you made yourself.
Step 1: Gather Materials and Prepare Your Workspace
Before you pour any wax, get everything you need right in front of you. Having the right tools ready saves you from scrambling mid‑mix.
You’ll need soy wax flakes, a sturdy double boiler or a pot and a heat‑proof bowl, a kitchen thermometer, a stirring spoon, a clean glass jar with lid, a cotton wick, and your favorite essential oil. A pair of scissors for trimming the wick and a silicone mat to catch drips are nice extras.
Clear a flat spot on a table, lay down the mat, and wipe the area with a damp cloth. A tidy workspace stops spills from turning into messes later. Keep a small trash bin nearby for wax scraps.
Measure the wax by weight, about 100 g per candle works well. Use a kitchen scale for accuracy; it’s easier than guessing.
Need a visual walk‑through? Check out this short video that shows each step in real time.
While the wax cools, think about where the finished candle will live. Pairing it with a piece of handcrafted wood art can turn a simple scent into a cozy focal point. See this how to display coastal wood flower art guide for ideas that match your candle’s vibe.
When the wax reaches the right temperature, stir in the essential oil at a ratio of 1 ml per 100 g of wax. Give it a gentle swirl, then carefully pour into the pre‑wicked jar. Let it sit undisturbed for at least four hours before lighting.
For a step‑by‑step rundown that covers every detail, read How to Make Soy Wax Candles with Essential Oils – A Step‑By‑Step Guide. It walks you through each phase, from melt to trim.
Now you’ve set the stage for a successful candle, and the next steps will be just as simple.
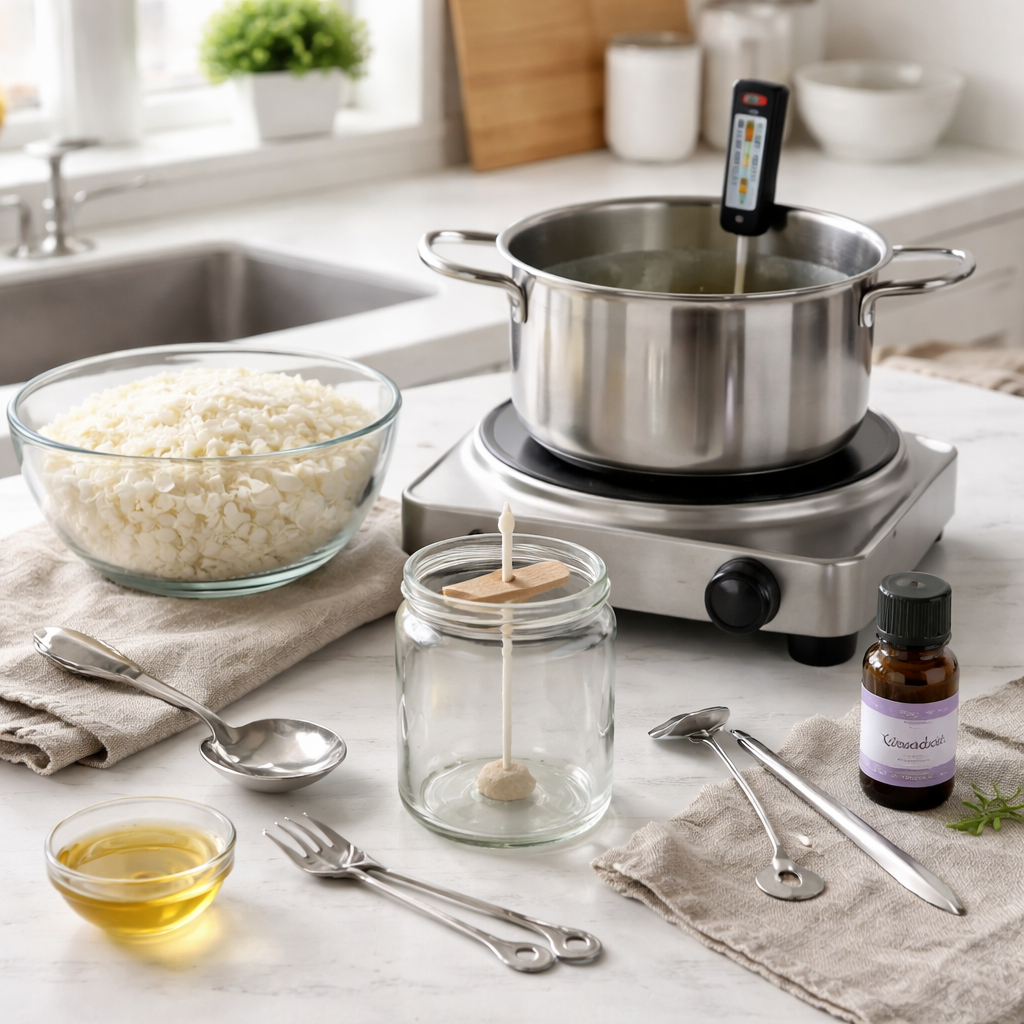
Step 2: Melt the Soy Wax and Add Essential Oils
First, set up a double boiler. Fill the bottom pot with a few inches of water, bring it to a gentle simmer, then place the soy wax in the top pot. Watch the wax melt slowly – you want it to reach the 170°F‑185°F range. Going hotter can scorch the wax and mute the scent.
Why that range matters: a study from Seventh Avenue Candles shows that melting within 170‑185°F keeps the wax structure intact and lets the fragrance bind well later on. temperature guidelines for soy wax break it down in a handy chart.
When the wax hits the sweet spot, turn off the heat. Let it cool just a bit – around 155°F‑165°F is the magic window for adding essential oil. If you pour too early, the oil can evaporate; too late, and it won’t bind.
Adding the oil
Measure out your oil. A safe start is 1 ml per 100 g of wax. Stir gently with a silicone spoon; avoid splashing. You’ll notice the oil swirl into the wax, creating a glossy sheen.
Here’s a quick example: imagine you’re making a lavender‑vanilla candle for a weekend craft night. You melt 200 g of wax, let it cool to 160°F, then add 2 ml of lavender oil. Stir for 30 seconds, and you’ve locked in a calming scent that won’t fade when the candle burns.
Tips from the pros
• Pre‑heat your jar by filling it with warm water for a minute. This helps the wax settle without forming a sinkhole.
• If you’re working with kids, let them pour the cooled wax (under 150°F). It’s safe and feels rewarding.
• For a stronger scent throw, you can blend two oils that complement each other – just keep the total oil amount within the 1 ml per 100 g rule.
Once the oil is fully mixed, you’re set to pour. If you need a full walk‑through, check out step‑by‑step guide to making soy candles at home for more details on pouring and finishing touches.
Step 3: Choose the Right Wick and Pour the Candle
Now that your wax and oil are mixed, the next move decides how clean your flame will be. Pick a wick that matches the jar size and the wax volume, then pour with care.
Pick the Right Wick
A cotton round wick is the safest bet for most home jars. Choose a size that’s about 2‑3 mm wide for a 8‑oz jar. Too thin and the flame will sputter; too thick and the wax can pool.
Wooden wicks give a broader glow and a soft crackle, but they need a bit more wax to stay steady. A 6‑mm flat wooden wick works well for larger tins.
Hemp wicks are a good natural option. They burn a little slower, so pick a 3‑mm hemp wick if you like a longer burn.
| Wick type | Recommended size (mm) | Tip |
|---|---|---|
| Cotton round | 2‑3 | Trim to ¼‑inch before each pour. |
| Wooden flat | 6 | Secure with a small dab of wax at the base. |
| Hemp | 3 | Let the wick sit upright while the wax cools. |
Pour the Wax
Let the melted wax drop to about 150‑160°F. That temperature lets the wax flow smooth but avoids a sudden splash. Hold the jar steady and pour in a slow, steady stream. If you see bubbles, give the jar a gentle tap or swirl.
Pre‑heat the jar with warm water for a minute before you pour. The warm walls keep the wax from forming a sinkhole, and the surface stays level.
Once the wax sets, let it cool completely before trimming the wick. A trimmed wick of about ¼‑inch gives a clean flame and a steady scent release.
For a deeper dive into wick selection and pouring tricks, check out the full step‑by‑step guide on our site.
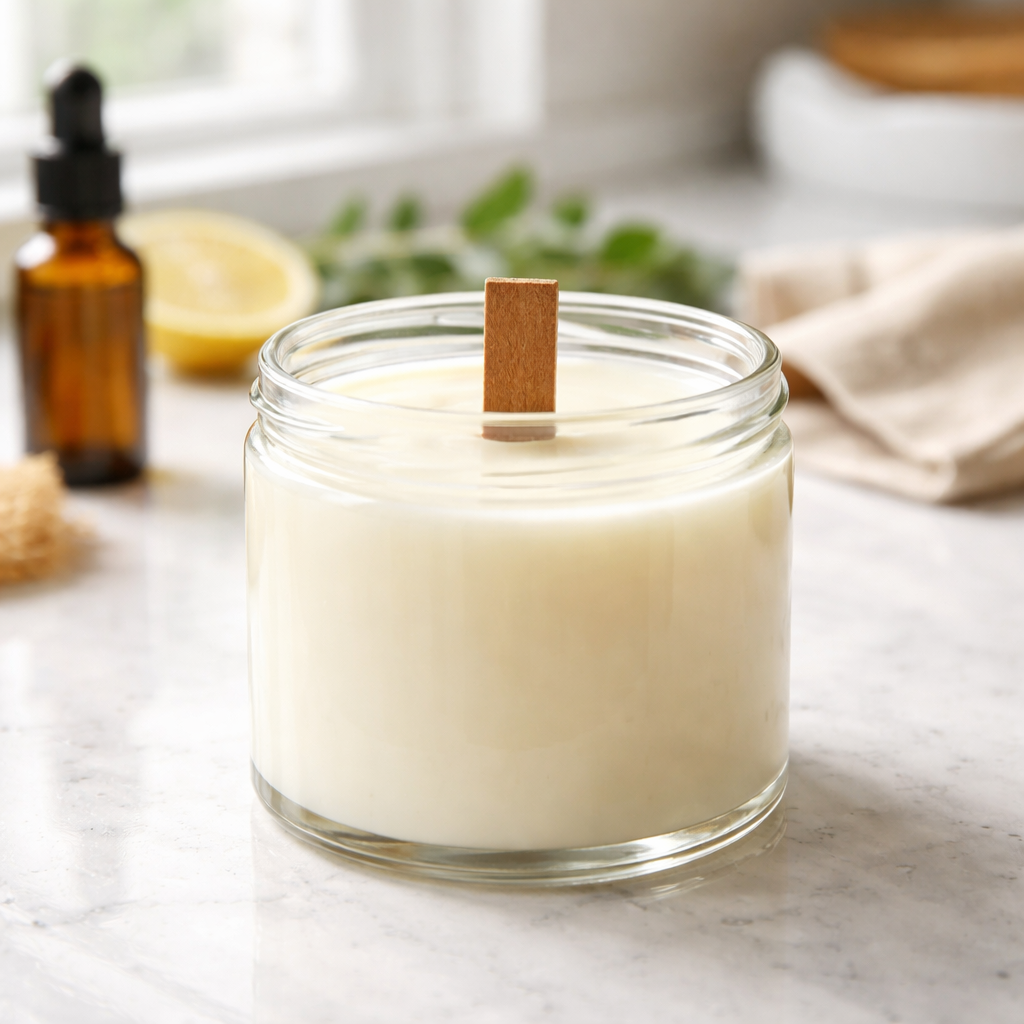
Step 4: Cure, Trim, and Finish Your Soy Candle
Now the wax is solid, the real magic starts. Let the candle sit undisturbed for at least four hours – most hobbyists find four to six hours gives a smooth surface and a steady scent release.
Let it cure
Place the jar on a flat surface away from drafts. A cool room (around 68‑72°F) helps the wax settle evenly. If you’re in a busy kitchen, a simple tray works fine. Resist the urge to move the candle while it’s still warm; a shift can cause cracks or sinkholes.
Do you ever wonder why some candles feel “flat” when you light them? The answer often lies in the cure time. The longer the wax rests, the more the fragrance molecules bind, so the scent stays strong when the flame is lit.
Trim the wick
When the candle is fully cooled, grab a small pair of scissors. Cut the wick to about ¼‑inch (6 mm). A short wick gives a clean flame, less smoke, and a longer burn life. If the wick is too long, the flame will flicker and drown the scent.
Tip: Trim the wick right before each lighting session. Even a tiny change can improve the burn.
Add the finishing touches
Give the surface a quick wipe with a soft cloth if you see a wax film. Some crafters like to add a decorative label or a tiny charm that matches the scent theme. Parents can involve kids by letting them stick a safe sticker on the jar – just keep it away from the flame.
Finally, light the candle for a short test burn (about 30 minutes). Watch the flame, check for soot, and enjoy the aroma. If everything looks good, you’re ready to share or gift your creation.
Need more detail on troubleshooting common finish issues? Check the full step‑by‑step guide for extra tips.
Conclusion
You’ve just walked through how to make soy candles with essential oils, from gathering the wax to lighting the finished jar.
The core steps are simple: melt the soy wax at the right temperature, stir in the oil, pour into a pre‑wicked container, let it cure, then trim the wick to a quarter‑inch.
When the flame stays steady and the scent spreads evenly, you’ve turned a few basic supplies into a hand‑made piece that feels personal and rewarding.
A quick tip: jot down the temperature you used and the oil ratio so you can copy the recipe next time, and check out CreativiU’s library for more project ideas and step‑by‑step videos.
Give it a try this weekend. If you share a photo on the forum, you’ll see how others tweak their blends and you’ll keep the creative spark alive.
FAQ
What temperature should I melt soy wax when adding essential oils?
Heat the wax until it hits the 170 to 185°F range. This keeps the wax structure intact and stops the oil from burning off. Use a candy thermometer and stir gently as the wax warms. When you see a steady bubble flow, pull the pot off the heat and let it drop a few degrees before you stir in the oil. That small dip gives the scent a chance to bind.
How much essential oil do I need for a given amount of wax?
A safe starting point is 1 ml of oil for every 100 g of wax. Measure the wax on a kitchen scale, then pour the oil in a small cup and stir for about 30 seconds. If you want a stronger scent, you can add up to 1.5 ml per 100 g, but go slower and test a small batch first so the fragrance doesn’t overwhelm.
How long should I let my soy candle cure before I light it?
Let the candle sit for at least four hours after it hardens. This gives the oil time to fully bond with the wax. If you can wait overnight, the scent will be a bit richer when you light it. Store the jar upright in a cool, dry spot while it cures, and avoid moving it around.
Can I use any essential oil in my soy candles?
Most pure essential oils work, but some are too volatile for candle heat. Choose oils labeled “candle‑safe” or test a tiny dab first. Citrus oils can scorch if the wax is too hot, while woody or floral scents tend to hold up well. Always start with a small batch to see how the scent behaves once the candle burns.
What wick size is best for a typical soy candle jar?
Measure the jar’s diameter and pick a wick that’s roughly 1 mm for every 2 inches of width. A 10 mm jar usually needs a size # 6 or # 8 cotton wick with a thin metal core. If the flame flickers low, try a slightly larger wick; if it sputters, go down one size. Center the wick with a wick sticker for an even burn.
How should I store unfinished or pre‑made soy candles?
Keep them in a cool, dark cupboard away from direct sunlight or heat sources. Cover the jar with a lid or a piece of foil to stop dust from settling on the surface. If you’ve poured a batch but haven’t let it cure yet, let it sit flat and undisturbed until it hardens, then follow the normal curing steps.
Leave a Reply