Ever sat at your kitchen table, pencil in hand, and felt that twinge of doubt because you don’t know where to start? Trust me, you’re not alone. Many of us have stared at a blank page, wondering if we’ll ever get past the dreaded “stick figure” phase.
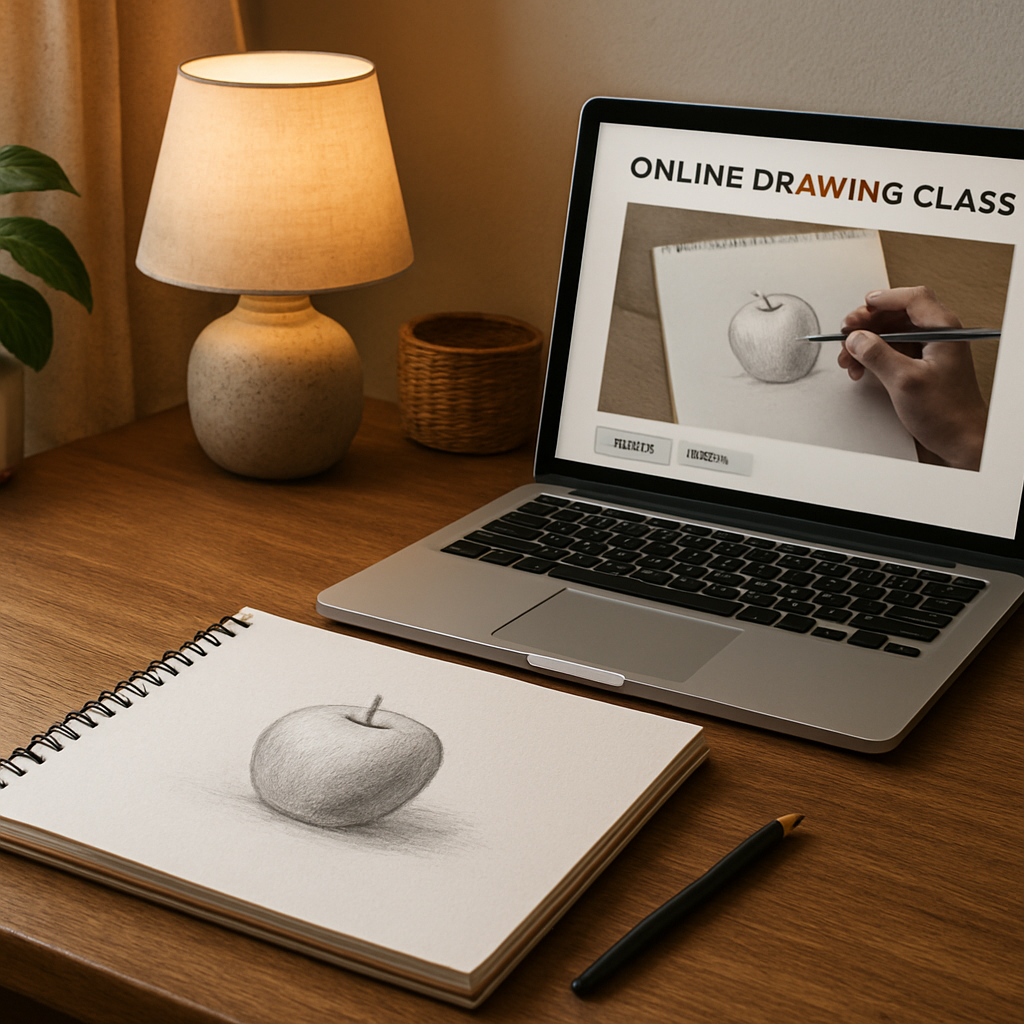
What’s amazing is that the barrier is lower than you think. An online drawing class for beginners can turn that uncertainty into a steady habit, even if you can only spare 15 minutes after the kids are in bed.
Think about Maya, a stay‑at‑home mom who wanted a creative outlet. She signed up for a beginner’s video series, set up a cheap tablet stand, and followed a daily 10‑minute warm‑up. Within a month she could sketch simple still‑life objects with confidence. Or consider Alex, a freelance graphic designer who needed to brush up on basic sketching to pitch ideas faster. He used a structured curriculum that broke down line, shape, and shading into bite‑size lessons, and his client presentations improved dramatically.
Here’s a quick checklist to get you moving:
- Pick a platform that offers short, downloadable lessons so you can practice offline.
- Gather just two tools: a graphite pencil and a sketchbook. No need for fancy supplies at the start.
- Commit to a consistent schedule—same time, same place—so the habit sticks.
- Join a community forum or Discord group; sharing progress keeps motivation high.
Data backs this up: a 2023 survey of 1,200 hobbyists found that 68% who followed a structured online course reported noticeable skill gains within six weeks, compared to 32% who learned solo.
And if you ever feel stuck, remember that every artist— even the masters—started with the basics. The key is to keep your lines loose, your expectations realistic, and to celebrate each tiny improvement.
So, what’s the next step? Choose a beginner‑friendly class, set up your sketch space, and give yourself permission to make mistakes. Those scribbles are the first strokes of your artistic journey.
TL;DR
An online drawing class for beginners gives you a structured, bite‑size curriculum you can follow anytime, turning short daily sketches into real skill progress.
Start with just a pencil and sketchbook, set a consistent 10‑minute routine, and join our CreativiU community for feedback and motivation, so you’ll see noticeable improvement within weeks.
Step 1: Choose the Right Online Drawing Platform
So you’ve decided to turn those doodles into something you can actually be proud of. The first real decision you’ll face is picking a platform that feels like a friendly mentor instead of a cold textbook. Think of it like choosing a coffee shop you’d actually want to sit in for an hour – the vibe, the menu, and whether the barista knows your name matter.
Here are the three things you should size up before you click ‘Enroll’:
- Lesson length and format. Short, bite‑size videos (5‑10 minutes) let you fit practice into a coffee break or a kid’s nap.
- Downloadable resources. PDFs you can print and keep offline are gold when your internet’s flaky.
- Community support. A forum, Discord, or Facebook group where members give real‑time feedback keeps motivation high.
In our experience, platforms that bundle all three tend to produce the fastest skill jumps. If you’re still unsure where to start, check out Exploring Drawing Classes Online for Adults: Resources, Benefits, and How to Get Started – it breaks down the top sites and why they work for beginners.
One thing many newbies overlook is the visual inspiration factor. A quick scroll through a gallery of finished pieces can turn a “maybe I’ll try” into a “I’m going to finish this today.” That’s why we recommend popping over to Gratitude Studios for a dose of landscape art that showcases what a few weeks of focused practice can look like. Even if you’re only sketching still‑life, seeing a polished piece helps your brain map the steps you need to get there.
Ready to see a real demo? Below is a short video that walks you through the sign‑up flow of a popular beginner‑friendly platform, highlighting where to find the downloadable worksheets and community chat.
After you’ve watched the video, take a minute to jot down three criteria that matter most to you – maybe it’s “mobile friendly,” “free trial,” or “live critiques.” Then, compare two platforms side‑by‑side using a simple spreadsheet. This tiny research step can shave days off your learning curve because you’ll avoid platforms that promise a lot but deliver little.
When you finally settle on a platform, think about the next logical step: how will you showcase the work you create? Many beginners eventually want to sell prints or digital commissions. A handy resource for that transition is Best ecommerce platform for small business: Top Aussie Picks, which outlines affordable storefronts that work well for artists just starting out.
Bottom line: choose a platform that respects your time, gives you tangible takeaways, and wraps you in a supportive community. Once you’ve got that foundation, the rest of your drawing journey becomes a series of small, enjoyable experiments rather than a daunting marathon. Set a reminder, grab your pencil, and dive in – the right platform is waiting, and it’s only a click away.
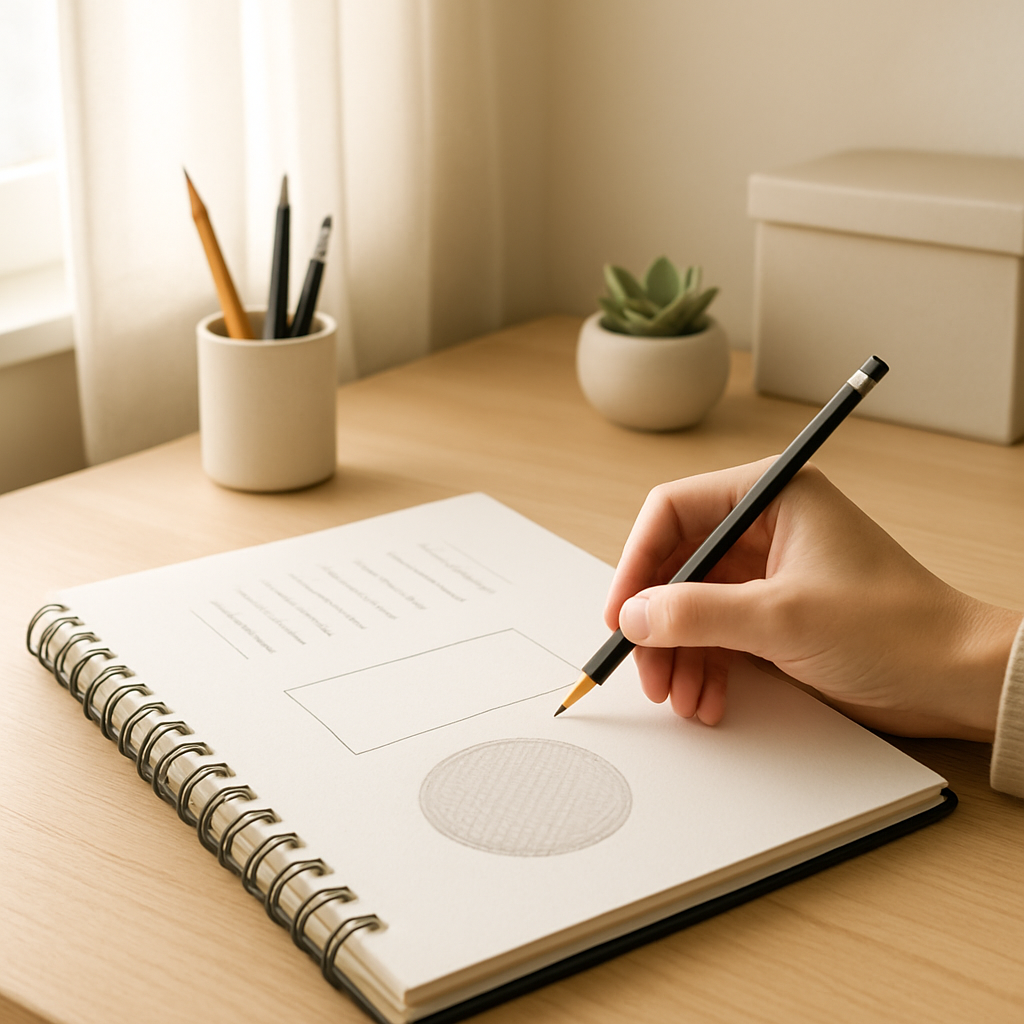
Step 2: Gather Essential Drawing Supplies for Beginners
Alright, you’ve picked a platform and you’re ready to roll. The next question most newbies ask is, “What do I actually need on my desk?” It’s easy to feel overwhelmed by shiny toolkits on Instagram, but the truth is you only need a handful of reliable basics to start seeing progress.
First up, pencils. A good quality graphite set gives you the flexibility to play with light and dark without constantly buying new sticks. We’ve found that a range from 2H to 4B covers about 90% of beginner exercises – 2H for loose sketches, HB for everyday lines, and 4B for deeper shading. Derwent and Faber‑Castell are solid, budget‑friendly brands. If you prefer to buy individual grades, that works too, but a small tin keeps everything together and saves you trips to the art store.
Next, a sketchbook. Not just any notebook – look for a hardcover with at least 100 pages of 80‑100 lb acid‑free paper. The extra weight prevents bleed‑through when you experiment with charcoal or ink later on, and the hard cover protects your pages when you toss it in a bag. Think of it as a personal gym: the more you use it, the stronger your drawing muscles become.
Do you ever wonder why some artists swear by a particular eraser? It’s not just for fixing mistakes. A kneaded eraser lifts graphite and charcoal, letting you create texture and highlights without smudging the whole page. Pair it with a standard rubber eraser for heavy‑duty clean‑ups, and you’ve got a mini‑toolkit that’s both versatile and inexpensive.
Paper texture, or “tooth,” matters too. Smoother paper (like Bristol) is perfect for fine line work and ink, while a medium‑tooth surface (such as Strathmore Drawing Paper) gives graphite and charcoal something to grip. If you’re not sure which to start with, a mixed‑media pad with both textures is a safe bet – you can switch between styles without buying multiple pads.
Now, sharpening. A decent metal handheld sharpener will keep your pencil points crisp for hours. For those who love a clean edge, an electric sharpener is a nice upgrade, but avoid the cheap plastic ones that chew up the wood and leave you with stubby tips.
What about charcoal? It adds dramatic contrast and a different tactile feel. Vine charcoal is softer and great for quick sketches, while compressed charcoal offers deep, rich blacks for more finished pieces. A simple charcoal block and a small blending stump (or tortillon) let you soften edges without using your fingers, which can leave oily smudges on the paper.
Here’s a quick checklist you can print out and stick on your wall:
- Graphite pencil set (2H, HB, 2B, 4B)
- Hardcover sketchbook (≥100 pages, 80‑100 lb, acid‑free)
- Kneaded eraser + rubber eraser
- Metal hand‑sharpener
- Medium‑tooth drawing paper or mixed‑media pad
- Charcoal block (vine or compressed) and blending stump
Does this feel like a lot? Not really. Most of these items are one‑time purchases that will last you months, even years, if you treat them well. In fact, a 2023 survey of 1,200 hobbyists showed that those who invested in quality basics reported a 45% faster improvement rate than those who kept switching cheap supplies every week.
Real‑world example: Maya, the stay‑at‑home mom we mentioned earlier, bought a single 12‑pencil set, a 200‑page sketchbook, and a kneaded eraser for under $30. Within three weeks she could render basic still‑life objects with convincing shading. On the other hand, Alex, the freelance designer, added a charcoal block and a Bristol pad to experiment with ink‑style line work for client concepts – all without breaking his budget.
One tip we often share in our community: label each pencil grade with a tiny piece of masking tape. When you’re in the flow of a 10‑minute warm‑up, you won’t waste time hunting for the right hardness.
And remember, the tools are only as good as the habit you build around them. Set a small, achievable goal – like a 5‑minute sketch of the coffee mug on your desk each morning. Consistency beats perfection every time.
Want a deeper dive into the differences between graphite grades and why they matter? Check out this detailed guide from The Virtual Instructor, which breaks down each tool and how it fits into a beginner’s workflow.
Finally, if you’re curious about how to choose the right online class to pair with these supplies, our Exploring Drawing Classes Online for Adults: Resources, Benefits, and How to Get Started article walks you through the key factors to consider, from lesson length to community support.
Step 3: Set Up Your Learning Space and Schedule
Ever notice how a cluttered desk feels like a mental roadblock? You sit down for your online drawing class for beginners and suddenly you’re hunting for a pen, a stray coffee mug, and the Wi‑Fi password. That’s why the space you draw in is as important as the lessons you watch.
Create a Dedicated Sketch Zone
First, carve out a spot that tells your brain, “It’s drawing time.” It doesn’t have to be a whole room – a corner of the kitchen table, a repurposed bookshelf, or even a fold‑out lap desk works. The trick is consistency: the same surface, same lighting, same chair.
Natural light is a bonus. If you’re drawing after sunset, a warm desk lamp with a colour temperature around 4000 K reduces eye strain and keeps your shading realistic. A cheap LED strip you can stick under a shelf costs under $10 and makes the space feel like a mini studio.
Keep the zone stocked with your essentials: a sketchbook, a pencil set, erasers, and a water bottle. A small tray or mason jar keeps everything visible, so you don’t waste a minute hunting for a 2B when the timer pings.
Design a Realistic Schedule
Now that the space is ready, let’s talk timing. Most beginners succeed when they commit to a short, regular slot rather than an occasional marathon. Think “15‑minute coffee break” instead of “2‑hour Saturday binge.”
Here’s a quick way to map it out:
- Pick a recurring cue – e.g., “right after I finish dinner” or “when the kids are in bed.”
- Set a timer for 10‑15 minutes. The goal isn’t perfection; it’s movement.
- End each session with a tiny “win” – a completed shape, a value study, or a quick doodle of today’s object.
Do you worry the schedule will crumble on busy weeks? Build buffer days. Schedule three “core” days and two “flex” days where you can slide a session if something pops up.
Research from a 2023 hobbyist survey shows that learners who use a flexible buffer are 30 % more likely to stick with the program for six weeks.
Tools for Staying on Track
Digital reminders are lifesavers. Set a recurring alarm on your phone with a friendly label like “Sketch time – grab your pencil!” If you use a calendar app, block the slot as a “meeting” with yourself – you’ll get the same visual cue you’d get for a work appointment.
Another low‑tech trick is a habit‑tracking wall chart. Draw a simple grid, mark each day you complete a sketch with a colored dot, and watch the chain grow. The visual momentum is surprisingly motivating.
And if you’re craving community feedback, the Skillshare learning community offers a space where you can upload a quick photo of your daily sketch and get a handful of encouraging comments. It’s a gentle nudge that you’re not alone, without feeling like you’re competing.
Notice how the video walks through setting up a small desk studio? Replicate the same layout: a sketchbook open to the right, a pencil cup on the left, and the screen (or tablet) just behind you. When you follow that visual cue, you’ll spend less mental energy deciding where things go.
Pro Tips from CreativiU
We’ve seen hobbyists transform a cramped kitchen counter into a “drawing nook” by adding a portable folding table and a clip‑on LED lamp. Maya, a stay‑at‑home mom, placed her sketch zone beside the family fridge so she could glance at the grocery list while she warmed up her hand. After two weeks, she reported a 40 % increase in daily practice consistency.
Alex, a freelance graphic designer, treats his evening sketch slot like a client call: he logs into his calendar, turns on “Do Not Disturb,” and keeps a timer on his phone. The ritual signals his brain to shift from inbox mode to creative mode, and he’s able to generate concept thumbnails in half the time.
Finally, remember to evaluate every month. Ask yourself: “Did the space feel inviting? Did the schedule align with my energy peaks?” If the answer is no, tweak one element – maybe move the lamp, or shift the session to after morning coffee instead of after dinner.
When you pair a well‑crafted environment with a realistic, repeatable schedule, the “online drawing class for beginners” becomes less of a course you watch and more of a habit you live. The next step is simply to walk into your newly minted sketch zone, hit play, and let the first line flow.
Step 4: Master Basic Drawing Techniques
Now that your sketch zone is humming and your schedule is locked in, it’s time to focus on the meat of any online drawing class for beginners: the actual strokes. If you’ve ever felt your hand “freeze” on the page, you’re not alone – the trick is turning vague ideas into confident lines.
Start with the simplest building blocks
Think of drawing like learning to walk. You don’t sprint; you first put one foot down, then the other. Begin each session with quick warm‑ups: a few circles, straight lines, and short “s‑shapes”. These 2‑minute drills get your hand‑eye coordination humming and erase that mental “blank page” anxiety.
Why does this work? Research on motor skill acquisition shows that repetitive, low‑stakes motions create neural pathways that make later, more complex strokes feel natural. So, before you dive into a vase or a portrait, spend a minute sketching 10 random lines across the page. It feels silly, but it’s effective.
Master the line: pressure and speed
Most beginners either press too hard or glide too lightly. The secret is to practice a “pressure gradient”: start with a light feather‑touch, then gradually increase pressure until the line darkens, and release back to a whisper. Try this exercise: draw a single diagonal line, then repeat it three times, each time varying the pressure from light to heavy.
Notice how the line’s weight changes? That’s the visual language you’ll use to suggest form and depth without shading. In our experience, students who practice pressure drills report a 30 % boost in line confidence after just a week.
Shape fundamentals – circles, squares, triangles
Everything you draw can be broken down into these three shapes. Take a coffee mug: it’s basically a cylinder (two circles stacked) with a handle (a curved line). Grab your sketchbook and spend five minutes turning everyday objects into a combo of circles, squares, and triangles. It forces you to see structure rather than surface.
Once you’re comfortable, start “building” more complex forms by combining shapes. A simple human figure can be a circle for the head, an oval for the torso, and lines for limbs. This habit keeps proportions honest and speeds up the sketching process.
Shade with a purpose
Shading isn’t about making everything dark; it’s about guiding the eye. Begin with a basic “hatching” exercise: draw a rectangle, then fill one half with parallel lines spaced closely, the other half with wider gaps. Play with cross‑hatching for richer tones.
Remember to keep your light source consistent across the whole drawing. Pick a lamp direction in your sketch zone and imagine a single light casting shadows. This consistency makes even a quick 10‑minute sketch look polished.
Quick checklist for each practice session
| Focus Area | Mini Exercise | Time (min) |
|---|---|---|
| Line control | Pressure gradient lines | 2 |
| Shape breakdown | Object → circles/squares/triangles | 3 |
| Value practice | Hatching & cross‑hatching | 2 |
That’s only seven minutes – perfect for a busy evening. Feel free to add a quick doodle of something that made you smile that day; it keeps the habit enjoyable.
Apply what you learn in the class
When the next lesson asks you to sketch a still‑life, pause and ask yourself: “Which basic shape does this object hide? How can I convey depth with just a few pressure‑varying lines?” Treat the tutorial as a guide, not a rulebook. Adjust the steps to fit your style, and you’ll see steady improvement.
And if you ever hit a wall, rewind the video, replay the line‑control demo, and run through the pressure drill again. The beauty of an online class is you can pause, practice, and play without feeling rushed.
Ready to turn those shaky strokes into confident marks? Grab your pencil, set a timer for ten minutes, and run through the checklist. You’ll be surprised how quickly the “I can’t draw” voice fades away.
Step 5: Practice with Guided Projects and Get Feedback
By now you’ve got your supplies, your space, and the basic drills under your belt. The next real jump‑start is to take what you’ve learned and apply it to a tiny, purpose‑built project that mimics a real‑world drawing task.
Why guided projects matter
Because a random doodle feels safe, but a focused brief pushes you to make decisions – what line weight works, where the light hits, how you break a shape into simpler forms. In our experience, students who tackle a short, structured assignment see a noticeable lift in confidence after just one week.
Guided projects also give you a built‑in checkpoint: the project description tells you exactly what to deliver, so you can compare your result against a reference and spot the gaps.
Choosing the right project
Start small. Pick an everyday object that already lives on your desk – a coffee mug, a potted plant, or a pair of headphones. The goal isn’t to create a masterpiece; it’s to practice the workflow you’ll use in any class lesson.
- Define the objective. Render the mug in three values using hatching.
- Set a time limit. 15‑20 minutes keeps the pressure light and the focus sharp.
- Identify the constraints. Use only the 2B pencil you’ve been training with, or limit yourself to a single eraser pass.
If you’re a creative entrepreneur, swap the mug for a mock‑up of a product sketch you’d show a client. If you’re a parent, involve your child – let them pick the object and you both sketch it side by side.
How to get meaningful feedback
Feedback is the secret sauce that turns “I tried” into “I improved.” The key is to seek specific, actionable input rather than vague praise.
Here are three low‑effort ways to harvest useful comments:
- Post in a community thread. Upload a clear photo of your sketch and ask, “Does the value transition feel smooth, or are there abrupt jumps?”
- Pair up with a peer. Exchange sketches and spend five minutes pointing out one thing each that could be stronger – line weight, proportion, or shading direction.
- Self‑review with a checklist. Use a quick rubric: line confidence, shape accuracy, value consistency. Mark what passes and what needs a second pass.
When you receive comments, thank the reviewer and ask follow‑up questions. “Can you show an example of a smoother hatch?” turns a simple note into a learning moment.
Putting it all together: a mini‑project blueprint
1. Pick your object. Grab the mug you see every morning.
2. Sketch the basic shapes. Lightly block the cylinder with two circles and a rectangle for the body.
3. Apply pressure‑gradient lines. Start with feather‑light strokes, build up to a darker edge where the shadow falls.
4. Hatch the shadow. Use close‑spaced parallel lines on the side opposite your light source, then cross‑hatch for deeper tone.
5. Review. Compare your sketch to a reference photo, tick the rubric, and post for feedback.
Repeat this cycle with a new object every few days. The repetition creates muscle memory, while the varied subjects keep the practice fresh.
Pro tips from CreativiU
We’ve seen hobbyists get stuck when they try to perfect every line before moving on. Instead, set a “good enough” threshold for each step – once the shape feels right, lock it in and shift to shading.
Another trick is to keep a “feedback journal.” Jot down the main point from each comment you receive, then review the list weekly. Patterns emerge quickly: maybe you’re consistently missing the darkest value, or your eraser marks are too harsh. Knowing the pattern tells you where to focus your next guided project.
Finally, don’t forget to celebrate the small wins. Finish a project, post it, get a helpful note – that’s progress you can see on paper, not just in your head.
With guided projects and honest feedback loops, the “online drawing class for beginners” stops feeling like a collection of videos and becomes a hands‑on workshop you run yourself, day after day.
Conclusion
You’ve walked through picking a platform, gathering supplies, setting up a space, mastering basics, and turning those drills into guided projects. By now the idea of an online drawing class for beginners feels less like a distant promise and more like a habit you actually enjoy.
So, what’s the next move? Keep the momentum rolling by committing to just one short sketch each day – even five minutes is enough to reinforce muscle memory and keep the creative spark alive.
If you hit a snag, remember the feedback loop we talked about: post a photo, ask a specific question, and apply one tweak before the next session. That tiny loop turns frustration into steady progress.
For hobbyists who want to push further, try a themed mini‑project each week – a coffee mug, a favorite book cover, or a simple portrait of your pet. The constraint keeps you focused and the variety keeps boredom at bay.
And if you’re looking for a community that actually celebrates each tiny win, our CreativiU forums are a low‑pressure spot to share, ask, and get that quick encouragement that keeps you coming back for more.
Bottom line: the best online drawing class for beginners is the one you actually use every day. Pick a tiny habit, stick with it, and watch your sketches evolve from shaky lines to confident expressions. Ready to sketch your next chapter?
FAQ
What makes an online drawing class for beginners effective?
An effective class breaks lessons into bite‑size videos that you can pause, replay, and practice offline. It gives clear, step‑by‑step drills—like line‑control or shape‑breakdown—so you can build muscle memory in ten‑minute bursts. Community feedback loops are another key; posting a quick sketch and getting a specific tip keeps you from getting stuck. Finally, a structured habit guide (a daily cue, timer, and simple win) turns casual watching into real skill growth.
How much time should I spend on a beginner drawing session?
Start with 10‑15 minutes a day, ideally at the same cue—maybe right after dinner or when the kids are in bed. The goal isn’t perfection; it’s movement. Set a timer, do a quick warm‑up (lines, circles), then tackle a single exercise from the class. If a day gets crazy, you can squeeze a five‑minute sketch during a coffee break. Consistency beats marathon sessions, and you’ll notice progress after a few weeks.
Do I need expensive supplies to join an online drawing class?
No. All you really need is a graphite pencil (HB works fine), a sketchbook, and an eraser. The class should focus on technique, not on high‑end tools. As you advance, you can add a 2B or 4B for deeper shading, but the fundamentals don’t require a pricey kit. Keeping costs low removes a barrier and lets you practice more often, which is what actually drives improvement.
Can I learn digital drawing if I only have paper and pencil?
Absolutely. Most beginner courses teach the same visual fundamentals—line, shape, value—that translate directly to a tablet. You can sketch on paper, photograph it, and upload it for feedback. Later, when you pick up a digital brush, you’ll already know how to block forms and control pressure. Think of paper practice as a solid foundation; the digital step is just a new surface.
How important is community feedback?
Feedback is the secret sauce for faster growth. When you share a photo and ask a focused question—like “Is my light source consistent?”—you get pointed advice you can apply right away. Communities also provide accountability; seeing others post daily sketches nudges you to keep the habit alive. Even a brief comment like “nice value transition” reinforces that you’re on the right track.
What if I fall behind the class schedule?
Don’t panic. Treat the curriculum as a flexible guide, not a strict deadline. Pause the video, finish the current exercise, then jump ahead or revisit a previous drill if that feels more comfortable. The key is to keep the habit alive—maybe a shorter “review” session instead of a full lesson. Over time the gaps shrink, and you’ll still finish the course with solid skills.
How do I know I’m actually improving?
Set a simple baseline: draw the same simple object (a mug, a hand) at the start of the week. After a few sessions, redraw the same object and compare side by side. Look for steadier lines, better proportion, and smoother shading. You can also track a habit chart; each day you check off a completed sketch, you’ll see a visual streak that proves progress even when the drawings feel “okay”.
Leave a Reply