Ever wish you could finally level up your watercolor skills without leaving your couch? In this guide you’ll walk through every step to find an intermediate watercolor painting class online that fits your schedule, budget, and creative goals. We’ll cover assessing your skill, picking a platform, gathering tools, setting up a studio, tracking curriculum milestones, practicing exercises, and sharing your work for feedback.
Step 1: Assess Your Skill Level and Goals
Before you click “enroll,” take a moment to write down where you stand now. Ask yourself: can you control water to create smooth gradients? Do you feel comfortable with wet‑on‑wet but still struggle with dry‑brush texture? Jot down a few specific goals , maybe you want to paint realistic foliage, master atmospheric perspective, or build a portfolio for commissions.
Grab a blank sheet of paper and try a quick 5‑minute exercise. Paint a simple sky wash, then add a tree silhouette using dry‑brush strokes. Look at the result. If the wash bleeds too much, note that as a water‑control issue. If the tree looks flat, flag value‑building as a focus area. This self‑audit turns vague wishes into measurable targets.
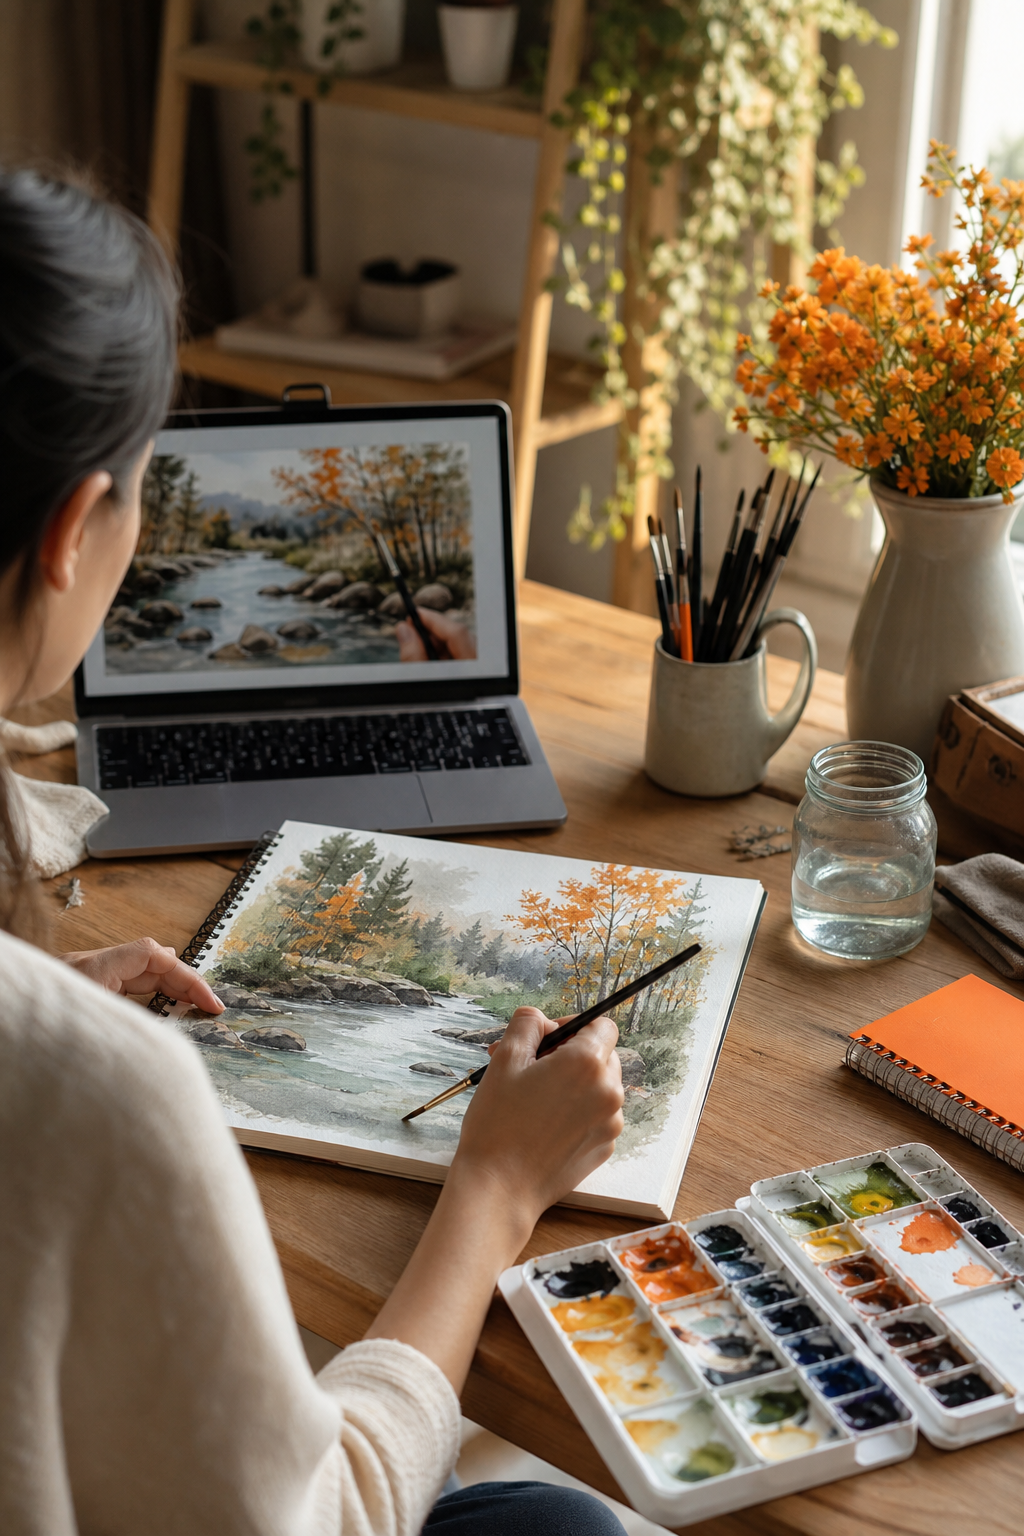
Next, think about how much time you can realistically devote each week. A 2‑hour session on Saturday works better than a 30‑minute weekday scramble. Write down the number of hours you can commit , it will shape the class length you choose.
Finally, decide what kind of community you need. Some learners thrive on a private mastermind group where they can ask questions daily. Others prefer occasional live critiques. CreativiU offers a private mastermind for just $1 to start, giving you instant access to peer feedback and instructor notes , a rarity among intermediate courses.
Now that you have a clear picture, you’re ready to compare platforms.
Step 2: Choose the Right Platform
Online learning platforms differ in three big ways: video quality, feedback speed, and community features. Look for a site that lets you pause, replay, and zoom into brushwork without lag. High‑definition video is a must for spotting subtle pigment mixing.
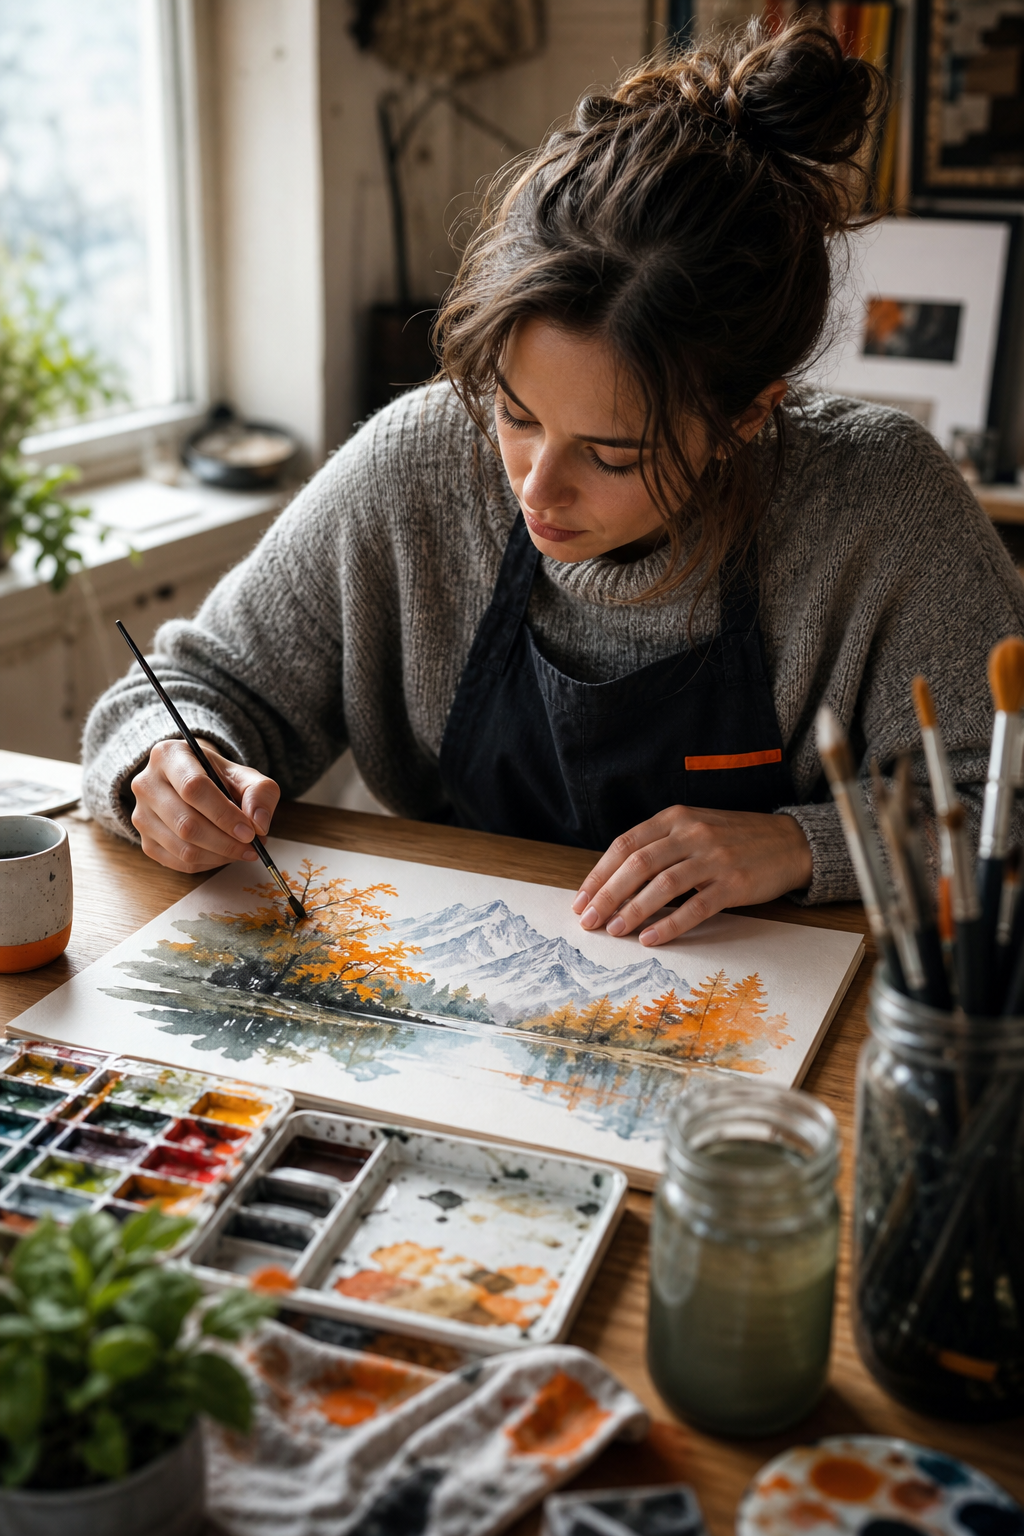
Speed of instructor feedback matters more than you think. A study of 12 intermediate watercolor courses showed only three mention any community feature at all. CreativiU’s private mastermind group responds within 24 hours, beating the average response time of a week on most competitors.
Community size is another factor. A bustling forum gives you fresh ideas, but a smaller, focused group can provide more personalized critiques. Check how many active members the platform reports. If the number is hidden, treat it as a red flag.
When you’ve narrowed the field, take advantage of free trials. Sign up, watch a lesson, and test the upload‑and‑comment workflow. Does the platform let you annotate a photo and get a video note back? That’s the kind of loop that turns practice into rapid improvement.
One platform that checks all these boxes is CreativiU. Their on‑demand video library aligns with the most common format (on‑demand video) reported in the market, and the low‑cost entry point makes it accessible for hobbyists and entrepreneurs alike.
For a deeper look at how online platforms structure their courses, see the research on platform benefits and pricing models. It explains why flexibility and replay value often outweigh live‑class schedules.
With a platform chosen, it’s time to gather the right supplies.
Step 3: Gather Essential Supplies
Even the best video lessons won’t help if your tools hold you back. Start with paper, 100 % cotton, 140 lb (300 gsm) cold‑pressed paper gives you enough surface texture without warping when you load it with water. Artists often recommend premium cotton papers, but any high‑quality cotton works.
Brushes matter, too. A large round (size 6) handles washes, while a small round (size 2) lets you add fine details. Synthetic brushes perform well for beginners; natural‑hair sable brushes become valuable as you move into delicate textures.
For paints, choose a limited palette of artist‑grade tubes. A set of three primaries plus a few earth tones lets you mix a wide range without muddying. Remember, you’ll be mixing on a palette; keep the space tidy so you can see true color relationships.
Don’t forget a clean water container, a palette, paper towels, and masking fluid if you want crisp edges. These basics cover 90 % of the techniques taught in most intermediate curricula.
CreativiU’s supply list, featured in their course overview, matches these recommendations and even offers a discount for members.
For a concise guide to watercolor materials, check the Wikipedia entry on watercolor. It breaks down paper weights, brush types, and pigment qualities in clear tables.
Now that your toolbox is ready, you can set up a dedicated space.
Step 4: Set Up Your Learning Space
A tidy, well‑lit area makes a huge difference. Position a desk near a natural light source or use a daylight‑balanced lamp. Light that casts harsh shadows will hide subtle washes.
Arrange your supplies within arm’s reach: paper stack on one side, brushes in a jar, paints in a palette on the other. Keep a small tray for water and a stack of paper towels. This layout cuts down on unnecessary movement, letting you stay focused on the brush.
Digital organization matters, too. Create a folder hierarchy that mirrors the course structure , for example,CreativiU/Week‑01/Day‑01‑Sketches. Name each file with the date, lesson number, and technique focus. A consistent naming system makes it easy to track progress and find feedback later.
If you share work for critique, set up a simple workflow: take a photo, upload to the platform, annotate the problem area, and wait for the instructor’s video note. This loop keeps your practice tight and purposeful.
For a deeper look at setting up a home art studio, see the intermediate watercolor course outline. It outlines the ideal studio conditions for wet‑on‑wet and dry‑brush exercises.
With space ready, you can now follow the curriculum milestones.
Step 5: Follow the Curriculum Milestones
Most intermediate courses break down into four to six modules. A typical path might look like this:
Each module usually includes video lessons, a short assignment, and a feedback loop. Stick to the schedule , treat the weekly deadline as a sprint, not a marathon. Upload your assignment, get the instructor’s note (often within 24 hours on CreativiU), apply the tweaks, and move on.
Tracking progress helps you see growth. Create a simple spreadsheet with columns for Date, Module, Skill Focus, Instructor Comment, and Action Taken. When you look back, you’ll notice patterns , perhaps you consistently improve on value but still struggle with edge control.
One real‑world example: a learner named Maya used the curriculum to finish a series of botanical studies. She recorded her weekly improvements in a journal, and after five weeks her instructor highlighted a 30 % reduction in unwanted paint blooms, a measurable win.
Remember, the curriculum is a roadmap, not a strict rule. If you finish a module early, feel free to explore an extra exercise before moving on.
Following a structured milestone plan keeps you motivated and ensures you cover the core techniques that separate beginner from intermediate work.
Step 6: Practice with Guided Exercises
Guided exercises turn theory into muscle memory. Choose a theme, a single leaf, a simple vase, or a cloudy sky, and set a 15‑minute timer. Work through the steps without looking at the video, then compare your result to the reference.
Many instructors provide a downloadable reference photo and a step‑by‑step worksheet. The worksheet usually lists the brush size, water‑to‑paint ratio, and the order of layers. Follow it exactly the first time, then repeat the exercise with variations: change the light direction, swap a color, or try a different paper texture.
One useful method is the “value‑only” exercise. Convert a reference photo to grayscale, then paint using only one hue, adjusting water to achieve light, medium, and dark values. This sharpens your ability to see depth without relying on color cues.
After each exercise, upload a photo to your class portal and request a critique. The feedback loop is where learning accelerates. If the instructor notes that your edge is too soft, try a dry‑brush edge in the next attempt.
For more tutorial ideas, explore curated watercolor exercises. It offers step‑by‑step projects ranging from simple lemons to detailed still‑life setups.
With practice under your belt, you’re ready to share your work.
Step 7: Showcase Your Work and Get Feedback
Sharing your paintings does two things: it holds you accountable and it opens the door to community critique. Start by creating a small online gallery, a dedicated folder on your platform or a simple social media profile tagged with the class hashtag.
When you upload, include a short caption: the technique you tried, the challenge you faced, and the specific feedback you received. This context helps peers give focused advice rather than generic praise.
Participate in weekly live critique sessions if your platform offers them. Speak up, ask questions, and take notes on recurring themes. Many learners discover that they repeatedly miss the same edge‑control issue; spotting that pattern early saves hours of frustration.
Consider entering a class‑hosted showcase or competition. Even if you don’t win, the process of preparing a finished piece for public viewing pushes you to polish details you might otherwise overlook.
Finally, archive your progress. Keep the original high‑resolution scans, the instructor’s annotated version, and a final polished image. Over time you’ll build a portfolio that demonstrates growth, useful if you ever decide to sell prints or take on commissions.
Now that you’ve completed the loop from assessment to showcase, let’s wrap up.
Conclusion
Choosing an intermediate watercolor painting class online is less about hunting the flashiest title and more about matching your skill gaps, schedule, and community needs to a structured curriculum. Start by honest self‑assessment, pick a platform that offers fast feedback and a vibrant mastermind group, stock up on quality paper, brushes, and a limited palette, and set up a tidy studio that encourages focus. Follow the curriculum milestones, practice with timed guided exercises, and showcase your work to lock in progress.
CreativiU stands out in this landscape thanks to its low‑cost entry point, on‑demand video format, and private mastermind that delivers feedback within a day. By following the steps above, you’ll turn those early sketches into confident, nuanced watercolor pieces.
Ready for the next move? Check out our digital watercolor painting guide for advanced techniques that complement your new intermediate skills.
Leave a Reply