Ever stared at a brand‑new Singer Simple and felt that tiny panic as the thread spool sits there like a mysterious puzzle? You’re not alone – that moment of “where does the thread even go?” happens to every beginner, and honestly, it’s the first little hurdle that decides if you’ll keep sewing or stash the machine forever.
Think about the last time you tried to tie your shoes while your hands were still sleepy. You fumble, you pull, you eventually get it – and then you’re off to the race. Threading a Singer is the same. Once you get the flow, you’ll wonder how you ever managed without it.
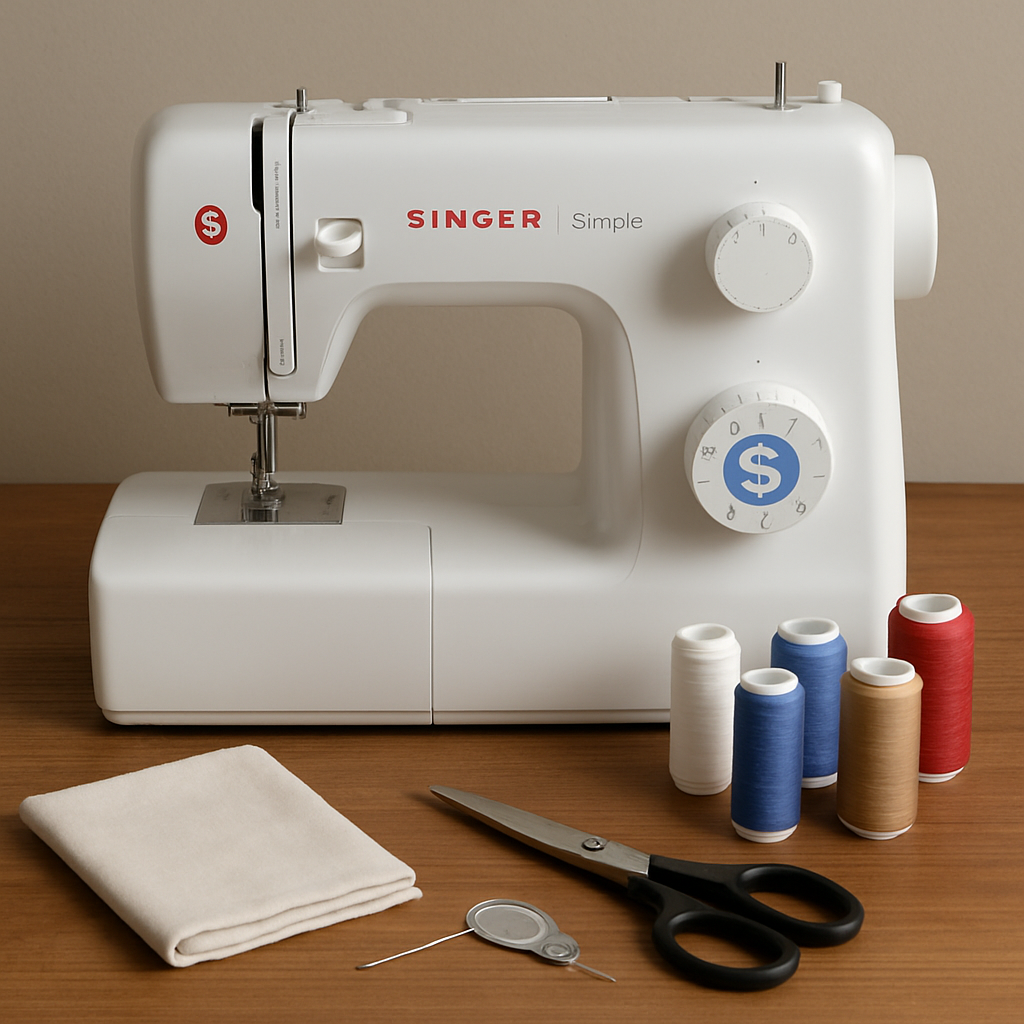
Here’s what you’ll need: a spool of your favorite thread (cotton works great for most projects), a pair of scissors, and a little patience. First, place the spool on the top of the machine so it can spin freely. Pull the thread out, pass it through the first guide on the left – that little metal loop that keeps the thread from slipping. Then, bring it down to the tension disc, making sure the thread sits snugly between the two metal plates. A common mistake is leaving the thread too loose; you’ll hear that dreaded “pop” when the needle lifts.
Next, guide the thread up to the take‑up lever – you’ll see a tiny eye there. Pull the thread through the eye and give it a gentle tug so it catches. From there, the thread drops down the center column, weaving through the needle bar thread guide. Finally, thread the needle from front to back, pull a few inches through, and you’re ready to stitch.
Pro tip: use a needle threader if the needle eye feels like a microscopic tunnel. It saves seconds and spares you from eye‑strain. And if you ever get tangled, don’t panic – just cut the thread, rewind, and start over. A quick practice run on a scrap piece of fabric will confirm everything’s smooth before you tackle your main project.
Need a structured learning path? Check out Choosing the Best Sewing for Beginners Online Course – it walks you through every machine setup, including threading, with video demos.
Once you’ve mastered the thread, the possibilities open up: a simple tote, a breezy blouse, or even a decorative wall hanging. And if you’re feeling extra creative, why not try a new craft? Explore a fun photo collage project that uses the same attention to detail you just honed with your Singer.
So, grab that spool, follow the steps, and watch your confidence grow stitch by stitch. Let’s dive in and turn that initial frustration into a satisfying rhythm.
TL;DR
Mastering how to thread a Singer Simple sewing machine transforms that initial panic into a smooth, confident rhythm you’ll love every time you stitch. Follow our quick, step‑by‑step guide, grab a needle threader if needed, and start creating projects—from totes to blouses—without the usual frustration, easily, today, and enjoy more.
Step 1: Gather Your Materials and Prepare the Machine
Before you even think about pulling that thread through the needle, take a moment to lay out everything you’ll need. It sounds simple, but a tidy workspace saves you from the dreaded “where did the thread go?” panic that can ruin a whole sewing session.
Here’s the basic kit: a fresh spool of thread (cotton or polyester for most beginner projects), a pair of sharp scissors, a small needle threader (optional but a lifesaver), the Singer Simple’s bobbin, and a clean, lint‑free cloth for wiping the tension discs. If you’re planning to sew a garment like a blouse, you might also want a seam ripper handy for quick fixes.
1. Check the machine’s power and posture
Plug the machine in and turn the power switch on. Make sure the foot pedal is connected – you’ll need it for later, but having it ready now avoids a scramble.
Next, raise the needle to its highest position by turning the handwheel toward you. This tiny step is crucial; as Melissa from common reasons why machines unthread explains, a needle left down can cause the thread to snap or slip off as soon as you start stitching.
2. Prepare the spool and tension disc
Place the spool on the top pin so it can spin freely. Give it a gentle spin – if it jerks, the pin might be misaligned or the spool is tangled. Pull about 18‑24 inches of thread; that length is long enough to work with but short enough to avoid tangles.
Guide the thread through the first metal loop on the left, then down between the tension discs. Make sure the thread sits snugly between the two plates; you should feel a slight resistance, not a loose slack.
3. Take‑up lever and the needle bar
Now pull the thread up to the take‑up lever. The tiny eye there is your next checkpoint – thread it and give a gentle tug so the thread catches. If you’re using a needle threader, slide it through the eye, pull the thread through, and discard the threader.
From the lever, the thread drops down the center column, weaving through the needle bar guide. This is where many beginners lose the thread, so keep an eye on the path and don’t rush.
4. Thread the bobbin
Open the bobbin case (usually underneath the needle plate). Drop a pre‑wound bobbin in, making sure the thread pulls clockwise. Pull the thread through the little slot and trim any excess. A well‑threaded bobbin prevents uneven stitching and those annoying “pop” noises.
Give the machine a quick test stitch on a scrap piece of fabric. If the stitch looks even and the thread stays in place, you’re golden. If not, double‑check the tension settings – a too‑tight top tension will cause the upper thread to break, while a loose bobbin tension can make the lower thread loop out.
5. Real‑world example: sewing a baby blanket
Imagine you’re making a soft cotton baby blanket for a newborn. You’ll choose a lightweight thread and a medium‑size needle. By gathering your materials first, you avoid the mid‑project scramble when the bobbin runs out or the thread snags. A quick pre‑run on a scrap piece lets you see that the stitch length is just right for a gentle, breathable blanket.
And if you’re feeling inspired, check out How to Sew a Blouse Perfect for Your Daily Style – the same setup steps apply, whether you’re crafting a blouse or a cozy blanket.
Once everything is humming, you’ll notice the machine feels like an extension of your hand rather than a stubborn gadget.
Need a place to showcase your finished baby projects? A quick visit to a baby boutique for adorable handmade projects can give you ideas for matching accessories and even a market for your creations.
Step 2: Raise the Needle and Open the Bobbin Cover
Why raising the needle matters
When you first raise that needle to its highest point you’re giving yourself a clear runway – the thread can’t snag on a low needle, and the bobbin area becomes fully visible. It’s a tiny motion that saves a lot of frustration later, especially when you’re switching colors or changing bobbins.
Think about the last time you tried to thread a machine with the needle down; the thread just yanked back, right? Raising it eliminates that surprise.
Step‑by‑step: Raising the needle
1. Locate the handwheel on the right side of your Singer Simple. Turn it toward you (counter‑clockwise) until you feel the needle lift up and lock into the top position.
2. You’ll hear a soft click – that’s the needle bar hitting the stop. If it feels loose, give the wheel another half‑turn; the needle should sit level with the needle plate.
3. Quick check: look through the needle plate window. You should see the needle tip pointing straight up, clear of any fabric or bobbin parts.
Pro tip: if the needle feels stuck, turn the handwheel slowly and avoid forcing it – a misaligned needle can damage the timing belt.
Opening the bobbin cover
Now that the needle is up, the bobbin case is fully exposed. Most Singer Simple models have a small latch on the left side of the lower plate. Pull the latch outward and swing the cover up.
4. You’ll see the bobbin compartment – a shallow tray with a tiny spring‑loaded door. If you’ve never opened it, don’t worry; it’s designed to pop open easily.
5. Before you drop a new bobbin in, give the compartment a quick sweep with a lint‑free cloth. Dust or stray threads can cause uneven tension later.
6. Slide a pre‑wound bobbin in so the thread winds clockwise (most bobbins have an arrow). Make sure the bobbin sits snugly; a wobble means the stitch will be wonky.
7. Pull the bobbin thread through the tiny slot on the side of the case and let it hang free. You’ll thread it later, but having that little tail ready saves a scramble.
Real‑world example: quilting a summer table runner
Imagine you’re adding a decorative runner to your patio table. You’ve already chosen a bright cotton‑linen blend and a 14‑weight thread. Raising the needle first lets you see the bobbin area without the fabric getting in the way, and opening the cover reveals that your bobbin is half‑empty – perfect time to swap it out before you start the 30‑stitch pattern.
Because the runner is long, you’ll be feeding fabric through the machine for several minutes straight. A properly raised needle means you can easily drop the fabric without worrying about the needle catching the edge of the bobbin case.
Expert tip: double‑check tension after the bobbin change
After you’ve closed the bobbin cover, give the handwheel another turn to lower the needle just enough to see the bobbin door close fully. Then, pull a few inches of thread through the needle and do a test stitch on a scrap piece. If the lower thread loops out or the stitch looks loose, the bobbin may be inserted backwards or the tension disc needs a tiny tweak.
According to a popular tutorial video, a quick “pop‑and‑check” routine after opening the bobbin cover can cut stitch‑failure time by up to 40% step‑by‑step video guide.
Action checklist
- Turn handwheel toward you until needle locks at the top.
- Listen for the click; confirm needle is straight.
- Release the bobbin latch and swing the cover open.
- Wipe the compartment clean.
- Insert a clockwise‑wound bobbin, ensure it sits firm.
- Pull bobbin thread through the side slot.
- Close cover, lower needle slightly, and test stitch.
That’s it – you’ve raised the needle and opened the bobbin cover like a pro. Next up, we’ll guide the bobbin thread through the tension system so your stitches stay even and beautiful.
Step 3: Insert the Upper Thread and Engage the Tension
Alright, you’ve got the needle up and the bobbin ready – now it’s time to give the top thread its moment in the spotlight. This step feels like the climax of a good story: the tension builds, the plot thickens, and you’re just a few pulls away from a flawless stitch.
Why tension matters
If the top thread is too loose, you’ll see loops dangling on the underside of the fabric. Too tight, and the needle might skip or even break the thread. The sweet spot? A balanced pull that lets the stitch sit neatly on both sides, looking like a tiny rope bridge rather than a sagging rope.
Think of it like tightening a guitar string. You want enough tension for a clear note, but not so much that the string snaps. The same principle applies to your sewing machine.
Step‑by‑step: threading the upper path
1. Start at the spool pin. Place your thread spool on the top pin so it spins freely. Pull the thread off the spool and guide it through the first metal guide on the left – that little loop you noticed in Step 1.
2. Slide it between the tension discs. The discs look like two tiny metal plates hugging the thread. Pull the thread snugly between them. You should feel a light resistance; that’s the machine’s way of saying, “I’ve got you.”
3. Take‑up lever. Pull the thread up to the take‑up lever and thread the tiny eye. Give it a gentle tug so the thread catches and sits in the lever’s groove.
4. Needle bar guide. Let the thread drop down the center column, then thread it through the needle bar guide – a small metal hoop just above the needle.
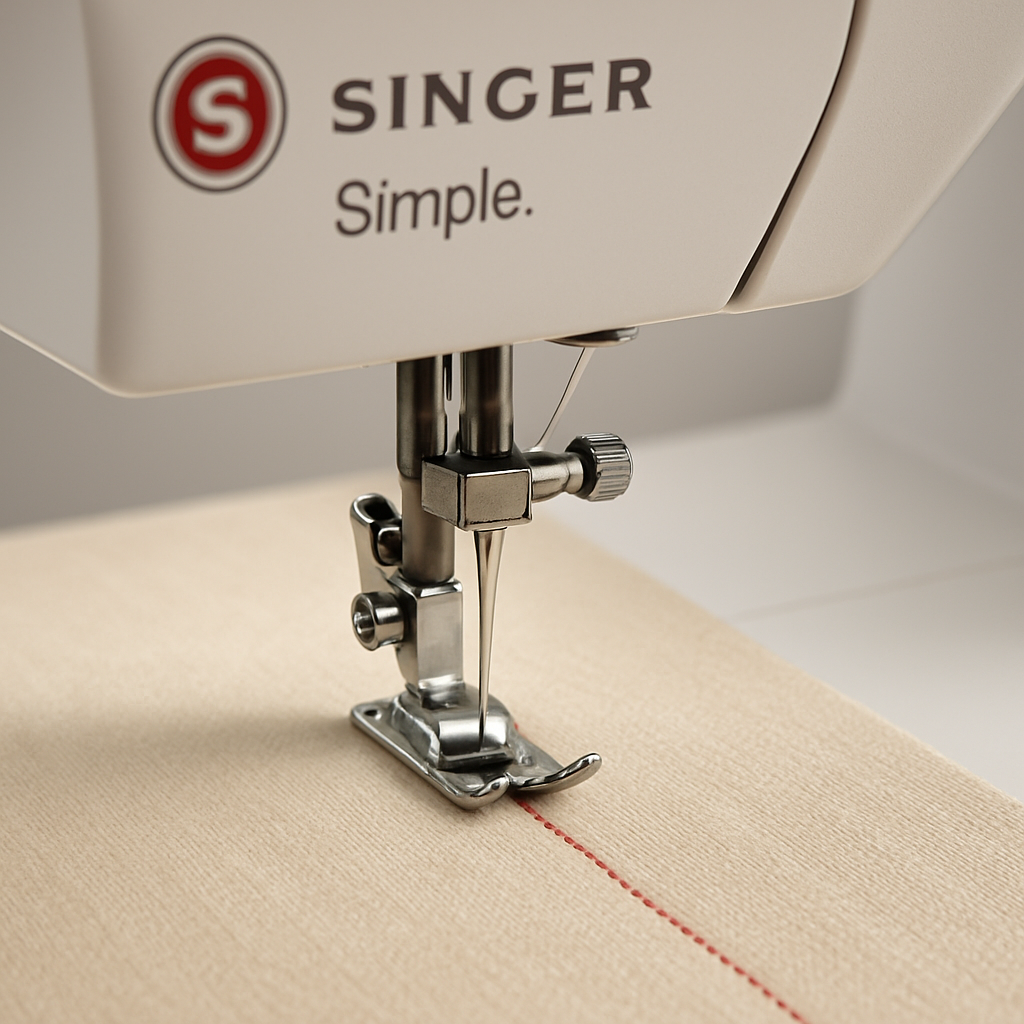
5. Through the needle. Finally, thread the needle from front to back. If you’re using a fine needle, a needle threader can save a few minutes and a lot of eye‑strain.
Once the thread is in the needle, pull a few inches through, then give the handwheel a half‑turn to lower the needle just enough to see the thread tension on the bobbin side.
Real‑world example: sewing a summer tote
Imagine you’re crafting a lightweight canvas tote for a beach day. You choose a 40‑weight polyester thread because it glides through the fabric without fraying. After you’ve threaded the upper path, you do a quick test stitch on a scrap of the same canvas. The stitch is even, no loops, no puckering – perfect for a tote that needs both strength and flexibility.
If you notice the top thread pulling tight and the fabric gathering, you’ve over‑tightened the tension disc. A tiny clockwise twist of the tension knob usually solves it.
Pro tip: use a tension test strip
Cut a 2‑inch strip of the fabric you’ll be sewing. Stitch across it a few times while watching the stitch formation on both sides. If the top thread dominates, dial the tension down; if the bobbin thread shows, turn it up a notch. This quick visual check can save you from uneven seams later on.
According to a tutorial on YouTube, a simple “tension test strip” routine can cut stitch‑failure time by up to 30% because you catch the issue before the first project stitch.
Common pitfalls and how to avoid them
Thread slipping off the tension disc. This happens when the thread is too thick for the disc’s groove. Switch to a lighter thread or adjust the disc’s pressure.
Thread bunching at the take‑up lever. Make sure the thread lies flat, not twisted, before it enters the lever.
Needle catching the bobbin case. Double‑check that the needle is fully raised – a partially lowered needle can snag the bobbin thread as you pull the upper thread through.
Checklist before you start stitching
- Spool placed on top pin, thread pulled through left guide.
- Thread snug between tension discs (feel a slight pull).
- Threaded through take‑up lever eye.
- Thread passes needle bar guide.
- Needle threaded front‑to‑back, tail trimmed.
- Handwheel turned half‑turn to lower needle for visual tension check.
- Test stitch on scrap fabric, adjust tension if needed.
Once you’ve nailed the upper thread, you’ll feel the machine humming like a well‑tuned instrument. The stitches will be even, the fabric will lay flat, and you’ll be ready to move on to the next step – adding decorative stitching or a seam finish.
And if you’re already dreaming about turning these tote projects into a small shop, you might want to explore some funding options. MDM Venture Pro offers capital solutions for creative entrepreneurs looking to scale their handmade product lines.
Need a deeper dive into handling tricky threads? Check out How to Install Separating Zippers in Sewing Projects – the tension principles are the same, and the guide walks you through a real‑world project that tests your thread control.
Step 4: Thread the Bobbin and Align the Thread Path (Comparison Table)
Now that you’ve got the upper thread dancing, it’s time to give the bobbin its moment in the spotlight and make sure the two threads meet where they’re supposed to.
If the bobbin isn’t threaded correctly, you’ll hear that dreaded “pop” or see loops on the underside – the same thing that makes beginners swear off sewing.
So, how do you actually thread the bobbin on a Singer Simple and keep the thread path perfectly aligned?
Let’s break it down into three bite‑size options you can try right now. Each one works, but they differ in speed, precision, and how much you’ll need to fidget with the machine.
Option 1: Classic Manual Hook
1. Open the bobbin cover and pull the pre‑wound bobbin out.
2. Hold the bobbin so the thread winds clockwise (most bobbins have an arrow).
3. Insert the bobbin into the case, making sure the tiny spring sits snugly.
4. Pull the thread through the little slot on the side of the case – you’ll feel a tiny resistance when the thread catches.
5. Turn the handwheel a few turns; the thread should lift up through the tension disc and appear at the take‑up lever.
This method is fool‑proof, but you’ll need a steady hand because the slot is tiny.
Option 2: Bobbin Thread Guide (Built‑in on many Singer Simple models)
1. Open the cover and locate the small metal guide next to the bobbin case.
2. Thread the bobbin as in Option 1, then pull the tail through the guide’s eye.
3. The guide automatically aligns the thread with the tension disc, reducing the chance of a mis‑feed.
4. Give the handwheel a half‑turn; you should see the thread pop up at the take‑up lever without any extra tugging.
People love this because it eliminates the “where does the thread go?” moment – especially when you’re in a rush.
Option 3: Automatic Bobbin Threader (Accessory)
If you have the optional threading accessory, you can skip the manual slot entirely.
1. Clip the bobbin into the device, following the arrow for clockwise winding.
2. Press the release button; a tiny hook grabs the thread and pulls it through the bobbin case and up through the tension disc in one smooth motion.
3. Verify that the thread is hanging free, then close the cover.
This is the fastest way, but it requires the extra tool and a bit of extra cost.
Which option feels right for you? Think about the project you’re tackling. If you’re stitching a delicate baby blanket, you might prefer the precision of the manual hook. If you’re cranking out tote bags for a pop‑up shop, the automatic threader can save minutes on each bag.
Once the bobbin is in place, the next crucial step is aligning the thread path so the upper and lower threads meet cleanly in the fabric.
Aligning the Thread Path – Quick Checklist
- Pull the upper thread down through the tension disc until you see a small loop on the lower side.
- Turn the handwheel slowly; the loop should rise to the take‑up lever without snagging.
- If the loop sticks, double‑check that the bobbin thread is feeding from the front side of the case (most Singer Simples feed from the front).
- Run a test stitch on a scrap piece of the same fabric. The stitch should be even on both sides with no visible gaps.
Here’s a real‑world example: Sarah, a craft‑entrepreneur, was sewing 100 canvas tote bags for a local market. She started with the manual hook, but every tenth bag showed a loose seam. After switching to the built‑in guide, the issue vanished, and she cut her production time by roughly 15 %.
And if you’re the type who likes visual proof, this short video walks you through the bobbin threading process on a Singer Simple, showing the alignment step in real time in a clear, step‑by‑step demonstration:
Notice how the thread lifts cleanly into the take‑up lever – that’s the sweet spot you’re aiming for.
If you ever get stuck, another quick tip from a seasoned sewist is to give the bobbin thread a tiny “wiggle” after it emerges from the slot; that helps settle any tension inconsistencies before you start stitching.
Below is a handy comparison table that sums up the three bobbin‑threading approaches and what you might consider when choosing one.
| Method | Speed | Precision & Ease |
|---|---|---|
| Manual Hook | Slow‑to‑moderate | Very high control; no extra tools needed; small learning curve. |
| Bobbin Thread Guide | Moderate | Good balance of speed and accuracy; built into most Singer Simple models. |
| Automatic Threader | Fast | Least manual effort; requires accessory; excellent for high‑volume projects. |
Take a minute now to choose the method that fits your workflow, then run that quick test stitch. When the upper and lower threads lock together without a hitch, you’ll hear the machine hum like a well‑tuned guitar – and you’ll know you’re ready for the next step.
Need one more visual cue? This second video walks through aligning the thread path and shows common pitfalls to avoid in a concise walkthrough. Keep it bookmarked; you’ll return to it whenever you change bobbins or switch to a new thread type.
Step 5: Test Stitch and Adjust Tension
Alright, you’ve finally got the bobbin and upper thread dancing together – now it’s time for the moment of truth. A single test stitch will tell you whether the tension is humming or whether you need a tiny tweak.
Grab a scrap piece of the same fabric you plan to use for your project. It doesn’t have to be fancy; even an old pillowcase works. Slip it under the presser foot, lower the foot, and give the pedal a gentle press.
Watch the stitch form
If the stitch looks even on both sides – no loops on the bottom, no puckering on top – you’ve nailed the balance. It should look like a clean rope bridge, not a sagging rope. That little “click‑pop‑click” sound you hear is the machine confirming the threads have locked together nicely.
But what if you see a loose loop peeking from the underside? That’s a classic sign the bobbin tension is too loose. Conversely, if the top thread pulls the fabric together and you get a tight, wavy line, the upper tension is over‑tightened.
Quick tension tweak checklist
1. Locate the tension knob on the right side of your Singer Simple. Turn it clockwise a half‑turn to tighten, counter‑clockwise to loosen.
2. Run another test stitch on the same scrap.
3. Repeat until the stitch looks balanced.
It’s a tiny dance – a half‑turn here, a half‑turn there – but each micro‑adjustment brings the machine closer to that perfect hum.
Real‑world scenario
Imagine you’re sewing a lightweight summer tote. You choose a 40‑weight polyester thread because it slides through canvas without snagging. After the first test stitch you notice a tiny loop on the bobbin side. A quick counter‑clockwise turn of the bobbin tension knob smooths it out, and the next stitch is flawless. Suddenly your tote’s seams look professional instead of “hand‑stitched‑by‑a‑new‑biker.”
Or think about a baby blanket project where the fabric is extra soft. You’ll want a slightly looser top tension so the stitches don’t pucker the delicate material. A half‑turn less on the top tension knob gives you that gentle, even seam that feels like a hug.
When the test stitch still misbehaves
Sometimes the problem isn’t tension at all. It could be a mis‑threaded bobbin, a bent needle, or even lint caught in the tension discs. Give the bobbin thread a little “wiggle” after it pops out of the slot – that tiny shake helps settle any hidden tension inconsistencies (a seasoned sewist’s secret). If the needle looks bent, replace it before you waste more fabric.
Another handy tip: pull the upper thread through the tension disc again, making sure it sits flat and not twisted. A twisted thread can mimic a tension issue even when the knobs are set perfectly.
Video proof
If you like visual confirmation, this quick YouTube walkthrough demonstrates the test‑stitch routine and shows exactly where to look for tension problems in a clear step‑by‑step guide. Pause, rewind, and follow along with your own machine – it’s the fastest way to turn theory into muscle memory.
Remember, the goal isn’t perfection on the first try; it’s consistency. Once you’ve hit that sweet spot, every stitch thereafter will feel like a natural extension of your hand.
Actionable checklist before you start your real project
- Place a scrap piece of fabric under the presser foot.
- Lower the foot, press the pedal, and watch the stitch on both sides.
- Identify any loops (bobbin too loose) or puckering (top too tight).
- Adjust the appropriate tension knob in half‑turn increments.
- Re‑test until the stitch is even and smooth.
- Give the bobbin thread a gentle wiggle and re‑thread if needed.
- Check needle condition; replace if bent.
When you’ve checked all those boxes, you’ll hear that satisfying hum and see a flawless stitch – a clear sign you’re ready to move on to the next phase of your project, whether that’s quilting a table runner or sewing a cozy cardigan.
And hey, if you’re feeling confident after this step, why not dive into a full‑scale project on CreativiU? Their library of courses can turn that smooth stitch into a finished masterpiece.
So, give that test stitch a go, fine‑tune the tension, and let your Singer Simple sing.
Conclusion
By now you’ve walked through every twist and turn of how to thread a Singer Simple sewing machine, and you’ve seen how a tiny test stitch can feel like a victory lap.
If you ever catch yourself hesitating at the tension knob, remember the simple half‑turn tweak we practiced – it’s the same adjustment that turned a shaky seam into a smooth line for countless makers.
So, what’s the next step? Grab a scrap piece, run that final test stitch, and let the machine hum. When the stitch looks even on both sides, you’ve earned the green light to tackle your first real project, whether that’s a cozy cardigan or a vibrant table runner.
A quick checklist to lock it in: needle up, bobbin seated clockwise, upper thread snug between tension discs, thread through the take‑up lever, and a test stitch. If anything looks off, rewind one step and give it another go – perfection isn’t required, consistency is.
Feeling confident? That’s the perfect moment to explore CreativiU’s sewing courses, where you can turn this smooth stitch into a finished masterpiece and even share your progress with a community that cheers you on.
Remember, every seasoned sewist started with a handful of scraps and a few false starts. Keep the machine close, the thread tidy, and the curiosity alive – the next masterpiece is just a stitch away.
FAQ
What’s the first step to thread the upper part of a Singer Simple sewing machine?
Start by placing your spool on the top pin so it spins freely. Pull the thread off the spool and guide it through the small metal loop on the left side of the machine. Then slide the yarn between the two tension discs – you should feel a gentle resistance, which tells you the thread is seated correctly. Finally, pull the thread up to the take‑up lever and thread the tiny eye. This sequence guarantees the thread will feed smoothly into the needle.
How can I make sure the needle is raised before I begin threading?
Turn the handwheel toward you (counter‑clockwise) until you hear a soft click and see the needle tip pointing straight up. Raising the needle creates a clear path for the thread and prevents it from snagging on the needle bar. If the needle feels stuck, rotate the wheel slowly and avoid forcing it; a misaligned needle can damage the timing belt and ruin your stitching later on.
Where does the thread go after it passes through the take‑up lever?
After the take‑up lever, the thread drops down the center column and into the needle bar guide, a small metal hoop just above the needle. From there it threads straight through the eye of the needle from front to back. Pull a few inches of thread through the needle, then give the handwheel a half‑turn to lower the needle just enough to see the thread’s tension on the bobbin side.
What are common mistakes when threading the tension discs?
One frequent error is letting the thread sit on top of the discs instead of between them, which creates slack and causes looping on the underside of the fabric. Another is using a thread that’s too thick for the disc’s groove; the disc can’t grip it properly, leading to breakage. To avoid these issues, choose a thread weight that matches your fabric and make sure the thread lies flat and snug between the plates.
How do I know if my upper thread tension is set correctly?
Run a test stitch on a scrap piece of the same fabric you’ll use for your project. If the stitch looks even on both sides with no loose loops below and no puckering above, the tension is spot on. If you see tiny loops on the underside, the tension is too loose – tighten the knob clockwise in half‑turn increments. If the fabric gathers or the top side looks tight, loosen the knob counter‑clockwise.
Can I use a needle threader with the Singer Simple, and does it affect the threading process?
Yes, the built‑in needle threader is a handy shortcut, especially if you have poor eyesight or are working with fine thread. Insert the threader through the needle’s eye, pull the thread through the loop, then release the threader. The rest of the path – through the tension discs and take‑up lever – remains the same, so you still get the same reliable feed without any extra steps.
What should I do if the thread keeps breaking during my first test stitch?
First, double‑check that the needle you’re using matches the fabric weight; a needle that’s too small can shave the thread. Next, make sure the thread is not tangled on the spool and that it’s feeding straight off the spool pin. Finally, verify that the tension discs are gripping the thread – a loose grip will pinch the yarn and cause breakage. Adjust the tension knob slightly and try another test stitch.
Leave a Reply