You can thread a Brother sewing machine in under two minutes.
If you’ve tangled before, you’re not alone. Most jams come from one tiny turn in the thread path: spool, guides, the take-up lever, and the needle.
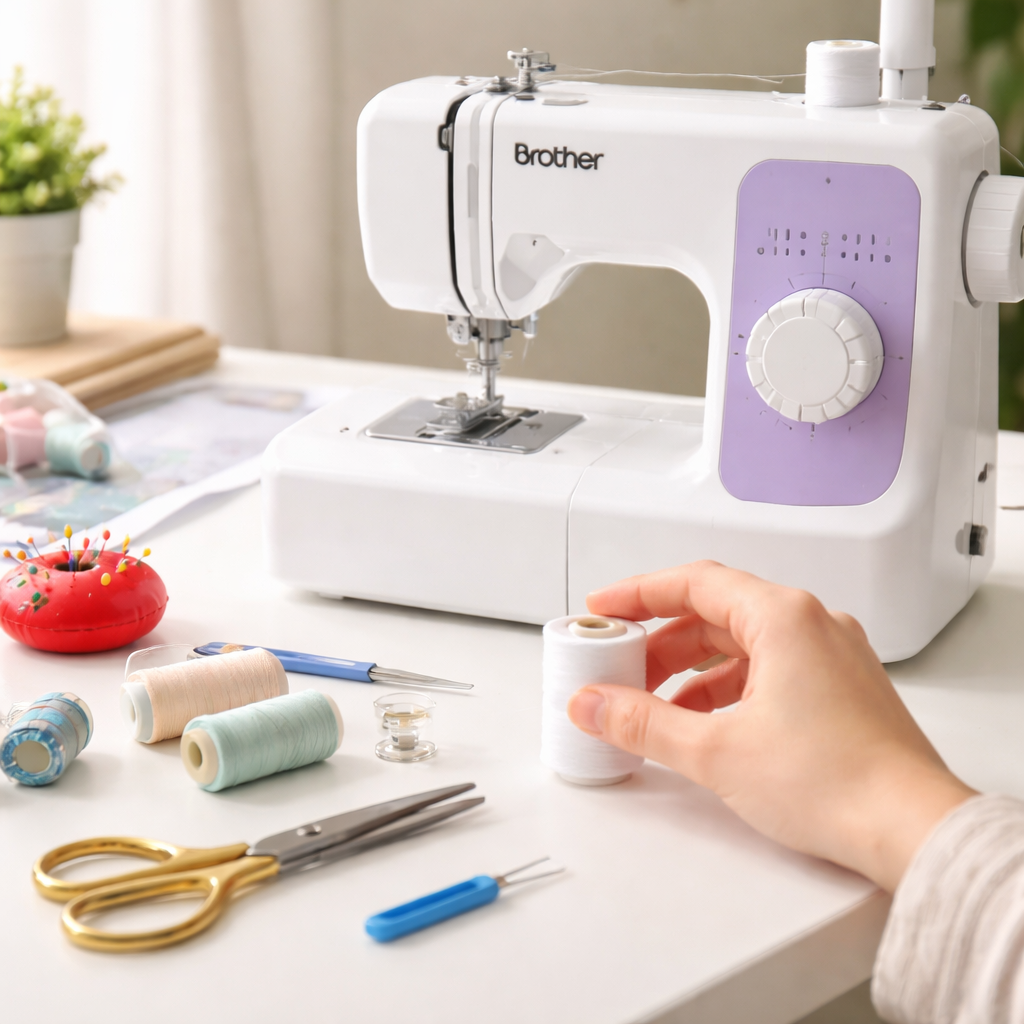
Step one. Set the machine: raise the presser foot, place the spool on the pin, and pull the thread toward the first guide.
Step two. Guide the thread down through the top guides, then toward the take-up lever. A light pull seats the thread and stops snags.
Step three. Thread the bobbin and drop it into the case, following the direction the wind runs. Hold the end of the bobbin thread as you feed it.
Step four. Bring the upper thread through the needle. If your model has a threader, use it; if not, guide the thread by hand.
Next, pull the needle up and gently lift the bobbin thread with your left hand. Then stitch a short line on scrap to see if everything runs smooth.
Finally, test on fabric. If it sews well, you’re set. If it snarls, check that the take-up lever is up and the thread path is clean.
To learn more, check this starter guide: How to Use a Sewing Machine for Beginners: Simple Step-by-Step Guide.
If you’re teaching kids or showing a craft at a fair, capturing the moment helps. GEM Designs & Productions (GEM Photobooths LLC) can set up a fun photo moment for your event.
CreativiU offers on-demand sewing classes and a friendly community to practice with.
Step 1: Gather the Needed Tools and Prepare Your Machine
First, clear a small work space where your Brother machine can sit steady. A flat table, a good lamp, and a cup for scraps keep things tidy.
Grab the basics: the spool pin, a fresh bobbin, a pair of sharp scissors, a small screwdriver, and a needle‑hand gripper if you have one. Many hobbyists also like a seam ripper and a lint brush to sweep away dust that can cause jams.
Check the presser foot is up, then wind the bobbin with the provided winder. If the bobbin feels loose, give it a gentle twist so the thread sits snugly.
Give the machine a quick once‑over: wipe the metal parts with a dry cloth, remove any lint from the bobbin case, and, if your model calls for it, add a drop of oil to the moving gears. This little prep step saves you from a snag later.
Now you’re ready to thread. If you’re visual, the short video below walks you through each move, so you can pause and follow along.
Take a moment to line up the spool on the pin, pull the thread toward the first guide, and make sure the tension dial sits at the middle setting. A steady hand and a calm mindset make the whole process feel like a simple craft project, not a tech puzzle.
When you finish, give the machine a quick test stitch on a scrap piece. If the stitch looks even and the thread feeds smooth, you’re set to start your first project.
Step 2: Thread the Upper Thread Path
Now the spool is in place, it’s time to pull the thread through the top guides. Start by feeding the thread left‑to‑right into the first little metal guide right after the spool pin.
Next, guide the thread down toward the second guide. You’ll feel a tiny notch that catches the thread, that’s the take‑up lever. Pull the thread up through the tiny opening in the lever so it sits snugly.
From there, the thread drops into the next guide that sits just above the needle bar. Keep a gentle tension with your fingers; you don’t want it to snap back.
When the thread reaches the needle, pull it all the way through the eye. Some Brother models have a built‑in threader, if yours does, press the button and let the little hook pull the thread through for you. If not, use a needle‑hand threader or simply push the thread through with a steady hand.
Give the thread a little tug to make sure it’s free of knots. It should slide easily from the spool all the way to the needle without catching.
Tip: A quick check is to turn the hand wheel slowly. If the thread moves smooth and the needle rises cleanly, you’re set.
Need a broader view of the whole sewing machine setup? Check out our Sewing Machine Basics for Beginners guide for extra tips.
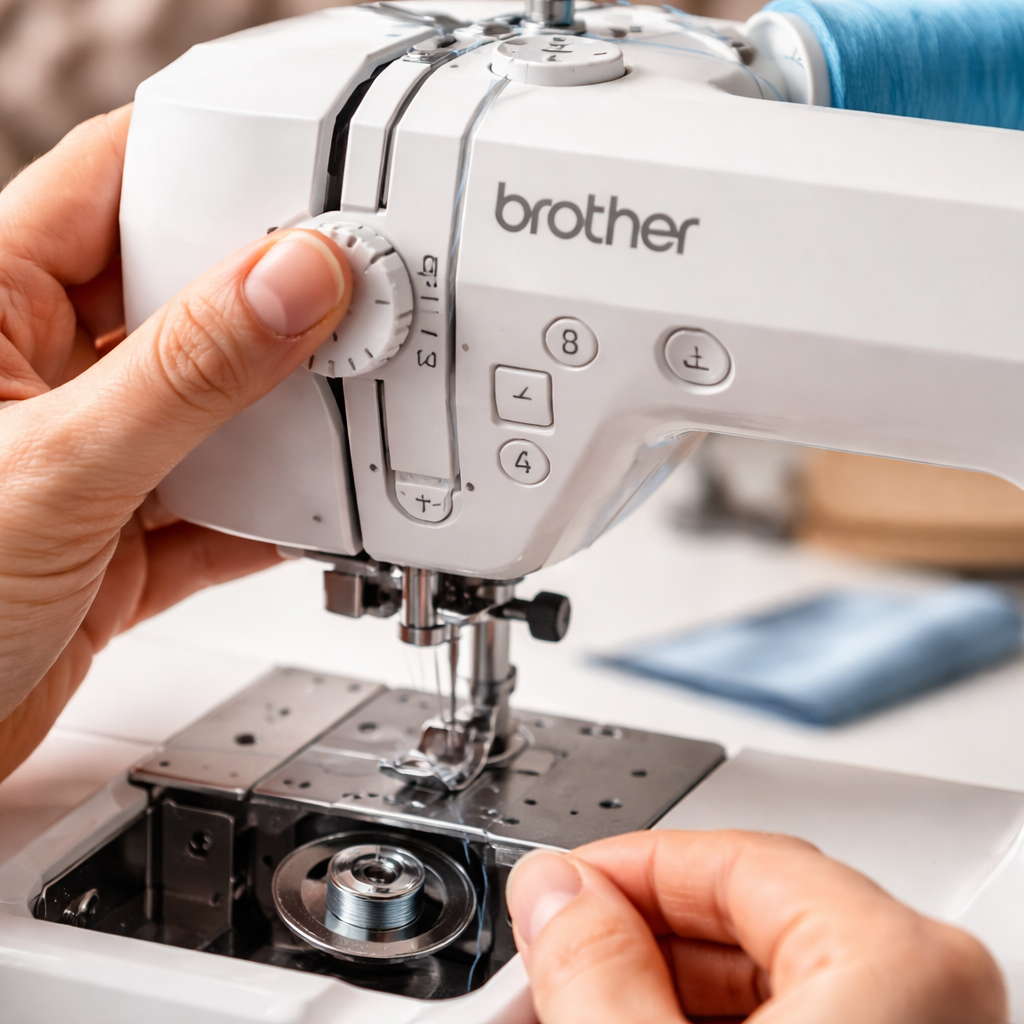
Step 3: Load the Bobbin and Pull the Lower Thread
First, find the bobbin case. Open the cover and drop a fresh bobbin in the slot. The little metal clip should snap into place – if it doesn’t, push it gently until it clicks.
Turn the bobbin the right way. Most Brother models want the thread to wind clockwise. A quick look at the side of the bobbin shows a tiny arrow; follow it.
Pull the thread through the little hole in the case. Let a few inches hang out. This tail is what you’ll catch with your left hand later.
Now close the bobbin cover. Give the machine a soft pull on the upper thread while you turn the handwheel toward you. You should see the bobbin thread rise up through the tension disc.
If the lower thread stays hidden, you probably missed the tiny hole or the bobbin is wound the wrong way. Open the case, check the direction, and try again.
When the bobbin thread is visible, hold it with your left thumb. Keep the upper thread loose enough that the two strands can meet without pulling hard.
Give the handwheel a couple more turns. This pulls a short length of bobbin thread out and locks it with the upper thread. You now have a tiny “X” where the two meet – that’s the start of a good stitch.
Test it on a scrap piece. If the stitches look even, you’re set. If they look loose or the bobbin thread keeps slipping, re‑load the bobbin and repeat.
Need more help with bobbin threading? Check out How to Thread a Singer Sewing Machine Bobbin: Step‑by‑Step Guide for a clear picture of the same steps on a similar machine.
Step 4: Check Tension Settings and Run a Test Stitch
Now that the bobbin is in place, the tension dial is the next thing to watch. Turn it to the middle mark if you haven’t already – most beginner projects run smooth there.
Give the handwheel a slow turn and pull the upper thread gently. You should see a neat “X” where the upper and lower threads cross. If the top thread pulls the bobbin thread up too tight, the stitch will look puckered. If the bobbin thread stays loose, the stitch will look loopy.
Here’s a quick check list:
| Stitch Look | What It Means | Fix |
|---|---|---|
| Puckered | Upper thread pulls bobbin thread too tight | Turn tension dial down one notch |
| Loopy | Bobbin thread is too loose | Turn tension dial up one notch |
| Even X | Both threads meet cleanly | No change needed |
To fix a tight stitch, turn the tension dial one notch down (counter‑clockwise). For a loose stitch, turn it one notch up. After each tweak, run another few stitches on the scrap.
Once the stitches look even, give the machine a final test on the fabric you plan to use. A smooth run means you’re ready to start your project.
Need a visual reminder of how the bobbin should sit? See our step‑by‑step bobbin guide for pictures that match most Brother models.
Remember, a good tension setting saves you from jam‑filled afternoons. Take a minute now, adjust, and you’ll feel the difference the next time you stitch.
Step 5: Common Troubleshooting Tips
Even after you’ve threaded everything, things can still go sideways. Here’s how to spot the most common hiccups and fix them fast.
Check the thread path
If the needle won’t catch the bobbin thread, pull the upper thread gently. It should glide without tugging. A tight pull means the thread is caught somewhere in the guides. Re‑thread the path, making sure the thread sits in each groove.
Needle up? Good. If the presser foot is still down, the machine can’t lift the fabric and the stitch will look uneven.
Watch the tension dial
Set the dial to the middle (usually 4). Sew a few stitches on scrap fabric. If you see loops on the top side, lower the upper tension one click. If you see loops underneath, raise it a bit.
Brother’s own guide notes that a simple tension tweak solves most “loopy” problems Brother troubleshooting tips.
Needle health matters
A bent or dull needle will skip stitches or break thread. Pop the needle out, look at the tip. If it’s bent, replace it. Use a size that matches your fabric – a ball‑point for knits, a sharp point for wovens.
When you’re unsure which needle to pick, think about the fabric you’re using. A light cotton works with a 70‑type; denim needs a 90‑type.
Bobbin basics
Make sure the bobbin sits flat in its case and that the thread winds clockwise. If the bobbin thread shows on the top side, the case might be lifted. Push it down until the notch aligns.
Run the handwheel a few turns with the foot raised. The bobbin thread should peek up just enough to meet the upper thread.
For a quick refresher on bobbin setup, see Sewing Machine Basics for Beginners.
Stay alert while you troubleshoot – a focused mind catches small issues before they become big problems.
Conclusion
You’ve made it through the whole threading walk, so the machine should now feed smooth.
Remember the three things that keep it happy: a clean path, a good needle, and the bobbin sitting flat.
If a stitch still looks off, pause, check tension, and run another test on a scrap piece before you start your real project.
One quick habit that saves time is to run a five-stitch test after each time you change needle or thread.
Feel free to revisit the steps anytime you hit a snag, and keep your setup calm and steady.
When you’re ready, dive into your first project and enjoy the confidence that comes from a well-threaded Brother machine.
If you want more step-by-step help, CreativiU’s on-demand courses let you practice at your own pace.
Pro tip: keep a spare needle and a small thread cutter handy so you can fix a break without losing momentum.
FAQ
Why does my Brother machine keep skipping stitches after I thread it?
Skipping usually means the thread isn’t sitting right in the eye or the tension is off. Pull the thread gently through each guide and make sure the needle is up before you start. A loose bobbin or a bent needle can also cause drops. Run a few test stitches on scrap fabric to see if the problem clears quickly properly.
How can I tell if the tension is set correctly while threading?
A good sign is an even “X” shape on the top side of the stitch. If the top thread pulls the fabric tight, lower the upper tension one click. If you see loops on the top, raise the tension a bit. Keep the dial in the middle as a starting point and adjust from there for better control during sewing.
What type of needle should I use for different fabrics when threading?
Light cotton works well with a sharp 70‑type needle. For stretchy knits, pick a ball‑point 75‑type so the needle slides through without pulling. Denim or heavy canvas needs a stronger 90‑type. Matching the needle to the fabric keeps the thread from breaking and gives a clean stitch. Try a few stitches on scrap to see which needle glides best smoothly.
Is it okay to use the built‑in threader on my Brother model?
Yes, the built‑in threader is safe and saves time. Just make sure the thread is fed from the spool pin first, then press the threader button. Watch the thread drop into the needle eye; if it jams, turn off the machine and guide the thread by hand. It’s a handy shortcut for beginners. You can also check the guide for snags.
How often should I replace the thread and bobbin?
Swap out the thread whenever it looks frayed, fuzzy, or has lint stuck in it. A fresh bobbin should be used for each new project or when the old one shows uneven tension. Keeping both clean helps avoid snags and makes the machine run smoother. Keep a spare spool and bobbin nearby so you don’t pause mid‑project for smooth flow.
Can I troubleshoot threading issues without watching a video?
Absolutely. Start by checking that the spool sits straight and the thread follows every guide. Pull the thread through the take‑up lever and watch it sit in the needle eye. If the bobbin thread doesn’t rise, reopen the case and confirm the hole is clear. A quick scrap test often reveals the issue. You’ll spot any kink and fix fast.
Leave a Reply