Making paper flowers with crepe paper feels like a tiny magic trick you can pull off at home. You just need a few sheets, some scissors, and a pinch of patience.
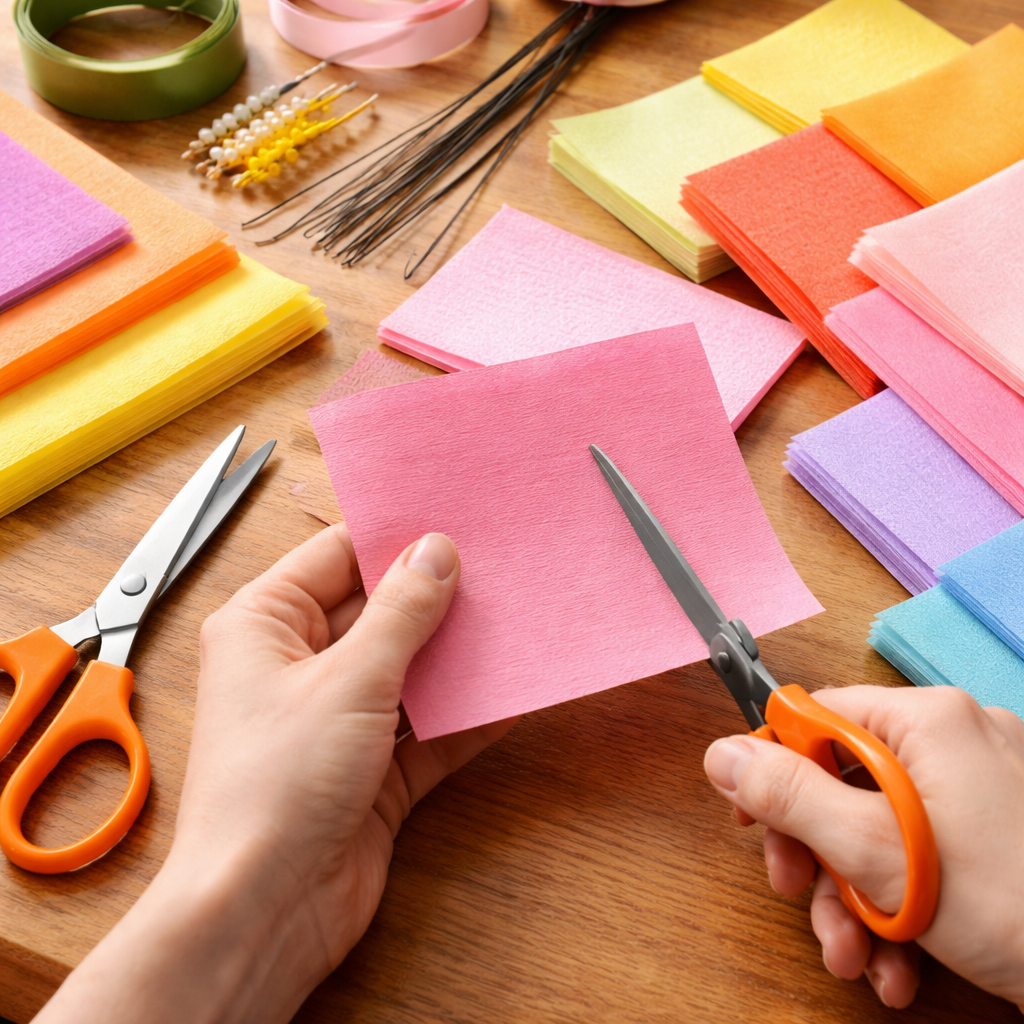
First, pick a crepe paper color that matches the vibe you want – soft pastels for a calm look, bright hues if you’re going bold. Cut the paper into a square about 4‑6 inches wide. The crepe texture folds easily and holds shape without a lot of glue.
Next, fold the square in half diagonally, then unfold. Fold each corner to the center line to make a smaller diamond. This simple base is the secret to a sturdy petal.
Now, take each corner of the diamond and fold it back toward the center, overlapping the previous folds. You’ll see a layered petal start to form. Trim the tip to shape the point. If you want a fuller bloom, repeat the process with another piece of paper and layer it on top, offsetting the petals.
Secure the layers with a tiny dab of glue or double‑sided tape. For a stem, roll a thin strip of crepe paper tightly and attach it with a dab of glue at the base of the flower.
Want more ideas? Check out this step‑by‑step guide to origami paper flowers that walks you through each fold with clear pictures.
Tip: Once your bouquet is done, add a personal touch with a custom label or sticker. A simple tag can turn a hobby project into a gift‑ready piece.
So grab that crepe paper, follow the folds, and watch a flat sheet turn into a vibrant bloom you can proudly display.
Step 1: Gather Your Crepe Paper and Tools
First thing’s first – you need the right stuff. Grab a few sheets of crepe paper in the colors you love, a sharp pair of scissors, and some glue or double‑sided tape. A ruler and a pencil help you keep folds even.
If you plan to sell or gift your blooms, think about adding a tiny label or sticker. JiffyPrintOnline offers cheap custom stickers and printed tags that fit perfectly on a handmade bouquet.
Want to turn your craft demo into a video? Creators often use data tools to pick titles that get clicks. Velio helps YouTubers find viral ideas and fine‑tune thumbnails, so your flower tutorial can reach more eyes.
Need a deeper walk‑through of each fold? Check out our Origami Flowers Step by Step: Create Beautiful Paper Blooms at Home guide for pics and extra tips.
Watch the video, then pause at each step to match your own paper. It’s a great way to see the layers form in real time.
When everything’s ready, you’ll feel confident to start folding. A tidy workspace and the right tools make the whole process smoother and more fun.
Step 2: Cut and Shape the Petals – Comparison of Cutting Techniques
Now that you have a folded diamond, the real fun begins – cutting the shape of each petal. Different cuts give you different looks, so pick the one that fits the bloom you want.
Scissor snip is the simplest. A clean straight cut along the edge keeps the petal neat and works great for classic roses. If you want a softer look, try a rounded cut with the tip of the scissors – it adds a natural curve.
For a more dramatic edge, use a craft knife and a metal ruler. Slide the blade slowly to make a shallow V‑shaped notch; this mimics the bite of a real petal and adds depth. Just be sure your work surface is protected.
Some hobbyists swear by a tiny pair of embroidery shears. The tiny blades let you trim very close to the fold, giving a crisp, petal‑thin tip that looks almost real.
Which tool feels right for you? Try a quick test on a scrap piece and see how the cut holds the crepe texture.
| Technique | Tool | Best for |
|---|---|---|
| Straight edge | Regular scissors | Simple roses, daisies |
| Rounded tip | Scissor tip or small shears | Soft petals, peonies |
| V‑notch | Craft knife + ruler | Deep‑layered blooms, lilies |
Once you’ve cut the shape, give each edge a tiny press with your bone folder – it helps the petal keep its curve when you open it.
If you want a full walkthrough of cutting and assembling, check the step‑by‑step origami flower bouquet guide. It walks you through each cut while you learn how to make paper flowers with crepe paper.
Step 3: Assemble the Flower Core – Video Demonstration
Now that your petals are cut and shaped, it’s time to build the heart of the bloom. Grab a tiny strip of crepe paper – about 1 cm wide and 5 cm long – and start rolling it tightly. The tighter you roll, the sturdier the stem will feel in your hand.
Once you’ve got a firm coil, secure the end with a dab of clear glue or a little florist tape. If you’re making a larger flower, you can double‑up the strip for extra strength. This little core is the anchor for every petal you’ll add.
Next, cut a small circle (roughly 1 cm diameter) from another piece of crepe paper. This will become the flower centre. Roll the circle into a tight ball and glue it onto the top of your stem. The centre should sit snugly but not squash the stem.
Here’s a quick step‑by‑step you can follow:
- Roll the stem strip, glue the tip.
- Form the centre ball, glue it onto the stem.
- Start attaching petals: apply a tiny dot of glue at the base of each petal, then press it onto the centre. Work around the ball, adding one petal after another.
Tip: Hold the flower by the stem and gently twist each petal as you glue it. This gives a natural, slightly ruffled look that mimics real blooms.
If you’re visual‑learners, watch the short demo video that walks you through each move. Pause after each step, try it on a scrap piece, then move on to the real flower.
Many hobbyists find that watching the video a couple of times helps lock the motions in memory. Once you’ve got the core together, the rest of the flower falls into place.
Need more ideas on how to finish a full bouquet? Check out Origami Flowers Step by Step: Create Beautiful Paper Blooms at Home for extra tips and inspiration.
For a quick reference on the best crepe paper types and why they work, see the guide from Vaessen Creative.
Step 4: Attach Petals and Add Details
Now the centre ball sits ready. Grab a petal, dab a speck of glue on its base, then press it onto the ball. The glue should be just enough to hold. You don’t want the petal to melt.
Work clockwise or counter clockwise, whichever feels natural. Each new petal overlaps the last a bit, just like real buds. If a petal looks too flat, give it a tiny twist as you press. That tiny twist adds a soft ruffle that tricks the eye.
Tip: Keep a scrap piece of paper handy. Test the glue amount on the scrap before you move to the real flower. It saves you from a soggy petal.
When you’ve gone all the way around, step back and look. Do any gaps show? Slip a spare petal into the hole and glue it in place. A quick press and you’ve filled the void.
For a richer look, add a second layer of smaller petals. Use a lighter shade of the same colour or a pastel that compliments the first layer. These inner petals give depth without adding bulk.
Finally, trim any stray bits with your scissors. A clean edge makes the bloom look polished, not ragged.
If you’re a hobbyist who loves learning new tricks, explore more origami tutorials for ideas on petal patterns and finish touches.
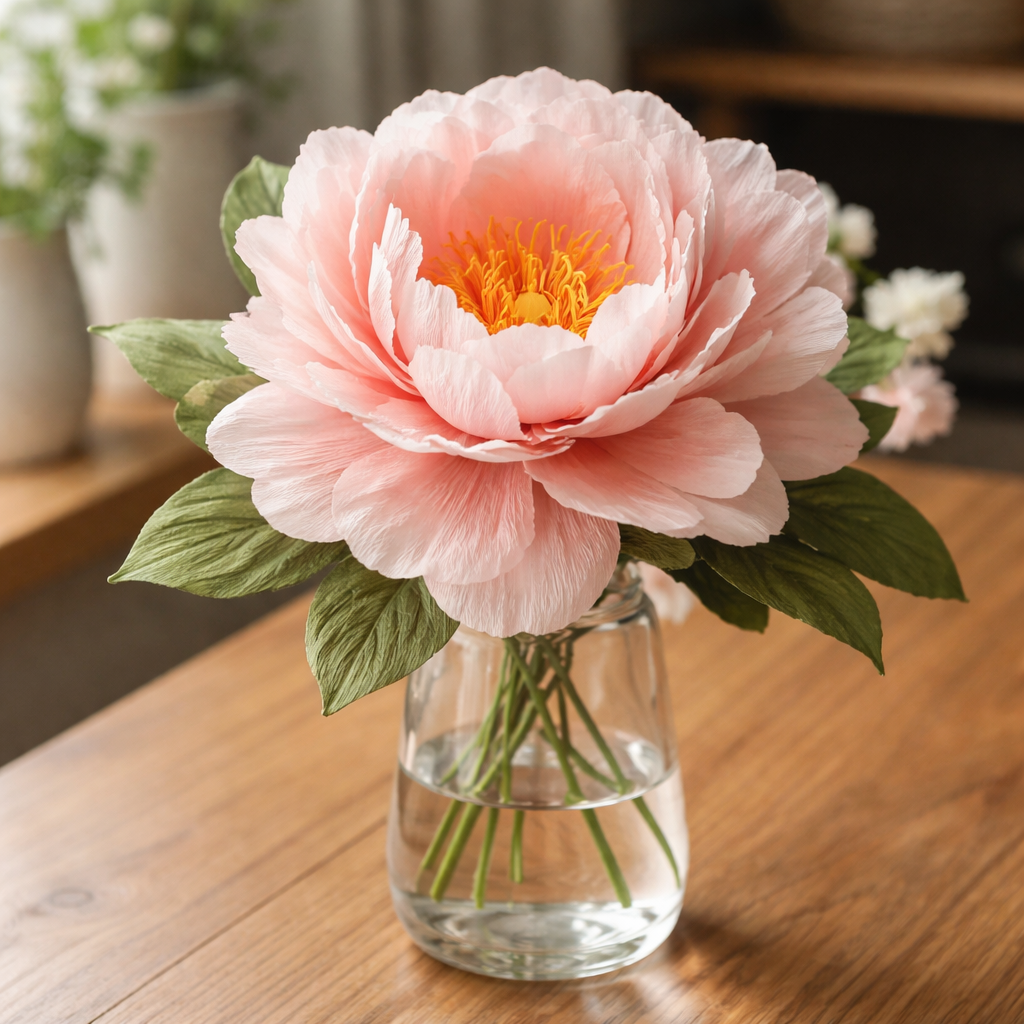
Now your flower is ready to join a bouquet, a gift, or a simple décor piece. Enjoy the burst of colour you just created.
Step 5: Finishing Touches and Display Ideas
Now the flower looks almost done, but a few tiny tweaks can push it from neat to wow.
First, check each petal edge. If a tip looks ragged, snip a sliver with your scissors and give it a quick press. A smooth edge catches light and feels polished.
Next, think about a little accent. A dab of glitter or a thin strip of metallic tape along the base can add a pop without hiding the crepe texture. Keep it light – you want the flower to stay the star.
When it comes to showing off your bloom, there are dozens of simple ideas. Slip the stem into a clear glass bottle for a modern vase look, or tape the flower to a wooden board and hang it as wall art. For a gift, tie a tiny ribbon around the stem and add a handwritten tag. If you’re a creative entrepreneur, mount several flowers on a canvas and sell it as décor.
Need more inspiration? Check out the full guide to paper bloom displays for step‑by‑step tips on framing, lighting, and arranging multiple flowers.
Platforms like CreativiU let you explore dozens of project ideas and get feedback from a supportive community, so you can keep trying new finishes without feeling stuck.
Give one of these finishing tricks a try and watch your paper garden feel like a real showcase.
Frequently Asked Questions
What kind of crepe paper should I pick for my flowers?
Choose a crepe paper that feels stretchy yet holds shape. 180 gsm Italian crepe is a popular pick because the fibers curl naturally, giving you a soft petal. If you’re just testing ideas, a lighter 60 gsm roll works fine for flat blooms like orchids. Cut each sheet to a 4‑to‑6‑inch square so your folds stay even, and keep a ruler handy for consistency.
How do I keep the petals from tearing?
To stop petals from ripping, work with a light hand and use a tiny dab of clear glue or double‑sided tape. Place the glue on the petal base, wait a few seconds until it feels tacky, then press onto the centre ball. A quick twist as you attach each petal adds a natural ruffle and spreads the pressure, which helps the thin crepe stay intact.
Can I use glue alternatives?
If you don’t have glue, a few other options work well. A tiny strip of tape cut to the petal size can hold it in place while you line up the next piece. Hot‑glue on a low setting also works, but press quickly so the paper doesn’t melt. Some hobbyists even use a dab of clear nail polish; it dries hard and stays clear.
What’s the best way to seal the colors?
Sealing the finished bloom locks in the hue and adds a soft shine. A thin coat of clear acrylic spray works fast and gives even coverage; just mist from a distance of about a foot and let it dry for five minutes. If you prefer a brush, dip a soft brush in diluted acrylic and glide it over the petals. Both methods keep the color from fading in sunlight.
How can I scale a single bloom into a larger arrangement?
Turning one flower into a larger display is mostly about repetition and spacing. Make several stems of the same length, then attach a bloom to each using a dab of glue on the base. Group the stems together with a thin ribbon or a wooden dowel, keeping the heights varied by an inch or two for visual interest. The result looks like a mini‑garden that fills a wall or a table.
Where can beginners find extra help?
Where can you find more step‑by‑step help? The CreativiU platform offers a library of video lessons that walk you through each fold, plus a community forum where you can ask questions and see how other makers solve problems. You can also browse free tutorials on popular craft blogs, but a structured course gives you a clear path and feedback, which many hobbyists say speeds up learning.
Conclusion
Now you’ve seen how to make paper flowers with crepe paper from start to finish.
Take a moment to admire the bloom you just built. The simple folds, the gentle twists, the quick seal, each step is easy enough to repeat.
If you want faster progress, try a short practice session each week. A tiny batch of petals lets you experiment with cut styles and color mixes without feeling rushed.
Platforms like CreativiU give you step‑by‑step videos and a community that can answer questions as you grow. Jump into a beginner course or scroll the forum for fresh ideas.
So grab another sheet, try a new shape, and let your creativity keep blooming. The more you play, the more confident you’ll feel turning a flat piece of paper into a lasting flower.
Share a photo of your finished bloom on social media and tag CreativiU; seeing others’ work often sparks new ideas.
Leave a Reply