Ever tried to color yarn without a chemistry set? You can do it with kitchen scraps and garden finds. This guide shows how to dye yarn with natural colors, from picking the right plant to keeping the hue bright after you wash.
We’ll walk through each step, add safety tips, and share tricks from makers who have tested avocado pits, onion skins, and tea. By the end you’ll have a finished skein you dyed yourself.
Step 1: Gather Your Materials and Natural Dye Sources
The first thing you need is a list of supplies. You’ll want natural fibers like wool, silk, or cotton because plant dyes stick best to protein or animal fibers. For tools, grab a large stainless steel pot, a wooden spoon, and a fine mesh strainer. Gloves protect your hands from tannins and stains.
Natural dye sources are everywhere. Avocado pits and skins give a soft pink to apricot shade. The research notes that fresh pits produce richer color, while older pits may be lighter. You can also use onion skins for yellows and rusts, walnut shells for deep brown, turmeric for bright gold, and black tea or coffee for dark browns that need no extra mordant. Avocado pit and skin dyeing tips explain how to split and mash the pits for stronger dye.
Collect enough dyestuff for a good ratio. A common rule is at least equal weight of dyestuff to yarn, but you can use less if you prefer a pastel look. Store any leftover plant material in a sealed bag in the freezer to keep it fresh.
Bottom line:Gather a stainless pot, natural fibers, and a variety of plant materials , the foundation for any natural‑dye project.
Step 2: Prepare the Yarn , Scouring and Mordanting
Before you dunk yarn in any dye, you must wash away oils, dirt, and any finishes. Fill a bucket with warm water and a gentle, pH‑neutral soap. Let the yarn soak for at least an hour, then rinse until the water runs clear. This step is called scouring.
Many natural dyes need a mordant to help the color stick. Alum (potassium aluminum sulfate) is a safe, non‑toxic option. Dissolve 14 g of alum per 100 g of yarn in warm water, then add the wet yarn and simmer for an hour. Some tannin‑rich dyestuffs like avocado pits act as their own mordant, so you can skip this step if you prefer.
If you’re working with silk, a brief dip in a soda‑ash solution (1 % soda ash) can open the fibers and improve uptake. Always wear gloves when handling chemicals, even mild ones.
After mordanting, rinse the yarn again in cool water. Let it air‑dry on a clean towel before moving to the dye bath.
How to Crochet a Granny Square Step by Step: Easy shows a quick test swatch you can knit to see how well the dye set before you start a big project.
Bottom line:Clean and mordant the yarn to ensure the natural dye bonds evenly and lasts.
Step 3: Extract Dye from Plant Materials
Now you’ll pull the color out of the plant matter. Place your chosen dyestuff in the stainless pot and cover it with enough water to submerge everything. Bring it to a gentle simmer , never a rolling boil, which can scorch delicate pigments.
Simmer times vary: avocado skins need about 1, 2 hours, onion skins 45 minutes, walnut shells up to 2 hours. The longer you let it sit, the deeper the hue. Many makers let the pot sit overnight; the color often darkens further as the plant compounds continue to dissolve.
When the extraction is done, strain the liquid through a fine mesh or cheesecloth. Keep the dye bath warm if you plan to dye immediately; a cold bath will cause the yarn to seize and produce uneven spots.
“The best part of natural dyeing is watching a clear pot turn amber, pink, or deep brown as the plant releases its pigment.”
According to Wikipedia’s natural dye overview, tannin‑rich materials like avocado, tea, and coffee can act as both dye and mordant, which explains why they often produce lasting colors without extra chemicals.
Bottom line:Extract the dye by simmering plant material gently, then strain and keep the bath warm for the next step.
Step 4: Dye the Yarn , Immersion and Heat Techniques
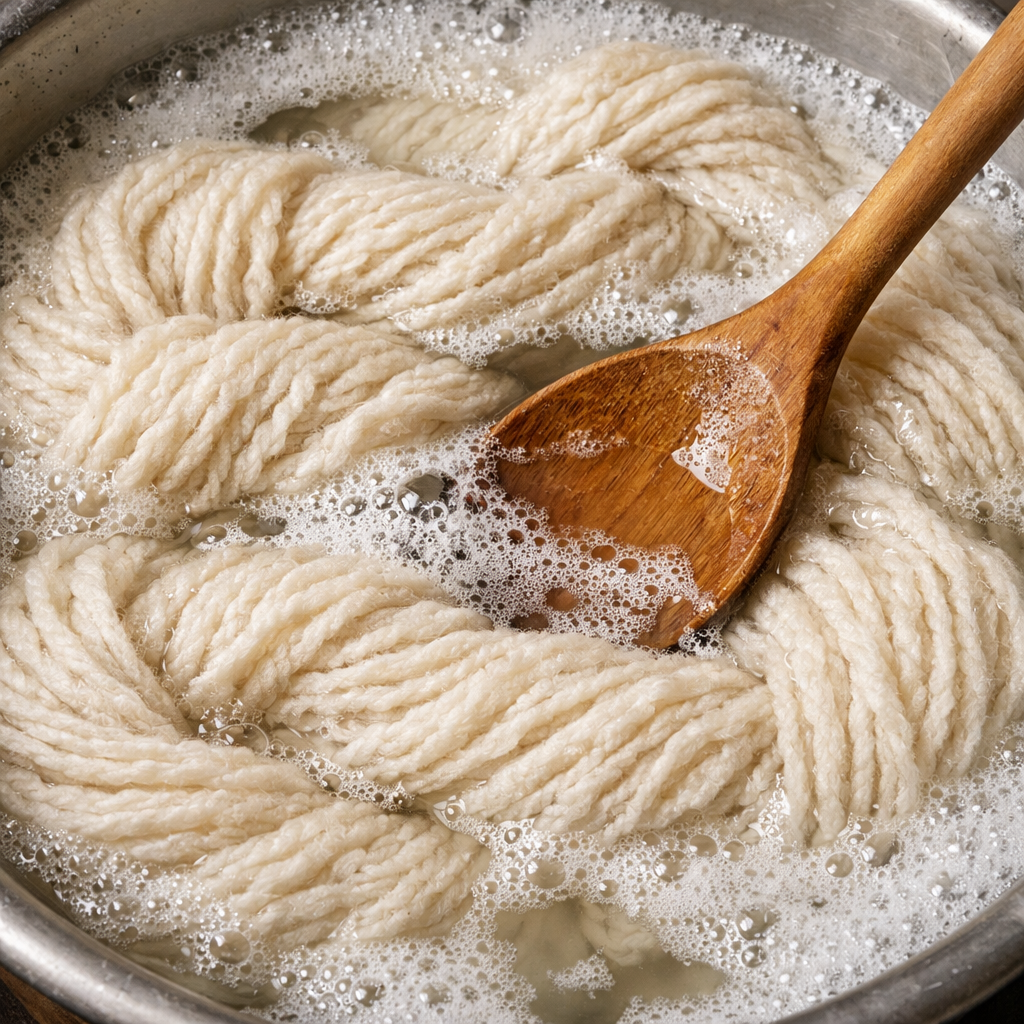
Place the pre‑treated yarn into the warm dye bath. Make sure the yarn is fully submerged and can move freely; use a wooden spoon to stir gently every few minutes. This prevents the yarn from clumping and ensures an even color.
Heat the bath to a steady simmer and keep it there for about an hour. For silk, a lower temperature (around 60 °C) works best to avoid damage. Wool can handle a hotter bath (up to 90 °C) without felting if you raise the temperature slowly.
After the hour, you can let the yarn sit in the dye bath for additional time , up to 3 days for very light colors, but most makers stop at 24 hours to avoid mold. If the color isn’t deep enough, you can add a second “exhaust” of the same dyestuff and repeat the immersion.
Some crafters add a pinch of soda ash or a splash of lemon juice to shift the hue , alkaline conditions brighten, while acid tones darken. Experiment with pH modifiers to fine‑tune your shade.
Research shows that indigo, madder, and cochineal all work well on silk and wool without any mordant according to this natural‑dye guide. That means you can skip the alum step if you choose those plants.
Bottom line:Immerse the yarn, keep a gentle simmer, and stir occasionally for an even, vibrant shade.
Step 5: Aftercare , Washing and Setting the Color
When you’re happy with the hue, remove the yarn and rinse in cool water until the runoff is clear. This washes away any loose pigment that could bleed later.
For the best colorfastness, give the yarn a gentle wash with a pH‑neutral soap like Orvus paste or a plant‑based cleanser such as capryl glucoside. The study from ColorMeHappyFiberArts found that a cool‑water wash with neutral soap kept the most color after repeated washes.
After the soap wash, do a final rinse in plain water, then gently squeeze out excess moisture. Lay the yarn flat on a towel to dry, reshaping it as needed. Avoid hanging wet yarn, which can stretch the fibers.
Once dry, store the skein in a breathable bag to protect it from humidity. If you plan to use the yarn for a project that will be washed often, consider a second fix by briefly soaking in a diluted vinegar solution (1 % vinegar) to lock in the color.
Crochet Granny Square Pattern for Beginners: Step‑by‑Step Guide offers a simple test swatch you can knit to see how the dyed yarn behaves after washing.
Bottom line:Rinse, wash with neutral soap, and air‑dry flat to lock in the natural color.
Step 6: Troubleshooting Common Natural Dye Problems
Even with careful steps, you might hit bumps. If colors look patchy, the yarn probably wasn’t fully wetted before dyeing. Soak the yarn longer or use a gentle agitation to ensure every strand is saturated.
Fading often means the mordant was missing or the dye source lacked enough tannins. Adding a small amount of alum or switching to a tannin‑rich material like tea can help.
Uneven shades can result from a low water‑to‑dyestuff ratio. Aim for at least a 1:10 ratio of yarn weight to water volume; this gives the fibers room to move.
If you notice a strong odor or mold in the dye bath, discard it and start fresh. Some plant materials, especially when stored, can develop off‑flavors that affect the yarn.
For a quick color boost, you can overdye the yarn with a second, lighter shade. Just repeat the immersion step with a new dye bath.
Bottom line:Identify the cause , wetting, mordant, or bath size , and tweak the process for smoother, longer‑lasting colors.
Frequently Asked Questions
Can I use synthetic fibers like acrylic?
No. Natural dyes need protein or cellulose fibers to bond. Acrylic, polyester, and other synthetics won’t absorb the color, so the result will be faint or nonexistent. Stick to wool, silk, cotton, linen, or hemp for reliable results.
Do I really need a mordant for avocado dye?
Avocado skins and pits contain tannins that act as natural mordants, so you can skip the alum step. However, if you want the deepest possible shade, a brief alum mordant before dyeing can add extra depth.
How long should I let the yarn sit in the dye bath?
One hour of simmering is the baseline. For a richer hue, let the yarn stay in the warm bath for up to 24 hours, checking the color every few hours. Overnight sits are common for subtle shades.
Can I reuse the dye bath?
Yes. After you remove the first skein, you can strain the bath and add fresh water to top it up. The second “exhaust” will produce a lighter shade, which can be useful for variegated effects.
What safety precautions should I take?
Wear gloves, work in a well‑ventilated area, and never use the same pots you cook food in. Some plants, like black henna, can be toxic; avoid them unless you have reliable safety data.
How do I know if the color is colorfast?
After washing and drying, rub a damp white cloth over a hidden area of the yarn. If the dye lifts, the mordant may be insufficient. A quick test with a small swatch before dyeing the whole skein saves time.
Can I combine multiple natural dyes?
Absolutely. You can layer dye baths or mix different plant materials in the same pot. Just be aware that some colors may dominate others, so experiment with small batches first.
Is there a way to make the colors brighter?
Adjusting the pH helps. Adding a little baking soda (alkaline) can brighten yellows and pinks, while a splash of vinegar (acidic) deepens reds and oranges. Test on a scrap piece before applying to your main yarn.
Conclusion
Natural dyeing lets you turn kitchen scraps and garden finds into beautiful yarn colors. By gathering the right materials, scouring and mordanting the fibers, extracting pigments with a gentle simmer, and carefully immersing the yarn, you can achieve vibrant, lasting shades without harsh chemicals. Aftercare with neutral‑pH washes locks in the hue, and a few troubleshooting tips keep the process smooth.
CreativiU’s online courses dive deeper into each of these steps, offering video demos, community feedback, and downloadable cheat sheets. Whether you’re a hobbyist or a creative entrepreneur, learning natural colors adds a unique touch to your projects and can set your work apart in a crowded market.
Ready to start? Grab some avocado pits, a pot of water, and your favorite wool. The colors you create will be all yours.
Leave a Reply