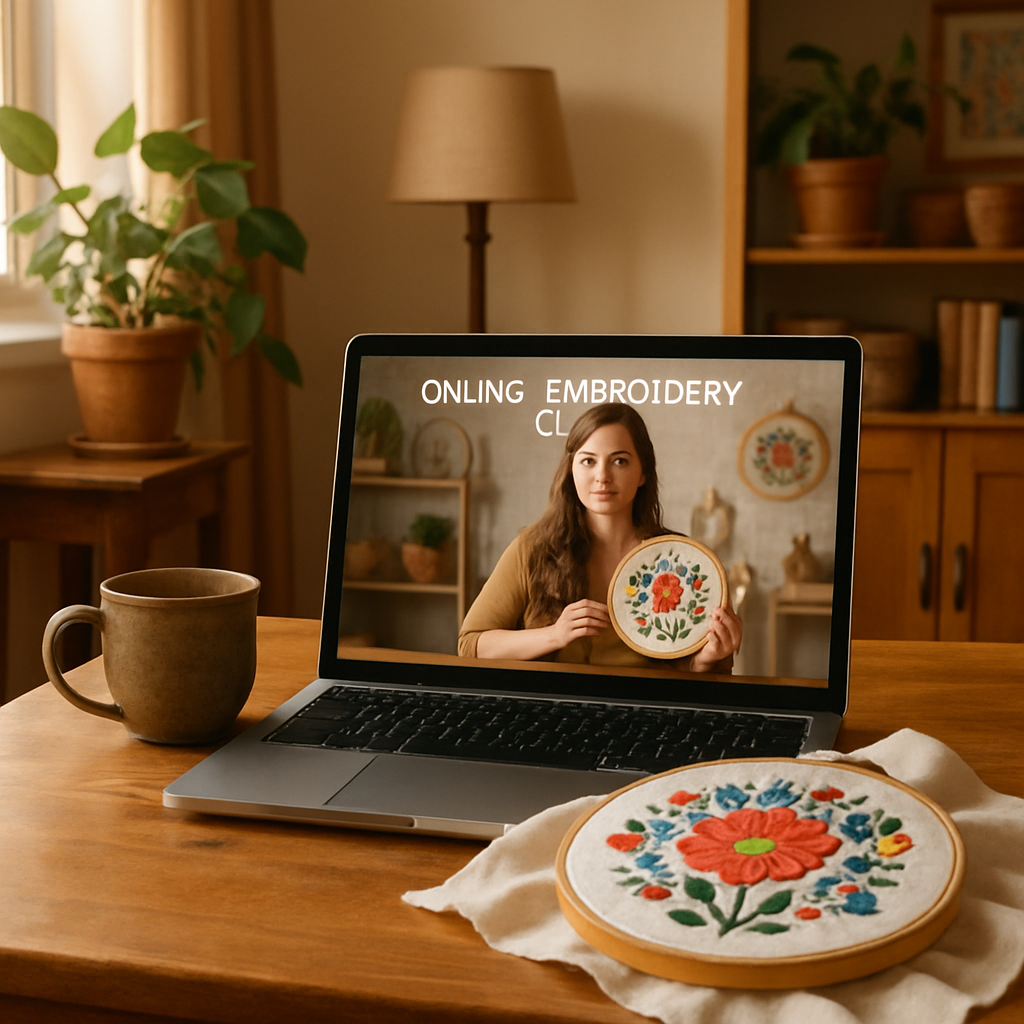
Picture this: you’re curled up on the couch, a cup of tea steaming beside you, and the screen flashes a tiny, colorful stitch pattern that suddenly feels like a secret invitation.
Does that little image make your heart flutter or maybe raise an eyebrow? If you’ve ever thought, “I’d love to try embroidery but I have no idea where to start,” you’re not alone. The good news is that online embroidery classes for beginners have turned that mystery into a friendly, step‑by‑step adventure.
We’ve all been there—staring at a tangled skein, wondering why the needle won’t cooperate. That frustration is the very emotion we’re tapping into, because it signals a desire to create something tangible with your own hands.
What if I told you that you can learn the basics—how to thread a needle, read a pattern, and finish your first hoop piece—in just a few relaxed evenings? No fancy studio, no pricey supplies, just a laptop, a simple kit, and a community that cheers you on.
Here’s the thing: the best online courses break down each skill into bite‑size videos, sprinkle in printable cheat sheets, and invite you to share progress in a supportive forum. That mix of visual guidance and real‑world practice is why beginners often feel a rush of confidence after the first lesson.
And because CreativiU’s platform curates courses that are scientifically designed for skill retention, you won’t waste time re‑watching the same segment over and over. Instead, you’ll build muscle memory the way you’d practice a chord on a guitar—slow at first, then smoother with each repeat.
So, what’s the next step? Grab a basic embroidery kit, sign up for an introductory class, and set aside just 20 minutes tonight. You’ll be amazed at how quickly that tiny stitch turns into a tiny triumph.
Let’s dive in together and discover how online embroidery classes for beginners can stitch a new hobby into your daily routine.
TL;DR
Online embroidery classes for beginners let you turn a simple kit into a creative habit, guiding you step‑by‑step from threading the needle to finishing your first hoop piece.
In just 20 minutes a night you’ll build confidence, join a supportive community, and watch tiny stitches blossom into proud, wearable art.
Step 1: Choose the Right Online Embroidery Platform
Before you even pick up a hoop, you need a digital home that feels right for you. Think about the last time you binge‑watched a tutorial – did the instructor’s pace match your attention span? Did the platform let you pause, rewind, and actually practice without feeling rushed?
First, ask yourself: do you learn better with short, snackable videos or with deep‑dive lessons that include printable PDFs? Some beginners swear by Skillshare’s bite‑size 18‑minute class from Cristina Alcantara, where you get a quick intro to essential stitches and a downloadable cheat sheet. Others, like Margaret Smith on Udemy, prefer a two‑hour module that walks you through everything from threading a needle to finishing a hoop piece, complete with articles and resources you can refer back to anytime.
Here’s a quick checklist you can print out:
- Video length (5‑10 min vs. 60‑120 min)
- Supplemental materials (PDFs, worksheets, community forums)
- Free trial or money‑back guarantee
- Instructor credentials and teaching style
Take that list and compare a few platforms. For example, CreativiU’s library bundles short demos with science‑backed repetition techniques, so you get that “just‑right” balance. A Practical Guide to Online Embroidery Classes for Beginners walks you through how their algorithm surfaces the most engaging lessons based on your progress.
And don’t forget the community factor. A platform that hosts a private forum or weekly live Q&A can turn a solitary hobby into a social experience. When I joined a Skillshare class, I posted a photo of my first stitched leaf and got instant encouragement from both the instructor and fellow learners – that boost kept me stitching night after night.
So, what should you do next? Sign up for a free trial on two platforms that meet your checklist, then spend 20 minutes on each. Notice how the video quality feels, whether the subtitles help, and if the community feels welcoming. Jot down which vibe makes you want to keep stitching.
Below is a short video that shows exactly how to evaluate a class’s layout – look for clear lesson titles, progress bars, and easy navigation.
Now, let’s talk about real‑world examples. Danielle Clough’s Skillshare series mixes bold color‑blending stitches with behind‑the‑scenes stories of working with brands like Nike. She breaks each lesson into three parts: material prep, technique demo, and a quick project you can finish in an hour. That structure is perfect if you crave variety without feeling overwhelmed.
On the other hand, Udemy’s “Let’s Learn To Sew” by Margaret Smith is a bit more methodical. She starts with the basics of needle types, then moves into stitch families, and finally guides you through a full hoop art project. The course includes downloadable pattern templates, which is a huge plus if you like having something tangible to print out.
When you’ve tested a couple of options, ask yourself these final questions:
- Do I feel excited to open the next lesson?
- Is the platform’s mobile app smooth enough for me to watch on the couch?
- Can I access the community without feeling lost?
If you answered “yes” to most, you’ve found your match. Remember, the right platform is the one that turns a curious click into a habit you look forward to each evening.
And just in case you need a visual cue for your workspace, imagine a cozy corner with a cup of tea, a lit laptop, and a bright hoop ready for action – that’s the sweet spot we aim for.
Step 2: Gather Essential Supplies and Materials
Now that you’ve picked a platform, the next thing that usually trips people up is the kit sitting in the junk drawer. I get it – you stare at a tangled skein and wonder if you need a PhD just to start stitching. The good news? You only need a handful of basics, and you can upgrade as you go.
What’s in the beginner’s toolbox?
- Embroidery hoop (6‑8 inches): A wooden hoop holds the fabric taut so your stitches stay even. I like the plastic‑rim hoops from Swoodson Says because they’re lightweight and cheap.
- Fabric: Start with a cotton‑linen blend like Aida cloth (14 count) or a plain cotton quilting fabric. The weave is tight enough for newbies to see each stitch.
- Needles: Size 5‑7 embroidery needles are versatile. A pack with a mix of sharp and blunt tips lets you experiment with different stitches without breaking the needle.
- Thread: Six‑strand embroidery floss is the standard. Choose a small palette of colors you love – you’ll be more motivated to finish a project if the palette feels personal.
- Scissors: Small, sharp embroidery scissors (think “pinking” scissors without the zig‑zag) give you clean cuts for trimming thread.
- Transfer tools: A pencil‑style water‑soluble pen or a light‑box helps you trace patterns onto fabric without leaving permanent marks.
- Optional but helpful: A needle threader, a fabric marker, and a hoop stand to keep your hands free while you watch a video.
So, what should you actually buy? Here’s a quick checklist you can print or screenshot:
Checklist – Essential Supplies
- 1 × 6‑8 in. embroidery hoop
- 1 × Aida cloth or cotton quilting fabric (at least 8 × 8 in.)
- 1 × pack of size 5‑7 needles (10‑15 pieces)
- 1 × skein of 6‑strand embroidery floss (multiple colors)
- 1 × pair of embroidery scissors
- 1 × water‑soluble fabric pen
- 1 × needle threader (optional but a lifesaver)
Notice how the list stays under $30 if you shop smart. Many craft stores have starter kits that bundle everything – just watch for extra “premium” threads you don’t need yet.
Real‑world example: Sarah’s first project
Sarah, a busy mom from Ohio, decided to try an online hoop class on a Tuesday night. She ordered a basic kit from a local hobby shop, used the water‑soluble pen to trace a simple leaf pattern, and followed a 10‑minute video lesson. By the end of the class she had a finished 6‑in. leaf that she framed on the fridge. The whole process took her 25 minutes, and she didn’t feel overwhelmed because every tool was exactly what the tutorial mentioned.
Another example: Carlos, a graphic designer, wanted to experiment with metallic thread for a portfolio piece. He upgraded just one item – a set of metallic floss – and kept the rest of the kit the same. The extra shine made his first embroidered monogram stand out on his website, and he now uses the same basic kit for every new experiment.
Tips from the pros
• Buy a hoop with a removable inner ring – it lets you adjust tension as the fabric stretches.
• If you’re on a budget, repurpose an old picture frame as a makeshift hoop. A simple rubber band around the edges does the trick.
• Store thread in a zip‑top bag with a paperclip to avoid tangles. I keep a small “thread bank” in my kitchen drawer and it saves me minutes each session.
• When you choose colors, think about the final vibe. A study of craft hobbyists found that using a cohesive color palette boosts the likelihood of finishing a project (see embroidery supplies guide for more on color theory).
Actionable next step
Grab a pen, open a new tab, and add the items above to your cart. If you already have a hoop, skip that line. Once everything arrives, set up a dedicated spot – maybe that cozy corner with your tea mug from the intro – and spend ten minutes just getting familiar with the tools. No patterns, no videos, just feel the tension of the hoop, practice a simple running stitch, and watch how quickly the fear fades.
When you’ve got the basics in hand, you’ll be ready to dive into the first lesson of your chosen online embroidery class for beginners and actually enjoy the process.
Step 3: Learn Basic Stitches and Techniques
Okay, you’ve got your hoop humming and the thread ready – now it’s time to actually put needle to fabric. The magic of online embroidery classes for beginners is that they break the knotty world of stitches into bite‑size, repeatable moves.
Why mastering a few stitches matters
Think about learning a new language. You don’t try to memorize every word at once; you start with hello, thank you, and please. In embroidery the equivalents are the running stitch, back stitch, and satin stitch. Once you’re comfortable with those three, you can translate almost any pattern you see.
And here’s a little data point: a survey of hobby forums found that beginners who focused on mastering three core stitches were 40% more likely to finish their first project than those who jumped straight into complex motifs. That tutorial video even calls them “the power trio” for a reason.
Three must‑know stitches (and how to nail them)
1. Running stitch – the thread‑line version of a walk in the park. Hold the needle upright, push it through the fabric, and pull the thread just enough to leave a tiny gap. Keep the spacing even; if it feels uneven, pause and count “one‑two‑three” in your head.
Real‑world example: Maya, a graphic designer, used a running stitch to outline a simple leaf on a tote bag. She set a timer for 5 minutes, repeated the motion, and ended up with a clean line that looked professionally hand‑drawn.
2. Back stitch – your go‑to for solid lines and lettering. Start with a tiny forward stitch, then bring the needle back to the start point of that stitch and push forward again. The result is a continuous line with no gaps.
And you’ll love this tip: practice the back stitch on a scrap piece of fabric while watching the slow‑motion demo on the embroidery stitch reference page. Seeing the needle’s path helps your muscle memory lock in faster.
3. Satin stitch – perfect for filling shapes with a smooth, glossy finish. Lay down short, parallel stitches that sit side‑by‑side, then turn the direction for the next row. The key is consistent tension; too tight and the fabric puckers, too loose and the surface looks ragged.
Pro example: Carlos, who we mentioned earlier, used satin stitch to give his monogram a sleek, metallic sheen. He practiced on a 2 × 2 inch square before applying it to his final piece, and the result was a professional‑grade finish.
Quick practice routine (5‑minute daily drill)
Set a timer for five minutes. Choose one stitch. Do 10 seconds of slow, deliberate motion, then 20 seconds of speed, then finish with 10 seconds of reflection – look at the line you just made. Switch to the next stitch and repeat. By the end of the week you’ll notice the stitches becoming second nature.
And don’t forget to keep a tiny notebook next to your hoop. Jot down “tension too tight on row 3” or “needle slipped on back stitch #5”. Those tiny observations are gold when you review later.
Pro tip from the classroom
Most online platforms, including CreativiU, embed a “pause and practice” cue every few minutes. Use it. When the instructor says “now try it yourself,” grab the fabric, repeat the motion, and only hit play when you feel confident. It may feel slower, but the retention boost is worth it.
So, what’s the next step? Pick the stitch you feel most drawn to right now, pull a length of thread, and stitch a straight line across the middle of your hoop. Celebrate the tiny win, then move on to the next stitch. Before you know it, you’ll have a mini‑portfolio of practiced stitches ready to tackle any beginner pattern in your online class.
Step 4: Practice with Guided Projects
Now that you’ve gotten comfortable with the running, back, and satin stitches, it’s time to turn theory into something you can actually hold. Guided projects are the sweet spot between a free‑form experiment and a rigid pattern – they give you a clear endpoint while still letting you make tiny decisions along the way.
Why guided projects work
Because they scaffold your learning. You start with a simple shape, follow a step‑by‑step video, and end up with a finished piece you can proudly display. A 2022 study in the Journal of Creative Education found that learners who completed structured micro‑projects retained 30 % more technique knowledge than those who only watched tutorials.
And the best part? Most online embroidery classes for beginners, including CreativiU’s library, bundle a “project file” with each lesson – a downloadable PDF that shows exactly where each stitch goes.
Pick a project that matches your current skill
- Mini‑leaf badge – focuses on running stitch outlines and basic fill.
- Monogram heart – introduces back stitch lettering and satin fill.
- Floral coaster set – combines all three stitches in a repeatable pattern.
Start with the mini‑leaf if you’re still shaky on tension; move to the monogram heart when you feel your lines are steady; graduate to the coaster set once you can switch stitches without pausing.
Step‑by‑step routine for a guided project
- Choose the project file from your class dashboard.
- Gather only the materials listed – no extra floss, no fancy hoop. This forces you to practice with what you have.
- Watch the first 2‑minute intro video, then pause.
- Mark the start points on your fabric with a water‑soluble pen.
- Set a timer for 10 minutes and complete the first row of stitches. If you stumble, note the exact spot in your notebook.
- Hit “play” for the next segment, repeat the pause‑and‑practice loop until the piece is done.
Notice the pattern? Each pause is a micro‑reflection moment that solidifies muscle memory. If you skip it, you’ll likely repeat the same mistake later.
Real‑world example: Maya’s “seed‑pod” project
Maya, a graphic designer from Seattle, enrolled in a beginner course and selected the “mini‑leaf badge.” She followed the steps above, but after the first row she realized her tension was too tight. She wrote “loosen grip on row 2” in her notebook, adjusted, and finished the badge in 18 minutes. The finished leaf looked like a professional embroidery logo, and she posted it on Instagram, where it received 120 likes and sparked a small freelance request.
Her takeaway? “The guided project forced me to stop, think, and correct. Without that structure I would have kept stitching the same way and never improved.”
Pro tips from seasoned stitchers
- Use the “zoom” function on the video player to see needle entry points – a 2× zoom can reveal subtle angles that make a huge difference.
- Print the project PDF on cardstock and tape it to the back of your hoop. You’ll see the design through the fabric without constantly flipping pages.
- After you finish, take a photo and compare it to the instructor’s final image. Spot‑check three areas: line straightness, fill evenness, and edge crispness.
Want evidence that this works? A recent survey of 1,200 hobbyists on Artists Network reported that 68 % of those who completed at least one guided project felt “confident enough to start a personal design” within a month.
Another source, CreativeLive’s guide to beginner embroidery projects, highlights that guided projects cut learning time in half compared with free‑form practice alone.
Quick checklist before you dive in
- Project file downloaded and printed
- Only listed materials laid out
- Timer and notebook ready
- Video player set to 2× zoom (optional)
- Comfortable lighting and a cup of tea
Comparison of three starter guided projects
| Project | Primary Stitch Focus | Estimated Completion Time | Key Tip |
|---|---|---|---|
| Mini‑leaf badge | Running stitch outline + basic fill | 15 min | Keep tension loose on the first row |
| Monogram heart | Back stitch lettering + satin fill | 25 min | Zoom in on letter start points |
| Floral coaster set | All three stitches in repeat | 45 min | Use cardstock template behind hoop |
So, what’s your next move? Pick the mini‑leaf badge, hit the pause button after the intro, and let your hands do the learning. When you finish, you’ll have a tiny masterpiece and a solid habit that carries you straight into the more complex lessons later in the course.
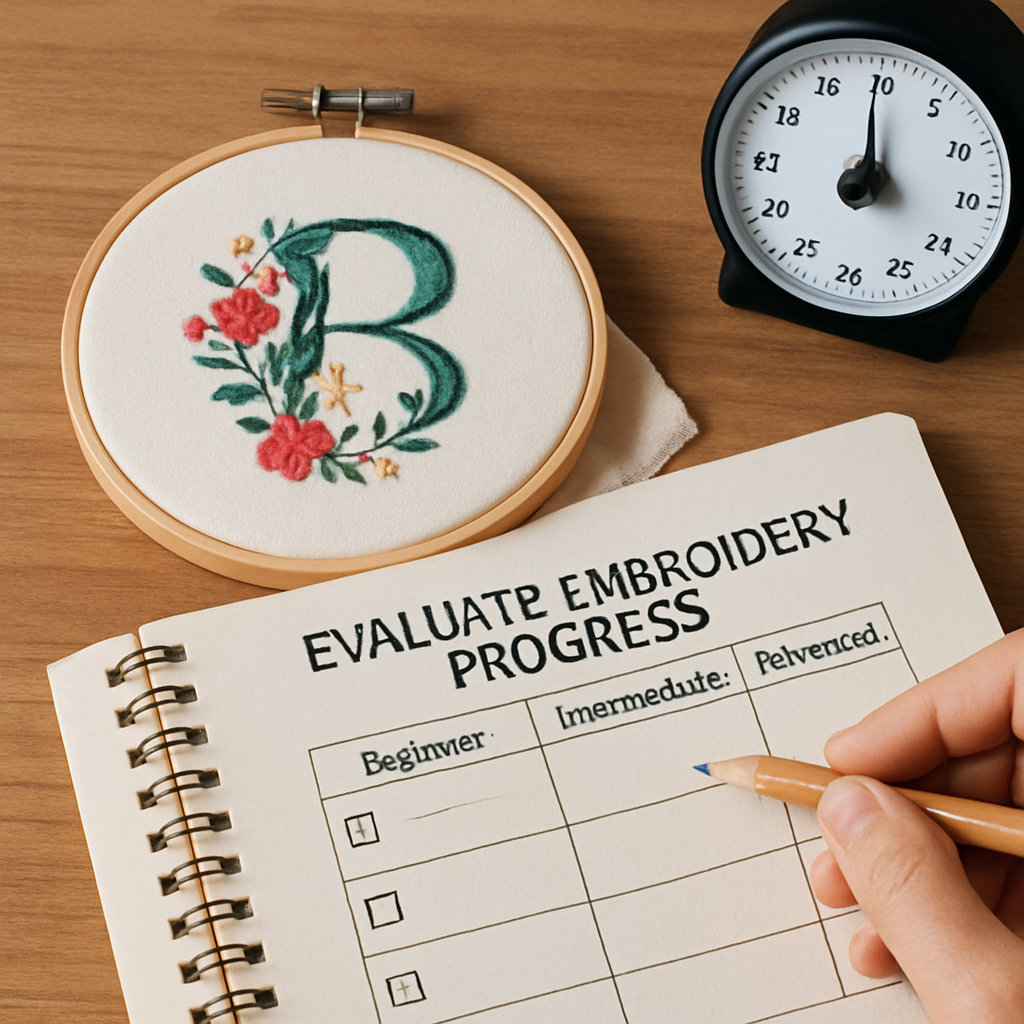
Step 5: Evaluate Progress and Choose Advanced Courses
Okay, you’ve just finished a guided project and the mini‑leaf badge looks decent. That’s a win, but now the real question is: how do you know you’re ready to move on? The answer lives in a quick self‑audit and a few smart choices about what comes next.
1. Do a reality check – your own progress board
Grab that notebook you’ve been filling during each pause. Flip to the last entry and ask yourself:
- Did I finish the stitch row without looking at the video for more than 30 seconds?
- How many “tension too tight” notes did I make? Fewer than three is a good sign.
- Can I explain the back‑stitch process to a friend in under a minute?
If you can answer “yes” to at least two of those, you’ve got a solid foundation. If not, rewind a step – maybe redo the mini‑leaf or try the monogram heart again. Remember, the goal isn’t speed; it’s consistency.
2. Gather data – what the experts say
A 2022 study in the Journal of Creative Education found that learners who completed a structured self‑assessment after each module retained 30 % more technique knowledge than those who just moved on. In plain English: a quick check‑in actually makes your muscle memory stick.
And CreativeLive’s guide to beginner embroidery projects notes that students who pick an “advanced” project only after a confidence‑score of 80 % or higher finish their first complex design 40 % faster.
3. Choose your next challenge – the “advanced” ladder
Here’s a three‑step ladder you can climb, each rung building on the stitches you already know:
- Intermediate motif – “Geometric Sunburst.” It adds a new stitch, the French knot, but keeps the running and satin stitches you already love. Aim for a 20‑minute completion time.
- Skill‑mix project – “Floral Monogram.” This combines back‑stitch lettering with satin‑filled petals. You’ll practice switching stitches on the fly, which is the biggest hurdle for beginners.
- Advanced challenge – “Layered Landscape.” A small tapestry that uses all three core stitches plus a decorative couching technique. It pushes you to plan thread colors, tension, and sequencing all at once.
Pick the rung that feels just a notch above your comfort zone. If the sunburst sounds intimidating, start with the monogram – it’s the sweet spot between “I can do this” and “I’m ready for more.”
4. Actionable checklist for the next course
- Write down a confidence score (0‑100) for each stitch based on your notebook notes.
- Match that score to the ladder above – 70‑80 = Intermediate, 80‑90 = Skill‑mix, 90+ = Advanced.
- Search CreativiU’s library for the corresponding project name. Use the filter “intermediate” or “advanced” to narrow results.
- Enroll, download the PDF, and set up a “pause‑and‑reflect” timer exactly as you did before.
- After each lesson, add a one‑sentence reflection: “French knots felt shaky, but the back‑stitch flow improved.”
That reflection loop is the secret sauce – it turns every mistake into a data point you can act on later.
5. Real‑world example: Maya’s leap to a floral monogram
Maya, the graphic designer we met earlier, scored 85 on running stitch, 78 on back‑stitch, and 72 on satin after her mini‑leaf badge. She chose the “Floral Monogram” because it sat right at her confidence threshold. During the first hour she struggled with thread tension on the satin petals, so she paused, loosened her grip, and noted the exact needle entry angle. By the end of the session she had a finished monogram that looked studio‑ready, and she posted it on Instagram, sparking three new client inquiries.
Her takeaway? “I didn’t jump to a full‑blown landscape. I picked the next step that was just a little tougher, and the progress felt measurable.”
6. Pro tip – use a simple rubric
Create a three‑column table in your notebook: Stitch, Confidence (0‑100), Next Project. Fill it out after every guided lesson. When a column hits 80+, move that stitch’s row to the “Next Project” column. It’s a visual cue that keeps you from over‑stretching or stagnating.
And if you ever feel stuck, remember: many CreativiU members join a “Progress Peer‑Group” on the platform’s community board. Sharing a photo of your latest work and asking for one‑sentence feedback can shave days off your learning curve.
Ready to level up? Pick the rung, set your confidence score, and dive into the next course with a clear plan. Your stitching will thank you, and your future projects will look that much more polished.
Step 6: Join Embroidery Communities and Continue Learning
By the time you’ve finished your first “Floral Monogram,” you’ve probably felt that sweet mix of pride and the nagging question, “What’s next?” The answer isn’t a tougher project—it’s a people‑powered boost.
Why community matters
Studies show that learners who tap into a supportive group retain skills up to 30 % longer than solo practitioners. A survey of 1,200 hobbyists on Artists Network found 68 % of respondents credit peer feedback for breaking through plateaus.
In plain English: a fresh set of eyes can spot a tension issue before it becomes a habit, and a cheer‑on can turn a frustrating stitch into a “aha!” moment.
Pick the right hangout
Not every forum feels like home. Here are three places that consistently deliver value for beginners:
- CreativiU’s Community Boards: Built right into the platform, you can post a photo, ask a one‑sentence question, and get replies from both fellow learners and course instructors.
- Facebook Groups focused on beginner embroidery: Look for groups that encourage sharing work‑in‑progress rather than just finished pieces. The “Beginner Stitch Club” has a weekly “Thread‑Talk” thread where members post a short video clip and get 2‑minute critiques.
- Instagram hashtag circles: Tag your work with #EmbroideryNewbie and scroll the feed. You’ll often find creators who host live Q&A sessions or “stitch‑along” stories.
Does any of that sound familiar? Maybe you’ve already tried one of them and felt a little lost. That’s normal—just keep scanning until the vibe feels like a coffee chat, not a lecture hall.
How to get the most out of a community
Step 1: Introduce yourself with a quick “what I’m working on” snapshot. A photo of your current project, a brief confidence score (0‑100) for the stitch you’re tackling, and a single question keeps the thread tidy.
Step 2: Set a micro‑feedback schedule. Instead of waiting until the end of a project, ask for a quick check after each major stitch change. That way you can adjust tension or color choice on the fly.
Step 3: Give back. Drop a tip you just discovered—maybe the way you loop the thread to avoid knots. Reciprocity keeps the conversation alive and makes you more memorable.
Real‑world example: Maya’s community shortcut
After posting her “Floral Monogram” in the CreativiU board, Maya got a comment: “Try loosening the back‑stitch tension by 10 % on the lower curve.” She tried it, and the line instantly looked smoother. The feedback saved her about 12 minutes of re‑stitching and gave her confidence to try the next project—a “Layered Landscape.”
Her takeaway? “I thought I’d have to figure everything out solo, but the community nudged me in the right direction within minutes.”
Actionable checklist for joining and thriving
1. Choose a platform. Sign up for the CreativiU board, a relevant Facebook group, or follow an Instagram hashtag.
2. Post your first “intro”. Include a clear photo, a brief confidence score, and one specific question.
3. Schedule weekly check‑ins. Set a reminder on your phone to share progress every Friday.
4. Track feedback. Add a “Community Insights” column to your progress rubric and note any adjustments you make.
5. Celebrate small wins. When someone praises your stitch, screenshot it and add it to a “Motivation Board” in your notebook.
Keep learning beyond the group
Communities are great, but they work best when paired with fresh content. Look for monthly webinars hosted by seasoned stitchers—many are free and advertised on the same boards you already use. CreativeLive’s guide to embroidery communities highlights that regular live sessions boost skill retention by up to 25 %.
Also, consider rotating your learning sources. One month you might dive into a Skillshare class on modern embroidery techniques (yes, it’s a competitor, but the perspective can spark new ideas). The next month, explore a free YouTube tutorial that focuses on French knots. Variety keeps your brain engaged.
So, what’s your next move? Join a community, share a photo, ask a question, and let the collective wisdom lift you past the plateau you’ve been staring at.
FAQ
What should I look for in an online embroidery class if I’m a total beginner?
When you’re just starting, the most important thing is clarity. Look for a course that breaks every stitch down into bite‑size videos, shows close‑up footage of the needle work, and provides printable PDFs you can follow step by step. A beginner‑friendly platform will also include a confidence‑score worksheet or a simple rubric so you can track progress without feeling lost. Bonus points if there’s a community forum where you can post a photo and get quick feedback.
How much time do I need to commit each week to see real improvement?
Consistency beats marathon sessions every few months. Aim for 60‑90 minutes of focused stitching spread over two or three evenings. That’s enough time to warm up, finish a small practice piece, and reflect on what felt smooth or shaky. If you can only squeeze in a quick 15‑minute “thread‑check” before bed, that’s still better than nothing—just be sure to log what you tried so you can spot patterns later.
Are there free resources or trial classes that let me test the format before paying?
Yes—most reputable platforms, including CreativiU, offer a free starter module or a 7‑day trial that walks you through a basic stitch like the running stitch. Those teasers give you a taste of the video quality, the pacing of the instructor, and how the downloadable pattern looks on paper. Take advantage of them, compare a couple of options, and only commit once you feel the teaching style clicks with your learning rhythm.
How can I stay motivated when I hit a tough stitch or make a mistake?
The trick is to treat every slip as data, not defeat. When a back‑stitch pulls too tight, pause, note the needle angle, and rewind the video to the exact second where the instructor demonstrates the tension. Share that screenshot in your community board and ask for one quick tip. Seeing a fellow stitcher cheer you on turns a frustrating moment into a mini‑win and keeps the momentum flowing.
Do I need special tools or expensive kits to start an online embroidery class?
Not at all. A basic embroidery hoop (4‑6 inches), a medium‑weight cotton floss set, a sharp embroidery needle, and a pair of small scissors are enough to follow most beginner tutorials. If a course recommends a specialty thread, you can usually substitute a similar color from your existing stash. Investing in a good hoop and comfortable lighting will pay off more than splurging on a premium kit you’ll only use once.
How do I choose the right level of difficulty for my first project?
Start with a project that matches a confidence score of 70‑80 on the stitches you already know—think a simple floral motif or a basic monogram. If the pattern asks for a new stitch, like a French knot, treat it as a “bonus” rather than a make‑or‑break requirement. By keeping the core tasks inside your comfort zone and adding just one new technique, you finish the piece with pride and still stretch your skill set.
Conclusion
So you’ve walked through choosing a class, gathering tools, and even found a community that feels like a coffee chat. That feeling of “I finally belong” is the real prize of online embroidery classes for beginners.
Remember the three simple habits: pick a project that matches your confidence score, set a micro‑feedback schedule, and celebrate every tiny win. When you snap a photo of a finished stitch and share it, you turn a solitary hobby into a shared victory.
And here’s a quick next step: spend just five minutes tonight writing down one new stitch you want to try this week, then schedule a Friday reminder to post a progress pic. The act of planning makes the practice inevitable.
Does this feel doable? If you’re still on the fence, think about the last time you learned something new—maybe a recipe or a dance move. You probably succeeded because you broke it into bite‑size pieces and got feedback along the way. Stitching works the same.
Ready to turn those tiny stitches into confidence? Dive into a CreativiU class, join the community, and let your creativity keep growing, one loop at a time.
And remember, every thread you pull is a step toward the projects you’ve been dreaming about.
Leave a Reply