Screen printing looks fancy, but you can start it in your kitchen for under five dollars. In this guide you’ll learn basic screen printing on t‑shirts online, from picking supplies to curing the final piece. By the end you’ll have a printable shirt, a tidy workspace, and the confidence to keep creating.
Step 1: Gather Materials and Set Up Your Workspace
Before you can print, you need the right gear. A starter kit usually includes a wooden frame, a 110‑mesh screen, a squeegee, photo‑sensitive emulsion, ink (plastisol or water‑based), a dark space for coating, and a washout station. You can buy a kit for as little as $30, but you can also mix‑and‑match items to fit a tighter budget.
First, pick a frame that’s sturdy enough to stay flat when you press. The frame holds the mesh, which decides how much detail transfers. A finer mesh (200‑plus) gives sharper lines, while a coarser mesh (100‑110) works better for bold, blocky graphics.
Next, choose an emulsion. Beginners benefit from a diazo‑mixed emulsion because it’s forgiving and cheap. OSHA’s chemical‑hazard guide notes that handling emulsions requires gloves and good ventilation, so set up a small “dry box” or work in a well‑ventilated garage.
Ink comes in two main families. Plastisol stays opaque on dark fabrics but needs a heat press to cure. Water‑based inks are softer and eco‑friendly but can be tricky to cure without the right temperature. For your first run, start with a single colour plastisol , it’s the easiest to see if the stencil works.
Don’t forget a washout area. A large tub lined with a garbage bag works fine; just keep the water out of drains. After each print, you’ll rinse the screen to remove excess ink and keep the stencil sharp for the next piece.
Bottom line:A well‑stocked, safe workspace sets the stage for repeatable prints.
Step 2: Create and Prepare Your Design
The design is the heart of your shirt. You can sketch by hand, but a digital file gives the cleanest results. Use a program that exports a high‑resolution PNG or vector file. Many beginners start with free tools like Inkscape or GIMP, which let you work in layers and keep the background transparent.
When you export, make sure the image is pure black where you want the ink to stay. Any gray will let light through and blur the edges during exposure. If you’re new to vector work, Wikipedia’s screen‑printing page explains the difference between raster and vector graphics.
Once the file is ready, print it onto a clear acetate sheet. A laser printer gives the best opacity. Tape the sheet to the screen, making sure it’s flat and aligned with the mesh.
Now comes the fun part , exposing the screen. Place the screen in a light‑safe box, turn on your exposure unit (an LED unit works well for home setups), and follow the exposure time recommended by the emulsion maker. A simple test is to expose a small strip for 5 seconds, then another for 10, and see which gives the cleanest edge.
After exposure, wash the screen with a gentle spray. The unexposed emulsion will wash away, leaving a clear path for ink. Let the screen dry fully before moving on.
CreativiU’s online tutorial walks you through each of these steps with video demos and a community forum for feedback. How to Start Silk Screen Printing for Beginners Online is the perfect companion for a $1 start and a free trial.
Bottom line:A crisp, high‑contrast digital design and proper exposure create a clean stencil.
Step 3: Assemble the Screen and Apply the Emulsion
Now that you have a design, it’s time to turn the blank screen into a functional stencil. Start by cleaning the mesh with a mild detergent and a soft brush. Rinse well and let it dry. Any residue will cause pinholes in the final print.
Next, mix the emulsion with water according to the manufacturer’s directions. Pour a thin, even coat over the mesh using a squeegee. The first coat should be light; a second coat adds durability. Let each coat dry in a dark, dust‑free space for about 20 minutes.
When the emulsion is dry, place your taped acetate on the screen and expose it. The light hardens the emulsion except where the black image blocks it. After exposure, wash the screen with a gentle spray. The unexposed emulsion will dissolve, leaving a clear path for ink.
Choosing the right emulsion matters. A beginner should start with a diazo‑mixed formula because it tolerates slight over‑exposure and uneven lighting. As you gain confidence, you can move to presensitized emulsions for crisper lines.
“The right emulsion can save you hours of rework and keep your prints consistent,” says a veteran screen printer.
Bottom line:Proper cleaning, coating, and exposure turn a plain screen into a reliable stencil.
Step 4: Print Your First Shirt , Step‑by‑Step Execution
With a ready stencil, you can finally print. Lay the shirt flat on a clean, hard surface. Place the screen on top, aligning it with the garment’s center. If you’re printing multiple shirts, use registration marks on the screen to keep each piece consistent.
Pour a line of ink at the top of the screen. Hold the squeegee at a 45‑degree angle and pull the ink down in one smooth motion. Apply even pressure; you should feel the squeegee glide without catching. Lift the screen carefully , the ink should have transferred cleanly onto the shirt.
If you see streaks, check for dust on the mesh or excess emulsion. A quick wipe with a lint‑free cloth can fix most issues. For multi‑colour designs, let each layer dry or flash before applying the next colour. This prevents smearing.
After the print is dry, give it a quick test. Gently stretch a corner of the design; if the ink cracks, you need more pressure or a cleaner screen.
Remember, the first shirt is a learning experience. Keep notes on exposure times, squeegee pressure, and ink flow. Those notes become your personal cheat sheet for future jobs.
Bottom line:Consistent pressure, clean ink lines, and careful alignment produce a solid first print.
Step 5: Cure, Finish, and Care for Your Printed Shirts
Curing locks the ink into the fabric so the print won’t crack or wash out. Plastisol inks need to reach 300 °F (about 150 °C) for 1‑2 minutes. Water‑based inks cure at a slightly lower temperature, around 320 °F, but require a longer dwell time.
For home printers, a heat press is the most reliable tool. Set the press a few degrees above the ink’s cure temperature, place a Teflon sheet over the print, and press for 20‑30 seconds. If you don’t have a press, a high‑wattage heat gun can work for small areas, but keep the gun moving to avoid scorching.
After curing, let the shirt cool before handling. Test the cure by stretching the print; if it feels firm and doesn’t crack, you’re good to go.
Proper care extends the life of your shirts. Wash inside out in cold water (30 °C or lower) and avoid high‑heat drying. Air‑dry whenever possible. If you must tumble dry, use the lowest heat setting and remove the shirt promptly.
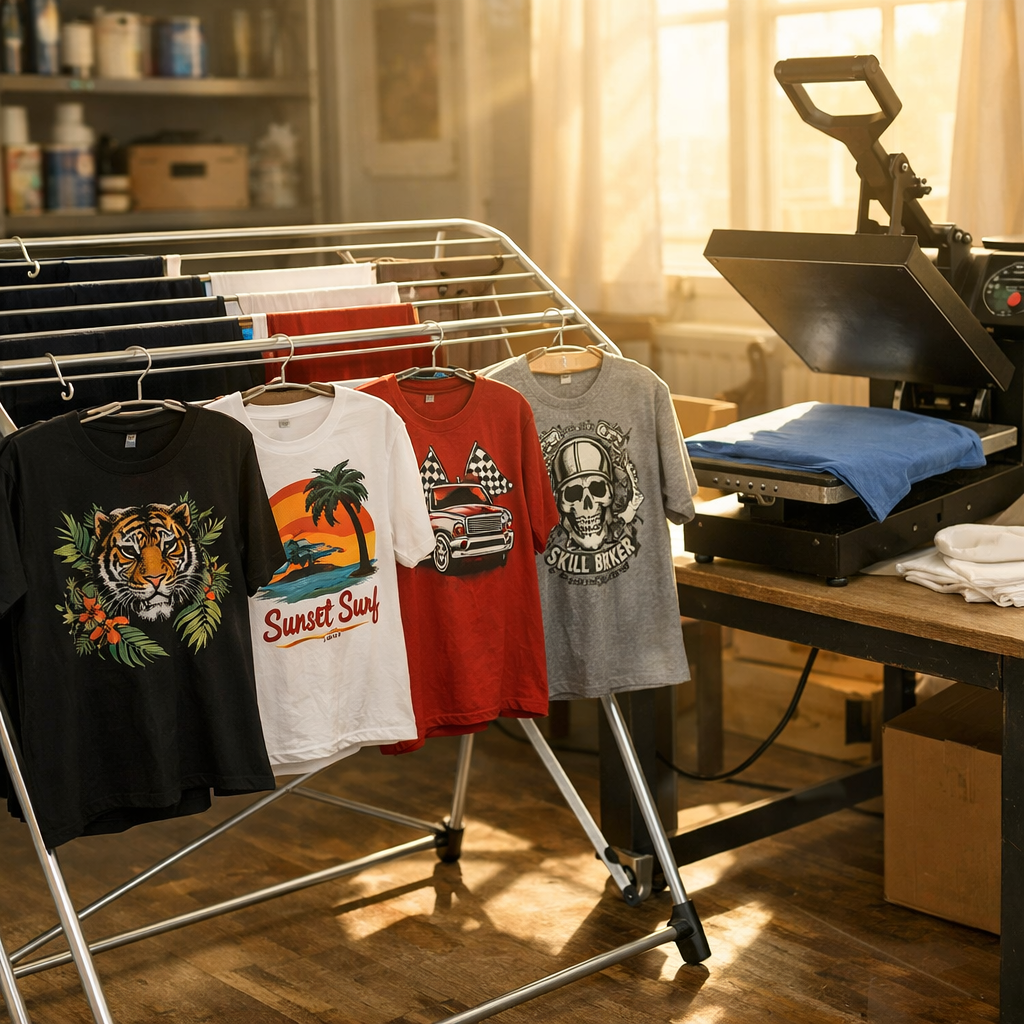
Following these steps keeps colours vivid and prevents the print from peeling after a few washes. Many hobbyists store their finished shirts flat to avoid creasing the design.
Bottom line:Accurate curing temperature and careful washing preserve print quality.
FAQ
What equipment do I really need to start learning basic screen printing on t‑shirts online?
You need a wooden frame, 110‑mesh screen, squeegee, photo‑sensitive emulsion, plastisol or water‑based ink, a dark drying space, and a washout tub. A heat press or a reliable heat gun completes the setup. Many beginners start with a starter kit that bundles these items for under $50, but you can also buy each piece separately to fit a tighter budget.
How do I choose between plastisol and water‑based inks for my first shirt?
Plastisol stays opaque on dark fabrics and cures at higher temperatures, making it forgiving for beginners. Water‑based inks are softer and eco‑friendly but need a precise heat press to cure fully. For a first run, plastisol is easier because you can use a heat gun or a modest press to hit the required temperature.
Can I use a home printer to create the design film for my screen?
Yes. A laser printer produces a dense black image on clear acetate, which works well for exposure. Make sure the print is completely black; any gray will let light through and blur the stencil. If you need higher detail, consider a professional print shop that offers high‑resolution transparency printing.
How long should I expose my screen with the emulsion?
Exposure time depends on the light source and emulsion type. A common starting point is 6‑8 minutes with a 125 W metal‑halide bulb, or 2‑3 minutes with an LED unit. Run a step‑wedge test , expose four sections for different times and see which one gives the cleanest edge. Adjust your exposure based on that result.
What are the best practices for cleaning and reclaiming my screen after a print run?
Immediately rinse the screen with warm water to remove excess ink. Use a mild detergent and a soft brush to scrub the mesh. For stubborn residue, a specialized emulsion remover works well. Let the screen dry fully before applying a fresh coat of emulsion for the next job.
How can I tell if my ink has cured properly before washing the shirt?
Perform a wash test: after curing, let the shirt cool, then rub a damp cloth over the printed area. If the ink smears, it needs more heat. Another method is to stretch a corner of the print; a fully cured print will feel firm and will not crack.
Is there a cheap way to get a free trial for online screen‑printing courses?
CreativiU offers a free trial plus a $1 starter price that unlocks all beginner modules, including step‑by‑step video lessons, design templates, and community support. This low entry cost makes it the most affordable option compared with subscription‑heavy rivals.
Conclusion
Learning basic screen printing on t‑shirts online is totally doable with the right plan. You start by gathering safe, affordable supplies and setting up a tidy workspace. Then you create a crisp digital design, coat and expose a screen, and run your first print with steady pressure. Finally, you cure the ink correctly and care for the shirt so the colors stay bright. CreativiU’s low‑cost, community‑driven courses give you a clear path from zero to finished shirt without breaking the bank. Grab the starter kit, follow each step, and you’ll be printing custom tees in no time.
Leave a Reply