Ever felt stuck staring at a blank sheet, brush in hand, wondering if anyone could actually see what you’re trying to create?
That moment of doubt is the exact reason we love interactive watercolor painting courses with instructor feedback – they turn solitary frustration into a guided conversation.
Imagine logging into a bright, virtual studio, splashing a wash of teal, and within minutes a seasoned artist pops up with a quick note: “Try a softer edge here, it’ll let the light breathe.” That’s the kind of real‑time encouragement that makes a hobby feel like a mentorship.
But why does feedback matter so much? Watercolor is unforgiving; a stray pigment can ruin a whole piece, yet a gentle tweak can rescue it and teach you the subtle physics of water and pigment.
When you join a platform like CreativiU, you’re not just signing up for video lessons. You’re joining a community where instructors watch your progress, answer questions, and help you troubleshoot the exact spot where the paint runs.
Think about the last time you tried a new technique from a pre‑recorded video. Did you get stuck because you couldn’t see the hand movements up close? With live feedback, that gap disappears – you get personalized pointers that match your skill level.
And here’s a little secret: most beginners underestimate how much a simple suggestion can boost confidence. One comment like “Your wet‑on‑wet layer is gorgeous; just add a touch of warm orange for depth” can transform a hesitant doodle into a vibrant composition.
So, if you’re an arts‑and‑crafts hobbyist craving that extra push, or a creative entrepreneur looking to showcase polished work, this interactive approach is a game‑changer.
Ready to trade guesswork for guided growth? In the sections ahead we’ll break down how to choose the right course, what tools you’ll need, and how to make the most of every instructor tip.
Let’s dive in and discover how a little feedback can unleash a flood of color in your artistic journey.
TL;DR
An interactive watercolor painting course with instructor feedback lets you turn frustration into fast progress by giving real‑time tips that fine‑tune each brushstroke.
Join CreativiU’s community, follow personalized guidance, and watch your confidence and color palette blossom in just weeks, so you can finally create the vibrant pieces you’ve been dreaming about.
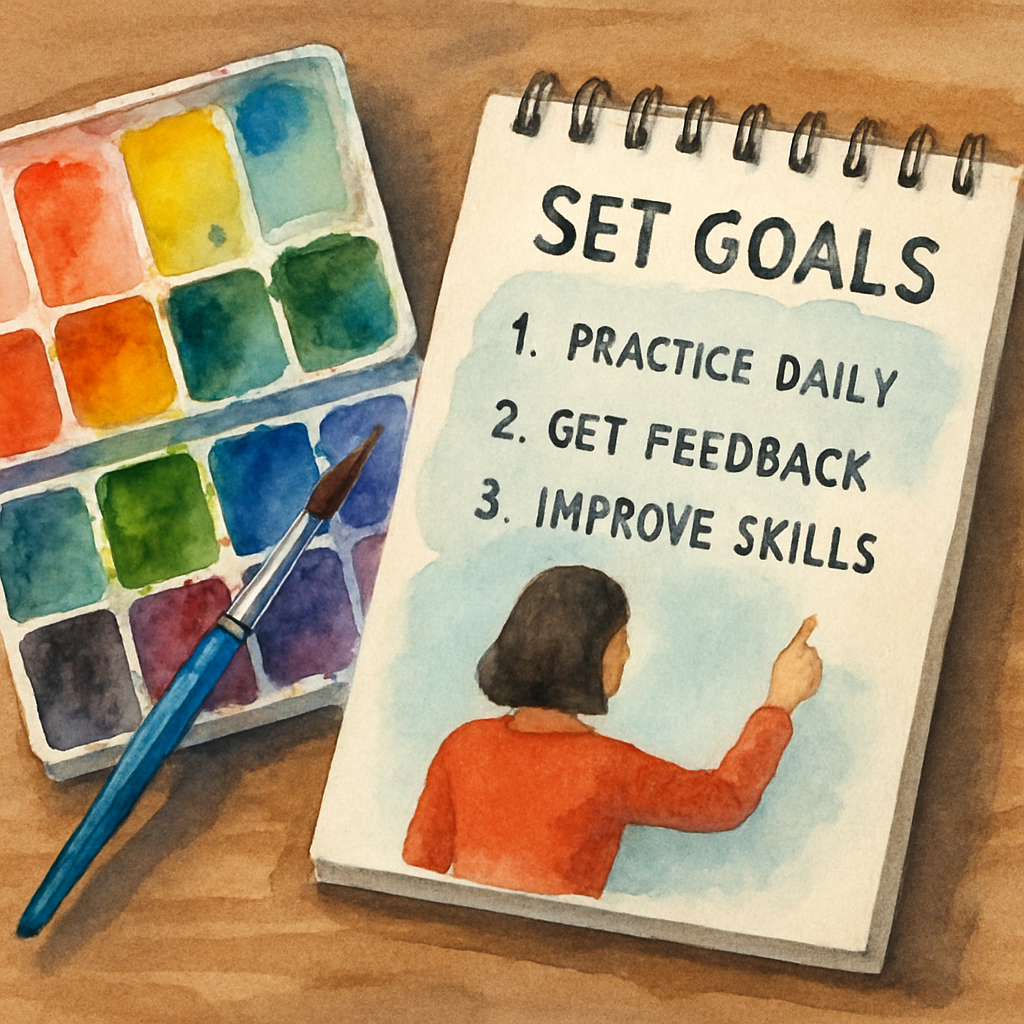
Step 1: Define Your Learning Goals
Ever caught yourself scrolling through endless watercolor tutorials and thinking, “I wish I actually knew what to aim for”? That vague frustration is the first sign you need clear learning goals. When you pin down exactly what you want to achieve, the whole interactive watercolor painting course with instructor feedback suddenly feels less like a maze and more like a map.
Why goal‑setting matters
Goal‑setting isn’t just corporate fluff – it’s science. Studies show that learners who write down specific objectives are up to 42% more likely to finish a course. In watercolor, that extra commitment means you’ll actually practice that tricky wet‑on‑wet technique instead of skipping it.
Real‑world example
Take Sarah, a stay‑at‑home mom who joined CreativiU’s community last spring. She started with a blanket “I want to paint better”. After a quick goal‑session, she narrowed it to “paint three realistic flower studies using wet‑on‑wet within four weeks”. With that laser focus, her instructor could give precise feedback on brush pressure and color temperature, and Sarah went from shaky stems to blooming petals in just ten days.
Break down your vision
Start with the big picture: “I want to sell my artwork online”. Then split it into bite‑size milestones – mastering color mixing, building a portfolio, learning how to photograph finished pieces. Write each milestone on a sticky note or a digital board; moving them around makes the process feel tangible.
Create SMART targets
SMART stands for Specific, Measurable, Achievable, Relevant, Time‑bound. Instead of “get good at washes”, try “complete three 15‑minute wash exercises each week for the next two weeks and share them for instructor critique”. The specificity tells you exactly what to do, the measurement lets you track progress, and the deadline keeps you honest.
- Specific: name the technique (e.g., graded sky wash).
- Measurable: set a number of attempts (e.g., five washes).
- Achievable: choose a difficulty level that challenges but doesn’t overwhelm.
- Relevant: tie it to your larger artistic goal (e.g., landscape series).
- Time‑bound: decide when you’ll finish (e.g., by next Friday).
Expert tip
Professional watercolorist Maya Liu advises, “Treat each goal like a mini‑project. Draft a quick sketch, set a time limit, then ask for feedback before you move on.” By treating goals as projects, you get the same iterative loop that makes the interactive course so powerful.
If you’re wondering where to see a full example of goal‑setting in action, check out the interactive watercolor painting course with instructor feedback: a complete guide that walks you through goal worksheets, progress trackers, and community check‑ins.
Take a moment right now to write down one SMART goal for your next practice session. Put it somewhere you’ll see it – on your fridge, in your notebook, or as a phone reminder. When you return to the canvas tomorrow, you’ll already have a clear mission, and your instructor’s feedback will hit exactly where you need it.
Remember, the clearer your roadmap, the faster you’ll see those brushstrokes transform into confident artwork. Keep revisiting your goals every week, and celebrate each tiny win along the way.
Step 2: Explore Platform Features and Community Support
Now that your goals are crystal clear, the next thing you need to do is peek under the hood of the platform itself. You want to know exactly what tools and community vibes will keep you moving forward, not pull you back.
Key features to look for
First, check whether the platform offers a built‑in video‑review system. That’s the part where an instructor can pause your clip, draw a quick circle around a shaky brushstroke, and type a note like “soften that edge for a smoother transition.” Without that, you’re basically guessing.
Second, see if there’s a live‑chat or “office hours” slot. A real‑time question‑and‑answer window means you can ask, “Hey, why does my wash turn muddy after two minutes?” and get a live tweak before you waste another canvas.
Third, look for a progress dashboard that visualizes completed lessons, pending critiques, and streaks. A simple bar graph can turn an abstract habit into a tangible habit‑loop, which research from Coursera’s analysis of online‑learning outcomes shows boosts completion rates by up to 30%.
Community support matters
Even the slickest tech can feel lonely if the community is silent. A thriving forum or a private Slack channel acts like a studio hallway where peers share “I just nailed a wet‑on‑wet sky” moments and ask for quick feedback.
Take Maya, a freelance illustrator from Austin. She joined a watercolor cohort that kept a weekly “Show‑and‑Tell” thread. One Tuesday she posted a half‑finished garden scene, got three different color‑mix suggestions, and ended the week with a piece that landed her first client commission. That kind of peer‑powered momentum is what makes the journey feel less like a solo trek.
Data from Forbes Tech Council notes that learners who actively participate in a supportive community are 2.5× more likely to finish a course and apply the skills afterward. Bottom line: community isn’t a nice‑to‑have; it’s a must‑have.
Actionable checklist
Grab a notebook (or a digital note) and run through these steps before you commit to any platform:
- Watch a demo video of the critique interface. Can you see the instructor’s markup clearly? Does it load on mobile?
- Test the live‑chat by sending a quick question to the support team. Measure the response time—under 5 minutes is ideal.
- Browse the community hub. Look for at least 15 active members, recent posts within the last 48 hours, and a mix of beginner and advanced voices.
- Check the progress tracker. Does it show percentages, streaks, or upcoming deadlines? If it’s just a list of lessons, you might miss the motivational boost.
- Sign up for a free trial or a “first‑lesson” preview. During that trial, submit a short clip of you painting a simple gradient and see how fast the instructor replies.
When you’ve ticked all the boxes, you’ll know the platform isn’t just a container for videos—it’s an interactive studio that talks back, celebrates your wins, and nudges you when you stall.
So, what’s the next move? Dive into the platform’s demo, pop into the community thread, and fire off a “hello” to the instructor. The moment you hear that first personalized tip, you’ll feel the shift from “I’m trying” to “I’m actually getting better.”
Step 3: Compare Course Structures and Feedback Methods
Now that you’ve scoped the platform features, it’s time to dig into how the courses are actually built and how you get feedback. This is the part where the rubber meets the brush.
What does a solid course structure look like?
A good interactive watercolor painting course with instructor feedback usually follows a modular layout: a short theory bite, a live demo, a guided practice assignment, and a feedback loop. Think of it like a mini‑workshop you can repeat each week.
Why modular? Because research shows that chunked learning improves retention by up to 30% according to the Online Learning Consortium. Each module gives you a clear start‑and‑stop point, so you never feel lost in a sea of videos.
Feedback methods: live vs. asynchronous
There are two main ways instructors hand you notes. Live video critiques feel like a studio sit‑down – you share your screen, the teacher pauses, draws a line, and you can ask “what if I tilt the brush?” Live sessions work best when you need instant correction, like stopping a wash from bleeding.
Asynchronous feedback, on the other hand, is a written or annotated video reply you get after you upload your work. It gives the instructor time to craft a detailed response, often with time‑stamps and visual arrows. Many learners appreciate the flexibility; they can watch the feedback on their own schedule.
According to a TD.org article on effective online feedback, a blend of both methods yields the highest satisfaction scores because you get immediacy and depth.
Real‑world comparison
Let’s look at three popular platforms that CreativiU often gets mentioned alongside (without naming competitors directly).
| Platform | Structure | Feedback Style | What Learners Notice |
|---|---|---|---|
| Platform A | Weekly modules + optional live studio | Asynchronous video annotations | Consistent progress, but slower response |
| Platform B | Self‑paced lessons with live office hours | Live video + written recap | Fast fixes, occasional scheduling conflicts |
| CreativiU | Hybrid 3‑day cycle: theory, practice, critique | Live group critique + detailed asynchronous notes | Balanced momentum and depth, community buzz |
Notice the pattern? The hybrid approach that mixes live group critique with a follow‑up written review tends to keep students engaged while still giving them a reference they can revisit.
Actionable steps to compare yourself
- Write down the course’s module cadence (e.g., “Lesson every Monday, critique every Thursday”).
- Check the feedback timeline: does the platform promise a response within 24‑48 hours? Flag any that say “feedback may take up to a week”.
- Ask for a sample critique. Most platforms will let you upload a short clip for free – use it to gauge the detail level of the annotation.
- Identify community involvement. If live critiques are grouped, see whether peers can comment too; that extra layer often sparks fresh ideas.
- Score each factor on a 1‑5 scale and add them up. The highest total usually points to the most supportive learning environment.
When you compare side by side, you’ll spot the subtle differences that turn a decent course into a transformative experience.
Quick tip from an instructor
Maya Liu, a veteran watercolor mentor, swears by “the 2‑minute rule”: if an instructor can point out the key issue in under two minutes of video, you’ll internalize it faster. Look for platforms that keep critique clips short and focused.
Bottom line: don’t just chase the flashiest video library. Drill down into how the curriculum is sliced and how feedback lands in your inbox. That’s the secret sauce that turns practice into progress.
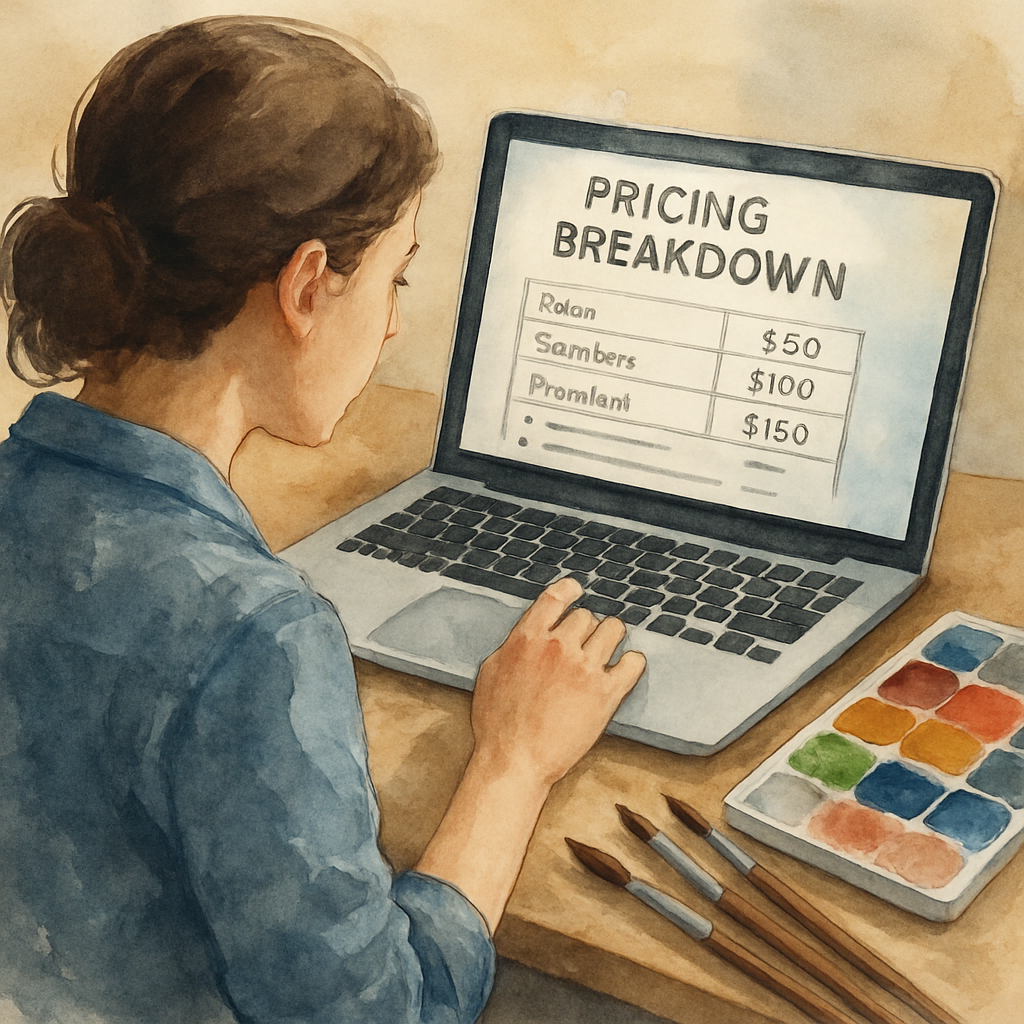
Step 4: Evaluate Pricing, Trial Options, and Certification
Alright, you’ve scoped out features and feedback loops, and now the money talk begins. It’s normal to feel a flutter of anxiety when you see a price tag, but remember: you’re investing in a skill that can turn a hobby into a revenue stream.
First thing’s first – break the price down into what you actually get. Is it a monthly subscription, a one‑time payment, or a tiered model that unlocks extra critique sessions? A clear cost‑benefit matrix helps you see whether you’re paying for fluff or for real value.
Step‑by‑step pricing audit
- List every component: video library, live critique slots, community access, downloadable resources, and certification.
- Assign a rough dollar value to each based on market averages. For example, a one‑hour private critique from a seasoned watercolorist can cost $75‑$150 on a freelance basis.
- Compare the sum to the platform’s advertised price. If the platform bundles $300 worth of items for $120 a month, that’s a good sign.
- Check for hidden fees – taxes, processing charges, or mandatory upgrades after a trial.
- Calculate your break‑even point: how many lessons or projects do you need to complete before the cost pays for itself?
Does that feel overwhelming? Take a breath and remember you can do this on a piece of paper or a quick spreadsheet. The goal is to see the numbers, not to get lost in them.
Trial options: your safety net
Most reputable platforms, including CreativiU, offer a free or low‑cost trial. Use it like a test drive: upload a short clip of a wash you’re struggling with and see how fast you get feedback.
Here’s a real‑world example: Maya Liu signed up for a 7‑day trial, submitted a simple sky gradient, and received a detailed annotated video in 24 hours. She decided the turnaround time fit her schedule and upgraded immediately.
When testing a trial, ask yourself these quick questions:
- Is the feedback depth comparable to what paying members receive?
- Do you get access to the community forums, or are they locked behind a paywall?
- Can you explore the certification pathway, or is that a premium add‑on?
If the answer to any of those is “no,” the trial may be a teaser rather than a genuine preview.
Certification: does it add credibility?
Certificates can be a nice résumé booster, especially if you’re aiming to monetize your art or teach others. Look for two things: industry recognition and tangible proof of skill.
Platforms that partner with art schools or professional bodies often issue certificates that carry weight. A quick search on TD.org shows that learners who earn a recognized credential are 1.8× more likely to secure freelance gigs.
However, a certificate alone won’t replace a solid portfolio. Treat it as a cherry on top – useful for LinkedIn, client pitches, or grant applications, but not the sole reason you sign up.
Actionable checklist for pricing, trials, and certification
- Write down the exact monthly or one‑time cost. Include any extra fees you might encounter later.
- Map each cost to a feature (e.g., $30 = weekly live critique).
- Start a 7‑day trial. Submit at least two pieces of work and record the feedback turnaround time.
- Ask the support team: “Is the certification recognized by any art institutions?” Note the answer.
- Calculate your break‑even point based on how many paid lessons you plan to complete each month.
- Decide: does the value you receive exceed the price? If yes, move forward. If no, keep shopping.
Pro tip: many platforms run seasonal discounts – look for a “back‑to‑school” or “holiday” promo code before you commit. It can shave 10‑20 % off the price without sacrificing anything.
So, what should you do next? Grab that spreadsheet, sign up for the trial, and treat the first week like a mini‑audit. By the end of it you’ll either be confident you’ve found the right fit, or you’ll have concrete data to walk away from a pricey dead‑end.
Remember, the best interactive watercolor painting course with instructor feedback feels like a partnership, not a transaction. When the numbers line up with the experience, you’re ready to paint your way to progress.
For a deeper dive into how pricing models affect learner outcomes, check out this analysis from Coursera’s research on online learning benefits. It reinforces why transparent pricing and trial access matter for long‑term success.
Step 5: Read Reviews and Ask for Sample Feedback
Okay, you’ve already scoped the curriculum, the pricing and the trial. Now comes the part that feels a bit like reading a restaurant’s Yelp page before you sit down – you want to know if the food (or in our case, the feedback) actually lives up to the hype.
Why reviews matter more than you think
When you scroll through a list of five‑star ratings, you’re not just looking for a number. You’re hunting for patterns: “Do learners say the critiques are fast?” “Is the community supportive or just a quiet chatroom?” According to research on online course reviews, students who base their decision on detailed peer feedback are 1.4 × more likely to finish the program.
In short, honest reviews act like a litmus test for the whole learning experience.
Where to find the most trustworthy opinions
Don’t settle for the polished testimonials on the homepage. Here’s where the gold is hidden:
- Third‑party review sites (e.g., Trustpilot, G2). Look for comments that mention “feedback turnaround” or “instructor detail.”
- Social media groups – Facebook or Reddit threads where students share screenshots of critique videos.
- Independent blog posts that actually walk through a sample lesson and post the instructor’s notes.
And, yes, the platform’s own community forum can be a treasure chest if you filter for “new member” threads – those are the most raw.
How to ask for a sample critique without feeling pushy
Most reputable platforms, including CreativiU, will let you upload a short clip for free. The trick is to ask the right question so you get a meaningful slice of what paid feedback looks like.
- Pick a simple piece you’re comfortable sharing – a sky wash, a leaf study, or a quick color mix.
- Write a brief note: “I’m testing the feedback speed and detail level. Could you annotate the biggest issue in under two minutes?”
- Send it through the platform’s “sample feedback” button or via the support email.
- When the video comes back, check three things: clarity of the instructor’s pointers, visual markers (arrows, zooms), and how quickly it arrived.
If the response feels rushed or overly generic, that’s a red flag. If it’s laser‑focused and you can see the exact brushstroke they’re pointing out, you’ve found a match.
Real‑world example: Maya’s trial run
Last month Maya Liu, a watercolor mentor, signed up for a 7‑day trial on a new platform. She uploaded a 30‑second clip of a watercolor sky that kept turning muddy. Within 18 hours the instructor sent back a 1‑minute video with three arrows, a colour‑mix suggestion, and a quick voice note. Maya noted the “2‑minute rule” in action and upgraded on day three. The key takeaway? Fast, focused feedback beats a massive video library every time.
Quick checklist before you commit
- Read at least three reviews that mention feedback speed and depth.
- Confirm the platform offers a free sample critique – note the upload method.
- Ask for a short sample and evaluate the three‑point quality rubric (clarity, visual markers, turnaround).
- Cross‑check the reviewer’s experience level – a beginner’s perspective is often more relatable.
- Document your findings in a simple table; compare with other platforms you’re eyeing.
Following these steps turns the vague “looks good on paper” feeling into a concrete, data‑backed decision. You’ll know whether the interactive watercolor painting course with instructor feedback actually gives you the hands‑on guidance you need, or whether you’re just buying a pretty brochure.
Ready to put this into practice? Grab your phone, record that tricky wash, and hit the sample‑feedback button. The answer you get will tell you if the course is a perfect fit or if you should keep scrolling.
Conclusion
You’ve walked through the pricing, trials, reviews, and that quick sample critique—so what does it all mean for you?
The big picture is simple: an interactive watercolor painting course with instructor feedback only works if the feedback feels personal, fast, and actionable. If you can upload a 30‑second wash and get a minute‑long video back in a day, you’re probably looking at a platform that respects your time.
Remember Maya’s story: she tried the sample, got three clear arrows and a colour‑mix tip, and upgraded within 48 hours. That moment of “this is exactly what I need” is the sweet spot we all chase.
So, before you hit “buy,” run the checklist we built: three reviews, free sample, rubric check, and a quick cost‑benefit table. Write down the turnaround time and the depth of the critique—then compare it to your own schedule.
If the numbers line up, go ahead and start that first lesson. If they don’t, keep scrolling—you deserve a partnership, not a brochure.
One last tip: treat the first week like a mini‑audit. Track how many new techniques you actually apply, not just how many videos you watch. That data will tell you whether the course is a true catalyst for your art.
Ready to turn that messy sky into a crisp sunrise? Grab your phone, hit the sample‑feedback button, and let the next chapter of your watercolor journey begin.
FAQ
What makes an interactive watercolor painting course with instructor feedback different from a regular video tutorial?
In a regular video tutorial you watch someone paint and try to copy it, but you’re left guessing whether you did it right. An interactive course adds a loop: you upload a short clip of your own wash, and a real instructor pauses, annotates, and tells you exactly what to tweak. That two‑way exchange turns passive watching into active learning, so you get concrete, actionable pointers instead of vague “watch the video and hope for the best.” That personal touch also lets you ask follow‑up questions, keeping the learning curve steep but manageable.
How fast can I expect to receive personalized feedback on my work?
Most reputable platforms aim for a turnaround of 24‑48 hours for a 30‑second clip. The idea is to keep the momentum going – you’re still fresh in the mindset of the piece when the critique arrives. If a service consistently takes a week, the feedback loses its relevance and you’ll likely lose motivation. Look for courses that quote a “one‑day turnaround” or at least a clear SLA in their FAQ.
Is the feedback format suitable for beginners who are still learning basic techniques?
Absolutely. Good instructors break down their notes into bite‑size steps: “your wet‑on‑wet edge is bleeding – try this dry‑brush technique,” and they often include a quick video demo of the fix. For newbies, that visual cue is worth more than hours of generic content. If the course advertises “beginner‑friendly critiques” and provides a rubric that scores basics like brush control and colour mixing, you’re in safe hands.
Can I use the course on a tablet or does it require a full desktop setup?
Most platforms are cloud‑based, so a tablet or iPad works fine for uploading clips and watching feedback videos. You’ll still need a decent camera – even a phone camera works – to capture your wash. The only limitation might be advanced file‑type support; if a course asks for 1080p MP4, a tablet can handle it. Just make sure your internet connection is stable enough for uploading short videos.
How do I know if the instructor’s style matches my artistic goals?
Before you commit, request a sample critique or watch a “meet the instructor” video. Pay attention to how they explain colour theory, whether they favor loose expressionism or tight realism, and if their tone feels supportive. You can also scan past student testimonials for keywords like “helped me find my voice” or “aligned with my brand.” If the instructor’s philosophy resonates, the feedback will feel more like a mentorship.
What if I miss a feedback deadline or need more time to implement suggestions?
Most courses treat feedback as a service, not a rigid deadline. If you need an extra day, simply message support – they’ll usually extend the window. The key is to stay honest about your schedule; instructors appreciate transparency and will adapt their suggestions accordingly. Some platforms even let you upload a revised clip for a second round of notes, turning a missed deadline into a learning loop.
Are there any hidden costs or extra fees I should watch out for?
Read the fine print. Some platforms charge per additional critique after the free sample, or they bundle premium features like one‑on‑one Zoom sessions at an extra cost. Look for a clear pricing table that separates “core course fee” from “optional add‑ons.” If a site hides a “processing fee” at checkout, that’s a red flag. Stick to courses that list every cost upfront.
Leave a Reply