Ever stood in front of a blank canvas and felt that mix of excitement and total blank‑page panic?
You’re not alone. Most of us have that moment where the brush feels like a foreign object and the colors look more like a mystery than a palette.
What if I told you that turning that nervous energy into a satisfying splash of color can be as simple as following a clear, step‑by‑step roadmap?
That’s exactly what “acrylic painting for beginners step by step” promises—a friendly guide that takes the guesswork out of your first strokes.
Imagine you’re sitting at your kitchen table, a cup of coffee steaming beside you, and a fresh set of acrylics waiting. You dip the brush, watch the pigment glide, and suddenly the canvas isn’t a void; it’s a playground.
In the next few minutes we’ll walk through the basics: the essential supplies you really need (no fancy brushes you’ll never use), how to set up a workspace that keeps the mess manageable, and the first three simple techniques that turn a blank surface into a confident first piece.
Why does this matter? Because the right start saves you weeks of frustration and a mountain of wasted paint. Most beginners either skip the prep phase or dive straight into complex recipes, only to end up with a sticky mess and a dwindling enthusiasm.
So, what should you expect? First, a quick inventory checklist that you can print and stick on your fridge. Then, a short video‑style mental demo that walks you through each motion, just like a friend showing you a trick over a kitchen counter. Finally, a tiny “home‑stretch” project that takes under an hour but feels like a real accomplishment.
And don’t worry if you’ve never painted before – the steps are designed for absolute newbies. We’ll use everyday language, avoid art‑school jargon, and sprinkle in a few anecdotes that make the process feel like a casual chat rather than a lecture.
Ready to turn that nervous energy into a splash of confidence? Let’s dive in and start your first acrylic adventure together.
TL;DR
In just a few minutes, you’ll get a printable supplies checklist, three starter brush techniques, and a quick one‑hour project that turns nervous blank‑canvas fear into confident color.
Follow our easy step‑by‑step guide, watch the mental demo, and start creating acrylic art right today without mess, waste, or overwhelm now.
Step 1: Gather Your Materials
Alright, before you even dip a brush, you need to gather the right stuff – think of it like packing a lunch for a road trip. Without the basics, your first acrylic adventure can feel like trying to bake a cake with no flour.
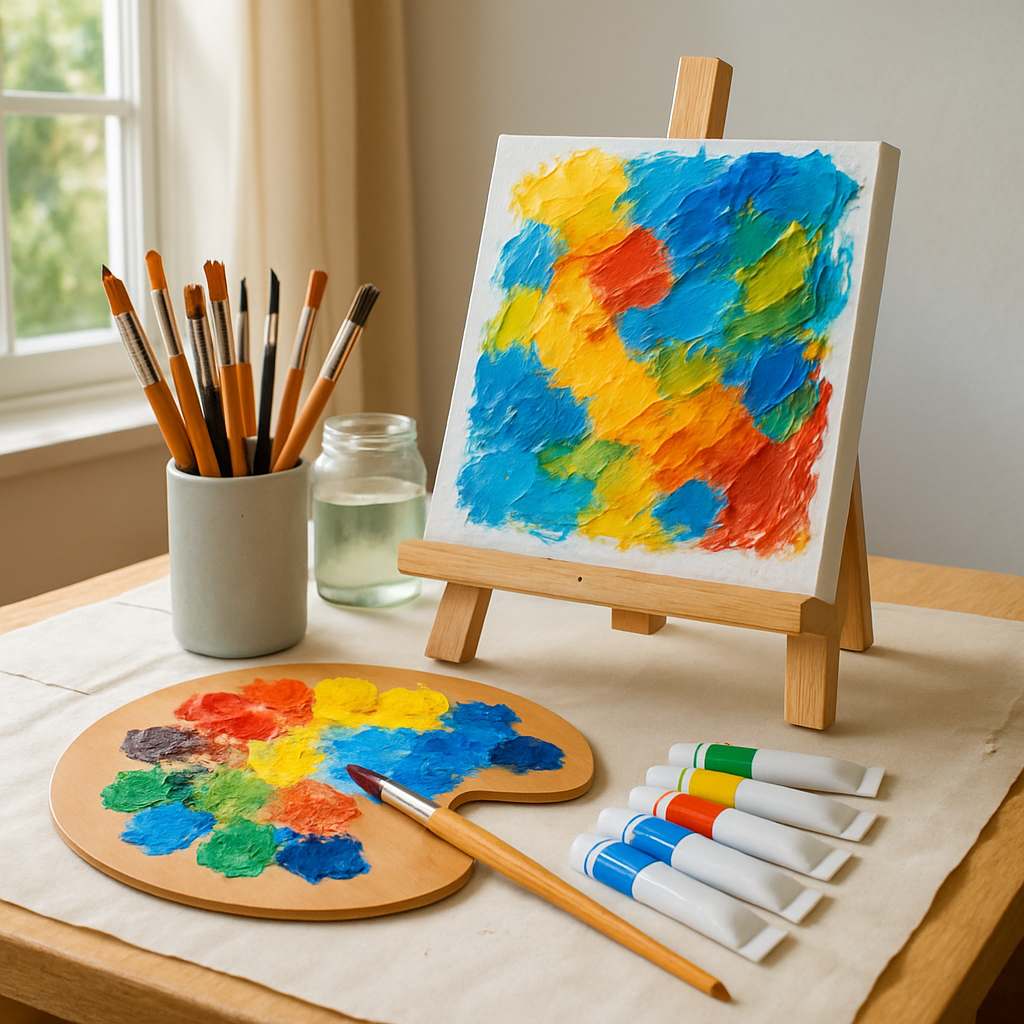
Here’s a quick inventory you can print and tape to your fridge. Grab a set of synthetic brushes (a flat ½‑inch, a round ¼‑inch, and a liner tip), a palette or disposable plate, a jar of water, some paper towels, and a sturdy canvas or acrylic paper.
Don’t be fooled by expensive “artist” brushes at the craft store; a decent synthetic set works just fine and won’t bleed pigments. If you’re on a budget, even a cheap set from the discount aisle will do – the key is that the bristles hold their shape when wet.
Next up, the paint itself. A basic starter set of primary colors – red, blue, yellow – plus white and black lets you mix virtually any hue. Many beginners start with 12‑tube sets because the extra colors give you room to experiment without overwhelming you.
You’ll also want a palette knife for mixing, a small container for cleaning brushes, and a protective surface like a plastic sheet or old newspaper. Trust me, a splatter‑proof tablecloth saves a lot of grief later.
Now, let’s talk about workspace. Pick a well‑ventilated area with good natural light, or set up a lamp with a soft white bulb. Lay down your plastic sheet, set your canvas upright on an easel or a sturdy clipboard, and keep your water jar within arm’s reach.
A tiny but often missed item is a “stay‑wet” palette – a shallow tray with a lid that keeps your paints from drying out between strokes. If you don’t have one, a zip‑top bag works in a pinch; just squeeze a little air out and you’ve got a makeshift seal.
Before you start, give yourself a five‑minute “setup ritual”: arrange all your tools, wipe the edge of your palette clean, and splash a little water on the brush to prime it. This pause not only prevents chaos but also signals your brain that it’s time to create.
If you’re wondering where to learn the finer details of each material, check out our guide on how to get started with online acrylic painting classes for beginners. It walks you through choosing brushes, paints, and even the best surfaces for your first project.
Once everything’s laid out, do a quick “test swatch” on a scrap piece of paper. Mix a tiny amount of each color, try a few brush strokes, and see how the paint behaves. If it’s too thick, add a drop of water; if it’s too runny, toss in a dab of acrylic medium.
Finally, keep a simple checklist handy: brushes, palette, water, towels, canvas, paints, protective sheet, and a happy mindset. Crossing off each item gives you a small win before you even pick up the brush, and that confidence fuels the rest of your painting journey.
Step 2: Prepare Your Workspace
Alright, you’ve got your supplies ready – now it’s time to give your painting area a little love. A tidy, comfy space does more than keep the mess down; it tricks your brain into thinking, “Hey, this is a real studio,” and you’re suddenly more focused.
First thing’s first: pick a spot with good natural light. Sunlight washes out the colors in a way that harsh bulbs can’t, and it helps you see if your whites are truly white or just a bit gray. If a window isn’t an option, grab a daylight LED lamp and position it at a 45‑degree angle to avoid glare.
Next, protect the floor and tabletop. A cheap canvas drop cloth or a sheet of old newspaper does the trick, but I prefer a reusable silicone mat – it’s easy to wipe clean and won’t slip.
Now, let’s talk ergonomics. Set your canvas or panel at eye level; you’ll thank yourself when you don’t have to hunch over for half an hour. A simple adjustable easel or even a stack of sturdy books can raise the surface just enough.
How do you keep brushes, water, and palettes within arm’s reach without turning your table into a chaotic junk drawer? Think “zones.” One corner for brushes (largest to smallest), another for your water jar and rag, and a third for the palette. A small cup can hold extra water so you don’t have to keep refilling.
Do you ever worry about paint spilling onto your favorite shirt? Slip a plastic or silicone tray under the palette – it catches drips and makes cleanup a breeze.
Ventilation matters, too. Even low‑odor acrylics release a faint scent, especially when you’re mixing mediums. Crack a window or run a fan for a few minutes before you start.
Here’s a quick visual walkthrough that shows how I set up my own corner studio. Take a look and see if any of these ideas click for you:
Feeling inspired? Grab a piece of paper and sketch a rough layout of your space. It only takes a minute, and it saves you from rearranging furniture later.
Workspace Checklist (quick reference)
| Item | Why it matters | Quick tip |
|---|---|---|
| Lighting | Shows true colors, reduces eye strain | Use daylight LED or position near a window |
| Surface protection | Prevents permanent stains | Lay down a silicone mat or drop cloth |
| Ergonomic height | Keeps you comfortable for longer sessions | Raise canvas to eye level with an easel or books |
| Zone organization | Speeds up workflow, cuts down on “where’s my brush?” moments | Designate spots for brushes, water, palette |
| Ventilation | Reduces lingering paint odor | Open a window or run a small fan |
So, what’s the next move? Take the checklist, set up your space, snap a photo, and treat that photo like a mini‑contract with yourself. Every time you see it, you’ll remember the calm, organized vibe that’s perfect for acrylic painting for beginners step by step.
And remember, a clean workspace isn’t just about aesthetics – it’s a mental cue that says, “I’m ready to create.” When that cue is in place, the first brushstroke feels less like a gamble and more like a natural next step.
Step 3: Sketch Your Design
Remember that moment when you stared at a blank canvas and thought, “Where do I even start?” That tiny pause is exactly why a quick sketch is a game‑changer. It turns the unknown into something you can actually see, and suddenly the first brushstroke feels less like a guess and more like a natural continuation.
Why a sketch matters
Sketching gives you a roadmap without locking you into rigid lines. You can erase, shift, or even scrap a whole section before any paint touches the surface. Beginners who skip this step often end up reworking large areas, which wastes time and dries out the paint.
Think about the last time you tried to draw a simple house freehand. Without a light pencil outline, you probably spent extra minutes aligning windows and roof angles. A light sketch saves that mental energy for color mixing and texture later.
Real‑world example: a coffee‑shop scene
Imagine you want to capture the cozy vibe of your favorite coffee shop. Start by drawing a rough rectangle for the table, a few circles for mugs, and a quick line for the window. You don’t need perfect perspective – just enough to place the main elements. When you later add acrylics, you’ll already know where the light hits the mugs and where the shadows fall.
Another everyday scenario: painting your child’s handprint as a keepsake. Sketch the outline of the hand in the corner of the canvas, then fill it in with bold colors. The sketch guarantees the hand stays centered and proportionate, especially if you’re working with a squirmy little model.
Step‑by‑step sketch routine
1. Gather a soft graphite pencil or a light charcoal stick. Choose something that erases cleanly; you’ll thank yourself when you switch to paint.
2. Block in the biggest shapes first. Use simple geometric forms – rectangles for tables, ovals for plates, triangles for rooftops. This is your “big picture” layer.
3. Add guiding lines for perspective. A quick 1‑point perspective line can keep a street scene believable. If you’re not comfortable with perspective, just draw a faint horizon line and place objects relative to it.
4. Refine details lightly. Sketch the outlines of a coffee cup’s handle, the curl of a steam swirl, or the fingernails in a handprint. Keep the pressure light so the marks disappear under a thin wash of acrylic.
5. Step back and assess. Walk a few feet away, squint, and ask yourself if the composition feels balanced. If something feels heavy on one side, shift a shape or add a filler element like a small plant.
6. Take a photo. Snap a picture of your sketch and set it as a reference on your phone or tablet. This “photo contract” helps you stay on track when you’re mixing colors and can be a quick sanity check if you get lost.
Pro tips from seasoned instructors
Many online classes at CreativiU stress the “thumbnail” technique: draw three ultra‑small (2‑inch) sketches of the same scene, each with a different focal point. Pick the one that feels most dynamic and scale it up. This habit cuts down on wasted canvas space and keeps your composition lively.
If you’re comfortable with a grid, lightly draw a 4×4 grid on both your sketch paper and canvas. Transfer the main shapes square by square – it’s the same trick used by old masters, and it works wonders for beginners who struggle with proportion.
For those who love digital tools, a quick sketch on a tablet (using a free app) can be printed and taped onto the canvas. The ink won’t interfere with acrylic, but you get the freedom to undo and experiment before committing.
Actionable checklist
- Pick a pencil that erases easily.
- Block in major shapes in 2‑3 minutes.
- Add a horizon or perspective line if needed.
- Refine only the essential details.
- Step back, adjust, and photograph.
- Choose a thumbnail version if you’re unsure.
Once your sketch feels right, you’re ready to dip that brush and let the paint follow the lines you’ve already trusted. That confidence boost is the secret sauce behind a smooth “acrylic painting for beginners step by step” experience.
Step 4: Apply Base Layers
Alright, you’ve got your sketch on the canvas and the workspace is humming. Now it’s time to lay down the first washes of color – the base layers that set the mood and give you something to build on.
Why base layers matter
Think of a base layer like the primer on a wall: it smooths out bumps, defines the light, and lets the colors that follow pop. Without it, you’ll find yourself fighting a muddy background that drags down the whole piece.
Because acrylic dries fast, you can add another layer in minutes, but you also want to avoid “painting over wet paint” that can lift the sketch. That’s why many teachers recommend a thin, even block of color first, then let it dry just enough to become tacky.
Pick the right consistency
Most beginners start with a medium‑body paint because it flows easily but still holds brush strokes. If you’re craving texture, heavy‑body acrylics work great for impasto effects – Acrylic University explains that heavy‑body acrylics are ideal for palette‑knife work or textured layers. Fluid acrylics are perfect for washes, but they dry so quickly you might have to work fast.
Step‑by‑step: laying the base
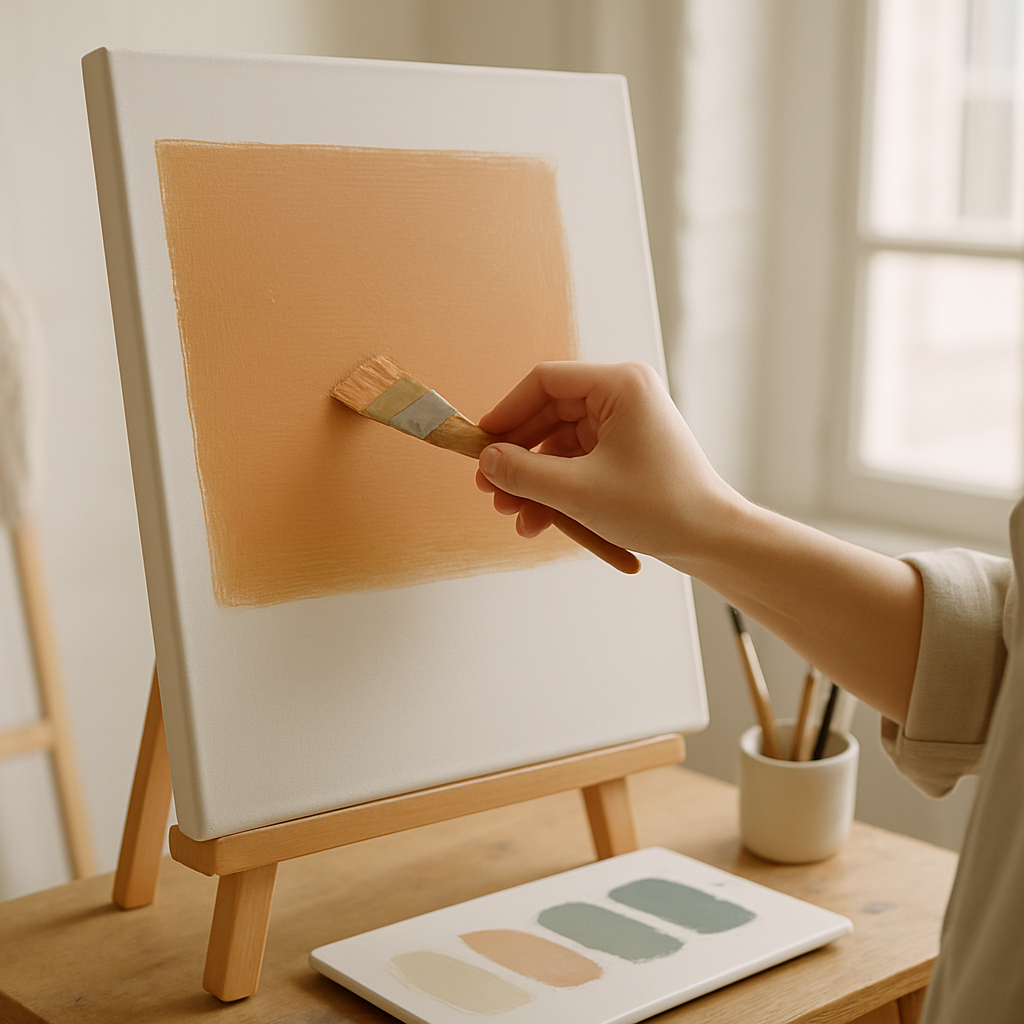
1. Mix a muted palette. Take your primary colors and add a touch of white or a complementary hue to tone them down. You want the first layer to be less saturated than the final details.
2. Load a large flat brush. A ¼‑inch flat gives you coverage without leaving harsh edges. Dip only the tip, wipe excess on a rag, and move in smooth, overlapping strokes.
3. Start with the largest shapes. Block in the sky, ground, or background objects first. Keep the brush moving – the goal is a uniform veil, not a painted‑by‑numbers look.
4. Watch the drying time. After a minute or two, the paint will turn matte and become “tacky.” That’s the sweet spot for the next layer; it will adhere without disturbing the first one.
5. Blend where needed. If you see harsh lines, lightly drag a clean damp brush across the seam while the paint is still tacky. This creates a soft gradient that feels natural.
Tips to keep it clean
– Keep a spray bottle handy and mist the canvas lightly if the paint starts to skin over before you finish a section.
– If you accidentally over‑paint a spot, use a clean damp sponge to lift the excess while the paint is still wet – acrylic is forgiving.
– Work in “zones” that match your earlier sketch grid. That way you’ll know exactly where each color belongs and you won’t drift off the composition.
Quick base‑layer checklist
- Mix a muted version of each main color.
- Use a flat brush, load lightly, and wipe excess.
- Block in the biggest shapes first, moving clockwise.
- Watch for the tacky stage before adding details.
- Blend edges with a damp brush or sponge.
When the base layers dry, you’ll see a subtle map of lights and shadows that guides the rest of your painting. That confidence boost is the secret sauce that turns “acrylic painting for beginners step by step” from a daunting task into a satisfying flow.
Now you’re ready to move on to adding the next layers of detail.
Step 5: Add Details and Highlights
Now that the base layers have settled into a quiet map of light and shadow, it’s time to start having fun—adding the little things that turn a flat wash into a scene you can almost step into.
Why details matter
Details are the visual “punctuation marks” that guide the eye. A single bright edge, a glint on a leaf, or a subtle texture can make the whole painting feel alive, and they’re also the easiest place for a beginner to see progress.
Think about the last time you looked at a photo of a sunrise. What caught your attention? Probably the crisp rim of orange light on the clouds, not the uniform blue sky. That same principle applies on canvas.
Step‑by‑step: highlight workflow
1. Choose your focal point. Scan your sketch and decide what you want viewers to notice first—a cup, a window, a face. Mark that spot lightly with a thin line of a contrasting color.
2. Gather a “detail brush” kit. A 1‑mm round brush for fine lines, a small flat for short strokes, and a dry brush for texture. Keep them clean; a stray color can ruin a tiny highlight.
3. Mix a “bright” version of each main hue. Add a touch of white or a complementary opposite (e.g., a dash of orange to a blue shadow) to create a pop‑off‑the‑canvas effect. Test the mix on a scrap piece of canvas before committing.
4. Paint highlights while the base is still slightly tacky. Lightly drag the tip of your brush over the edge of a shape, then lift. The paint will cling just enough to form a thin sheen without smudging the underlying layer.
5. Add texture with a dry‑brush technique. Dip a brush in paint, then wipe most of it on a paper towel. Sweep the brush across the surface; only the raised ridges catch the pigment, giving you a subtle grain that suggests bark, fabric, or rough stone.
6. Step back, evaluate, and repeat. Every few strokes, pause and view the canvas from a distance. Does the new highlight lead the eye where you want it? If not, tweak the value or saturation.
Real‑world examples
Imagine you’re painting a simple kitchen scene. After blocking in the muted walls, you add a glossy highlight on the metal kettle—just a sliver of bright yellow on the rim. Next, a dry‑brush of dark brown on the wooden countertop suggests grain without painting each knot.
Or try a landscape: a thin line of bright teal on the far edge of a lake catches the sunrise, while a few specks of white on distant pine needles give the impression of dew. Those specks cost you seconds but add depth that would otherwise take minutes of larger strokes.
Pro tips from seasoned instructors
– Use a “glazing” medium mixed with a tiny amount of water to extend the drying time of highlights. That way you can blend a soft edge before the paint sets.
– When painting eyes or reflective surfaces, start with the darkest shadow, then add a tiny white catch‑light at the 10‑o’clock position. It instantly makes the feature pop.
– If you’re unsure about color intensity, lay a thin wash of the highlight, let it dry, then go back in with a stronger layer. Acrylics allow you to build up color without muddying the base.
Actionable checklist for this step
- Identify one focal element and lightly mark it.
- Prep three brushes: fine round, small flat, dry brush.
- Mix bright accent colors (add white or complementary hue).
- Apply highlights on tacky base, then clean brush.
- Use dry‑brush for texture where appropriate.
- Pause, step back, and adjust until the eye flows.
When you finish, you’ll notice the painting “clicks” into place—the way a story suddenly makes sense after the right detail is added. That’s the magic of step five, and it’s also the part that makes “acrylic painting for beginners step by step” feel like a real creative breakthrough rather than a checklist.
Ready to bring those highlights to life? Grab your detail brushes, mix those bright tones, and let the canvas tell its own little secrets.
Step 6: Finishing Touches and Preservation
Now that your details and highlights are looking sharp, it’s time to think about the little things that keep a painting looking fresh for years. Those final touches aren’t just decorative – they’re the armor that protects your hard‑earned effort.
Seal the work with varnish
Most beginners skip varnish because it sounds “extra,” but a proper isolation coat is the secret sauce for longevity. I like to start with a clear gloss medium – Liquitex works great – and brush it over the entire surface. This thin layer creates a barrier between the paint and the top‑coat, so you can touch up a spot later without ruining the surrounding area. Let it dry, then repeat for a second coat; a hair dryer can speed things up if you’re in a hurry.
Once the isolation coats are solid, reach for a spray varnish. I use Winsor & Newton’s artist gloss varnish because it spreads evenly and dries in about 20 minutes. Hold the can 5‑7 inches from the canvas, spray one pass horizontally, then one vertically. Work outside or in a ventilated spot – you don’t want fumes lingering in your studio. The result is a glossy shield that guards against UV rays, dust, and accidental smudges. Acrylic University explains why the isolation coat plus spray varnish gives the best protection.
So, what should you do if you’re short on time? Skipping the isolation coat and applying only the spray still offers decent protection, but the extra layer adds a safety net for future retouching.
Add final highlights and a protective glaze
After the varnish sets (usually an hour), you can sneak in a last round of subtle glazes. Mix a drop of glazing medium with a touch of the highlight color you used earlier, then sweep it over the brightest edges. The glaze deepens the shine without overpowering the original hue, giving the painting that “just stepped out of the studio” glow.
One real‑world example: I painted a simple fruit bowl, added a glossy varnish, then brushed a thin orange glaze over the apple skins. The apples looked juicier, and the varnish kept the glaze from rubbing off when the piece was displayed.
Protect your palette and brushes
While the painting rests, give your tools some love. Rinse brushes in lukewarm water, swirl in a little dish soap, and reshape the bristles before laying them flat to dry. For the palette, wipe off excess paint with a rag, then give it a quick scrub with mild soap. A clean workspace means you’ll start the next session with fresh colors and no unwanted residue.
Ever wondered why some beginners end up with “muddy” colors later on? It’s often leftover paint on the palette mixing unintentionally with new mixes. A quick clean‑out after each session prevents that surprise.
Store your painting safely
When the varnish is fully cured (24‑48 hours is ideal), think about storage. If you’re stacking multiple works, place a sheet of acid‑free tissue or a large cardboard between them to avoid scratches. Hang larger pieces on a sturdy wall hook, but keep them away from direct sunlight – UV exposure can fade acrylics over time.
Humidity matters, too. Aim for a stable 40‑60 % relative humidity; a simple room humidifier or dehumidifier can keep the canvas from warping. Many artists swear by a flat, climate‑controlled cabinet for long‑term archives.
Quick checklist before you call it done
- Apply two thin isolation coats with gloss medium; let each dry completely.
- Spray a even layer of gloss varnish in a ventilated area.
- Wait at least one hour before adding any final glazes.
- Clean brushes, palette, and workspace immediately after use.
- Store the finished piece flat or hung, away from sunlight and extreme humidity.
Take a step back, breathe, and admire the finished work. Those finishing touches might feel like the smallest steps, but they’re the ones that turn a hobby project into a piece you’d be proud to sell or gift. Ready to protect your masterpiece? Grab that gloss medium, spray a coat of varnish, and let your painting rest – you’ve earned it.
Conclusion
We’ve walked together from the first nervous glance at a blank canvas to the proud moment of sealing your masterpiece.
Remember that quick sketch? It was your safety net, turning uncertainty into a clear roadmap. The base layers gave you a quiet background, and the details added the sparkle that makes a painting feel alive.
So, what now? Grab your brushes, mix that final glaze, and let the varnish lock everything in. A tidy workspace, a stable humidity level, and a dash of patience are the invisible ingredients that keep your art looking fresh for years.
Feeling stuck on the next project? Think about a simple subject you love—a coffee mug, a favorite pet, or a sunset you saw last weekend. Apply the same step‑by‑step rhythm and watch confidence grow.
And if you crave more guidance, CreativiU’s on‑demand courses let you dive deeper whenever you have a spare half‑hour.
Bottom line: acrylic painting for beginners step by step is less about perfection and more about enjoying each tiny discovery. Keep experimenting, keep cleaning your brushes, and most importantly, keep having fun.
Every time you return to the canvas you’re building muscle memory, and the little habits you’ve formed—cleaning tools right away, protecting the work with varnish—will pay off as your style sharpens.
FAQ
What’s the best way to choose brushes for acrylic painting as a beginner?
Start simple: grab a medium‑soft round for most strokes, a flat for edges, and a stiff filbert for texture. You don’t need a whole set right away – a three‑brush combo covers almost everything. Test each brush on a scrap canvas; if the bristles feel too stiff or splay, swap it for a softer one. Remember, the right brush makes the paint glide, not fight you.
How often should I clean my brushes while I’m painting?
Ideally, rinse after every color change. Dip the brush in clean water, swirl, then pat dry on a rag. If you let paint dry on the bristles, you’ll spend minutes scraping it off later. A quick rinse keeps the colors pure and prevents that dreaded “muddy” look when you blend. It only takes a few seconds, and your brushes will thank you.
Do I really need to varnish my finished acrylic piece?
Yes, especially if you want the colors to stay vibrant for years. A thin gloss medium first creates a protective “isolation” coat, then a spray varnish adds UV resistance and a nice shine. Skipping varnish isn’t fatal, but dust, humidity, and sunlight will dull the paint faster. Think of varnish as the clear coat on a car – it keeps the finish looking fresh.
What’s the difference between matte and gloss varnish, and which should I pick?
Matte varnish softens glare and gives a velvety look, perfect for atmospheric landscapes or muted portraits. Gloss varnish boosts color intensity and adds a shiny “wet‑look” that works well for still‑life or pop art. Test a tiny swatch on the edge of your canvas; if the shine feels too harsh, go matte. You can even layer both – matte for most of the piece, gloss on highlights.
How can I avoid “muddy” colors when mixing acrylics?
Start with a limited palette: primary colors, white, and black. Mix small amounts on a palette, and always add the lighter color to the darker one, not the other way around. Clean your palette between mixes, or use separate sections for each hue. If a mix looks dull, introduce a touch of its complementary color to revive the vibrancy.
Is it okay to paint over a dried sketch, or should I erase it first?
You can paint right over a light graphite sketch – the paint will cover it once it’s thick enough. If the lines are dark, gently rub them with a kneaded eraser before you start. Some artists even leave faint pencil marks as a texture guide; they disappear under a solid base layer. Just keep the sketch light enough that it won’t show through the final colors.
What’s a quick way to keep my acrylic paintings from cracking over time?
Maintain a stable environment: 40‑60 % humidity and moderate temperature. Avoid drastic swings like moving a painting from a cold garage to a hot attic. When you varnish, apply thin, even coats and let each dry completely – thick layers trap moisture and can lead to cracks. Storing the work flat or on a sturdy wall hook also reduces stress on the canvas.
Leave a Reply