Designer Angie Cohen shares one of her simplest couture sewing techniques, sewing darts the right way.
Want to test and keep FREE this week’s gentle Quilting fabric? Click here to learn more now
What sets high-quality, well-fitting garments apart from cheap clothes that spring holes after one wash? Couture sewing techniques!
It may take a fashion design degree to master those techniques, but there’s no reason why designers can’t share these tips with the rest of us.
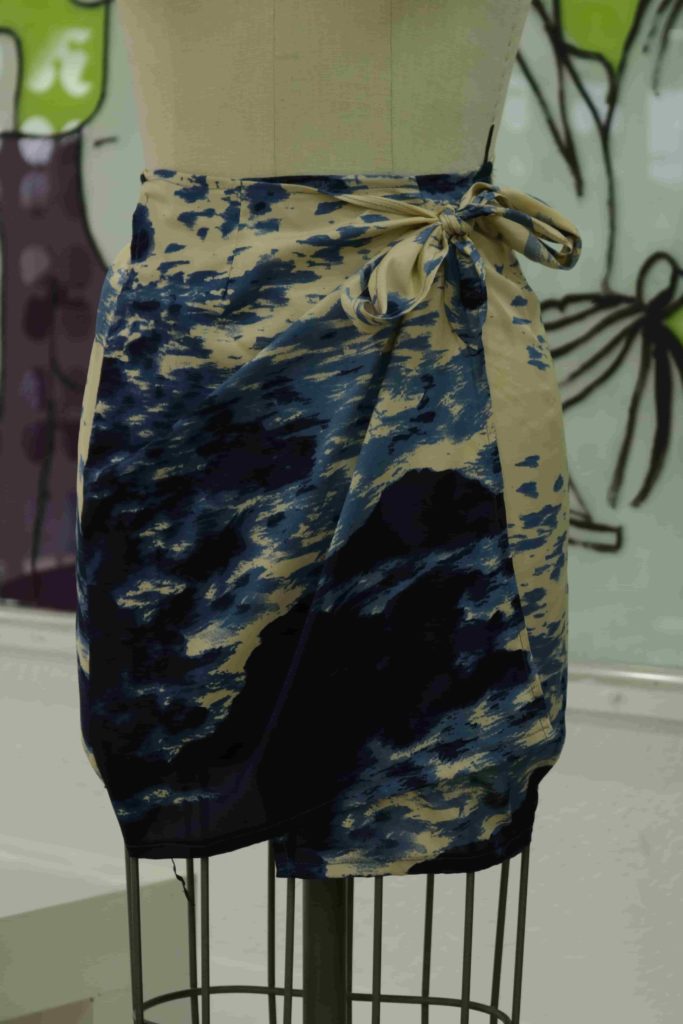
Typically the first step that is necessary in the construction of a garment is sewing darts. This is especially true for skirts, but also for pants and dresses.
Nobody likes a pointy dart
It is important to note that the point of a dart should never be reversed. In other words, when you start sewing darts, you want to sew in a single direction to avoid creating a dimple on the right side of the fabric.
Some self-taught sewers may not know better, but you read our blog, so you have the lowdown on sewing darts that are soft and refined.
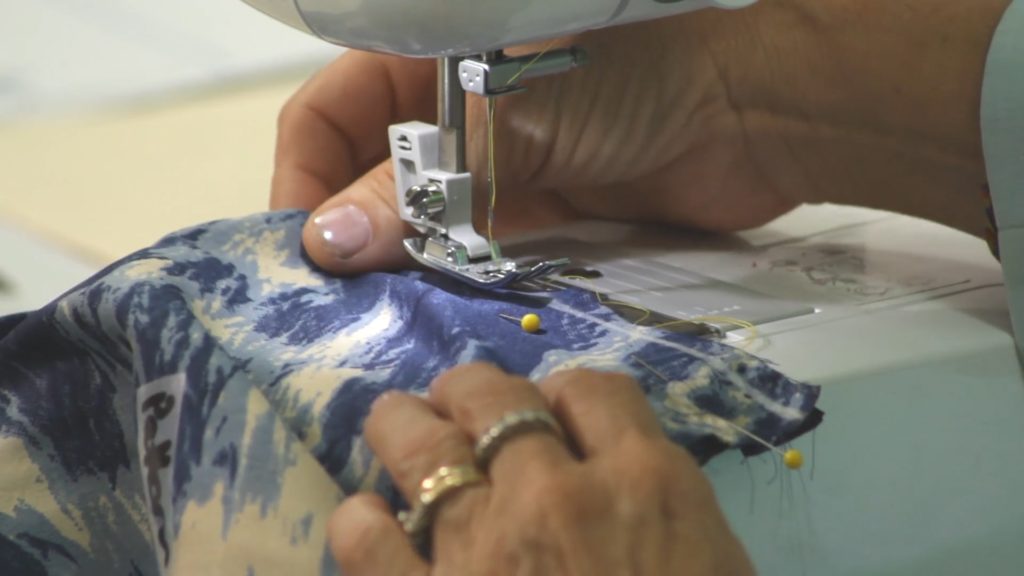
After you cut and pin your fabric :
- Mark the seamline 1/4″ from the edge of the fabric.
- From the bottom point of the dart, place your fabric right underneath the presser foot of your sewing machine. Sew along the marked seamline and only reverse at the top of the dart to secure the stitch.
- Pull the thread from the machine with the garment and cut your thread. At the starting point of the dart, tie 3 knots in the thread to secure the stitch.
Now your dart is sewn and secured without puckering. You will see this as you press the dart on both sides of the fabric.
These type of simple techniques will give your clothes a proper finish and a perfect fit!
Have you been frustrated by pointy darts in past sewing projects? Let us know how this designer tip helps you in the comments section!
Want to test and keep FREE this week’s gentle Quilting fabric? Click here to learn more now
Thank you for this dart sewing tip.
It is good to know what is best way to see.
Thank you for this
Thank you for the info it was so helpful
Thank you for the info. on the dart I have sew so many years and never knew this. It makes the garment look much better! Thank you for sharing.
Thank you. Isn’t there also rule for which way the darts are pressed? Towards the centre or towards the outside? I can never remember which is correct!!
Thanks for showing how to take the point out of the dart.
Would it not work just as well to start at the outside and back stitch and then proceed to the point of the dart but not to back stitch at that point and pull the thread from the machine with the garment and then ties the three knots?