Sewing aficionado Melissa Lasseter teaches beginners how to install grommets in easy sewing projects like this fun and adorable baby bib!
Get this week’s free Quilting tools & classes bundle when you submit feedback and start to always feeling proud of your results Click here to learn more now
What makes a home sewing project look professionally-finished? I’ll give you a hint. It’s the same thing that makes your hand-me-down house dress look like the latest trend on the pages of Elle. Accessories!
Once you learn how to use your sewing machine, your next step is delving into the wonderful world of fun little trims and add-ons. Luckily, this trick is super quick and simple. Plus it will add a store-bought quality to any homemade piece or garment.
What’s a grommet?
Grommets come in all different shapes, sizes, and materials. They are basically just rings that are inserted into fabric to allow something to pass through it without tearing or causing stress to the fabric.
The most common grommets you probably see daily are the holes in your shoes that you tie your shoelace through, also known as eyelets.

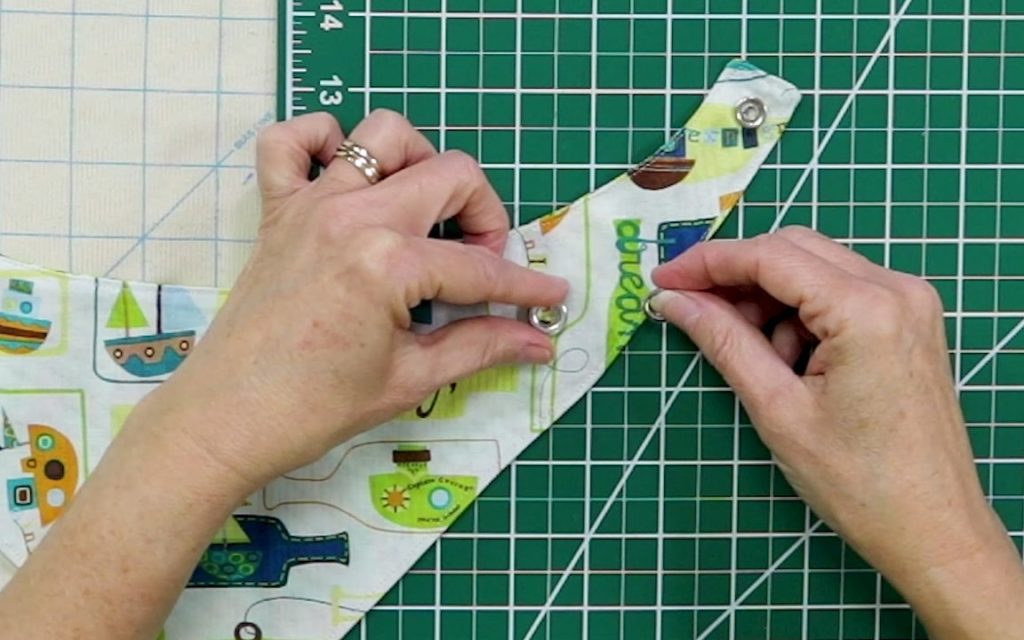
Similar to snaps, each grommet comes in two pieces. They fit together on either side of the fabric. They are secured in place with a tool that should be included in the package.
Craft and hardware stores sell them in large and small sets, and they are totally affordable. You’ll need a hammer, scissors, and pen.
5 simple steps for installing a grommet
- Using a pen, mark the spot where the grommet will go by tracing inside the grommet onto the fabric.
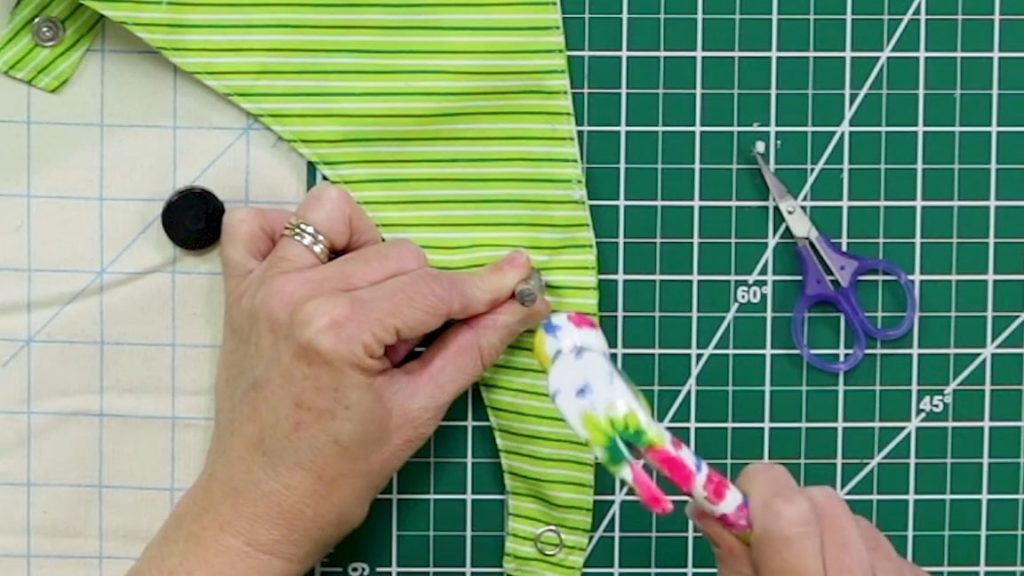
- Then, cut a hole with the scissors where the mark was made.
- Next, place half of the grommet through the hole.
- Holding that piece in place, flip the fabric and place the other half of the grommet onto the first.
- Using the included tool on either side of the grommet, hammer the two halves together.

Keep in mind, using the hammer will leave marks or dents in the surface you’re working on. So do not do this on your grandmother’s antique sewing table, or the hood of your uncle’s Lamborghini.
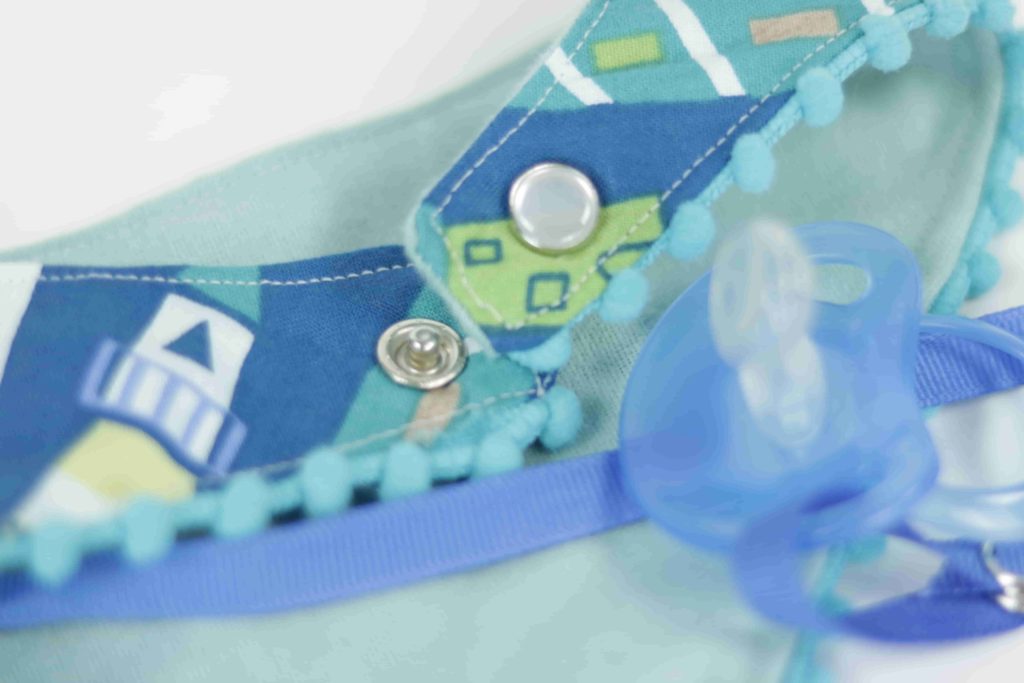
Now that you’ve got this technique down, you can also do snaps because the method is precisely the same!
Grommets are great for corsets, belts, curtains, banners and a ton of other projects. Fun fact: grommets are called cringles in the sailing world.

What projects can you jazz up with these beginner-friendly accessories? Let us know in the comments section.
Get this week’s free Quilting tools & classes bundle when you submit feedback and start to always feeling proud of your results Click here to learn more now
Have used them for years . Fun things can be with them.
Thank you for your clear instructions an cautions.
I am becoming more interested in sewing by seeing these tutorials.
I would love the pattern for the baby bib. Thanks for the info was very useful 😀
Thats neat.
I learned how to do this back in the 70s in home ec, been doing them all my life
Thank you for your awesome tutorial. Love you little hammer too.
Thank you for sharing this on here. I learned something new. One is never too old to llearn something new.
Thank you again. God Bless you.
Really does add that “store-bought” look to a project! Haven’t used grommets in years… thanks for the reminder! Already thinking of innovative uses.
Hi have been in the hospital for a very long e tended time. Can I get some of the early projects to also try when I get home. I don’t have my purse credit cards etc here . Thanks for your response. De. Sch
Thank you I had forgot how it was done
I learned about grommets / snaps from my Mom. She made all of our clothes ( 3 girls) and could make anything & everything she made was beautiful. She made suits for herself, prom dresses, bathing suits, panties, PJs & even a suit jacket for my Dad. She still sews occasionally. She’ll soon be 89.