Get this week’s free quilting tools and MasterClass bundle for the ultimate shortcut to always be proud of your quilts Click here to learn more now
Quilt designer Eleanor Sasnett shares her longarm machine checklist for longarm quilting with a pantograph pattern.
Longarm quilting machines are huge time-savers. Literally, they’re huge. And they save quilters a heap of time.
While it is possible to quilt through layers of fabric and batting on a really sturdy sewing machine, there is a lot of shifting around of fabric, and it can be quite a bit more challenging to envision the final pattern as a whole when you’re focusing on small areas at a time.
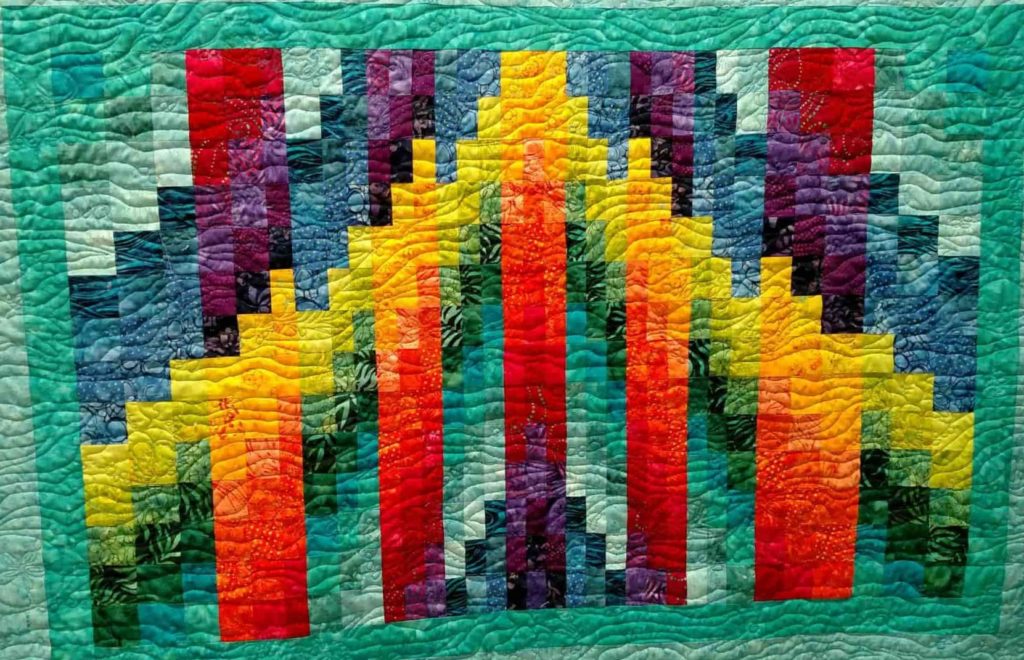
Longarm machines are relatively expensive and require a substantial amount of floor space, but are incredibly satisfying for the more-than-just-a-hobby quilter.
Plus, there are plenty of people out there looking to contract someone with a longarm to finish their quilts for them, so it can be a pretty amazing business opportunity if you are able to make the investment.
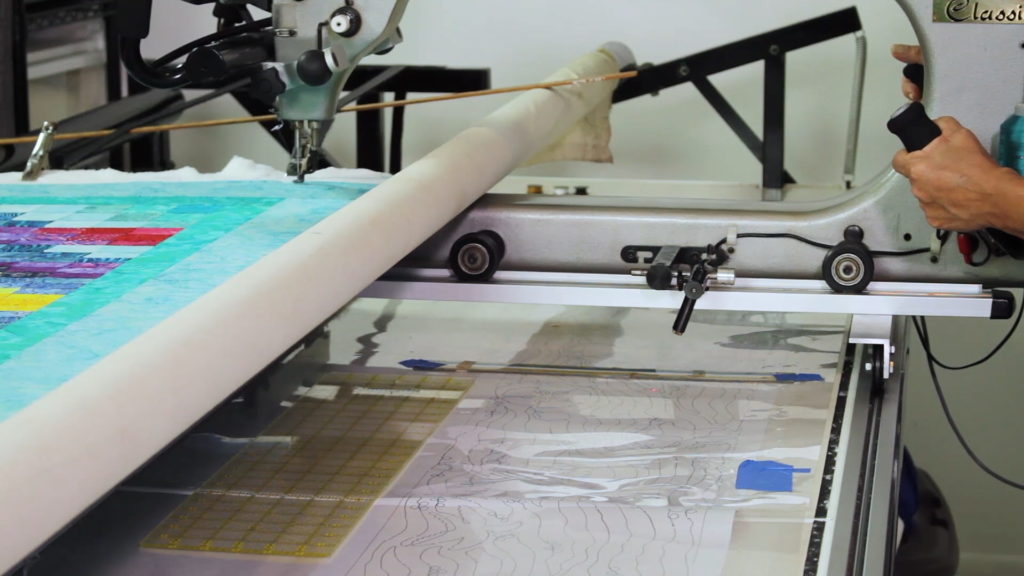
Now if you’re like some people I know, you’re going to go out and buy the machine without even knowing how to use one because you really want to finish your own quilts.
In that case, or in the case of the avid researcher, here are 7 things to keep in mind when you start longarm quilting.
1. Tips for making a quilt sandwich
Preparing the layers is a much cleaner process on a longarm machine. You’ll begin by loading the backing onto the rollers, loading the batting on top of the backing, and then loading the quilt top on top of the batting.
Always remember that backing and batting dimensions should be 6 inches longer and wider than the quilt top.
The reason for this is that the layers pull in as you quilt. If you cut them all the same dimensions, you may run out of batting and backing fabric before you finish the top, leaving varying levels of fullness on the edges of your quilt.
Pressing the fabric before you sandwich the layers will help to prevent tucks and puckers during quilting, but isn’t totally necessary on a longarm machine.
2. Pinning for smooth layers
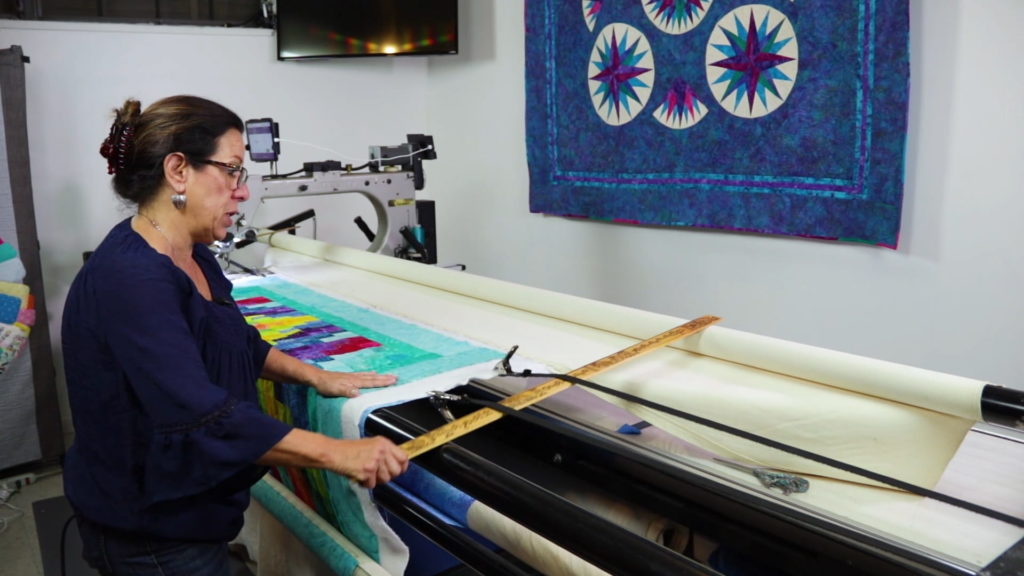
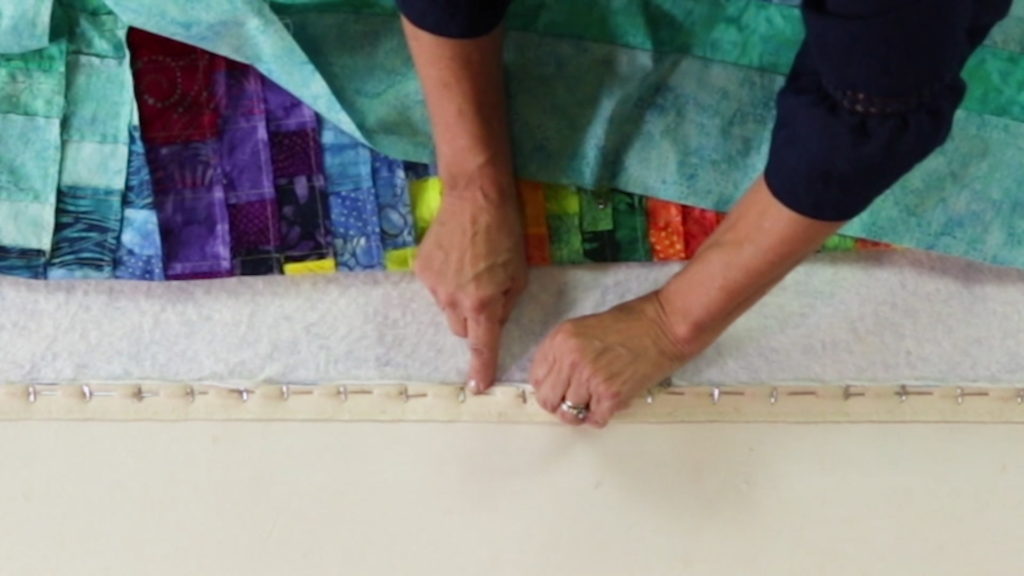
When you pin the backing to the canvas leaders on the rollers, it is important to pin head-to-point across the edge, starting from the center and working outward to ease in the fullness and keep those layers centered.
Then, you’ll establish the center points on all sides of your quilt top and batting. You can mark them with safety pins (or curved basting pins) to differentiate them from the T-pins.
Keeping these safety pins in place throughout the process will help you keep track of the center points.
Pulling the bottom layers from the sides with bungees, clamps and yardsticks will take up the slack so they’re smooth but not too tight.
3. Baste without haste
There are tons of ways to baste without a longarm and they are all pretty time-consuming. With a longarm machine, basting is a breeze! So you won’t feel the need to rush through it; plus, basting spray is completely avoidable.
The easiest way to get a straight basting line across your quilt top is by using the horizontal channel lock. With a 1/2-inch stitch, baste the batting to the backing, and then a second line across the quilt top through all three layers.
You may also want to use a ruler to check that it’s straight in relation to the canvas. Walking your hand behind the hopping foot will help ease in the fullness of your border.
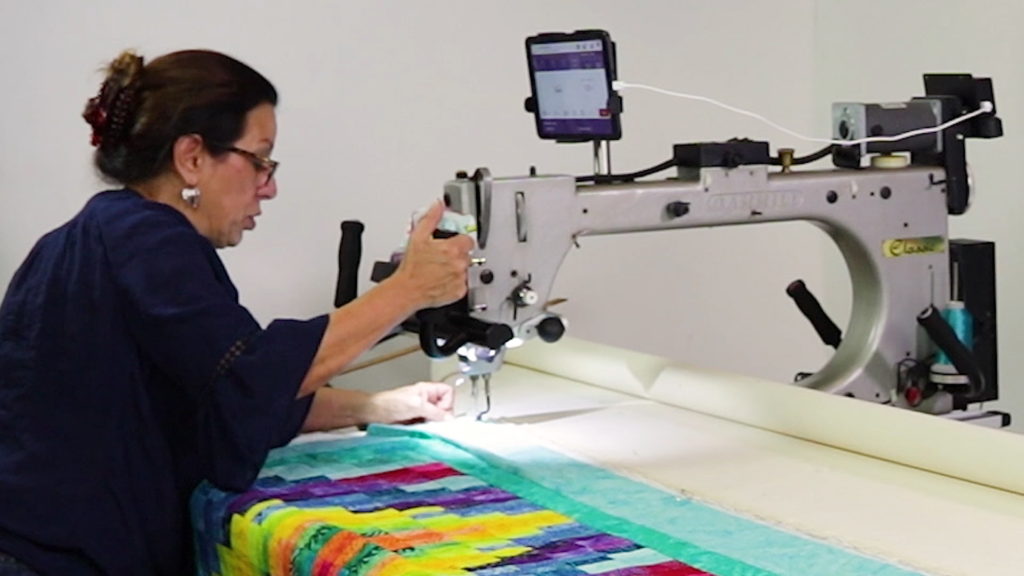
4. Pantographs open up a whole new world of quilt design
Tracing a template with a laser light to achieve the most flawless artistic designs eliminates the stress of the quilting stage, which let’s all agree, is the most fun part of the whole process.
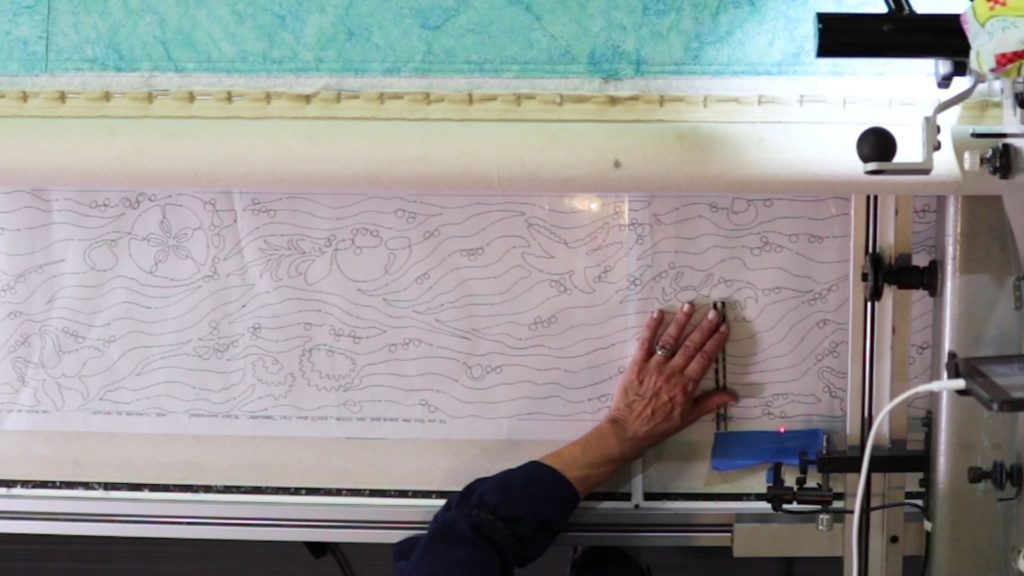
Pantograph patterns can only be used on longarms, and are probably the chief reason that people buy these machines. You can buy them, print them, or even draw them out yourself to finish your projects with quilted perfection.
You’ll be working from the back of the machine and the needle on the front of the machine will be doing the work. Patterns may cover the quilt space allover, or edge to edge in rows.
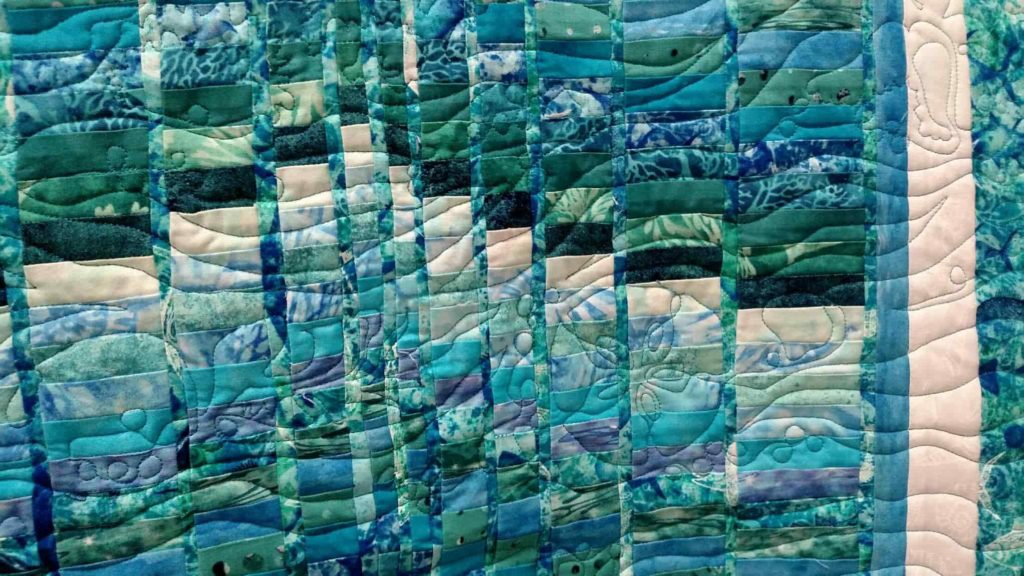
5. Longarm machine parameters
A basic checklist of adjustments on the back of the machine is necessary before you get stitching:
- The distance between the throat plate and the take up roller should allow your fingertip to fit just under the edge of the roller, not your entire finger.
- Make sure to align the laser with the needle, so when you trace the pattern with the laser, it matches the placement of the stitches on your quilt.
- Then, align rulers on top of the pattern as they correspond to the edges of your quilt.
- Finally, mark just past the edge of the pattern, the distance that will be between each row, usually between 1/2 and 3/4 of an inch.
6. FMQ
While pantographs offer structured creativity, free motion quilting is a fiber artist’s dream!
The possibilities are endless on a longarm machine because you can see the whole quilt on the frame, envision your quilting design, and stitch it on there with the greatest of ease. You can incorporate all kinds of quilting motifs, shapes, or just meander around until you’ve filled up all the space.
FMQ is also wonderful because you can feasibly do very little work in the piecing stages and still make a super interesting-looking quilt or other project by adding lots of design in the quilting stage.
7. Quilting machine considerations
You may want to start out by trying out several different longarm machines at your local quilt shops, possibly even taking a class or two to get a feel for the movement of certain brands and models.
Some features and accessories really come in handy, like channel locks, micro handles, and overhead lighting. Remember to measure your floor space before you shop, including room to work around the frame, so you know what dimensions you’re looking for.
Bear in mind that some brands have parts that are cheaper to replace and are easier to fix down the road. If longarm machines are just too expensive, there are similar alternatives to consider to best suit your quilting needs!
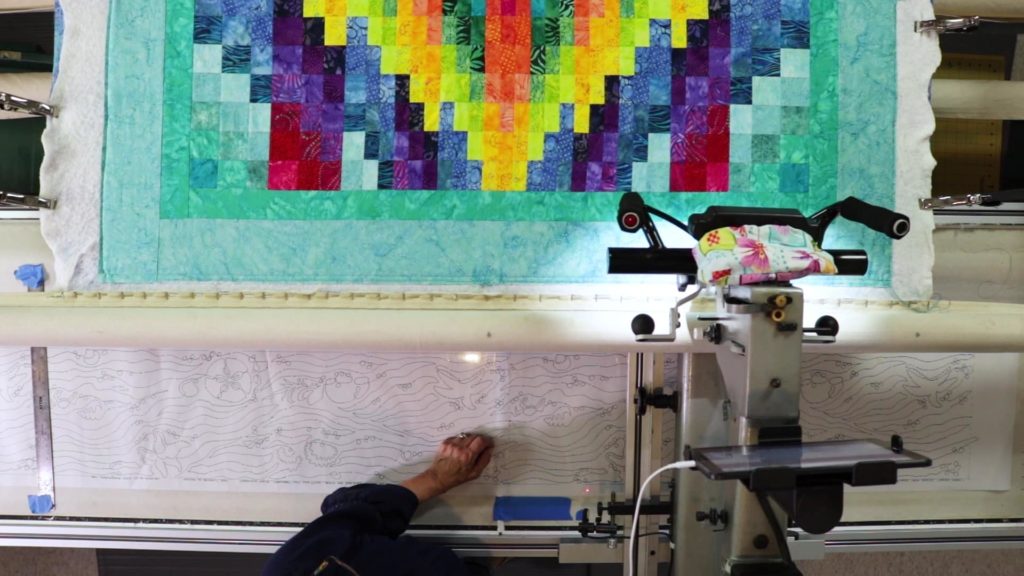
If quilting is more than just a hobby to you, you desire for your projects to be 100% made by you, and you have the space and resources, longarm machines can be fun, fulfilling, and even lucrative.
Should you choose to invest in one, you may find yourself learning new techniques every day, and making new friends in the quilting community.
Do you have other suggestions about quilting with a longarm? Leave a comment below!
Get this week’s free quilting tools and MasterClass bundle for the ultimate shortcut to always be proud of your quilts Click here to learn more now
Thank you for sending me your news and offers. I love reeiving them and am interested in all the new ease making machines. I cannot do any patchwork and quilting at the moment. My health is not good. But, I look forward to the pleasure of working at it again in the future. Please keep sending the news Thanks
Thank you for the tutorial. I have had my Longarm for 4 years and have never used the pantographs I have. I will now give it a try.💕
Been a rough summer with several hospital stays. Love the tutorial!!
I love my Long arm machine.
This was very interesting! Someday I will have a Long Arm Machine. Beautiful!!