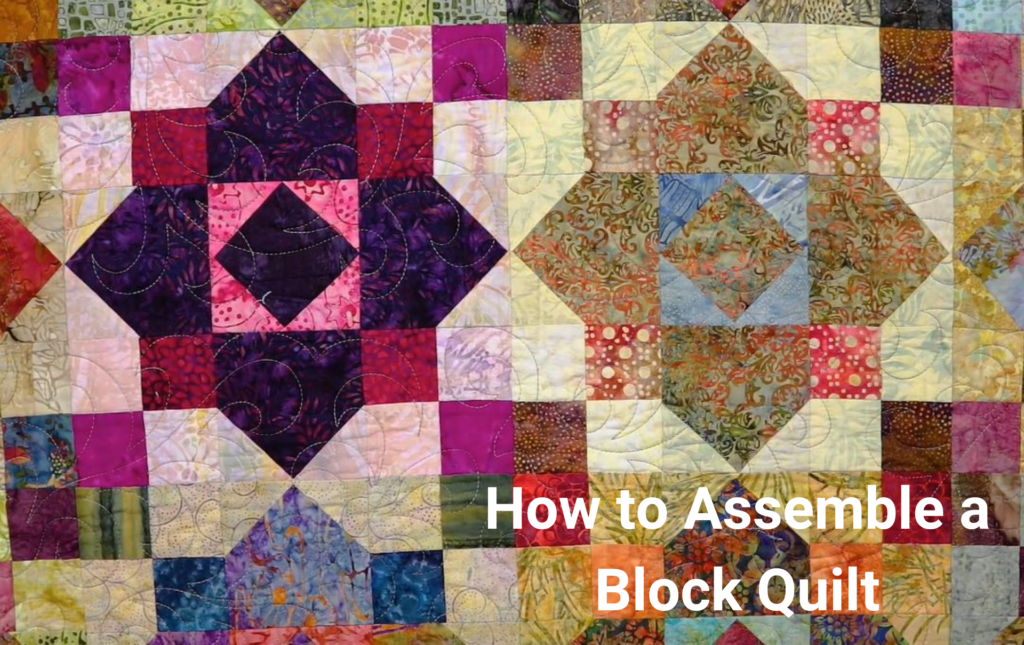
Our Discover team has found this super clear video tutorial that teaches how to assemble a block quilt. The steps described in the video are written below. Ideal for beginners!
The explanation applies to most quilting patterns based on blocks. We hope you find it useful!
Watch the YouTube video here:
How to Assemble a Block Quilt
by MadeByMarzipan
Supplies Needed
- Finished quilt blocks
- Sheet or fabric for backing
- Low-loft batting
- Temporary fabric adhesive spray
- Wash or masking tape (optional)
- Clothes pins
- Sewing machine walking foot (optional)
- Thread
- Scissors
- Sewing machine
This tutorial explores an easy method for putting a quilt together. The steps shown here can also be applied to any quilt made up of blocks. Just keep in mind that this tutorial is for a quilt with six blocks in a row.
Begin to Assemble the Blocks
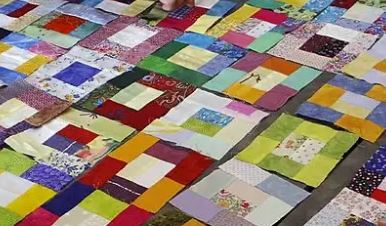
First, arrange the blocks in your desired pattern and make sure that the colors and prints are evenly distributed. It can be helpful to ensure that all of the blocks are facing the same direction. It is recommended that beginner quilters do this in three block segments.
To start, place the first block in the row face down on top of the second block and pin them together along the left side.
Open the blocks and then place the third block face down on top of the second block, pinning them together along the right side.
Sew along each pinned side using a quarter inch seam, taking care to only sew through two blocks at a time.
Once you have sewn the blocks together, press the seams. It is recommended to press the top of the fabric.
Repeat this process with the remaining sets of blocks until you have completed the row.
If you have only six blocks in a row, you are now ready to sew your two sets of blocks together. Make sure that the blocks are facing the proper direction and pin them together along the right side. Sew along the pinned edge using a quarter inch seam and then press the seam. Repeat this process with the remaining rows of blocks to attach them together.
Adding the Backing
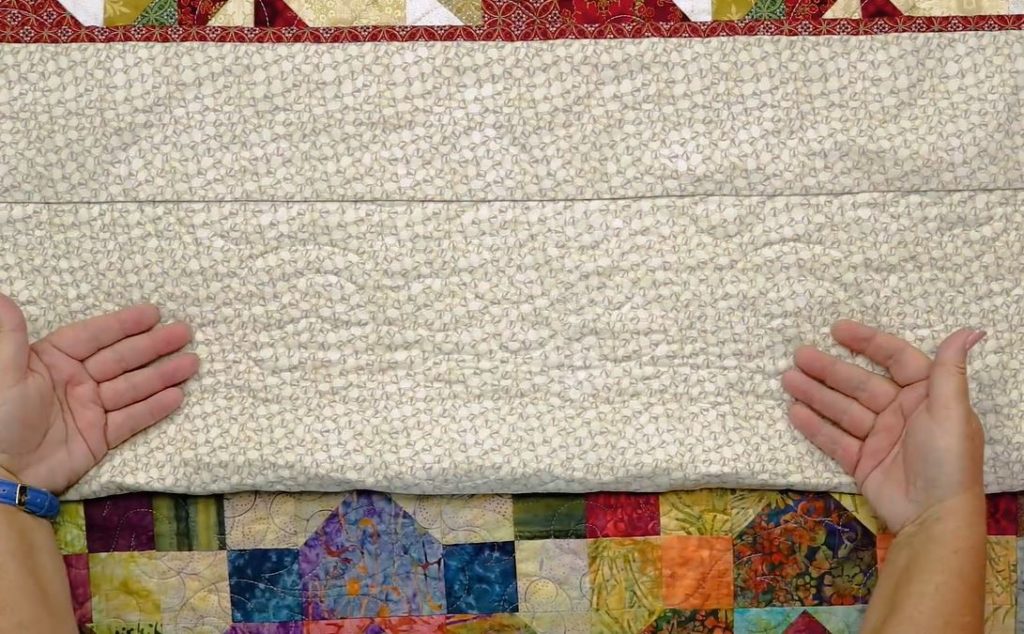
One helpful tip is to use a fabric adhesive spray to stabilize the layers of the quilt. This can eliminate the need for pinning and helps prevent the layers from shifting or wrinkling during sewing. Just make sure to select a spray that will dissolve when the quilt is washed.
A bed sheet can be a budget-friendly and seamless option for the backing of a quilt. It’s also a good idea for beginners to avoid choosing a backing with a directional pattern. For this quilt, a low loft cotton batting is used, which is the easiest type to sew through. Remember to read the packaging for important care and washing instructions.
To begin, lay the backing fabric face down and fold the batting in half on top of it. Spray the adhesive directly onto the uncovered half of the fabric. Then, unfold the batting and smooth it over the sprayed half of the fabric, making sure to eliminate any wrinkles. Repeat this process with the other half of the batting.
Next, follow the same steps with the assembled quilt top. Center the quilt top on the batting and fabric layers, fold it in half, and spray the backside of the folded batting. Then, unfold the quilt top and smooth out any wrinkles, making sure that it is facing upwards. Repeat this process with the other half of the quilt top.
If your batting and backing are larger than your quilt top, you can trim most of the excess fabric, but it’s a good idea to leave a couple of inches of overhang if possible.
Prep for Quilting
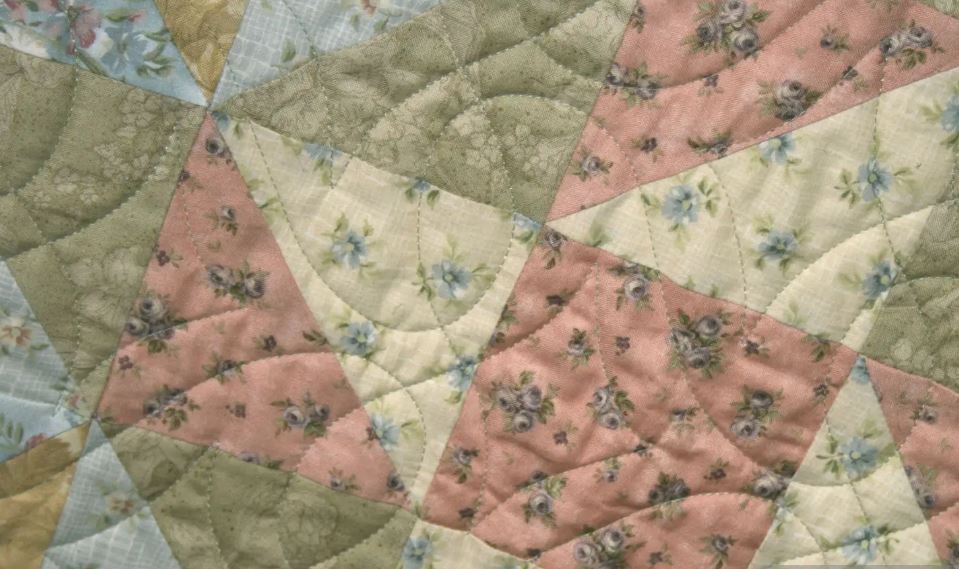
There are a few different options for marking sewing lines on a quilt. Water-soluble pens can work well, but they may not be visible on patterned or colorful quilts. An alternative is to use masking tape, painter’s tape, or washi tape as sewing guides. These tapes come in various widths and can be used to create stripes or a grid on your quilt top to follow.
A tape can be used to mark the beginning rows of stitches and then use the previous stitches as a guide for the remaining rows, making sure to keep them parallel to the seams.
If you’re using a regular sewing machine to work on your quilt, you may need to roll up one side to reduce bulk. To do this, tightly roll the quilt from the right towards the center and secure the top and bottom end with clothespins. When you’re ready to sew the other half, simply roll the opposite side and turn the quilt upside down to feed it through the machine.
Quilting the Layers to assemble a block quilt
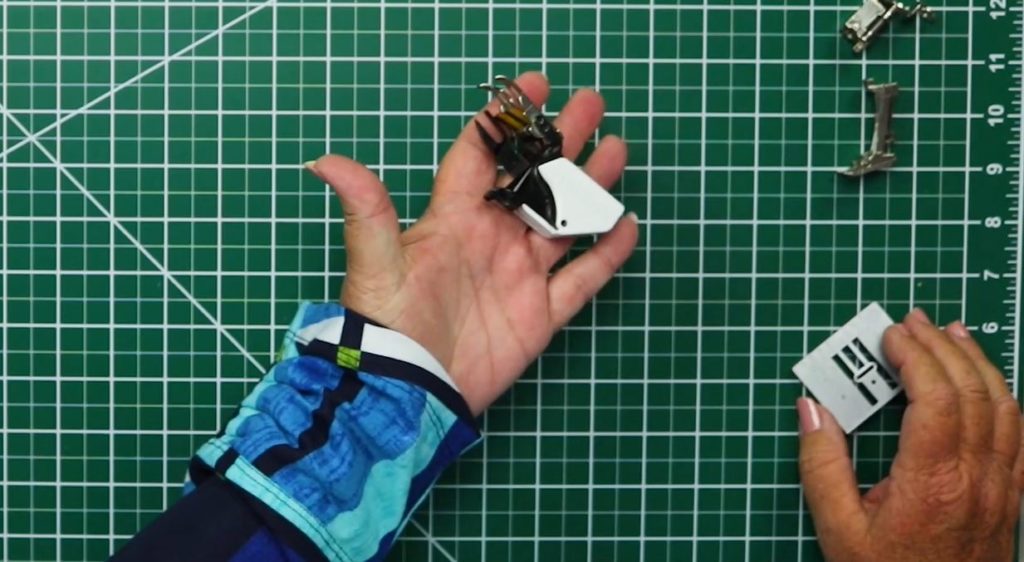
Now it’s time to start the quilting process. If you have a walking foot for your sewing machine, this can be a good opportunity to use it. A walking foot helps to evenly feed the top and bottom layers of fabric through the machine. If you don’t have one, don’t worry – you can still complete the project.
If you are using low loft batting and your sewing machine has a table, it can be helpful to use it. Additionally, it’s recommended to load up several bobbins with thread before you begin, as you will use a lot of thread during this process. To start, align the edge of the sewing foot with the edge of the washi tape in the center of the quilt. It’s usually best to begin quilting in the center of the quilt so that the fabric flattens out evenly on both sides.
As you sew, place both hands flat on either side of the needle to smooth out any wrinkles and create a flat sewing surface. Avoid tugging on the fabric, as this can cause the blocks to look warped.
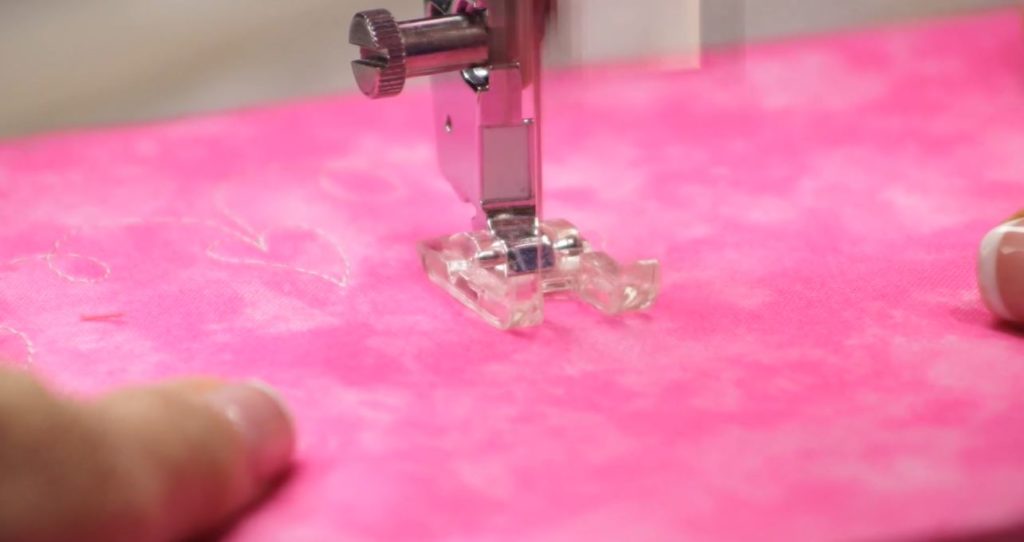
One of the simplest quilting techniques is to make straight vertical lines spaced about a quarter of an inch apart. You can also space the lines farther apart, up to about three inches.
The quilt is assembled now – you only need to add the binding!
How to Choose a Batting for Quilting by Professor Pincushion
You may want to know how to finish your quilt. Have a look on the following article by Diary of a Quilter.
By the way, you can also learn How to Identify a Quilt Block.
Leave a Reply