Quilt designer Karen Walker demonstrates her method for adding reverse appliqué to her quilt projects.
Want to test and keep FREE this week’s fabric pack? Click here to learn more now before we run out
Several methods of appliqué sewing come in handy when working on quilt projects and original designs.
For example, freezer paper appliqué, needle-turn appliqué, and wool
appliqué, which is a form of raw-edge appliqué, are all excellent techniques.
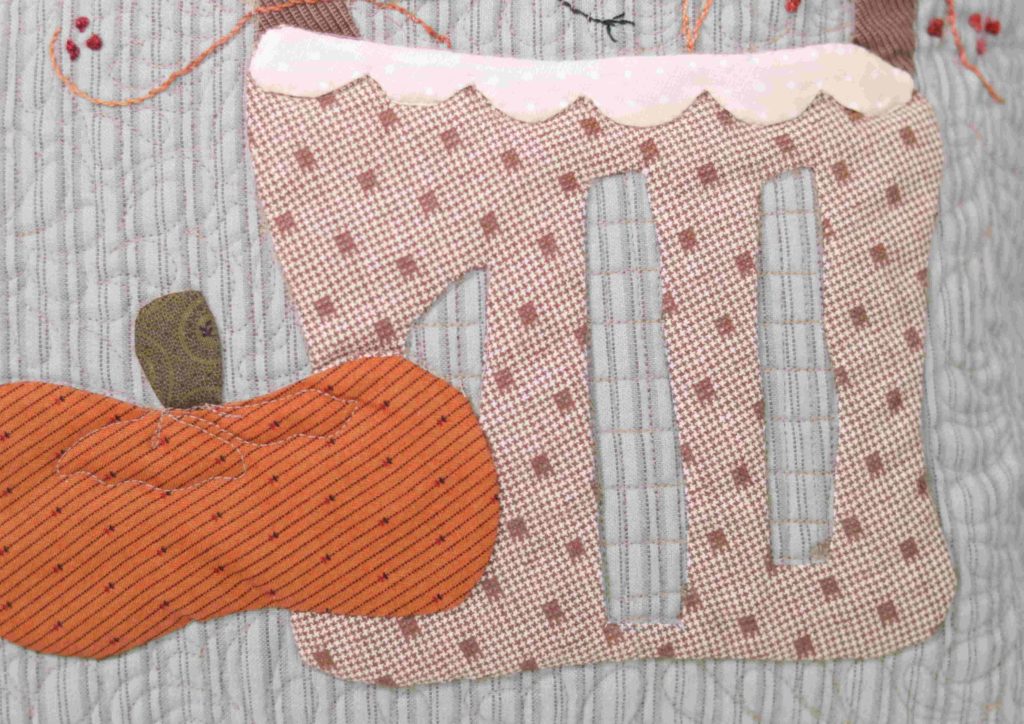
However, reverse appliqué stands out amongst these as it has an aesthetically dynamic quality, adding depth and dimension to the image.
What is reverse appliqué?
Reverse appliqué is cutting away a layer of fabric to reveal another layer beneath it.
How to sew reverse appliqué onto your quilt projects:
- First, sew one layer of fabric on top of another, just along the border of the shape.
- Then, trace the outline of the cut-out shapes to be removed from the top layer of fabric. You can use chalk, pencil, or a water-soluble marker, anything that will come off easily later. Remember not to iron it until you wash the outline off, or you’ll accidentally heat-set it.
- Next, poke a hole inside the shape to be removed, and carefully cut inside the traced shape. Be careful not to cut through any layers of fabric beneath it. Leave a 1/4″ of fabric within the traced outline, so that you can fold the edges in for a finished look.
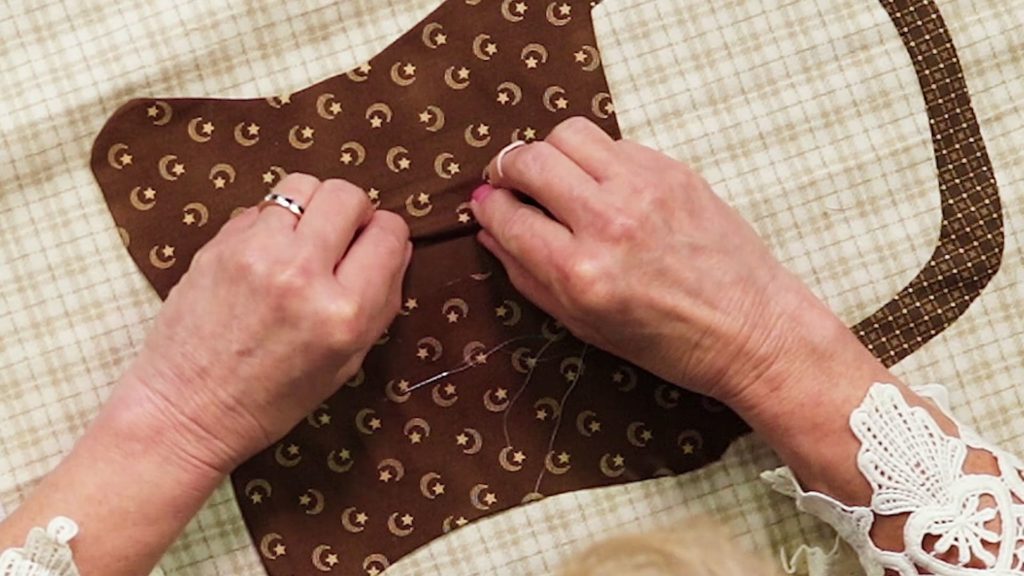
- Snip the corners of the remaining fabric diagonally so it’s easy to turn under. Fold and finger press the edges in underneath the top layer of fabric.
- Sew along the cut-out shape, using the needle to turn the edge under. Using some liquid seam sealant on the edges will help keep the fabric from fraying. Use a thread that matches the bottom layer of fabric to make the stitchwork look super neat and tidy.
This method is a great alternative to just layering your appliqué. It may require a little more time and care than some other techniques, but isn’t that just part of the creative process?
What’s your favorite type of appliqué? Let us know in the comments section!
Want to test and keep FREE this week’s fabric pack? Click here to learn more now before we run out
I am new to sewing and really want to try this.
My favorite is when I make a pillow for my daughter. I make grandkuds flowers
Love it
Love this Thank you
So excited to get started. I have done some quilting but cannot wait to try out all these nifty ideas and tips!!!! Happy quilting everyone!!!! 😊😊😊😊
Does it cost to subscribe.
Hi Mary, you can sign up for a free trial on the home page.
Hi l am new to quilting as I retired a few years ago and started sewing again my teacher was great but until I found your quilting sites I think I had lost my mojo I love the sites .laid have a slight hiccup with my computer so I had to use my iPhone but now all good I hope thanks again for your useful tips
True o love it too
I’m new to quilting, I love all the different things you can crest.e . Thank you for you information.
Lowe this. Thanks
Hard to see the “drawn line”. For a demo I suggest higher contrast fabrics! She mentions cutting away the top fabric along the lines…or just inside those lines so that the top fabric can be turned under leaving the solid brown.
I made a pillow long time ago using the Trupundo method to make it stand out. Time consuming but kinda cool looking.