Get a free cake decorating tool & access to unlimited MasterClasses for you to always feel proud of your cakes Click here to learn more now
Is there anything better than hitting that sweet spot at the junction of delicious and easy? Pretty sure the answer you’re looking for is no. Nope, that, right there, is the pinnacle of baking related awesomeness.
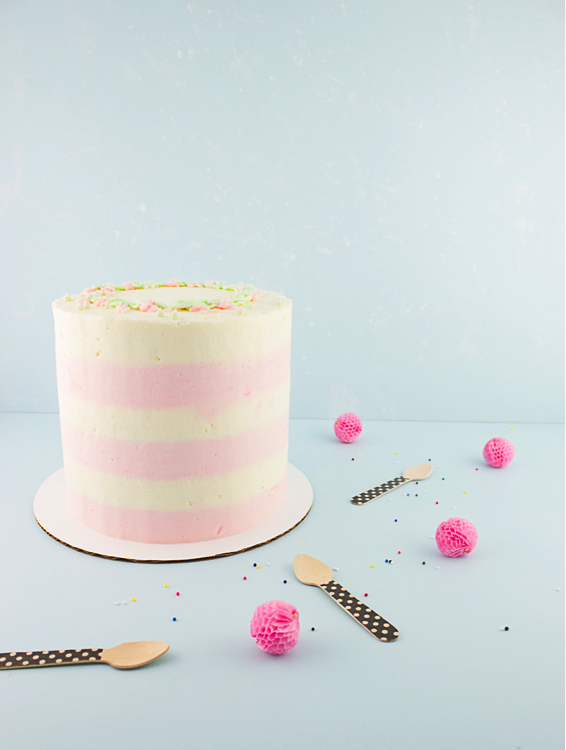
And that’s exactly why I’m so excited to share this easy white and pink cake decorating tutorial with you so that you can turn your delicious cake into something a little extra pretty in no time!
Here’s what you’ll need:
- 6″ cake (any cake will do, but this is my favorite chocolate cake recipe)
- 6 cups of buttercream frosting (this is a great recipe for making your own)
- Pink and green food gel coloring
- offset spatula
- pastry scraper
- Piping bags
- Two sets of couplers
- Wilton #2 tip
- Wilton #102 or #59s (depending on the flower size; I used the #59s)
Start with chilled cakes. If you’re cakes aren’t completely level, it’s a good idea to cut off (or torte) the uneven part. Spread ½”-1″ of frosting between each layer, and coat the entire cake in a thin layer of frosting to lock in all those crumbs. Allow the cake to chill for about 30 minutes, or until the frosting has set.
Frost the top of the cake, pulling from the outside in, with your offset spatula, until the top is level. Spoon a heaping tablespoon of frosting into a small bowl and set aside. Fit two piping bags with couplers, and spoon a little under half of the remaining, uncolored frosting into one. Tint the rest of the frosting pink and spoon it into the other bag with the coupler.
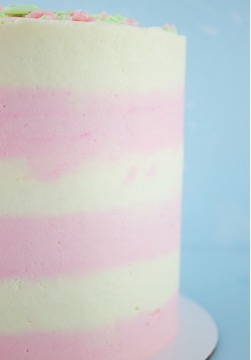
Starting at the top of your cake and working your way down, pipe two lines of each color frosting. Try to get your lines of frosting as close to one another as possible. Once your cake is completely frosted, gently press your pastry scraper into the side of your cake as you gently turn it to smooth out your frosting and remove any excess. Use your offset spatula to even out any roughness around the upper edge of the cake.
Sometimes buttercream can have rough spots that are hard to smooth out. If that’s the case, heat your pastry scraper with hot water from your faucet, wipe it well, and pull the hot scraper around the cake. The heat from the scraper will ever so slightly melt the frosting, creating a smoother finish.
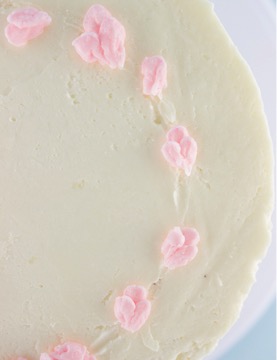
To create the rosebud wreath around the top of the cake, tint that heaping tablespoon of frosting you set aside earlier green. Add your Wilton #2 tip to a new piping bag and fill it with your green frosting. Begin piping rose buds with your #102 or #52s tip (the #52s tip will create smaller buds) attached to your bag of pink frosting in a circle around the top of your cake. Don’t worry about getting them perfectly lined up. Once you have some rosebuds in place, go back with your green frosting and pipe some stems between your buds. Remember, flowers aren’t perfect so your frosting versions don’t have to be either! Add a few more layers of buds and stems to really fill out the look.
Although cakes are best served at room temperature, these frosted pink cakes hold up best if refrigerated until serving.
And that’s it folks! Sweet and easy! Have a sweetly easy dessert of your own? Tell us all about it in the comments!
Get a free cake decorating tool & access to unlimited MasterClasses for you to always feel proud of your cakes Click here to learn more now


Need to try this😳