First glimpses count for so much in the artistic arena. And in the world of cake decorating icing reigns supreme, allowing you to create that professional first impression.
Get the icing immaculate… and you’re bound to impress.
In this post I’ll focus on icing cakes and how you can develop this skill.

Create Your Design
The first step is to choose your theme for the cake and create the design – sketching it on paper to scale where possible can be helpful.
Design the specific decorations you’ll need, and decide on the flavorings and colors for your icing.
There are many different icing recipes to choose from… including a classic icing recipe, a delicious Swiss meringue buttercream, Italian meringue buttercream, and chocolate icing.
Generally professional cake designers will try to match the icing to suit the style and design of the cake and the filling, so bear this in mind when choosing the recipe.
First Steps to Icing Your Cake
Once you know exactly what you want to create, ensure you have all the necessary ingredients and tools needed to prepare the icing and decorate your cake. See my post 23 cake decorating supplies to go from beginner to pro decorator for more information and tips.
Once you’ve prepared the icing, and your cake is leveled and completely ready to be decorated…
- Place the cake on your rotating cake stand. Use one hand to rotate the cake, and the other to ice.
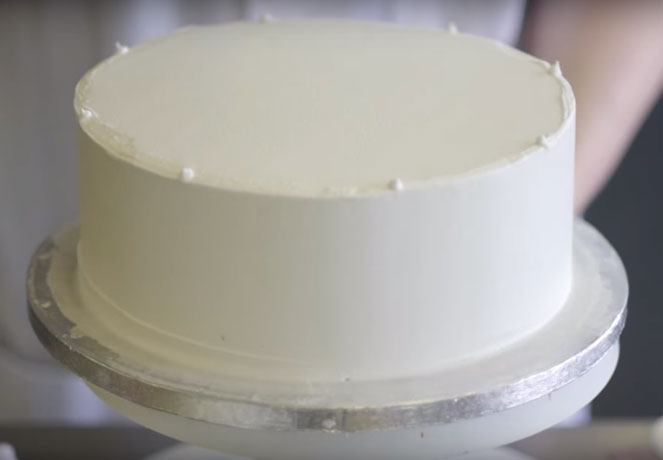
- Add some icing to the top of your cake. And using the straight edge of a spatula move the icing back and forth to create a smooth surface.
- Clean up the sides before applying icing to them.
- Using your spatula, apply small amounts of icing to the sides, and holding the spatula at an angle, rotate the cake while flattening the icing and removing any air bubbles.
- Using a side scraper, clean the cake stand and level the sides.
- Clean the top of the cake carefully with the spatula.
Keep a wet towel handy to clean any excess icing from your spatula throughout this process. If you are not satisfied with the first coat of icing you can leave the cake to rest and then apply a second layer.
Tips on How to Decorate a Cake with Icing
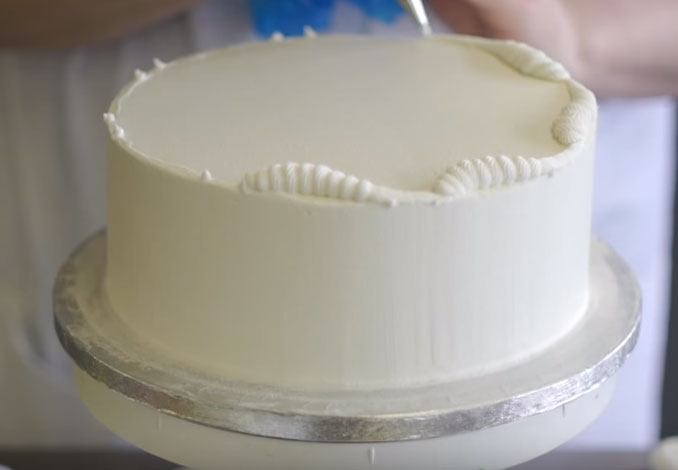
When you decorate a cake with icing, start at the top, and work down the sides.
To ensure your decorations are evenly spaced mark the cake in the following way: using icing, make small dots around the edge to guide you during the decorating stage. In this way you will know where to start and finish when you are piping the shapes of your design with a pastry bag.

Piping possibilities are endless! See my previous post on How to improve your cake piping techniques for more information.
Pastry bags allow you to work with different tips. Each tip has a number to help you identify it. This is helpful when you are using tutorials or templates because they will often tell you which number tip to use to perfectly replicate the design.
One beautiful way to create icing roses for your cake on a stick can be seen in this short video. For these roses, you need to work with two colored tones of icing in your pastry bag.
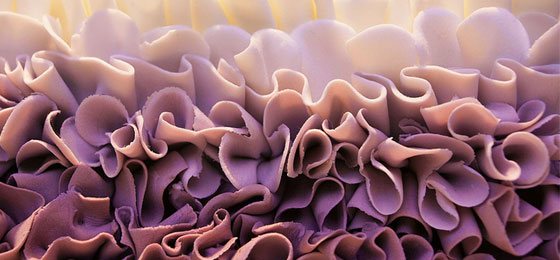
To achieve this: place each color in a small disposable pastry bag, and place them both inside a larger pastry bag. The two tones will come out through the tip creating the impressive effect simply. Using this method, you can also create beautiful ruffles around the sides of your cake.
Further unique personalization can be achieved by using writing tips to write words, names, or to draw your own designs on the cake.
Have Fun
I hope this post encourages you to take your cake decorating and icing to the next level, and have lots of delicious fun while you experiment and practice.
For more inspiration take a look at my post The beginners guide to cake decorating.
Let us know in the comments below how you get on and don’t forget to show us your pictures.

thanks for the tips