Cake artist Aaron McInnis gives his pro tips on how to cover a cake in fondant and get sharp edges by paneling, AKA the upside down method.
Get this week’s free cake tool for piping names and poems into your cakes with accuracy. Click here to learn more
There are two basic options for applying fondant to a cake, and both have their pros and cons. Draping can be great for smooth, round edges.
To get sharp fondant edges on a cake, paneling is the way to go!
Here’s the upside down method used for sharp fondant edges:
- 1. For a round cake, first measure the circumference of the cake (all around). Then check the height (top to bottom). Finally, get the diameter (width) of the top.
To make the side panel:
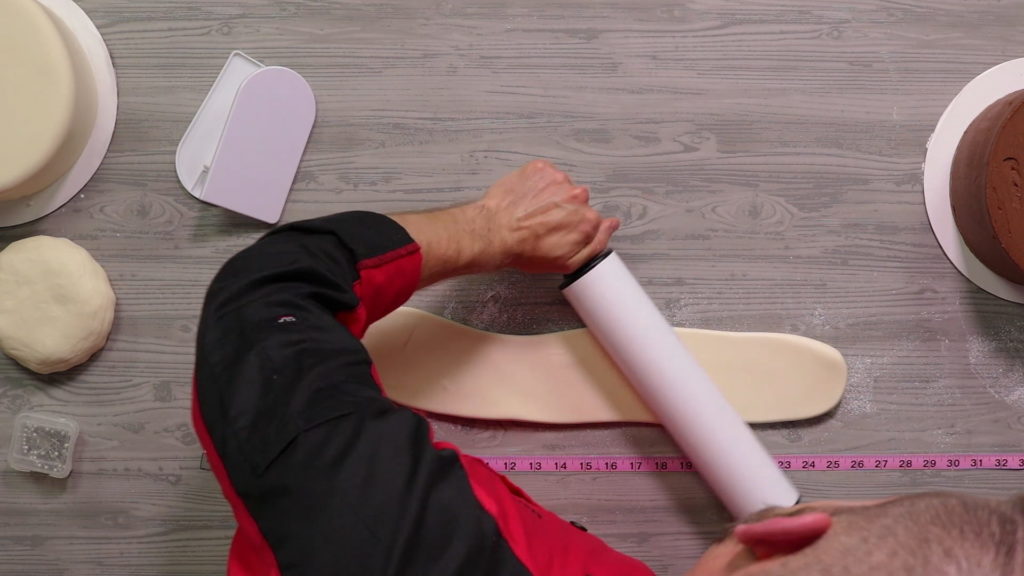
- 2. Roll the fondant into a sausage shape and work it with a rolling pin into a long, flat rectangle. Make it larger than your measures, so you can cut a straight edge and overlap the ends.
- 3. Next, pop any air bubbles with a needle and smooth them out lightly with your fingertip. Then, cut the bottom edge of the panel to be as straight as possible across.
To make the top round:
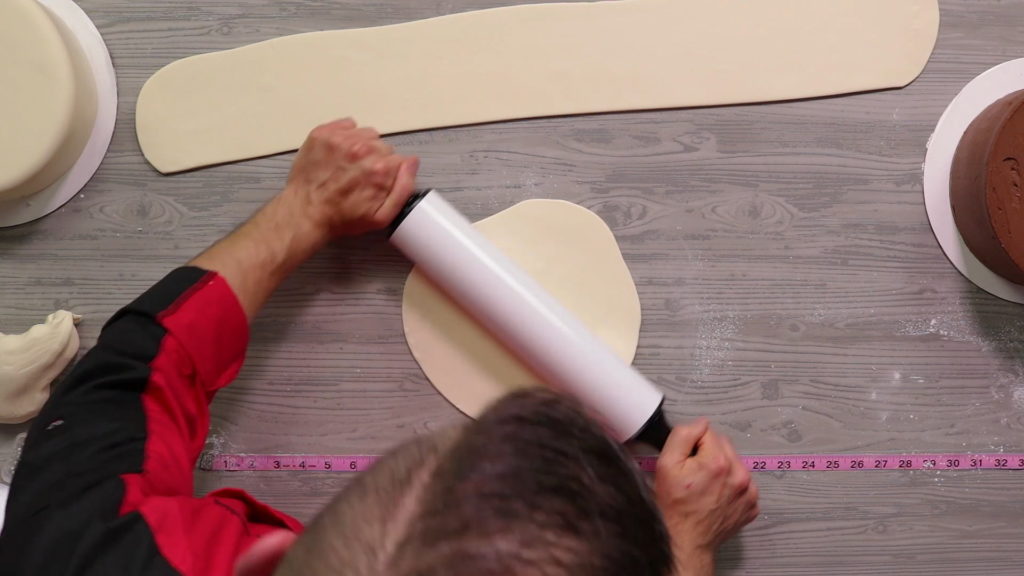
- 4. While the side panel is setting, roll out a ball of fondant from the center, until it is big enough to cover the top of the cake.
- 5. Go ahead and place the fondant round on top of the cake, working out from the center with your smoother.
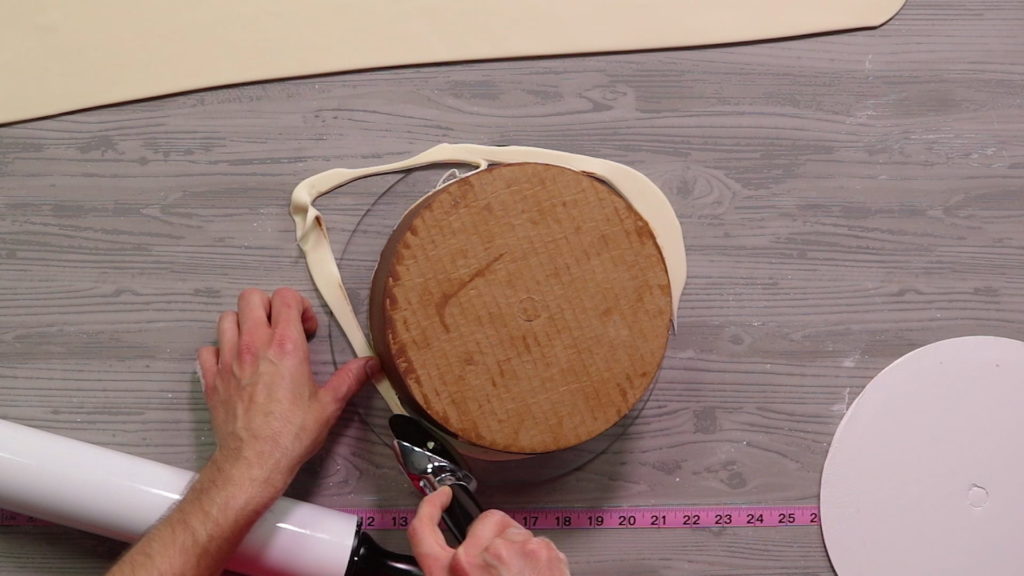
- 6. Using an acrylic or cardboard round, dust the top of the cake with cornstarch and sandwich the cake between your two rounds.
- 7. Flip the cake! (It’s not as scary as it sounds, and you’re going to have to do it again, so best get over it now.)
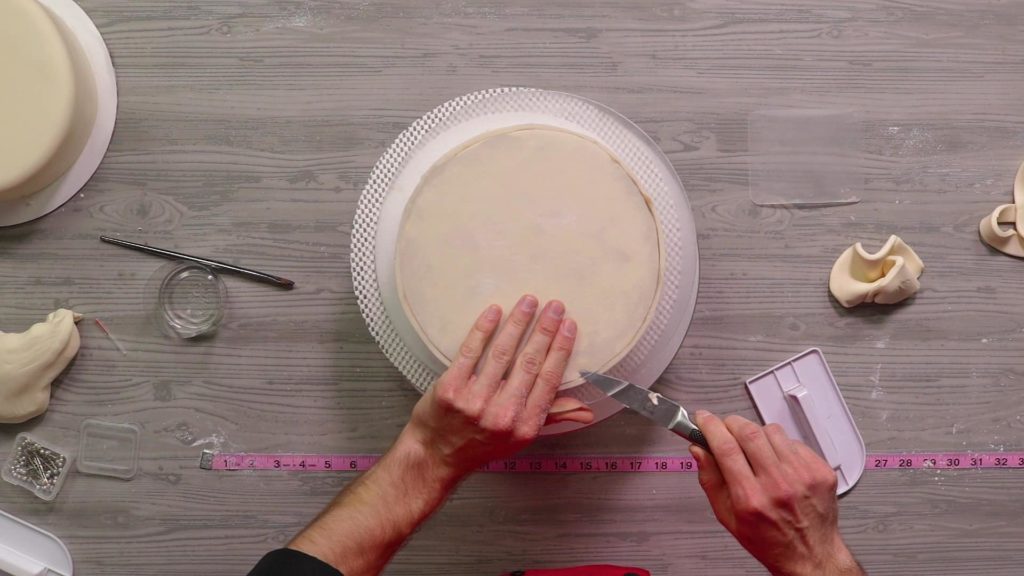
- 8. Setting the cake on your worktable upside down, use a knife or pizza cutter to cut off the excess fondant from around the top of the cake.
To bring it all together:
- 9. Using a clean brush, paint the edge of the fondant on the top of the cake with water in order to stick on the side panel.
- 10. Roll the side panel over a mini rolling pin for ease of use, and unroll it onto the cake. Make sure the straight edge meets the top of the cake all around. To secure, press the panel onto the cake with your smoother.
- 11. Overlap the ends, and cut a straight line down the center of the overlap. Discard the excess cuts. Paint the edges of the panel with water and join the ends for a perfect seam.
- 12. Using the cake round as a guide, trim off the excess fondant from the side panel along the bottom of the cake.
Sandwich the cake between two rounds, flip it back over, and voila – perfectly sharp edges!
Tips ‘n Tricks from the Pro:
- 2 measuring tapes are better than 1. (Keep one taped to the worktable – or a ruled cutting mat is also very helpful!)
- Dab some shortening on your hands to keep the fondant from sticking to them while you work with it.
- Dust your surface with a cornstarch-filled nylon sock (a new one, please!)
- While acupuncture needles are the finest and will leave no marks in the fondant, they are quite easy to lose! Quilter’s straight pins with the colorful heads are best for the clumsy or forgetful.
- As long as you keep the seamline in the back of the cake somewhat straight and aligned with other tiers, a visible seam is perfectly acceptable.
- Most of the scraps from your precision cuts can be rolled back into your fondant. Avoid any that have been contaminated by other ingredients.
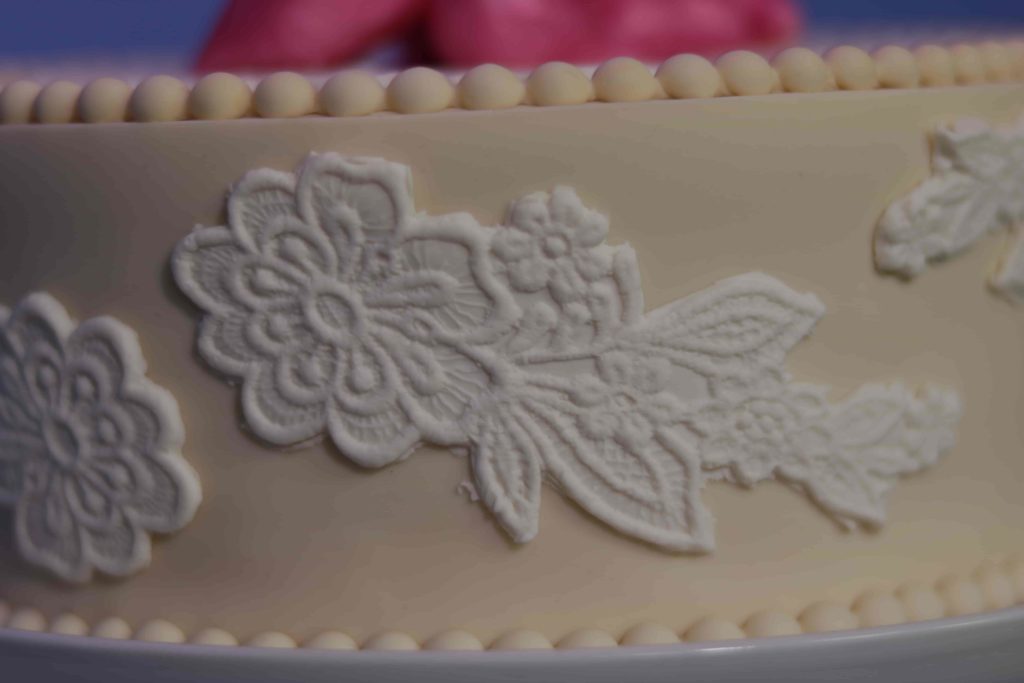
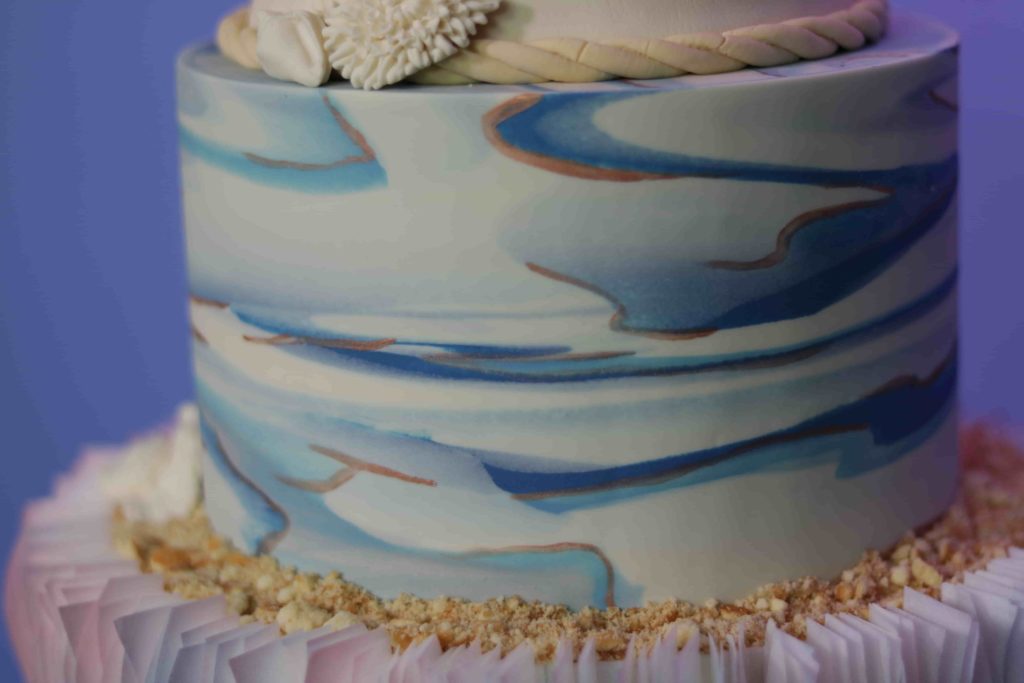
From here, the cake is your canvas. Add edible lace or pearls. You can even try marbling the fondant with some funky colors before you cut it!
Have you tried the upside down method before? Tell us in the comments section!
Get this week’s free cake tool for piping names and poems into your cakes with accuracy. Click here to learn more
Thank you for this video. I am just lead I this to work with the fondant and this video makes it seem less intimidating to work with . I am glad I came across this wonderful video. You always have great information.
That looks easy but how easy is it when your sponge. Has. Cream or jam in the middle?
Great job! I will try this!
Thank you for yore share
Awesome tips thanks so much
Nice joy! I will try it 😍
I AM SO HAPPY TO WATCH A D LEARN FROM YOUR VIDEO. I AM SO EXCITED TO TRY THIS.
WHERE DO YOU GET/ OR MAKE THE NON STREACHABLE FONDANT.
Beautiful, thanks so much,I really appreciate it
I must try this method they make it look alot easier and less trouble with the fondant. However I always put jam and buttercream in my sponge cake so I’m guessing this might not work for it.
Looks real easy and would not stretch Thank you
Hi Julie, it most definitely should! Aaron’s cake had similar filling.
Brilliant, always used drape method, will definitely try the upside down method. Thank you.
Hi l am interested abt your describe cake and unfortunately I am deaf and difficult read English but I prefer show video how to make and subtitles but I love it you made and how to learn thank you