Cake designer Sarah Lu demonstrates how quick and simple it is to make an eye-catching glamorous glitter cake using just piping gel and edible glitter!
Want to test and keep free this week’s 7 cake smoothers for awesome results? click here to get yours now
If you’ve ever bedazzled anything, you know a little glitz and glam goes a long way. Well, it’s no different for cake decorating.
This super versatile technique is a sure way to make your design stand out, whether it’s a birthday cake, wedding cake, or some other dazzling dessert like cake pops.
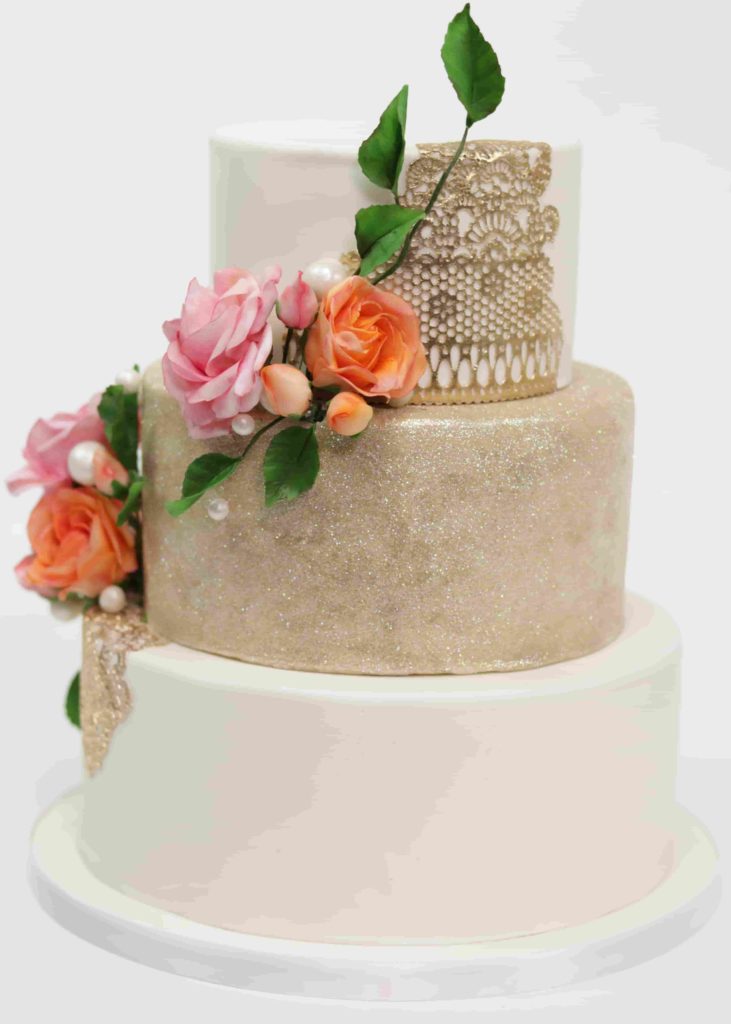
Before you get started…
You will need just a few things for this spectacular method. It is a beautiful mess you will be creating, so pick a nice clear surface to work on.
First, your cake may be paneled, draped or even bas-relief, but be sure it’s covered in fondant that has had time to dry. You will be pressing into the surface of the cake. Sarah Lu went with a single draped tier for a seamless finish.
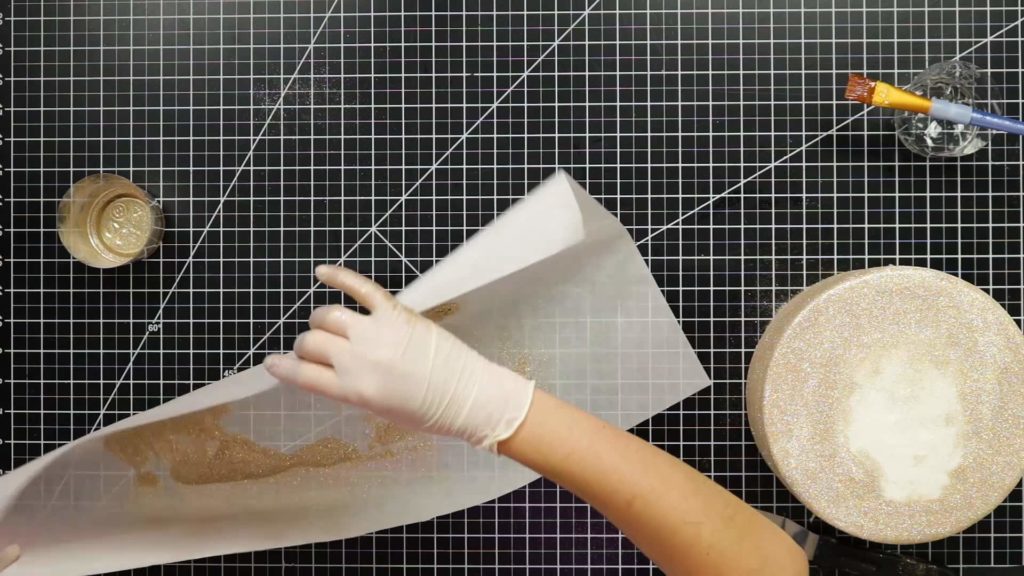
Beneath your cake should be a sheet of parchment paper. It should be large enough to catch the falling glitter but small enough to be able to fold it and pour the fallen glitter back into your supply cup.
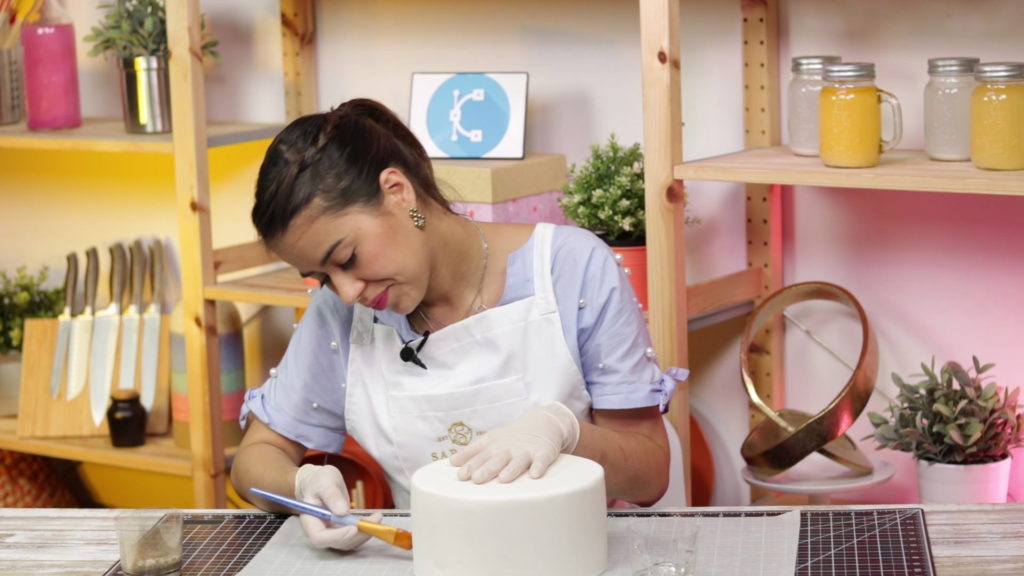
The best “glue” for the glitter is a simple piping gel. Clear, sticky, effective.
Buy the edible glitter online or make your own. Sarah Lu mixes white “disco dust” and gold luster dust for a refined gold sparkle.
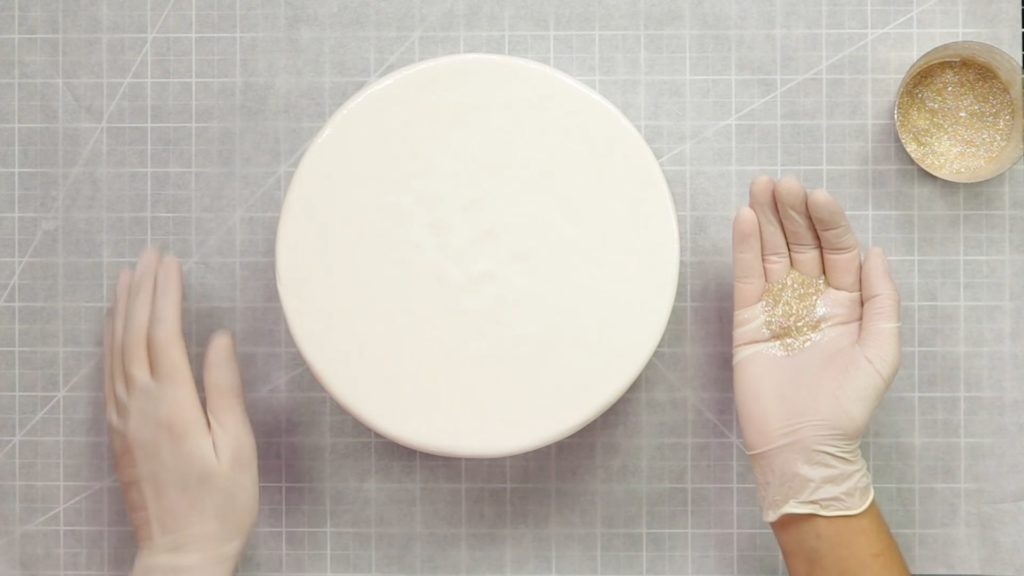
Last but definitely not least – gloves. Do not try to do this without gloves. You will regret it.
How to apply edible glitter:
- Step 1. Apply piping gel to your fondant-covered cake with a food-safe brush. Try to work quickly to get the whole cake painted before it starts to dry. If the gel dries, the glitter won’t stick to it.
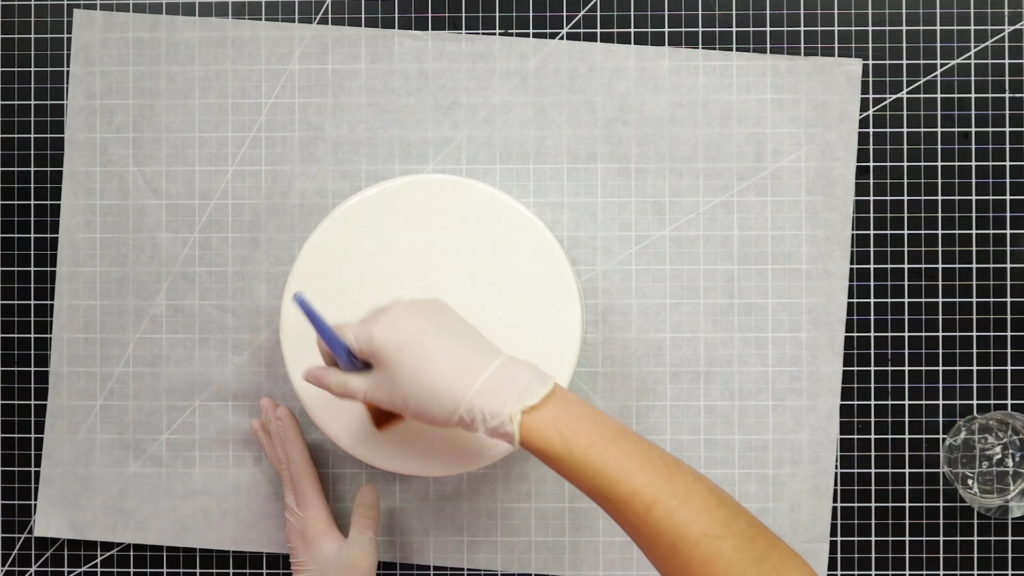
- Step 2. Add the glam! Pour the glitter into your gloved hand and pat it onto the piping gel, smoothing it over the top of the cake lightly with your hands. Rub the glitter gently over the sides to cover all the fondant.
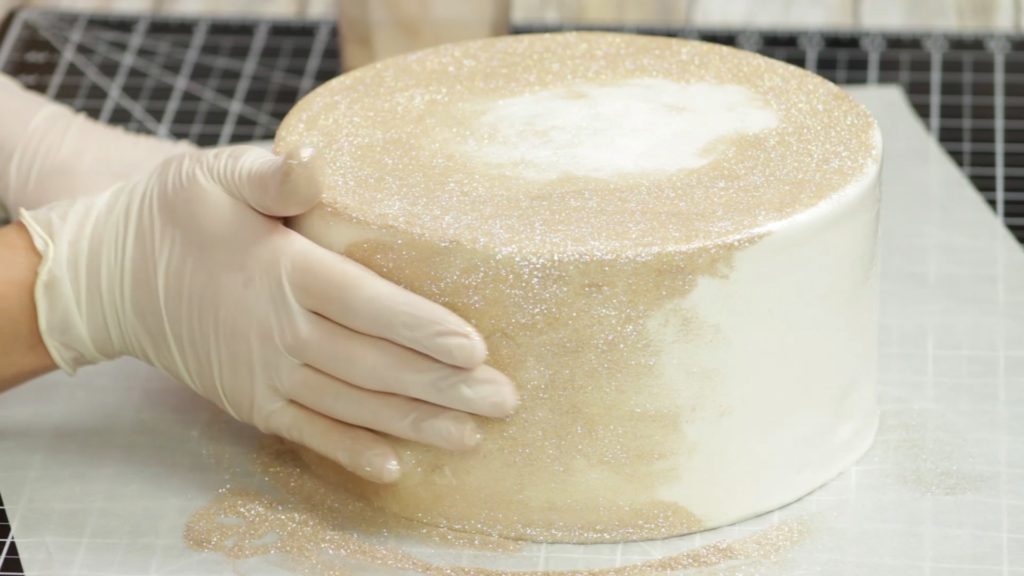
If this is just one tier in a series for you, don’t worry about the top as much. You can even score the cake with the size of the top tier so as not to waste any glitter there at all.
- Step 3. Add more glitter! This may seem obvious, but layers are key. It will look uneven if you don’t keep patting it on.
For economy, use the parchment to catch the fallen glitter. Then move the cake off of it, fold the parchment and pour the unused dust into your cup to re-use.
This technique holds up all on its own, but also coordinates well with sugar flowers and edible lace for an elegant finish.
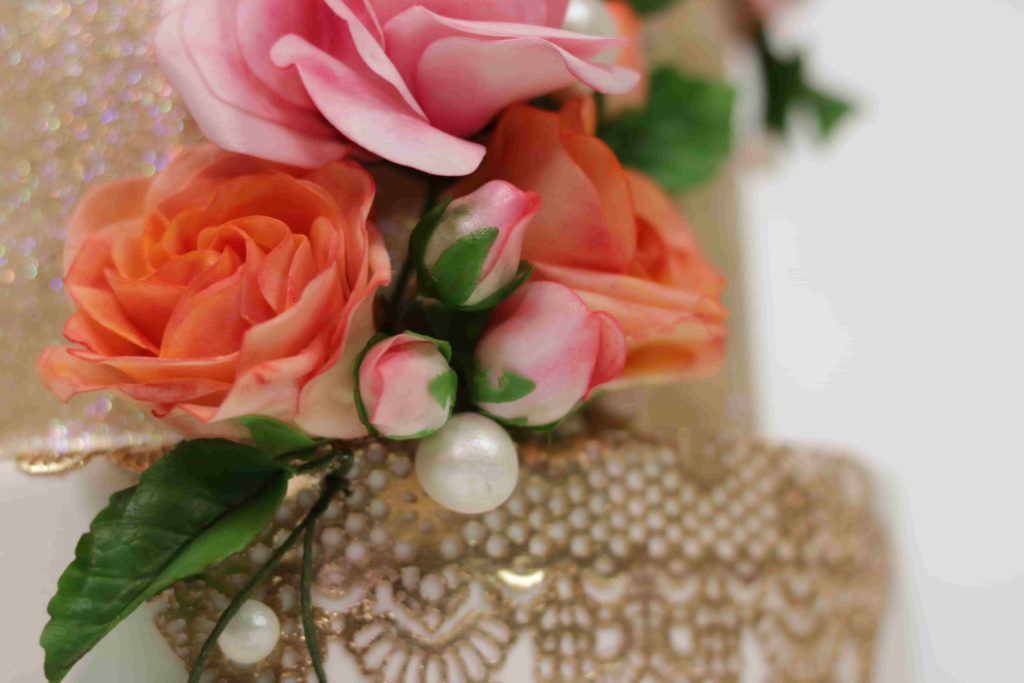
Yes you will make a glittery mess. Yes the glitter may linger for a few weeks. Or months. But who cares? It’s shiny and fun and was totally worth it for your gorgeous glam cake.
What sweet creation are you going to glitterfy now? Share with us in the comments section!
Want to test and keep free this week’s 7 cake smoothers for awesome results? click here to get yours now
Beautiful
I love the cake
beautiful cake, I’m waiting for colder weather to bake its been 105-108 here
Love it. Can’t wait to try it but has to cool off first it’s 110 here
What if you aren’t using Fondant? Will this stick to frosting with out the glaze?
I would assume so.
Beautiful..
I can’t wait as the baking season is coming up with holidays soon approaching….
Beautiful
Judt beautiful.
Can this be done with just buttercream frosting? Most of my cakes do not have fondant. But I really like this look.
The way she explains it and actually does it, makes it seem sooooo easy.
belle presentation sara
Nice
This was a fantastic video! It was easy to under & the next time I make a cake, I will try it. Thanks!
Seu Lim 🙋♀️🙋♀️👋💗😘🙂🙋♀️♥️😍🎂🥰