Get this week’s FREE double-sided cake combs kit and MasterClass when you submit your opinion Click here to learn more now
Cake piping techniques that are stunning, incredibly intricate, creative, and… daunting!
In this post I’ll break the process down, demystifying the techniques, and boosting your confidence to get set and pipe.
For other cake decorating techniques, see my Beginners Guide to Cake Decorating.
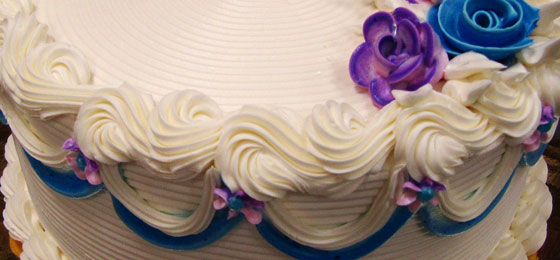
Planning Your Cake Piping Design
Practice is a key ingredient in cake piping, as is planning. And it’s here we’ll start.
Before doing anything you need to develop a detailed plan of what you want your cake to look like when it’s finished.
If you need inspiration try searching online, there’s such a wealth of information out there. When I’m at a loss for ideas I read baking and cake decorating blogs (see my post 100 Best Baking and Cake Decorating Blogs). I also find that searching on Pinterest, or on YouTube for tutorials, is super helpful.
When you have collected your ideas, develop them to create a design. And it’s also beneficial to sketch out your plan, to scale if possible.
Which Icing to Use
So you’ve got your design… the next thing to decide is what are you going to use for the cake piping: buttercream, Swiss meringue buttercream, or royal icing.
This will depend on what surface you’re going to be decorating:
- If you’re piping onto fondant, it’s better to use royal icing because this will go hard and won’t damage the fondant. (If you used buttercream, the grease and humidity could cause ‘bleeding’ onto the fondant.)
- If you’re going to be piping on to buttercream or Swiss meringue buttercream, then it’s better to use the same recipe. It doesn’t matter if you’re using another color or flavor, the important thing is to use the same type of icing.
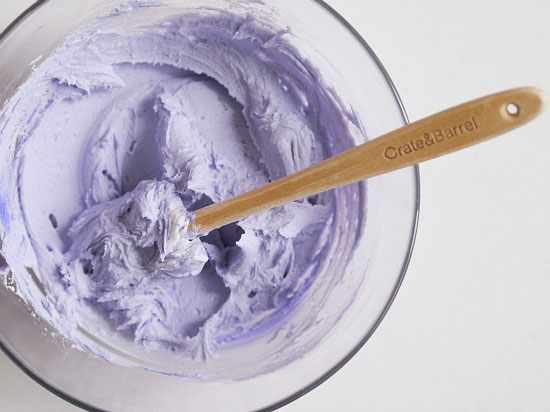
Filling Your Cake Piping Bag
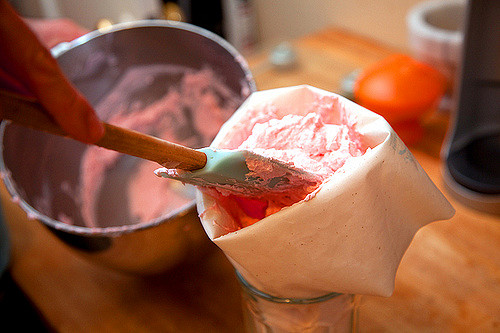
A clean and organized work space is always helpful. And filling a piping bag can get really messy.
Here’s one way to make it a whole lot easier… and less messy!
- Place the bag (with the piping nozzle already in place) inside a glass
- Open the bag until you cover the sides of the glass, so you have the perfect cavity to add the filling
- Add the icing to a maximum of ⅔ full
- When finished, take the bag out and place on a flat surface
- Using a bench scraper, push the icing towards the tip of the bag
- Twist the bag to hold the icing in
- Before you start piping, squeeze a little icing out to remove any trapped air bubbles.
How to Hold a Cake Piping Bag
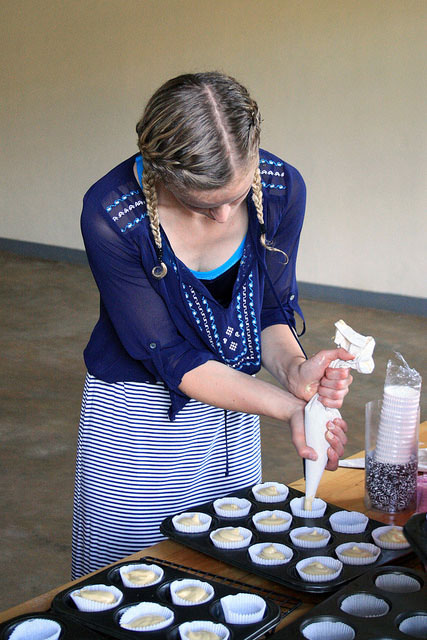
Valuable tip: Paying attention to how you hold the bag and your posture can save you very real discomfort after several hours of cake piping and decorating. It can also help improve your finished product and your technique development. (It’s worth being intentional over this because it’s going to be far from your mind once you are fully focused on piping.)
So here’s how to use your bag:
- Make sure your bag is twisted at the top so the icing will leave through the nozzle and not the top!
- To avoid the top from becoming untwisted, hold the pastry bag securely between the thumb and forefinger of one hand, as if the two were a pincer. And then close your hand. The thumb will keep the icing down and the other fingers will create the necessary pressure, squeezing the icing downwards (see image above).
- To maintain good control over the piping, place your other hand as close as possible to the nozzle, (while making sure that all fingers are off the adapter). Use the pressure you apply to direct the icing through the nozzle.
- To direct the piping accurately, place your forefinger on the nozzle screw piece while your thumb and other three fingers hold the bag.
Practice, Practice, Practice… Makes Perfect
The techniques used for intricate cake piping all require practice. And here are a couple of ways to make it easy to get a lot of practice, before trying it on an all important cake…
One brilliant way is to use glasses or mirrors to practice piping onto. Because they are vertical surfaces, just like the sides of a cake, they make realistic practice surfaces. They’re also easy to clean, and perfect for viewing your designs.
Glasses and crystal cups are ideal for practicing the piping techniques used to create the delicate filigree designs. These can be made using royal icing and are very popular on wedding cakes.
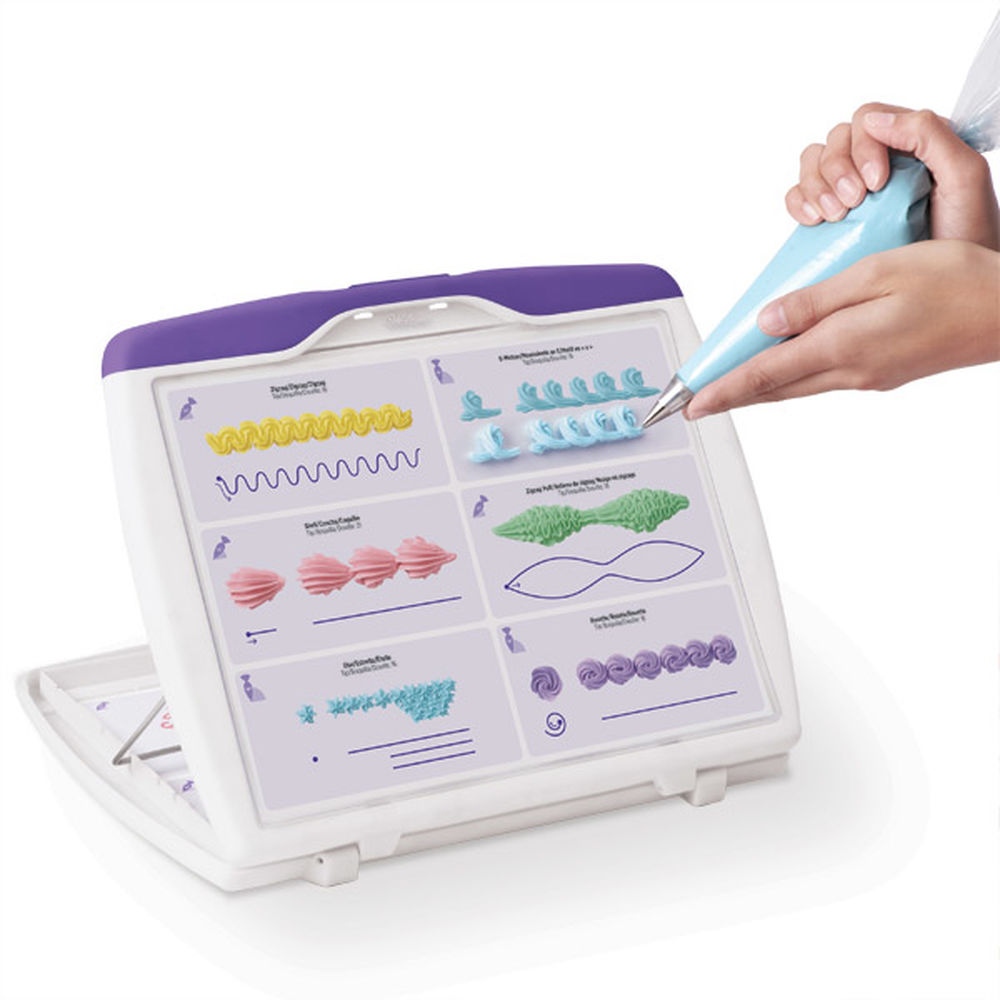
But also have a look at this inexpensive board: another great way to practice. These boards come with guides for you to follow with more than 80 techniques, allowing for comprehensive cake piping practice.
Start Simple and Work Up
To start learning new techniques for cake piping in your own home, I recommend online tutorials and videos.
I suggest starting with the more simple techniques, like the ribbon frosting technique or making some basic borders. And as your confidence grows, you will gradually feel more comfortable moving onto the more intricate designs.
I hope you feel encouraged and inspired to take out your piping bag and get started. Don’t be intimidated by it, it really is all about practice, and perfecting the art.
Please share in the comments below… I’d love to hear about your experiences, and any extra tips you can offer in cake piping.
Get this week’s FREE double-sided cake combs kit and MasterClass when you submit your opinion Click here to learn more now
I never new there was a right way to hold a pipeing bag brilliant tip thank you .
I love learning new techniques to better what I already do.
I vant to sign on your program please .
Hi Obdulia. You can sign in here: http://creativiu.com/classes/cake-decorating/
Never come across the piping board before, it’s a good practice tool
I love reading all these techniques. Thank you.
Learning a better way of doing things you’ve done another way is very helpful. Thanks