We are presenting an excellent tutorial from CreativiU’s courses to allow you to learn several ways of making perfect Half Square Triangles. It is a transcript from an excerpt of “What I Wish I Knew About Quilting Before I Started”, lesson 4, by Linda J. Hahn
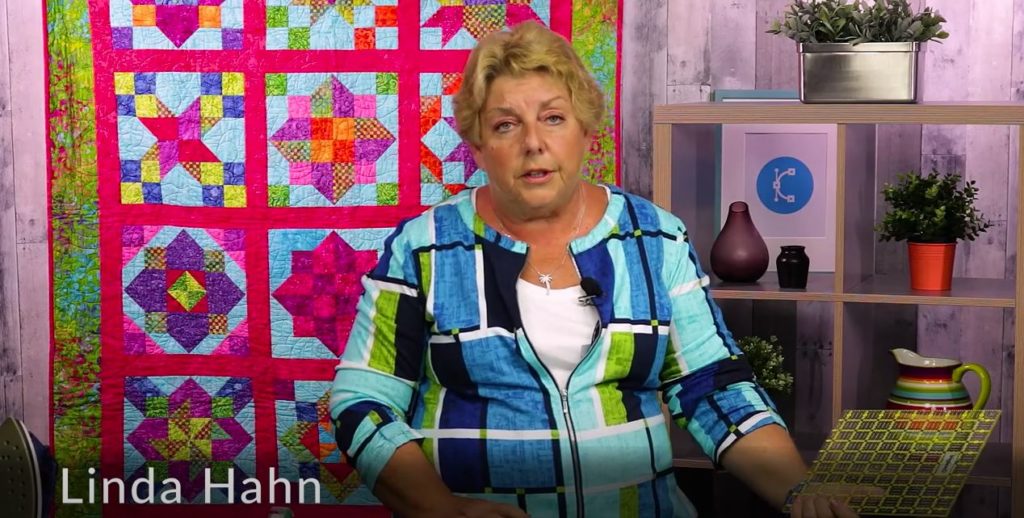
Another basic block that you should really need to know about is the halfsquare triangle. In ancient times the pioneer women used to cut these from templates in a triangle and stitch them on the long side. What would happen is this is a bias edge and the triangles would stretch and become distorted.

Using Your Ruler To Make Perfect Half Square Triangles
There are other ways that you can create this piece and have them come out perfect. One of them is to take two squares, and you’re going to place them right sides together and use your ruler to draw a diagonal line from corner to corner. You would stitch quarter of an inch beyond this line on each side.
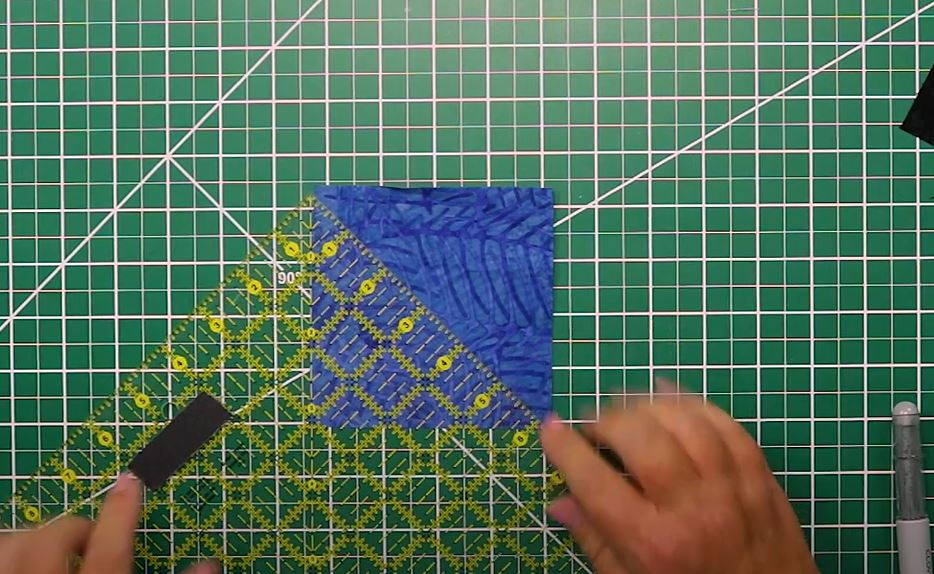
I have drawn the diagonal line from corner to corner with my chalk pencil. I’m going to stitch a quarter of an inch on the right of this line.
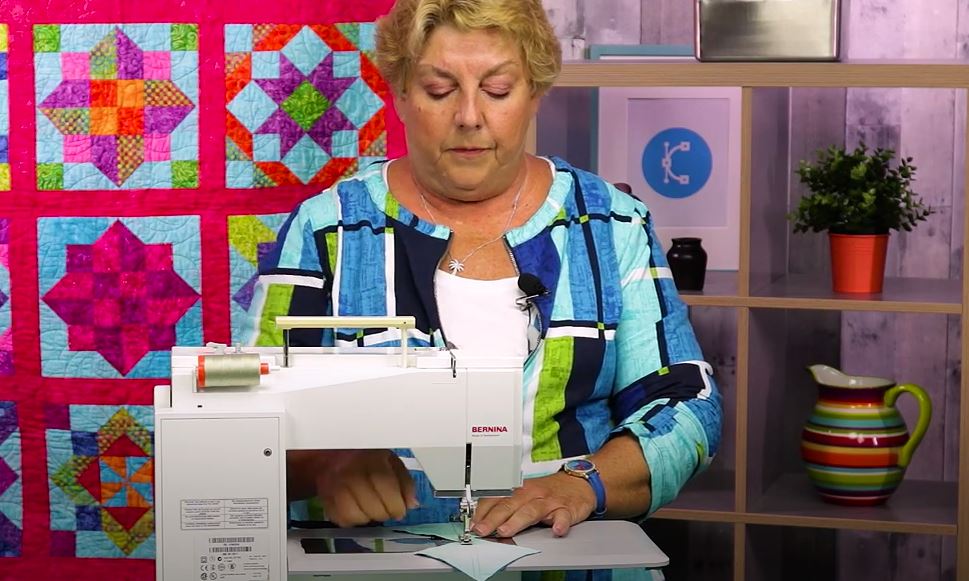
I want a chain piece, so the next piece that gets fed in just lift that presser foot just a little bit. It’s going to be on the opposite side and reach around.

Now I’m going to put this up super duper quick and I’m not breaking my thread.
Okay, I’m gonna pull over my pressing board. We have our half square triangle squares pressed!

Now we’re going to cut them apart on the drawn line, so you can do that free hand rotary cut or you can cut with your fabric scissors.
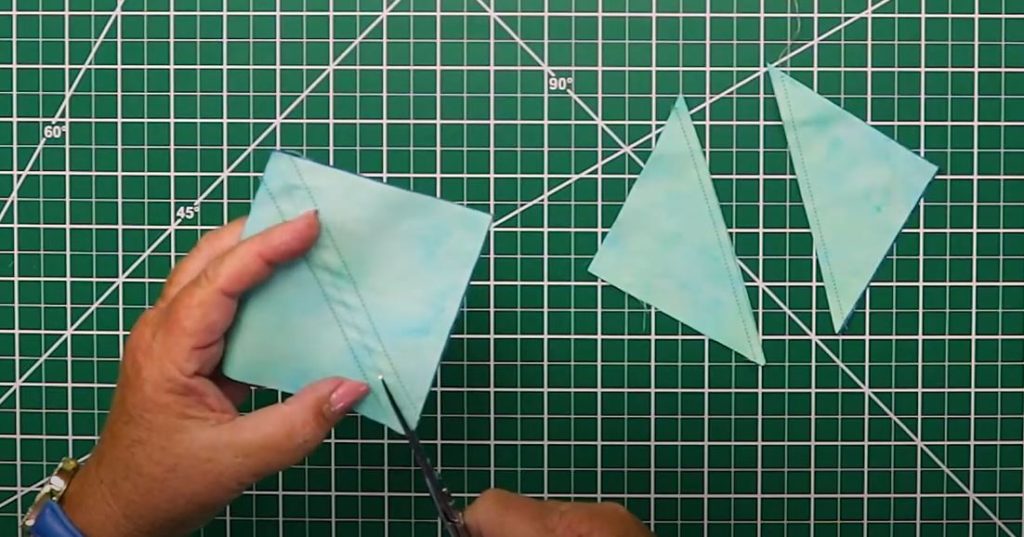
Do you need to have a perfect quarter inch seam? Yeah, nobody is going to know when you stitch this into a quilt.
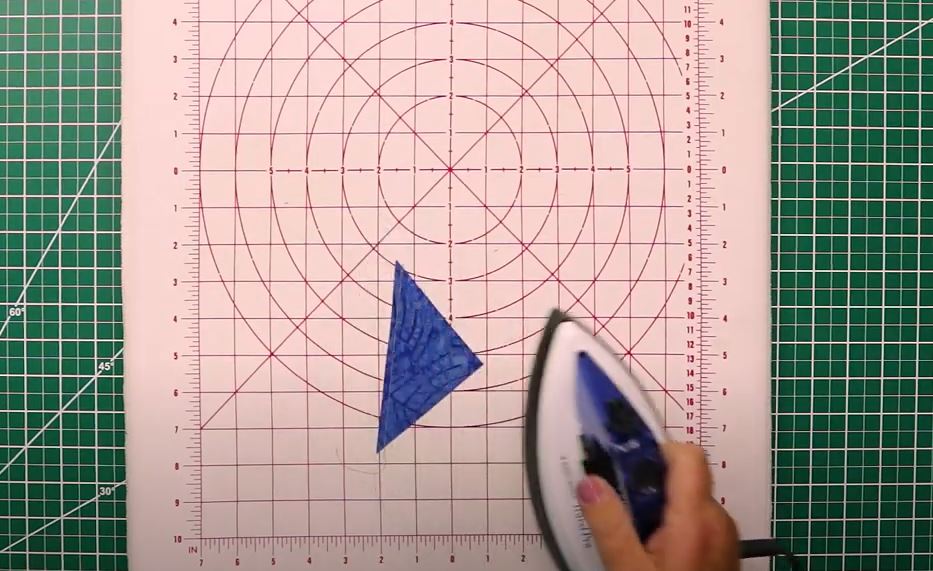
We’re going to traditionally press towards the darker of the fabrics. You may want to use some starch. You press it closed and then you’ll press it open. Make sure when you press these that these are fully opened so that you don’t have a little overlap.
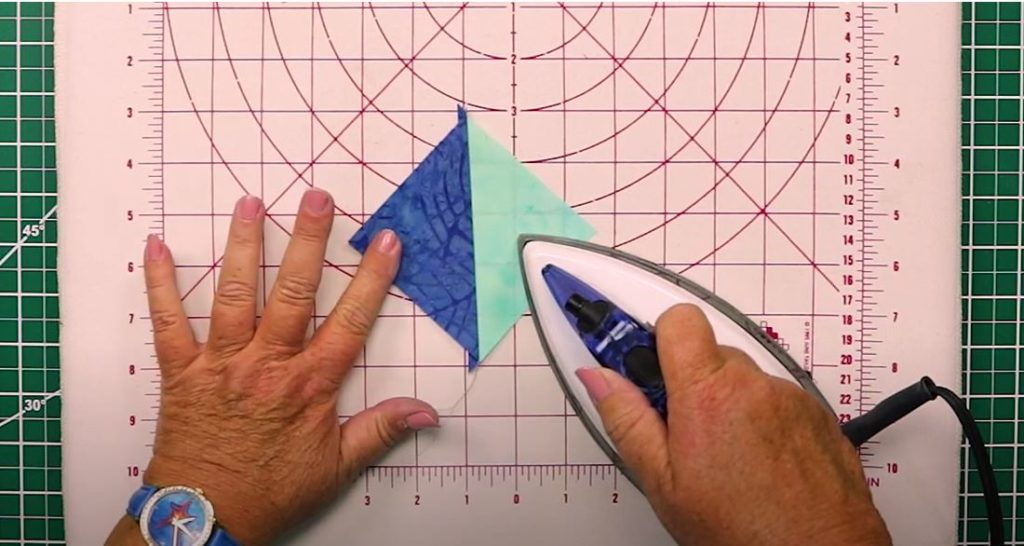
You don’t have to dig, just a nice press. Now we’re going to trim. This is where the diagonal line of your ruler comes in. These are going to finish at two and a half inches so we need to trim this down.
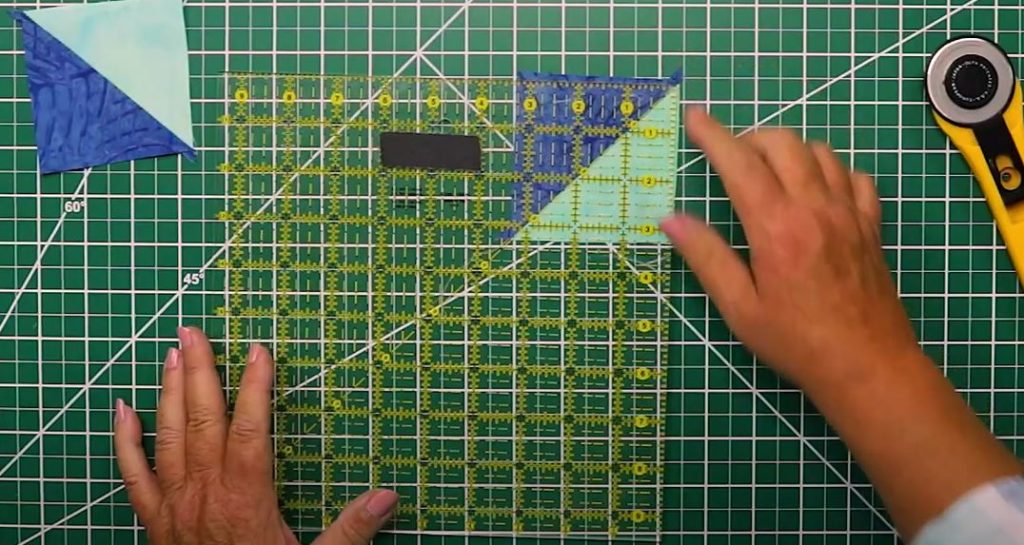
I’m going to put the diagonal line of the ruler on that diagonal seam and I’ll take that first cut. As I’m taking that first cut I’m trimming off the ear. Then I’m going to turn the piece and once again I’m going to put this on the diagonal seam. Bring this to 3 because it needs to be larger than the two and a half finished size, and cut. So I’m going to do this again. We’re trimming this two three inches diagonal seam. Okay, the diagonal line over the diagonal seam and you’re cutting off the ears and straightening your piece as you go perfect Half Square Triangles.
Perfect Half Square Triangles Using Triangle Paper
Another way you can do this is to use triangle paper. There are many different products on the market and what they are is a paper grid. This particular brand that I use is like ecological paper so, you know, it tears really easy. That’s kind of what you want because you’re going to need to tear this paper out.

You’ll see each square is 2 half square triangles, thus the name Half Square Triangle. What I’ll do is I will determine how many squares I need by numbering them. This particular size will give me 12 Half Square Triangles of this fabric combination, and when you’re first starting to work with triangle paper I do recommend that you number them so you can count appropriately.
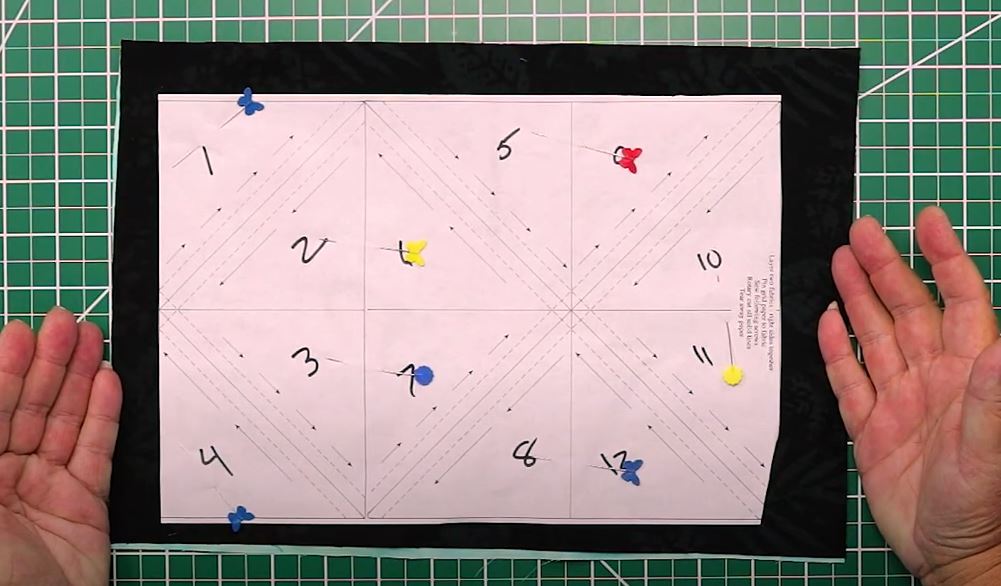
Pin it down. These are right sides together with the fabric that you are pressing towards next to the paper. You follow the lines and they have arrows on here.
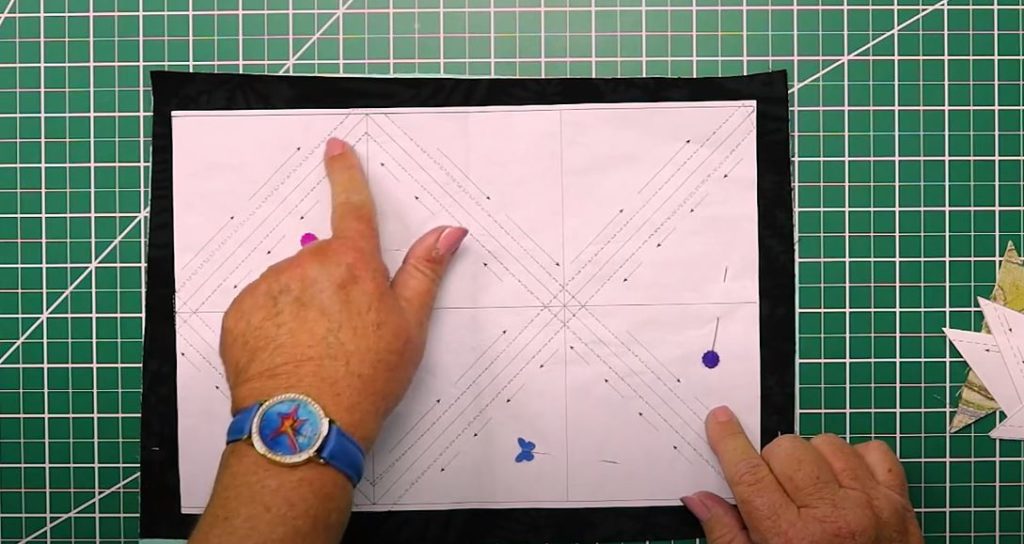
It will look like this on the back.
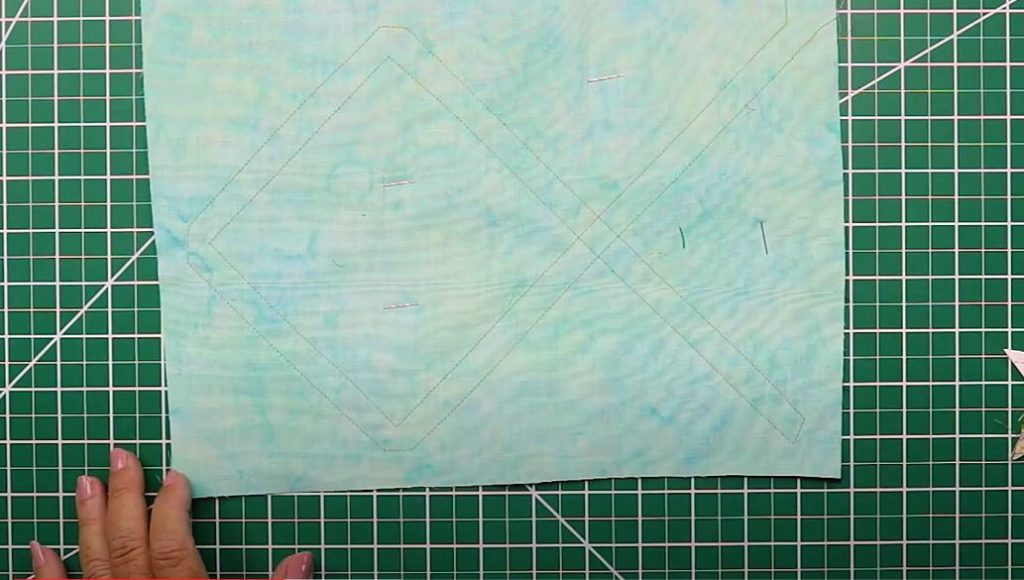
You then cut your triangles apart on the solid line and they’re going to look like this.

What I do different with my triangles is pull my pressing mat over here. I’m going to press with the paper still on. I’m going to press it solid and I’m going to press it open keeping the paper on. This gives it a little more stability.
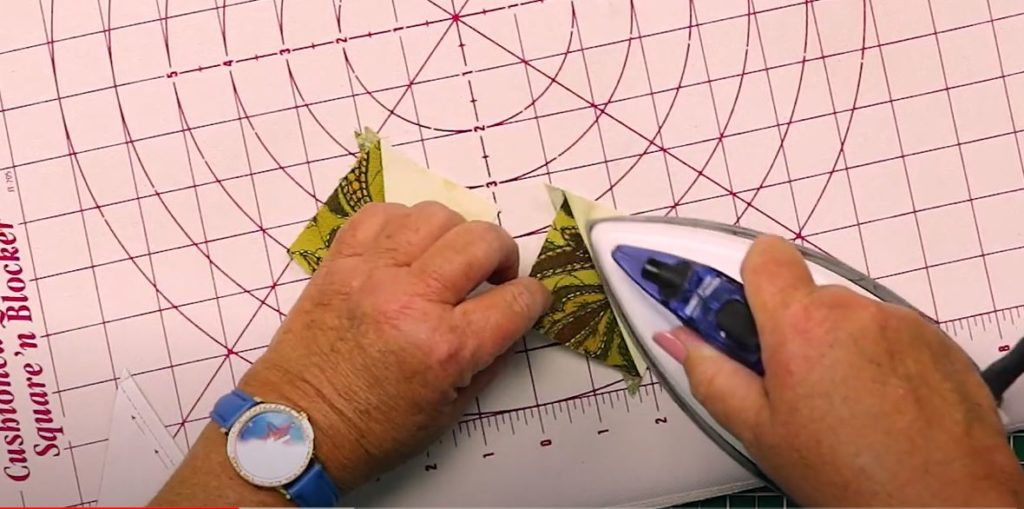
Now I have my triangle. I need to take out the paper, nice easy tear.
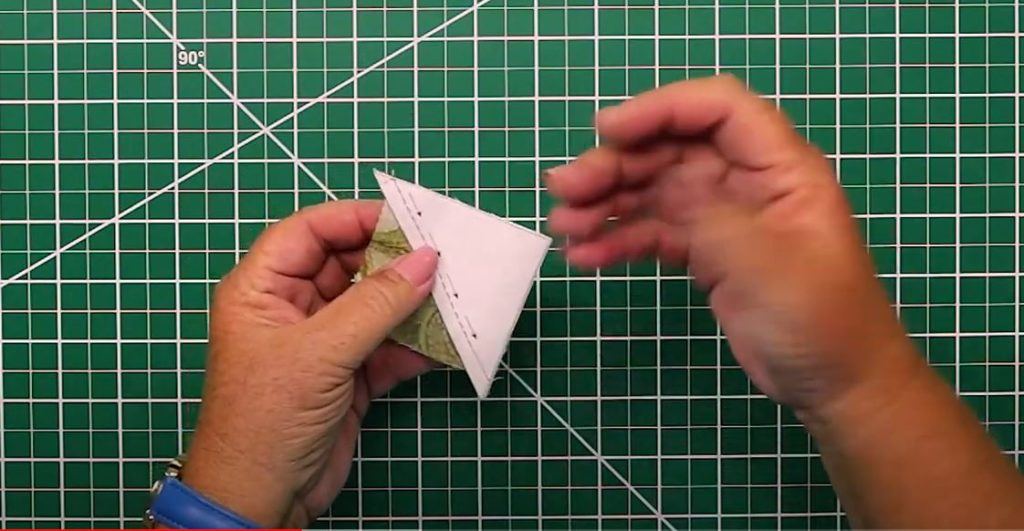
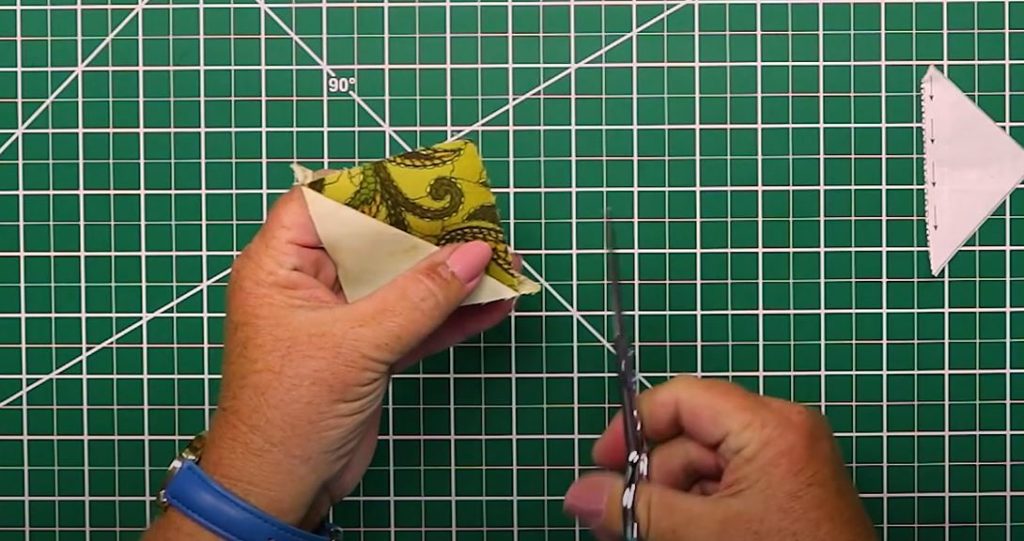
Now you need to get rid of these little ears. Some people call them bunny ears. You can cut them with scissors or those who don’t want to cut with scissors you can carefully cut with a rotary cutter. These you don’t need to trim up because they’re going to come out pretty accurate and straight.
Using Strips
If you don’t have squares, no problem, you can use strips to make Half Square Triangles. You want to take a strip a half an inch larger than your finished size. Don’t forget, we need to add these an allowance so it’s going to be a half an inch larger than your finished size.
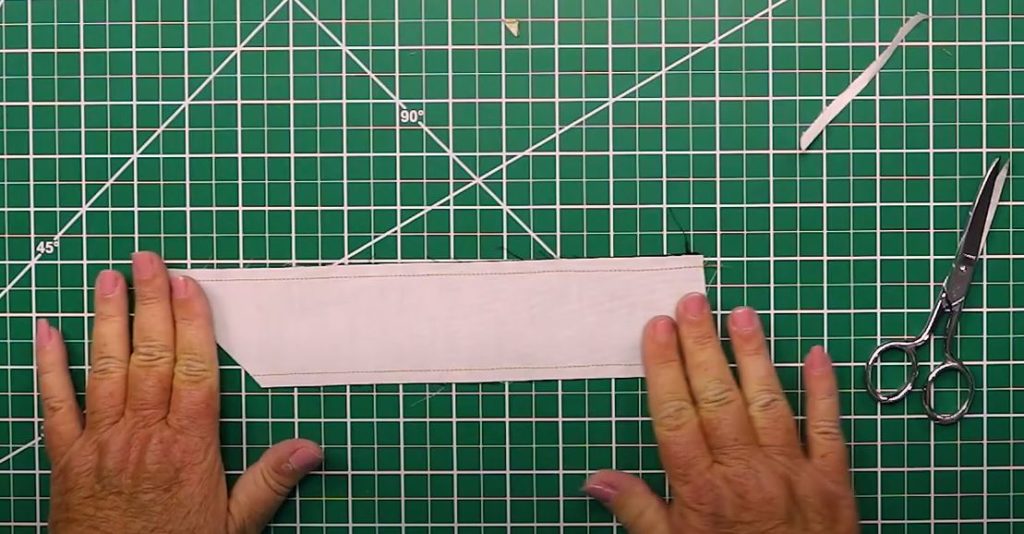
Why? Because there’s the seam allowance for the triangle paper.
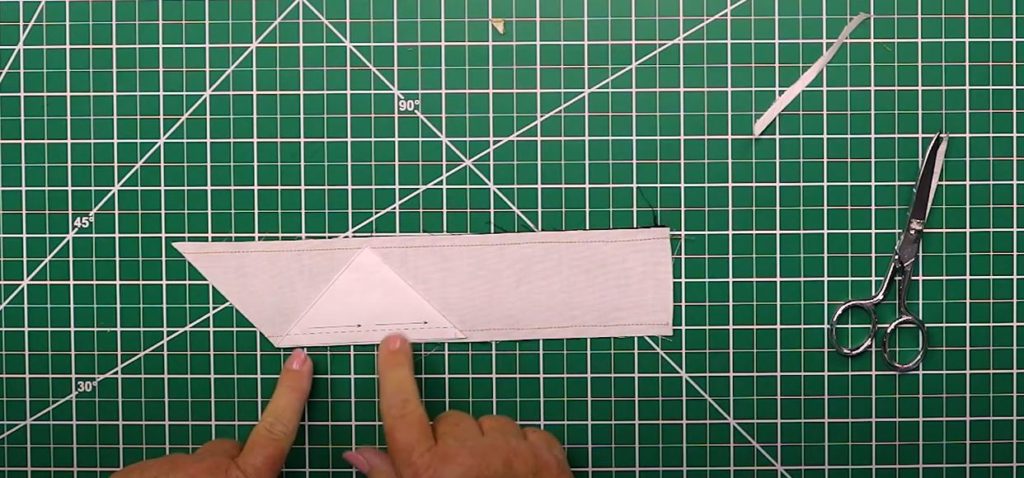
You can take your ruler and pin your triangle paper with some Scotch tape if you need. Line up the seam allowance on the paper, which, if you look, it comes out to the three inch mark on the ruler.
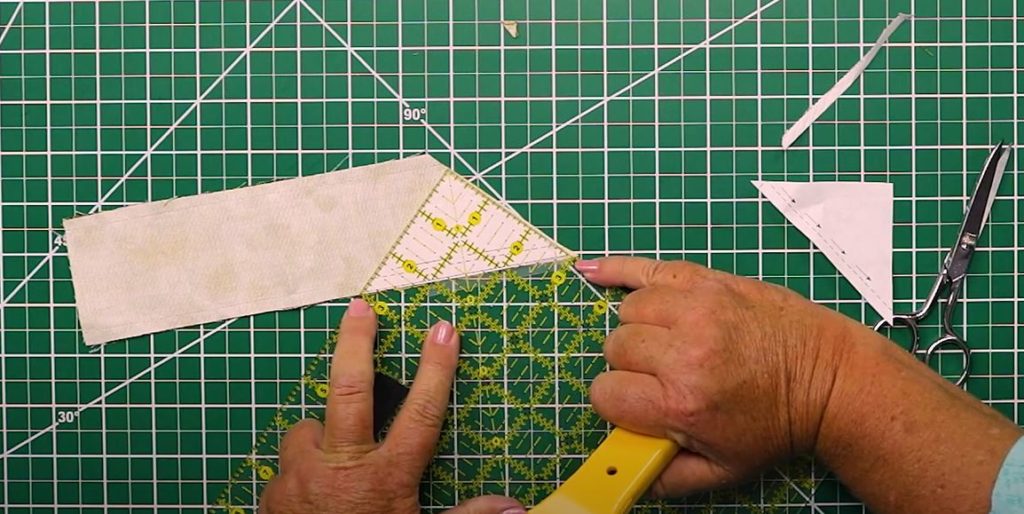
Then you can flip it around and again put the seam allowance on, and you cut and cut.
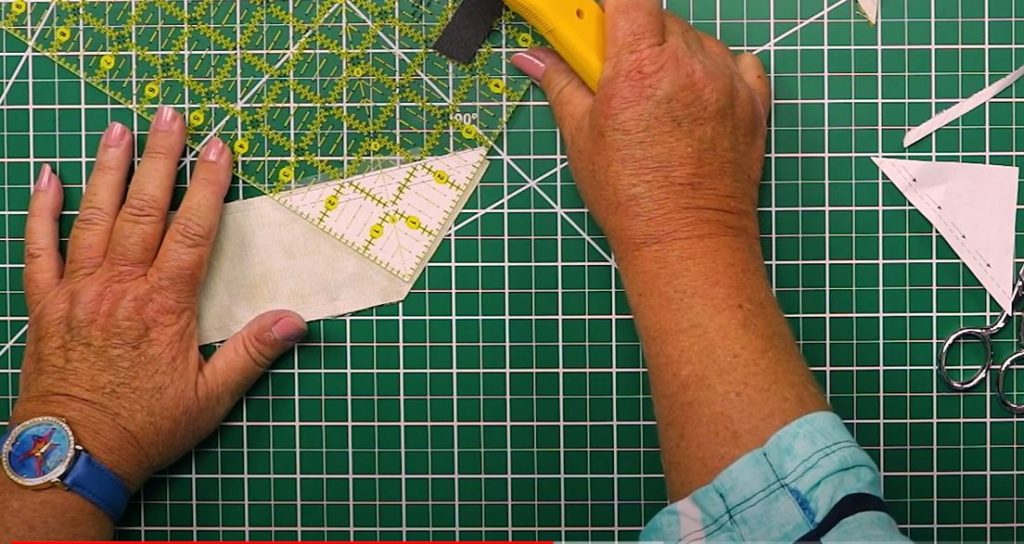
So you have Half Square Triangles from strips. No squares, no problem!
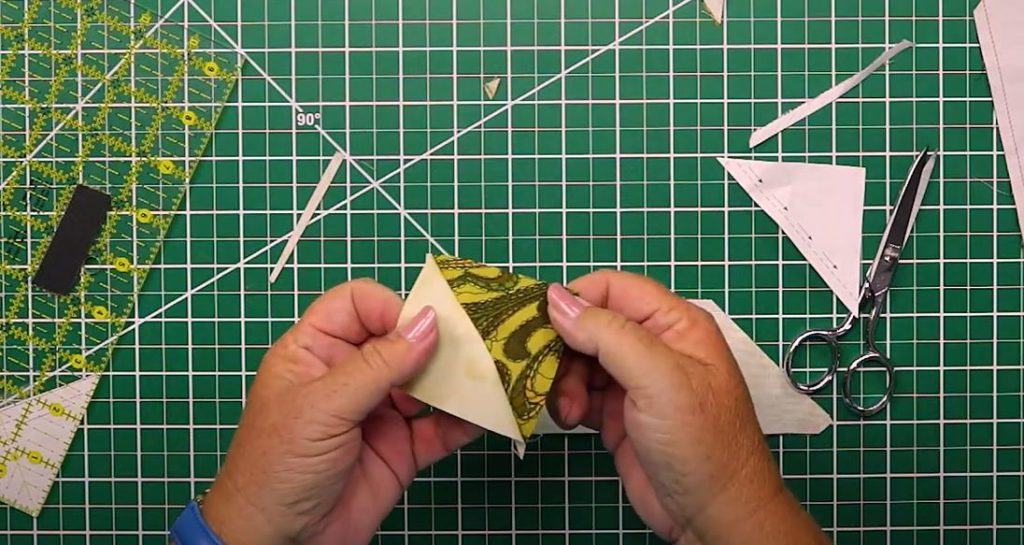
You could also draw this grid yourself on the fabric if you wanted to. I draw them one inch larger than the finished size. A lot of patterns will tell you to cut the triangle or the squares 7/8 of an inch larger. I’m going to go an inch larger because I don’t like working with eighths, and I would rather trim it down a little bit than have it off, just in case I’m having a bad piecing day. So it’s just much easier to cut it down than to keep making new ones.
Making Flying Gueese Units
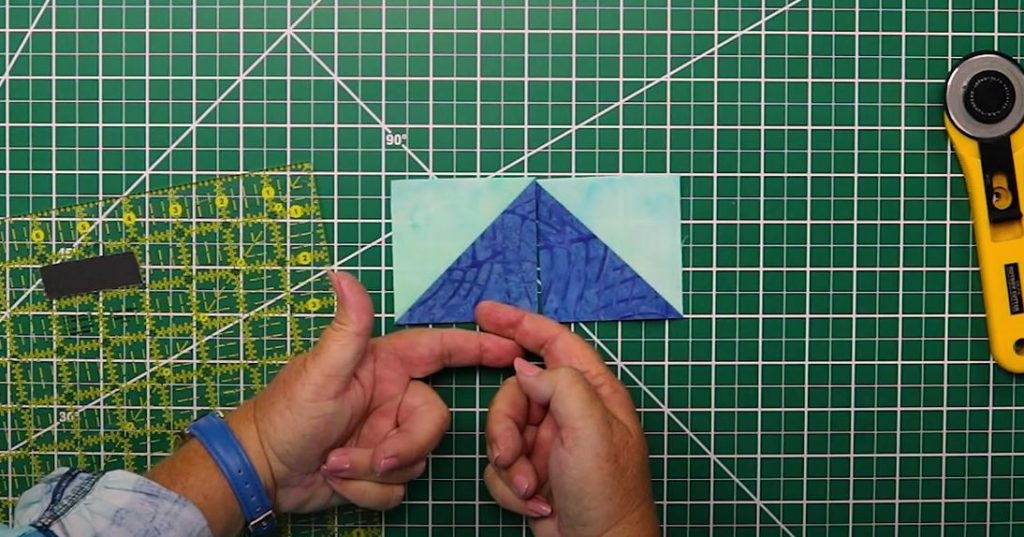
If you are going to make a flying geese unit where the two colors are on the same side, when you try to interlock the seams to sew you will see that both are going in the same direction. This is where I would press half of my Half Square Triangles to the light, half of my Half Square Triangles to the dark, so that when you put these together the seams will interlock and you will have a quarter inch at your tip.
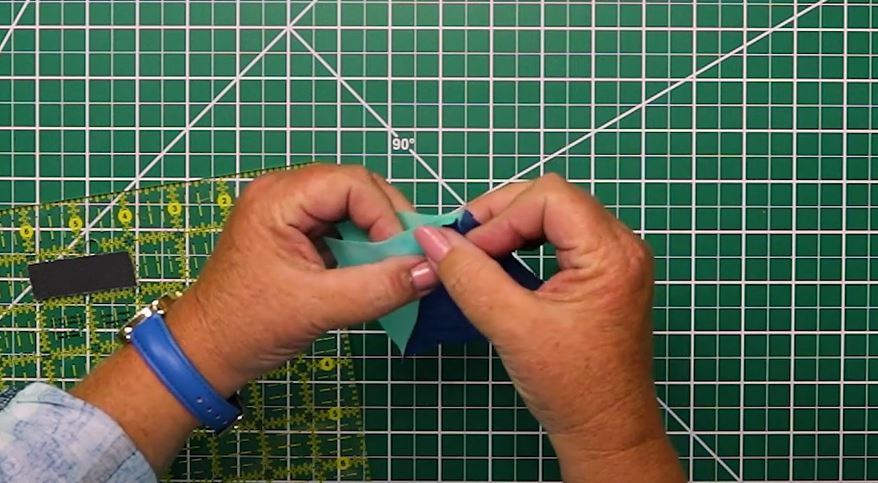
So whatever method you use you have options to get your half Square triangles!
Try this tutorial out to see 10 Awesome Half Square Triangle Quilt Layouts! by Melanie Ham
We hope that you have enjoyed this post!
Leave a Reply