When we celebrate an occasion, there is something almost always present that reaffirms the sense of joy: a delicious and gorgeous cake. We love to express emotions through themes that go accordingly. We live sometimes in a hurry and consumed by the routine. Even if we try, it can be difficult to find enough time to make the most elaborate cake we think or dream of, to give as a birthday present. But there are plenty of cake decorating designs you can try. I’m going to share with you these simple and fun ones that can save you some time, but still create something very appealing to the eyes.
Sometimes great cake decorating designs can be achieved through simple elements or techniques, with a concept in mind or just by being abstract. Candies, chocolates bars and other sweets you can find in any supermarket can become your partners in crime for that killer cake.
You can also create some ornaments using chocolate, sugar, fruit chips, peanuts, almonds, etc. Just connect with your inner cool and rebel artist that wants to break the standards and send a message to society with a powerful cake. Hahaha… With this I just mean: be playful and have fun! That is the key to opening doors and inviting creativity into our lives.
Cake decorating requires you to have some handy tools. You need to keep an eye on the cake decorating supplies you own to be sure there’s nothing missing when you’re ready to decorate a cake.
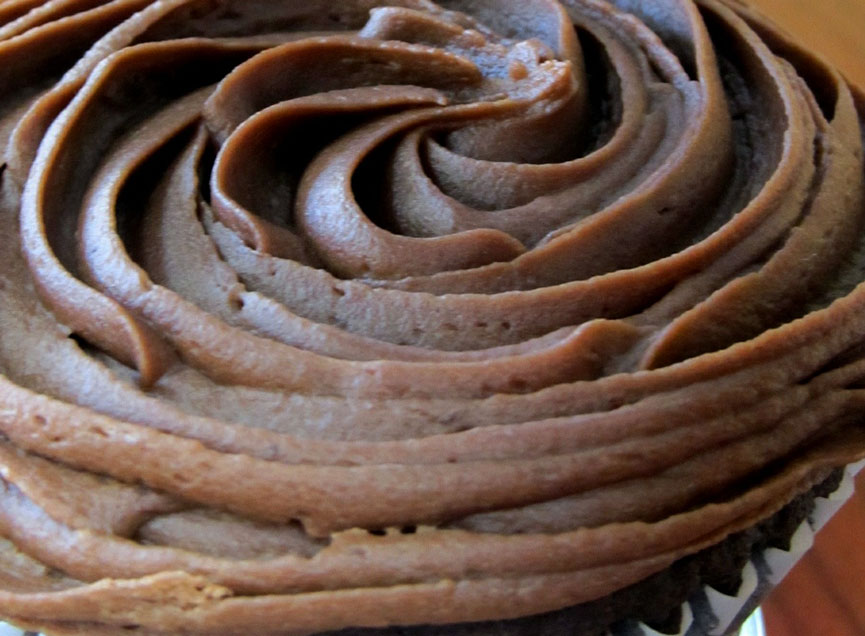
For some of these cake decorating designs, we are going to need to do some icing and filling in the cakes. We can also use a Swiss Meringue Buttercream recipe. And if you are going to use it for filling the cakes, remember you can add the flavor you like and color it the way you want. For the chocolate frosting, follow this recipe I am going to share with you.
Chocolate Frosting
Ingredients
- 200g butter (unsalted)
- 500g caster sugar
- 160g cocoa powder
- 1/2 tsp vanilla
- 1/2 cup of milk
Preparation
Remember to leave the butter outside the fridge some minutes before starting to prepare the frosting; you need the butter to be soft and at room temperature.
In a bowl, beat the butter with an electric mixer until you get a creamy texture. Slowly add the caster sugar and cocoa powder. Add the vanilla, a tablespoon full at a time. Add milk until you get the desired consistency for your chocolate frosting.
The chocolate frosting is ready! If you’re not going to use it immediately, keep it in the fridge covered with plastic wrap. Remember to leave it outside the fridge for a while before spreading it over the cake; you need it to be smooth.
Kit Kat Cake Decorating Designs for Birthday Cakes
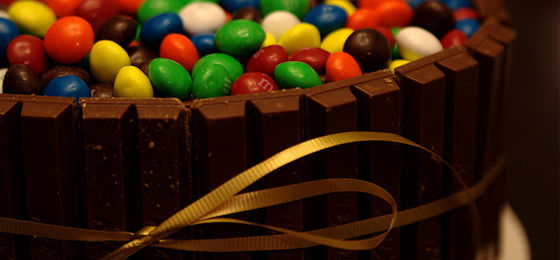
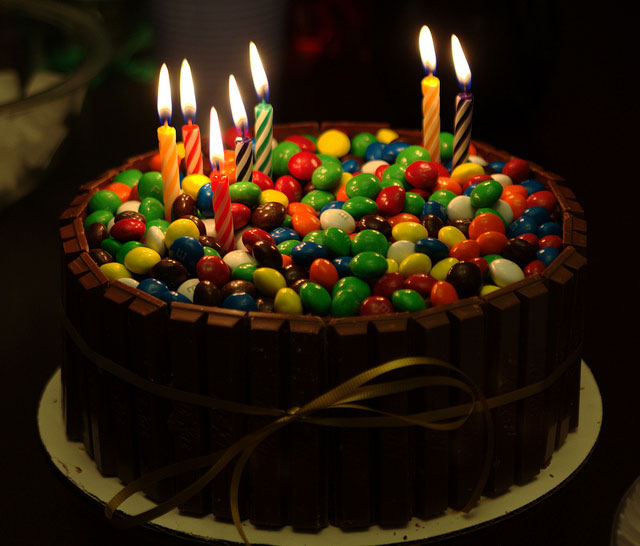
I love sweets. I don’t know who was the genius that found out that the Kit Kat was a perfect idea for some really cute cake decorating designs. It is the most popular and easy one to make. It turns your cake into a pool that you can fill with any type of sweets or chocolates you want: M&M’s, Maltesers, white cachous, chocolate chips, Skittles, chocolate honeycomb bullets, Ferrero Rocher, etc. Do you have any other idea in mind we can use for this?
Kit Kat M&M’s Cake
There is a nice and very simple tutorial that shows you how to assemble this cake. I am going to write down every step in case you don’t have the time to watch the video. I think this is the shortest tutorial to follow for instructions on how to put this cake decoration together, but I prefer to use my own cake recipe, and the frosting recipe I shared above.
Ingredients
- 2 chocolate mud cakes.
- 10 Kit Kat Bars. (King Size).
- 1-1/2 cups M&M’s.
- 2 cups chocolate frosting (I prefer the recipe I gave you above).
- Ribbon (the color and material of your choice).
Preparation
- Spread the chocolate frosting all over the top of one of the cakes and then place the other one on top. The frosting will act as the glue that will hold the cakes together. You can prepare more frosting and assemble a thin-filled layered cake, but since we are going for the shortcuts, the two-level cake will be less time-consuming.
- Now frost the cake, covering the cake completely. For this purpose, you can use a spatula. It does not have to be perfect; this frosting will be just the “glue” to stick the Kit Kat bars to the cake.
- Break the Kit Kat bars in half, so you will be placing them 2 by 2 all around the cake.
- Spread the M&M’s on top.
- Place and shape the ribbon around the cake to give the perfect finishing result.
Pigs in Mud Cake with Kit Kat

This cake is very popular. I found a tutorial on YouTube that takes you step by step through the elaboration for this cake. It even teaches you how to make a very cute version of the pigs. If you want to see it, click here.
I have to tell you a secret. I am not very good at molding figures. What? You’re not any good with this either? Phew! It is good to know that I am not alone.
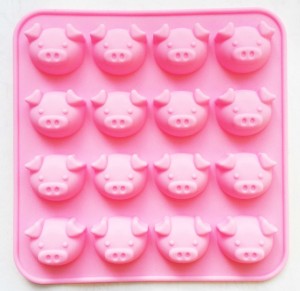
Don’t worry, be happy! I came up with an idea to help us with this. Since the key for the cake decorating designs we are doing today is to take the most shortcuts we can, even if you are great at molding figures, I am sure you will find this helpful if you don’t have the time for doing the little pigs. Take a look at this cute Pig silicone mold:

The non-stick silicone material will be perfect for different ingredients that can be used to create the molds such as gum paste, fondant, sugar paste, modeling chocolate or melted chocolate. We can cover at least the faces, and we just have to make the other parts of the body that are not that difficult. The idea of using these molds is to simplify the difficult steps for this and some other cake decorating designs. Do you have an easier way to create these little pigs?
For the “mud”, where the little pigs are going to have so much fun, we need to make a chocolate ganache.
Chocolate Ganache

Ingredients
- 9oz bittersweet chocolate.
- 1 cup heavy cream
Preparation
- Chop the chocolate in little pieces and take them to a heat-resistant bowl.
- Put the cream into a saucepan and take it to a medium heat.
- Just before the cream starts to boil, take it off the heat.
- Pour the hot cream over the chopped chocolate you have in the bowl.
- With the help of a metal whisk, mix until you get the smooth and glossy texture you want.
Before using the ganache for the decoration, it has to cool down. Don’t take it to the fridge, just let it cool down naturally to room temperature.
Assembling The Pigs in Mud Cake
We have to repeat some steps we did for the Kit Kat M&M’s Cake.
- Spread the chocolate frosting all over the top of one of the cakes, then place the other one on top.
- Now comes the icing of the cake.
- Break the Kit Kat bars in half, and place them around the cake.
- Whisk the ganache until light and fluffy and spread it over the top of the cake, creating the mud for the pigs.
- Now bring the little pigs to play in the mud.
- Place and shape the ribbon around the cake to give the perfect finishing result.
I hope you enjoyed this post as much as I did while writing it. These cake decorating designs can be the trick up your sleeve when you are busy and need to make a special cake for a loved one. Have you ever tried doing these cake decorations before? Let us know about your experience in the comments below.
Stay creative!


