Getting a Cricut for the first time feels like opening a treasure chest and not knowing which key fits.
Most new users stare at the box, wonder where to start, and end up watching endless videos that never get them past the setup screen. That stops when you learn the simple flow that takes the guesswork out of the process.
Here’s how to use a Cricut machine for beginners: unbox, plug in, connect to your phone or computer, load a design, choose a blade, and press cut. By the end you’ll hold a finished piece you actually made.
Imagine you’re making a custom shirt for a kid’s birthday or a quick vinyl decal for a home office. You pull the material, pick a design, and the machine does the hard work while you watch the blade glide.
We break the steps into bite-size chunks so you can follow along without feeling overwhelmed. First, plug the machine into a power outlet and pair it via Bluetooth. Then download the free design app and sign up – the same app that powers the tutorials on CreativiU’s course library, where many hobbyists find clear step-by-step videos.
Load the cutting mat, stick your material, and align it using the built-in guides. Choose a simple shape, hit “cut,” and watch the Cricut work its magic. That moment when the blade finishes and you see the perfect shape is the payoff that keeps you crafting.
Stick with these basics and you’ll move from hesitant to confident in no time. The next sections will dive deeper into choosing materials, tweaking settings, and adding personal flair to every project.
Step 1: Unbox and Set Up Your Cricut Machine
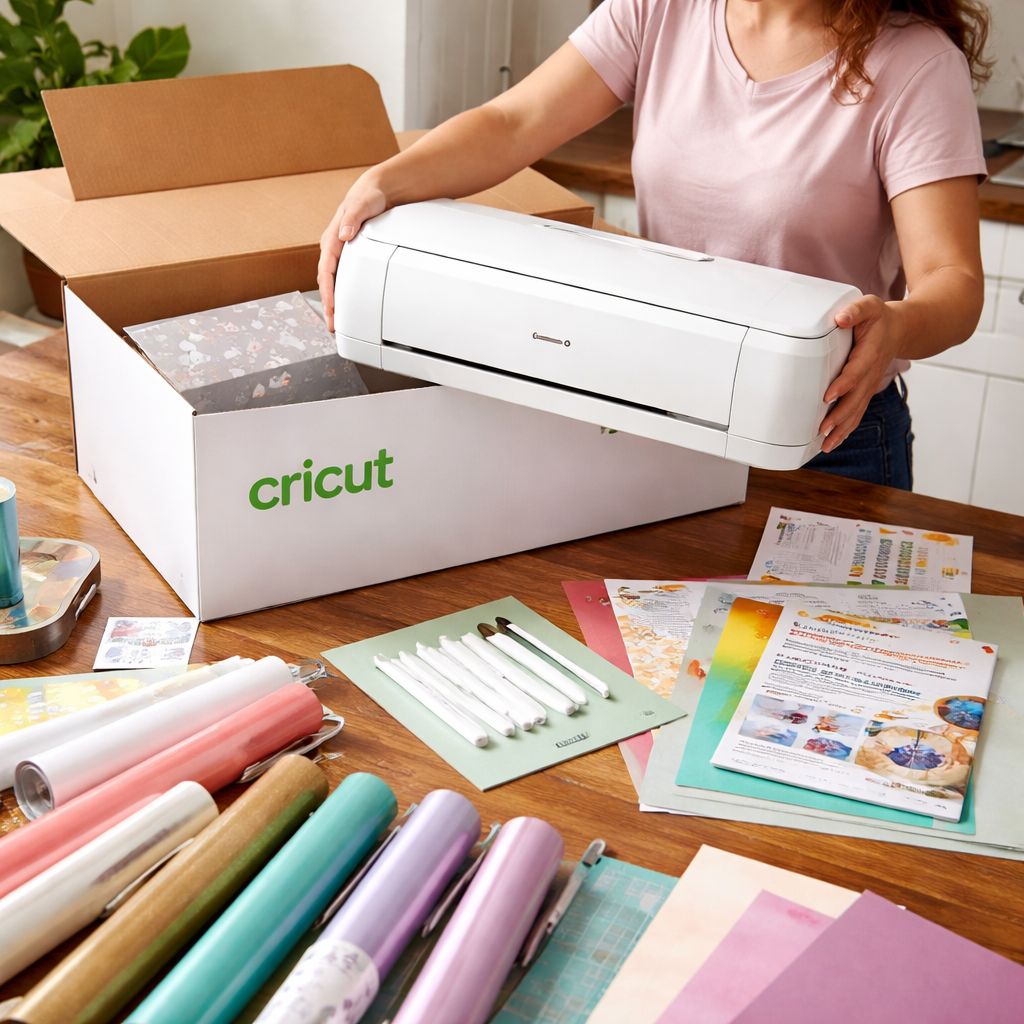
First thing’s first: open the box. You’ll see the machine, power cord, a quick‑start guide, and a few accessories. Don’t rush – take a minute to look at everything. That little pause saves you a lot of guesswork later.
Plug the power cord into a wall socket. The machine should light up and make a soft whir. If it doesn’t, double‑check the outlet. A quick test here avoids frustration when you’re ready to cut.
Now pair the Cricut with your phone or computer via Bluetooth. Open the Cricut Design Space Tutorial for Beginners for a step‑by‑step walk‑through. The app will guide you through the pairing process, and you’ll see the machine appear in the app’s device list.
While the app is loading, place the Cricut on a stable surface. A kitchen table or a sturdy desk works fine. Make sure there’s room around the machine for the cutting arm to move freely.
Load the cutting mat: peel the backing off the material you want to use, stick it to the mat, and smooth out any bubbles. Align the mat with the guides on the machine base. This little habit keeps cuts straight.
Pick a simple shape – a circle or a square – in Design Space. Tap “Cut”. Watch the blade glide. That moment when the blade stops and the shape sits perfectly on the mat is pure joy.
Need extra stickers or labels for your project? JiffyPrintOnline offers printable stickers and labels that work great with Cricut’s cutting mat.
Looking for a unique material to add sparkle? Some crafters love using natural opal flakes. Australian Opal Direct sells opal pieces that can be glued onto Cricut‑cut bases for a fancy finish.
Once the cut is done, gently lift the mat and peel away your shape. If the blade left any tiny bits, a quick brush clears them. You now have a finished piece you actually made.
That’s it. You’ve taken the first step from a mystery box to a ready‑to‑craft tool. From here you’ll move on to choosing materials, tweaking settings, and adding your own flair.
Step 2: Choose the Right Materials – A Quick Comparison
Now that your machine is set up, the next big decision is what to cut. The right mat holds your material steady, and picking the wrong one can cause a messy cut or a broken blade.
Think about the weight of the sheet you’re using. Light paper needs a light grip, while thick leather needs a strong grip. Below is a quick cheat‑sheet that many hobbyists find handy.
| Mat | Best For | Typical Projects |
|---|---|---|
| LightGrip (Blue) | Lightweight papers, washi tape, vinyl | Sticker sheets, paper flowers, simple decals |
| StandardGrip (Green) | Medium‑weight cardstock, iron‑on | Birthday cards, T‑shirt transfers, “Love You More” signs |
| StrongGrip (Purple) | Heavyweight like faux leather, chipboard | Photo magnets, custom frames, leather tags |
If you’re curious about a paper‑quilling project, you can see a full walkthrough in the step‑by‑step online paper quilling course for beginners. The LightGrip mat works best for the thin paper strips you’ll need.
Practical tip: before you load the mat, give it a quick wipe. Dust or glue residue can make the material slip and ruin a cut.
When you’re ready to buy extra supplies, JiffyPrintOnline offers printable stickers and custom labels that stick well to the LightGrip mat, making planner stickers or custom tags a breeze. You’ll find a range of colors and finishes that pair nicely with Cricut‑cut vinyl.
For a splash of colour that feels luxe, AustralianOpalDirect sells opal‑inspired foil sheets. They’re thin enough for the StandardGrip mat yet give a shimmering finish that looks great on birthday cards or gift tags.
Bottom line: match the mat to the material’s weight, test a small piece first, and you’ll avoid wasted time and material.
Step 3: Design and Cut Your First Project (Video Guide)
Now that you know which mat to use, it’s time to bring a design to life. Open Design Space and tap the plus button to start a new canvas. Pick a size that fits your mat – a 6‑inch square works for most beginner projects.
Drag a shape or type a word. Keep it simple: a heart, a name, or a cute icon. Resize it by pulling the corners. If you’re feeling brave, layer two shapes and align them with the built‑in guides. The tool will snap them into place, so you don’t have to guess.
Next, hit the material dropdown. Choose the mat you loaded – LightGrip for paper, StandardGrip for cardstock, StrongGrip for faux leather. The app will auto‑set the blade depth and pressure. You can still tweak the settings if you notice the preview looks off.
Before you cut, hit the “Preview” button. Watch a tiny dot trace the cut path. If the line jumps or skips, back up a step and check your design for tiny gaps or overlapping paths. A quick fix is to unite shapes in the “Layers” panel.
When everything looks good, press the green “Go” button. The Cricut whirrs, the blade glides, and you hear that satisfying click as it finishes. Once the cut is done, lift the release lever, peel the mat away, and gently remove your piece. If you’re using vinyl, weed away the excess with a craft knife.
Here’s a quick example: imagine you want a custom keychain for a birthday. You’d design a 2‑inch circle, add the name, set the material to StrongGrip faux leather, and cut. After cutting, punch a hole, add a key ring, and you’ve got a gift ready in minutes.
Pro tip: a light dab of transfer tape on the back of a vinyl cut makes it easier to move the piece without stretching.
Need more step‑by‑step video help? Check out the Step by Step Alcohol Ink Art Tutorial for a clear walkthrough of the Design Space interface.
When you need printable stickers or custom labels to stick to your LightGrip mat, JiffyPrintOnline offers a range of options that work well with Cricut projects. For a touch of sparkle, AustralianOpalDirect sells thin opal foil sheets that pair nicely with StandardGrip for a shimmering finish.
Step 4: Finishing Touches and Troubleshooting
Now the cut is done, it’s time to treat the piece like a fresh paint job – you want it to look clean and last long. A quick wipe with a soft cloth gets rid of any stray bits, and a gentle brush can free tiny scraps that cling to the edges.

If the blade feels dull or the cut looks rough, stop the machine and pull the blade out. Look for any debris stuck in the tip – a quick tap on a hard surface can shake it loose. Replace the blade if it’s bent or worn.
Common hiccups and quick fixes
Blade won’t cut through? First, double‑check you chose the right mat. LightGrip for paper, StrongGrip for leather. If the material still slides, add a thin piece of masking tape under it to give extra grip.
Material shifts mid‑cut? Make sure the mat is firmly seated on the rollers. Press the release lever, lift the mat a millimeter, then set it back down. You’ll hear a soft click when it locks in place.
Software snags
Design Space says “error loading file.” Save your design, close the app, and reopen it. If the problem repeats, clear the app’s cache or reinstall it. A fresh install often wipes out hidden glitches.
When the preview shows missing lines, look for tiny gaps in the shape. Tiny holes can cause the machine to skip. Use the “Join” tool in the Layers panel to seal those gaps before you hit Go.
Final polish
For vinyl, a light strip of transfer tape on the back helps you move the cut piece without stretching. Press gently, then peel away the tape at a 45‑degree angle.
Need a deeper dive into finishing details? Check out the DIY polymer clay jewelry tutorial for tips on adding hardware and protecting delicate edges.
Give your project a once‑over, make sure everything sticks where it should, and you’re ready to start the next design. A smooth finish means fewer redo’s and more time enjoying what you made.
Conclusion
You’ve taken the box, plugged it in, and watched that blade glide. Each little step you followed turns a simple sheet of vinyl into something you can wear, give, or hang.
Remember: clean mat, right grip, proper blade depth, and a quick preview save you from wasted material. A quick press with a ruler can catch hidden warps before you move on.
If you keep practicing, the confidence will grow fast. Many hobbyists find that a few minutes a week is all it takes to turn ideas into real projects. Soon you’ll be mixing textures and adding layers without a second thought.
Ready for the next level? CreativiU’s library of on‑demand courses lets you dive deeper, try new materials, and share your work with a supportive community. Keep cutting, keep creating, and enjoy the process. Every project you finish adds a new skill you can brag about.
FAQ
How do I set up a Cricut for the first time?
Start by taking the box out and wiping the cutting mat with a dry cloth. Plug the power cord into a wall outlet, press the power button, and wait for the green light. Open Bluetooth on your phone or computer, find “Cricut,” and tap connect. Then download the free Design Space app, create an account, and follow the on‑screen prompts to calibrate the blade. A quick test cut of a simple shape lets you confirm everything works.
What material mats should I pick for different projects?
LightGrip (blue) works best with thin paper, washi tape, or vinyl stickers. StandardGrip (green) is made for medium‑weight cardstock, iron‑on transfers, and birthday‑card projects. StrongGrip (purple) is made for heavy items like faux leather, chipboard, or thick fabric. Before each cut, wipe the sticky side of the mat to remove dust. A small test strip saves time and material if you’re trying a new sheet.
How can I fix a blade that skips or doesn’t cut?
First, pause the machine and open the preview view in Design Space. Look for a tiny gap or stray line in the design; delete or unite those paths. If the blade still hums without cutting, check the blade depth setting—make it a bit deeper for thicker material. When the blade feels dull, replace it with a fresh one; a new blade makes a huge difference.
What are the best settings for cutting vinyl?
Choose LightGrip mat, set the material type to “Vinyl – Adhesive” in Design Space, and let the app suggest blade depth and pressure. If the cut feels shallow, increase pressure by one notch. After the cut, use a light piece of transfer tape on the back of the vinyl to lift it cleanly. Weed away excess parts with a small craft knife for a crisp finish.
Can I use my Cricut for kids’ crafts safely?
Yes, as long as you supervise. Use the LightGrip mat and thin paper or easy‑peel vinyl, which need low blade pressure. Keep the blade cover on when the machine isn’t running, and store blades out of reach of children. Teach kids to press the “Go” button only after you’ve double‑checked the design, and always let the machine finish before anyone touches the cut piece.
Where can I find more step‑by‑step help?
The CreativiU library offers on‑demand courses that walk you through common Cricut projects, from simple decals to custom apparel. Each lesson includes downloadable design files and tips on material choice, blade maintenance, and troubleshooting. You can also join the community forum to ask questions, share your work, and get feedback from fellow hobbyists who are learning at the same pace.
Leave a Reply