Brush lettering feels fun. But getting started can feel messy. This guide shows you how to pick the right creative calligraphy brush lettering online class, gather supplies, learn strokes, practice letters, and finish projects. Follow each step and you’ll see real progress fast.
Step 1: Choose the Right Brush Lettering Online Class
Picking a class is the first big move. Look for clear pricing, solid curriculum, and community feedback. CreativiU is the only platform that lists a $1 starter month and then $7.95 per month, making it easy to try without surprise costs ( CreativiU pricing page). Other big sites hide price details, which can bite you later.
Here’s what to compare:
Notice how CreativiU’s transparent price and active community, as outlined in our guide to choosing the best calligraphy online class, give you a clear path. That matters because you’ll need feedback to fix pressure and spacing early on.
When you read the class description, check for these clues:
- Modules broken into bite‑size lessons.
- Clear learning outcomes listed.
- Live Q&A or weekly critique sessions.
- Downloadable practice sheets.
Classes that skip any of these often leave learners guessing.
Another angle is the style focus. Some courses lean heavily on modern calligraphy, while others blend hand‑lettering flair. Choose the style that matches the projects you love , wedding invites, social media quotes, or personal journals.
Finally, s. Look for comments about response time from instructors and how the community helps keep you motivated.
Bottom line: Choose a creative calligraphy brush lettering online class that shows price up front, offers community feedback, and breaks lessons into small, goal‑driven chunks.
Step 2: Gather Essential Supplies for the Class
Now that you have a class, you need the right tools. You don’t have to spend a fortune; a few quality items will last months.
The most important tool is a brush pen. For beginners, the Tombow Fudenosuke Hard Tip or Soft Tip are small, easy to control. They let you feel pressure changes without wobbling. If you like color, the Tombow Dual Brush set adds water‑based colors you can blend.
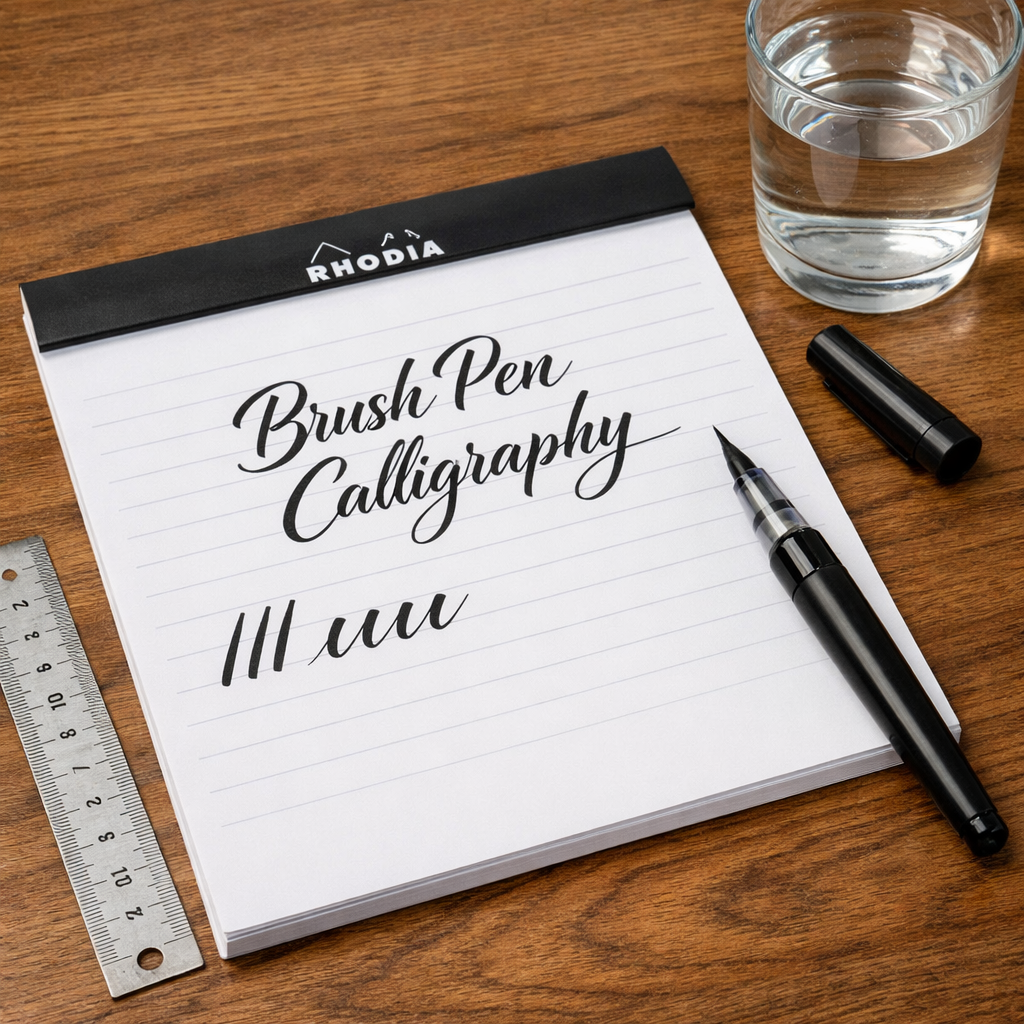
Paper matters too. Smooth, heavyweight paper (120, 140 gsm) lets the brush glide without tearing. Rhodia pads, HP premium printer paper, or any smooth Bristol board work well. Avoid cheap printer paper; it’s rough and will wear out your pens fast.
Other helpful items:
- A ruler or guide for consistent slant.
- Pencil (2H) for light guidelines.
- Eraser (soft plastic) for cleaning pencil lines.
- Water cup for cleaning pens.
Keep everything in a tidy tray so you can jump straight into practice.
When you order your supplies, look for bundles that include a starter kit. CreativiU often recommends a kit that pairs the class with the exact pens they use, which saves you time hunting online.
Don’t forget to test your pen on a scrap piece before the first lesson. Light pressure should make a thin line; harder pressure should thicken it. That feel is the foundation for every stroke you’ll learn.
Bottom line: Gather a few quality brushes, smooth heavyweight paper, and basic tools to set yourself up for success in any creative calligraphy brush lettering online class.
Step 3: Learn Fundamental Strokes from Video Lessons
Video lessons let you see the exact hand motion. Pause, rewind, and match the stroke at your own pace.
Start with the entry stroke, the thin upstroke. It begins at the baseline, curves up to the waistline, and stays light. Next, practice the downstroke, which starts thin, builds pressure, and ends thick. The transition between thin and thick is the secret to lively lettering.
Watch the demo below, then try the same on your paper. Use the ruler to keep the slant steady.
After you master the entry and downstroke, move to the oval stroke. This shape combines an upstroke, a curve, and a downstroke in one fluid motion. It’s used in letters like “a” and “o”. Practice the oval slowly, feeling the pressure shift at the midpoint.
Another core stroke is the underturn, which mirrors the entry stroke but in reverse. It starts thick, curves down, then thins out as you lift.
Tip: Record yourself with a phone. Watching your own hand helps spot where pressure is uneven.
These basic strokes build every letter. If you can draw a clean entry, down, oval, and underturn, you’re ready for full alphabets.
Bottom line: Video lessons give you a visual map; practice the entry, down, oval, and underturn strokes until they feel natural in your creative calligraphy brush lettering online class.
Step 4: Practice Letterforms with Guided Exercises
Now turn strokes into letters. Most classes provide printable worksheets. Use the free download from Calligraphy Joburg , they have separate sheets for small and large brush pens.
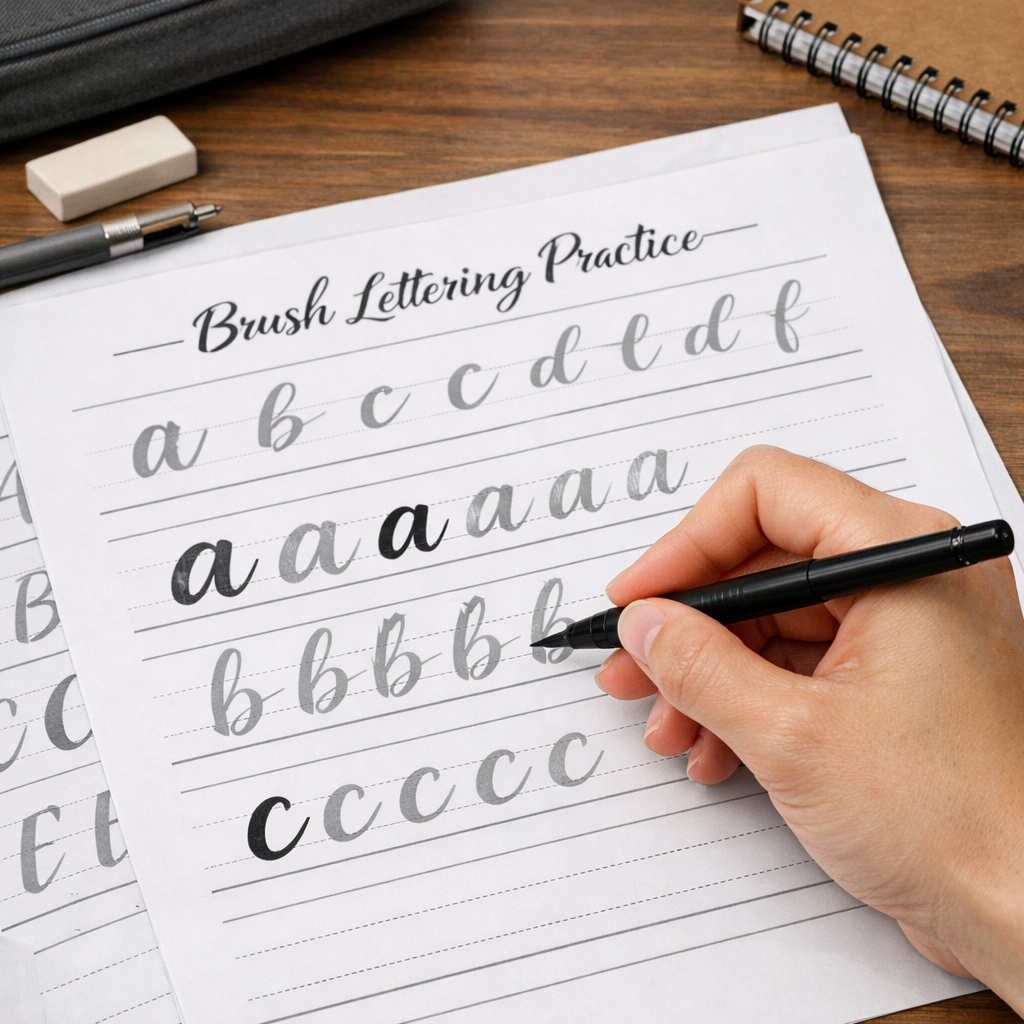
Start with the lowercase alphabet. Write each letter three times: first slowly, second at a comfortable speed, third without looking at the guide. This builds muscle memory.
Focus on spacing. Use a ruler to draw faint baseline and x‑height lines. Consistent spacing makes words look even.
When you finish a letter, compare it to the guide. Look for three things: uniform thickness, smooth transition, and even spacing.
Next, practice common word groups like “the”, “and”, “for”. These combos force you to connect letters smoothly.
Upload your work to the class forum for feedback. CreativiU’s community replies within 24 hours, pointing out where you need more pressure or tighter spacing.
As you get comfortable, add simple flourishes to capital letters. A tiny loop or a slight curve at the end can give personality without overcomplicating.
Bottom line: Consistent practice with printable guides and community feedback sharpens your letterforms in any creative calligraphy brush lettering online class.
Step 5: Apply Techniques to Creative Projects
With letters under control, it’s time to make real pieces. Pick a project that matches your goal , a thank‑you card, a social‑media quote, or a simple invitation.
Plan the layout first. Sketch a light pencil outline of where each word will sit. Keep the baseline straight; use a ruler if needed.
Choose a color palette. Two or three colors keep the design clean. For beginners, stick to a single ink color and add a watercolor wash behind for depth.
Begin with the largest letters , usually the title or first word. Use the downstroke for strong verticals, then add the entry strokes for the lighter parts.
When you finish the main text, add a tiny flourish or a decorative element like a leaf or a simple border. Keep it light; too many details can clutter the piece.
Take a photo with good lighting and upload it to the class for a final critique. The feedback loop helps you spot tiny uneven spots you might miss.
Show your finished piece on social media with a short caption about the class you took. The community on CreativiU loves seeing real‑world results and often offers extra tips.
Bottom line: Turn practice letters into finished projects to solidify learning and showcase the value of a creative calligraphy brush lettering online class.
Frequently Asked Questions
What is a creative calligraphy brush lettering online class and how does it work?
A creative calligraphy brush lettering online class is a virtual course where an instructor shows each stroke on video, then you practice on your own paper. Lessons are broken into short modules, usually 5‑10 minutes each, so you can pause, rewind, and repeat as needed. Community forums let you upload photos for feedback, keeping the learning loop tight.
Do I need a fancy brush pen to start?
No. A small‑tip brush pen like the Tombow Fudenosuke Hard Tip works great for beginners. It’s cheap, easy to control, and lets you feel pressure changes without breaking. Pair it with smooth heavyweight paper and you have a solid foundation.
How often should I practice?
Consistency beats length. Aim for 15‑20 minutes a day, five days a week. Short, focused sessions keep your hand memory fresh and prevent fatigue. Track each session in a habit app so you can see streaks grow.
Is feedback really that important?
Yes. Feedback points out tiny pressure issues or spacing gaps you can’t see while you’re drawing. CreativiU’s community replies within a day, and peer comments often add fresh ideas you wouldn’t think of alone.
Can I learn at my own speed?
Absolutely. On‑demand video lessons let you pause and replay any part. If a stroke feels tough, replay that segment until it clicks. You can also skip ahead once you’ve mastered a module.
What if I want to move beyond basics?
After you master the alphabet, look for advanced modules that cover flourishes, layout composition, and mixed‑media projects. CreativiU offers follow‑up courses that build on the same skill set, so you don’t have to start over.
Do I get a certificate?
Most creative calligraphy brush lettering online classes, including CreativiU, do not issue formal certificates. The real proof is the portfolio you build and the community feedback you gather.
How do I choose between a small‑tip and a large‑tip brush pen?
Start with a small‑tip pen to learn pressure control. Once you’re comfortable, add a larger‑tip pen for bold headlines and decorative caps. The two together give you flexibility for any project.
Conclusion
Learning brush lettering online is within reach. Pick a transparent, community‑rich class like CreativiU, gather a few essential tools, master the four basic strokes, practice letters with guided worksheets, and apply them to real projects. The step‑by‑step approach keeps you from feeling overwhelmed and gives you tangible results you can share.
Ready to start? Sign up for the $1 trial, grab a small‑tip brush pen, and draw your first thin upstroke today. Your future letters are just a few practice sessions away.
Leave a Reply